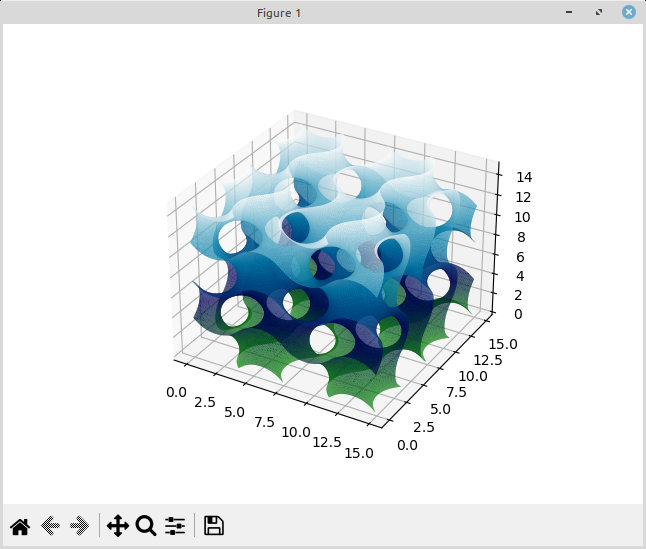
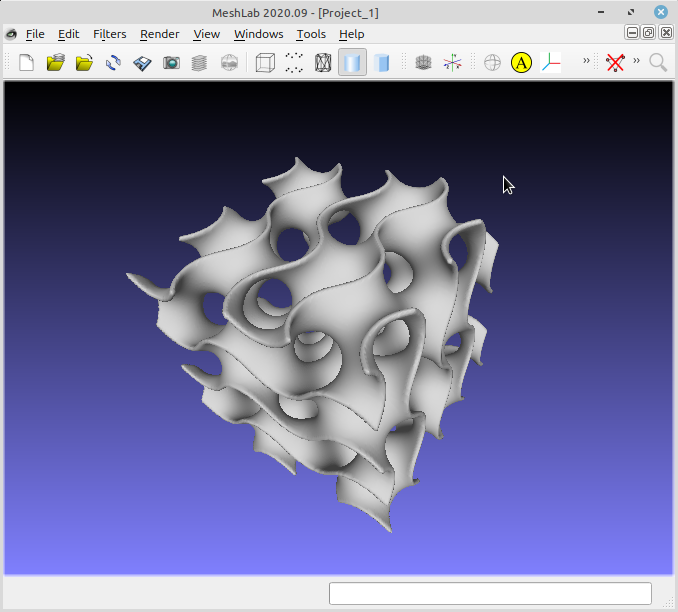
The Gyroid has become quite famous in the 3D printing community, for being often used as infill pattern.
To define a Gyroid:
- Take this ℝ³→ℝ function: f(x, y, z) = cos(x) sin(y) + cos(y) sin(z) + cos(z) sin(x),
- the Gyroid is the surface where f(x, y, z) = 0.
Such kind of ℝ³→ℝ surfaces can be hard or impossible to express as convenient and iterable parametric ℝ²→ℝ³ functions (x = fx(u, v), y = fy(u, v), z = fz(u, v)).
-
So we are using a Python solver:
vertices, faces, ... = skimage.measure.marching_cubes(). -
The surface can be visualized by
matplotlib.pyplot.show()as done in:./gyroid.py -p # compute surface and view itVisual inspection is not particularly smooth unless you have a very fast computer, so you're better off generating a volume and inspecting its STL export. See below.
In order to 3D print the surface, we have to give it some volume.
-
To this end, we're using
meshlib.mrmeshpy.offsetMesh(offset=thickness).-
Meshlib is free for education and evaluation.
-
As meshlib and skimage use incompatible formats, we're saving the surface computed by the former to a temporary STL file, read by the latter.
-
-
We apply all the above and save the result as an STL file:
./gyroid.py -sand can view the result using e.g.
meshlab.meshlab gyroid.stl
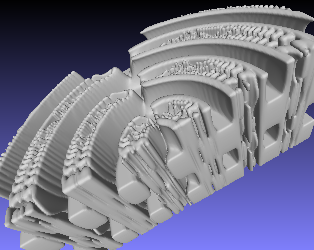
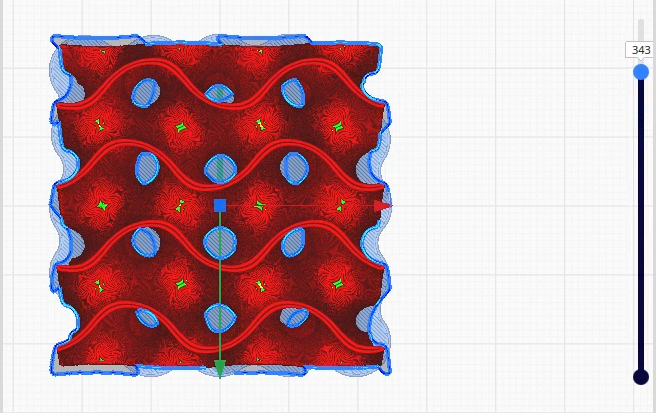
You can use Cura or any other slicer.
- Follow this link to see a video of the successive
layers.
-
Make sure you have
Python 3installed. -
Install the
makecommande. Example with Debian-based distros:sudo apt install makeOther optional programs are
meshlabandcura(or any other slicer). -
For any OS having Python3, do:
make venv
. .venv/bin/activate
make require
. .venv/bin/activate
./gyroid.py     # show options
./gyroid.py -p  # show surface in matplotlib; rotation/zoom net performant
./gyroid.py -s  # compute .stl file with thickness
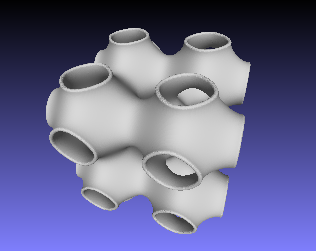
The surfaces provided in this repo are:
