Monitor the internet attack surface of various public cloud environments.
Currently supports AWS, GCP, Azure, DigitalOcean and Oracle Cloud.
- Setting up
- Deployment
- Supported resources and services
- Components
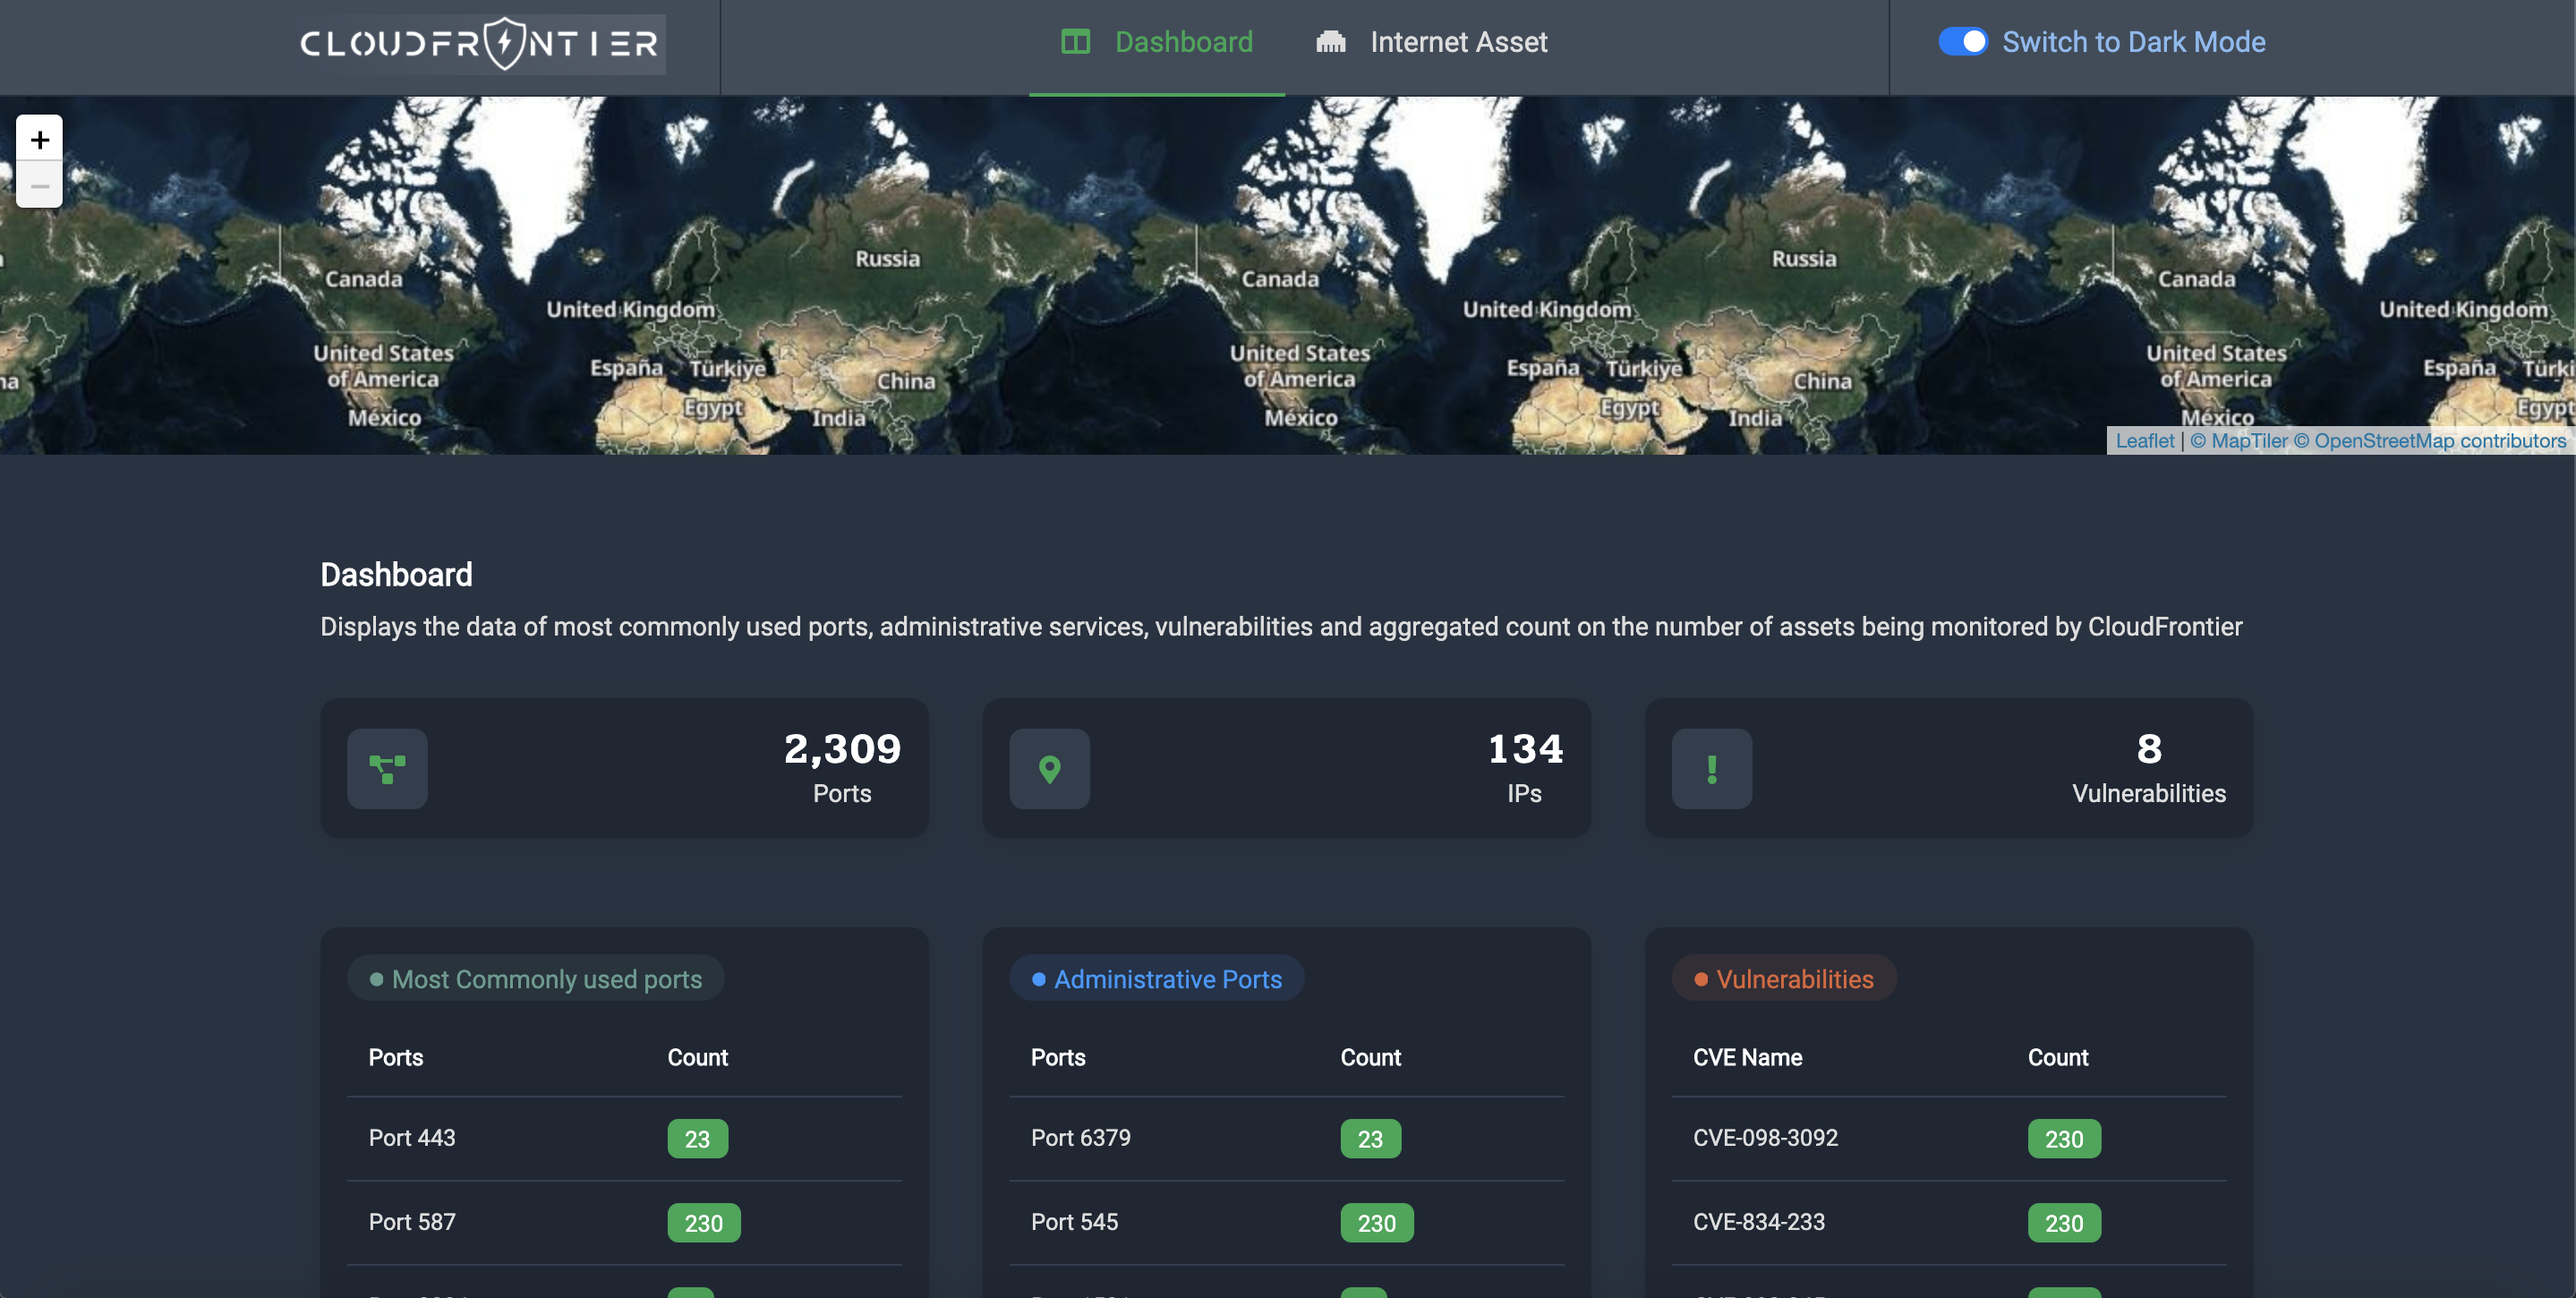
- Screenshots
- Roadmap
- Contributors
- Contributing
- License
The project is built using multiple serverless services which are to be deployed to AWS using the Serverless framework. For this, you'll need to configure the credentials of the AWS account to which you want to deploy to.
Once you've done that, you can start setting up the cloud accounts you want to scan.
Templates for the credentials are available in the credentials directory and
have the suffix .example. To create the actual environment/credential file,
you can simply create a copy of the template and remove .example from its name.
View instructions
Upload the CloudFormation template CloudFrontierAWS.yml to the account whose
assets you want to collect. The output of this stack will be an IAM role's ARN
that Cloud Frontier will use to collect the assets. Copy the ARN and paste it
in credentials/aws.env.
View instructions
To collect assets from your GCP account, you'll need to create a service account key.
Once you've created the key, add it to credentials/gcp.json, and also add
the GCP project ID to credentials/gcp.env.
View instructions
Obtain or generate the following IDs and secrets from your Azure account and
add them to credentials/azure.env.
-
Create application in Azure Active Directory
- Select Azure Active directory in the left sidebar
- Click on App registrations
- Click on Add
- Enter the application name, select application type (web app/api) and sign-on URL
- Click the create button
-
Get Tenant ID
- Select Azure Active directory in the left sidebar
- Click properties
- Copy the directory ID
-
Get Client ID
- Select Azure Active directory in the left sidebar
- Click Enterprise applications
- Click All applications
- Select the application which you have created
- Click Properties
- Copy the Application ID
-
Get Client secret
- Select Azure Active directory in the left sidebar
- Click App registrations
- Select the application which you have created
- Click on All settings
- Click on Keys
- Type Key description and select the Duration
- Click save
- Copy and store the key value. You won't be able to retrieve it after you leave this page
-
Get Subscription ID
- Select Subscriptions in the left sidebar
- Select whichever subscription is needed
- Click on overview
- Copy the Subscription ID
View instructions
To collect assets from your DigitalOcean account, you'll have to create a personal access token and an access key for Spaces.
When you're creating the access token you only need to select the read scope
since that's all that we require.
Paste the personal access token and the Spaces access key and secret in the
credentials/digitalocean.env file.
View instructions
To access your Oracle Cloud resources and services you need to create a key and get the Orale Cloud Identifiers Required Keys and OCIDs. Paste this API key in credentials/analyzers.env.
View instructions
To be able to get port scan results for IP addresses from Shodan you'll need
to have an API key, which you can get for free by
registering on Shodan. Once you generate
the API key, paste it in credentials/analyzers.env.
View instructions
In order to get the reputation of an IP address or domain, you must have a
VirusTotal account, which can be created for free by registering to
VirusTotal Community. Once you
generate the API key, paste it in credentials/analyzers.env.
You can setup the deployment environment either locally or using Docker.
For this you'll need to have the following installed:
- Python 3.8
- Node.js 10.x or later
- Go 1.x (only if you want to modify and/or rebuild the binaries before deployment)
pipenvnpm
Once you have these installed, you can run:
npm install --save-devYou are now ready for deployment!
You just need to build the Docker image from the project's root directory:
docker build -t cloud-frontier .You are now ready for deployment!
As mentioned in the previous section, Cloud Frontier will be deployed to an AWS
account that you have configured, and whose profile name you can pass to the
deployment script using the --profile option (the default value for which is
default).
To deploy all the stacks, simply run the deployment script:
./deploy.shYou can pass the same options to this script as you would to the serverless deploy
command, such as --profile, --stage, --region etc. For example:
./deploy.sh --profile default --stage dev --region us-east-1Run the following command to deploy the stacks using the Docker image you built:
docker run -v ~/.aws:/root/.aws cloud-frontierYou can pass the same options here as you would to the serverless deploy
command, such as --profile, --stage, --region etc. For example:
docker run -v ~/.aws:/root/.aws cloud-frontier --profile default --stage dev --region us-east-1Note: the ~/.aws directory is mounted inside the container so that your
AWS account profiles can be easily made available to the deployment script
that's running inside the container.
- API Gateway
- EC2
- Elastic Beanstalk
- Elastic Load Balancers
- Elasticsearch Service
- Elasticache
- RDS
- S3
- Domain Name Service
- Public IP Address
- Storage Buckets
- Forwarding Rules
- Content Delivery Network
- Public IP Addresses
- Blob
- Domains
- Floating IPs
- Spaces
- Load Balancers
- DNS Zones
- Public IP Addresses
- Storage Buckets
- Add authentication using Cognito
- Perform port scanning of IPs using nmap?
We are happy to receive issues and review pull requests. Please make sure to write tests for the code you are introducing and make sure it doesn't break already passing tests.
This project is licensed under the terms of the Apache license.


