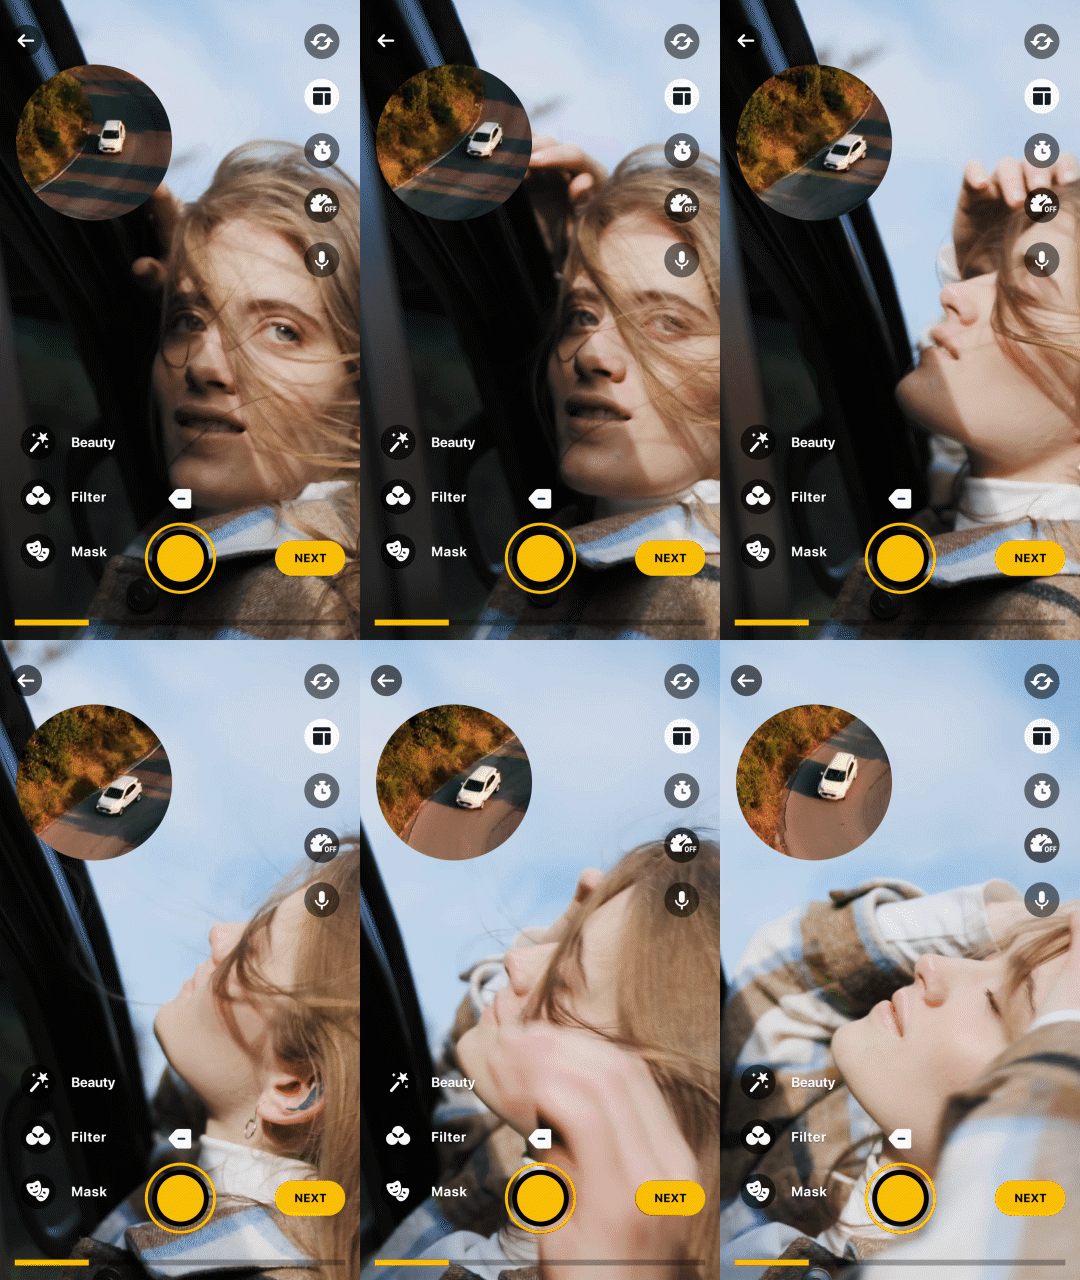
Banuba AI Video Editor SDK allows you to quickly integrate short video functionality into your mobile app. On this page, we will explain how to do so on iOS.
- Requirements
- Dependencies
- SDKs size
- Starting a free trial
- Supported media formats
- Token
- Connecting with AR cloud
- What can you customize?
- Getting Started
- FAQ
- Third party libraries
This is what you need to run the AI Video Editor SDK
- iPhone devices 6+
- Swift 5+
- Xcode 13.0+
- iOS 12.0+ Unfortunately, It isn't optimized for iPads.
To use the face masks, you will also need the Face AR SDK. It is optional, however, the other features will work without it.
| Options | Mb | Note |
|---|---|---|
| ✅ Face AR SDK + bitcode enabled | 42 | AR effect sizes are not included. AR effect takes 1-3 MB in average. |
| ❌ Face AR SDK + bitcode enabled | 19 | no AR effects |
You can either include the filters in the app or have users download them from the AR cloud to decrease the app size.
| Audio | Video | Images |
|---|---|---|
| .mp3, .aac, .wav, .m4a, .flac, .aiff |
.mp4, .mov, .m4v | .bmp, .gif, .heic, .jpeg, .jpg, .png, .tiff |
To be able to use your own quality parametrs please follow this guide.
| Recording speed | 360p(360 x 640) | 480p(480 x 854) | 540p(540 x 960) | HD(720 x 1280) | FHD(1080 x 1920) |
|---|---|---|---|---|---|
| 1x(Default) | 800 | 2000 | 2000 | 4000 | 6400 |
| 0.5x | 800 | 2000 | 2000 | 4000 | 6400 |
| 2x | 800 | 2000 | 2000 | 4000 | 6400 |
| 3x | 800 | 2000 | 2000 | 4000 | 6400 |
Video Editor SDK classifies every device by its performance capabilities and uses the most suitable quality params for the exported video.
Nevertheless it is possible to customize it with ExportVideoConfiguration. Just put a required video quality into ExportVideoInfo(resolution) constructor. To be able to use your own quality parametrs please follow this guide.
See the default bitrate (kbps) for exported video (without audio) in the table below:
| 360p(360 x 640) | 480p(480 x 854) | 540p(540 x 960) | HD(720 x 1280) | FHD(1080 x 1920) |
|---|---|---|---|---|
| 800 | 2000 | 2000 | 4000 | 6400 |
You should start with getting a trial token. It will grant you 14 days to freely play around with the AI Video Editor SDK and test its entire functionality the way you see fit.
There is nothing complicated about it - contact us or send an email to sales@banuba.com and we will send it to you. We can also send you a sample app so you can see how it works “under the hood”.
We offer а free 14-days trial for you could thoroughly test and assess Video Editor SDK functionality in your app. To get access to your trial, please, get in touch with us by filling a form on our website. Our sales managers will send you the trial token.
Video Editor token should be put here.
Also you can load token from Firebase. Check to configure firebase
To decrease the app size, you can connect with our servers and pull AR filters from there. The effects will be downloaded whenever a user needs them. Please check out step-by-step guide guide to configure AR Cloud in the Video Editor SDK.
We understand that the client should have options to brand video editor to bring its own experience to the market. Therefore we provide list of options to customize:
✅ Use your branded icons. See details
✅ Use you branded colors. See details
✅ Change text styles i.e. font, color. See details
✅ Masks and filters order. See details
✅ Localize and change text resources. Default locale is 🇺🇸
✅ Make content you want i.e. a number of video with different resolutions and durations, an audio file. See details
✅ Customize video recording duration behavior. See details
✅ Settings for the camera. See details
❌ Change layout except Camera and Postprocessing screens
❌ Change screen order
❗ We do custom UX/UI changes as a separate contract. Please contact our sales@banuba.com.
Face AR SDK is optional for the video editor SDK and would be disabled if it is not included in your token. If you don't use Face AR SDK make the following changes in Podfile to remove it:
-  pod 'BanubaEffectPlayer', '1.0.19'
-  pod 'BanubaSDK', '1.0.19.1'
+ pod 'BanubaSDKSimple', '1.0.19.1'❗ Important: Do not forget to copy all the resources that the sample contains, such as the luts folder and etc.
The easiest ways to integrate the Video Editor SDK in your mobile app are through CocoaPods or SwiftPackageManager. If you haven’t used this dependency managers before, see the Cocoapods Getting Started Guide and SPM Getting Started Guide.
Important: Sample intergration of SPM and VideoEditor is in spm branch
Please, refer VideoEditor SDK SPM dependencies:
- Open App project -> navigate to SwiftPackages tab.
Important: Make sure that you have CocoaPods version >= 1.9.0 installed. Check your CocoaPods version using this command pod --version
Please, refer to the example of Podfile lines which you need to add.
- Make sure to have CocoaPods installed, e.g. via Homebrew:
brew install cocoapods
- Initialize pods in your project folder (if you didn't do it before).
pod init
- Install the Video Editor SDK for the provided Xcode workspace with:
pod install
- Open Example.xcworkspace with Xcode and run the project.
import BanubaVideoEditorSDK

class ViewController: UIViewController {

  private var videoEditorSDK: BanubaVideoEditor?

  override func viewDidLoad() {
    super.viewDidLoad()

    initVideoEditor()
  }

  override func viewDidAppear(_ animated: Bool) {
    super.viewDidAppear(animated)

    videoEditorSDK?.presentVideoEditor(
      from: self,
      animated: true,
      musicTrack: nil,
      completion: nil
    )
  }

  private func initVideoEditor() {
    let configuration = VideoEditorConfig()
    videoEditorSDK = BanubaVideoEditor(
      token: "place client token here",
      configuration: configuration,
      analytics: nil,
      externalViewControllerFactory: nil
    )
    videoEditorSDK?.delegate = self
  }
}

// MARK: - Handle Video Editor lifecycle
extension ViewController: BanubaVideoEditorDelegate {
  func videoEditorDidCancel(_ videoEditor: BanubaVideoEditor) {
    videoEditor.dismissVideoEditor(animated: true, completion: nil)
  }

  func videoEditorDone(_ videoEditor: BanubaVideoEditor) {
    videoEditor.dismissVideoEditor(animated: true, completion: nil)
  }
}
The Video Editor has several entry points. It can be launched on the camera screen and on the trimmer screen with predefined videos:
/// Modally presents Video editor's root view controller
/// - Parameters:
///   - hostController: The view controller to display over.
///   - animated: Pass true to animate the presentation.
///   - musicTrack: Music track which will be played on camera recording.
///   - completion: The block to execute after the presentation finishes.
public func presentVideoEditor(
  from hostController: UIViewController,
  animated: Bool,
  musicTrack: MediaTrack? = nil,
  completion: (() -> Void)?
)

/// Modally presents Video editor's trim view controller with pre-defined videos
/// - Parameters:
///   - videoItems: An array with urls to videos located on a phone.
///   - hostController: The view controller to display over.
///   - animated: Pass true to animate the presentation.
///   - musicTrack: Music track which will be played on camera recording.
///   - completion: The block to execute after the presentation finishes.
public func presentVideoEditor(
  withVideoItems videoItems: [URL],
  from hostController: UIViewController,
  animated: Bool,
  musicTrack: MediaTrack? = nil,
  completion: (() -> Void)?
)To export video after the editing is complete use these method:
  /// Export several configurable video
  /// - Parameters:
  ///   - configuration: contains configurations for exporting videos such as file url,
  ///    watermark and video quality and etc.
  ///   - completion: completion: (success, error, exportCoverImages), execute on background thread.
  public func export(
    using configuration: ExportConfiguration,
    completion: @escaping ((_ success: Bool, _ error: Error?, _ exportCoverImages: ExportCoverImages?)->Void)
  )
See the sample export video flow here. You can find the detailed video export features here.
Banuba Video Editor SDK can trim audio tracks, merge them, and apply them to a video. It doesn’t include music or sounds. However, it can be integrated with Mubert and get music from it (requires additional contract with them). Moreover, the users can add audio files from internal memory (downloaded library) from the phone.
Integrating audio content is simple. See this guide.
Each screen can be modified to your liking. You can change icons, colors, text and its font, button titles, and much more.
Note that layouts and screen order can’t be changed. You can, however, ask us to customize the mobile video editor UI as a separate contract.
Below see the list of screens with links to their detailed description and notes on modifying them
- Camera screen
- Editor screen
- Trim screens
- Overlay screens
- Music editor screen
- Gallery screen
- Alert screens
- Cover screen
- Hands Free screen
- Audio Browser screen
The SDK allows overriding icons, colors, typefaces and many more configuration entities. Every SDK screen has its own set of styles.
The SDK allows to reorder masks and filters in the way you need. To achieve this use the property preferredLutsOrder and preferredMasksOrder
 let config = VideoEditorConfig()

 // Sorting for the record screen
 config.recorderConfiguration.recorderEffectsConfiguration.preferredLutsOrder = [
   "egypt",
   "norway",
   "japan"
 ]

 config.recorderConfiguration.recorderEffectsConfiguration.preferredMasksOrder = [
   "XYScanner",
   "Background"
 ]

 // Sorting for the post processing screen
 config.filterConfiguration.preferredLutsOrder = [
   "byers",
   "sunset",
   "vinyl"
 ]

 config.filterConfiguration.preferredMasksOrder = [
   "XYScanner",
   "Background"
 ]
You can add a branded image that would appear on videos that users export.
To do so, create and configure the WatermarkConfiguration structure, then add it to the ExportVideoConfiguration entity.
See this example for details.
Stickers are interactive objects (gif images) that can be added to the video recording to add more fun for users.
By default Giphy API is used to load stickers. All you need is just to pass your personal Giphy Api Key into giphyAPIKey parameter in GifPickerConfiguration entity.
GIPHY doesn't charge for their content. The one thing they do require is attribution. Also, there is no commercial aspect to the current version of the product (no advertisements, etc.) To use it, please, add "Search GIPHY" text attribution to the search bar.
The record button is a main control on the camera screen which you can fully customize along with animations playing on tap.
First of all look at RecordButtonConfiguration entity which you can customize in Camera screen configuration quide. If it still not suits your needs you can create your own view for more information look here
AI Video Editor SDK is provided with its own solution for media content (i.e. images and videos) selection - the gallery screen. To use it as a part of SDK just add the BanubaVideoEditorGallerySDK pod to your podfile:
target 'Example' do
  pod 'BanubaVideoEditorSDK'
  ...
+  pod 'BanubaVideoEditorGallerySDK'
}
The gallery provided by the SDK is fully customizable according to this guide.
Also there is an option to use your own implementation of the gallery. This is available according to this step-by-step guide.
Any icon in the mobile video editor SDK can be replaced. This is how:
- Load custom images to the Assets catalog
- Locate the screen with an icon you want to change in the VideoEditorConfig entity
- Find the specific element and override it with the resource name or use UIImage, if available.
For example, this is how you change a mask icon on the camera screen.
Any text in the mobile video editor SDK can be changed. To edit text resources, download the file with strings here, change whatever you need, and put the new file into your app.
Don’t change the keys (values on the left), only the values on the right. Otherwise, the button names and other texts will not show.
Please visit our FAQ page to find more technical answers to your questions.
View information about third party libraries.

