Scenarios of using CPExternalizer via its CLI or its GUI, in order to minimize the size of grouping Captivate HTML5 modules.
Use cases:
Adobe Captivate supports exporting modules to HTML5 format, included a lot of resources identical among modules, which lead to an excessive amount memory if we have to put plenty of them together.
That's why we came up the idea of clustering those modules into one "mini theater" having one projector and multiple catridges loaded should the needs arises.
The structure of cluster will resemble this:
cluster/
+--index.html
+--unitLoader.html
+--assets/
+--module/
- unitLoader: the projector which loads and displays the chosen module.
- assets: containing all reusable resources:
- css/
- htmlimages/
- js/
- playbar/
- toc/
- TOC_icons/
- module: catridge box. Each module should be a separated folder slimmed down by CPExternalizer. For example:
+--module/
   +--module1/
   +--module2/
The main file of module. Normally, it will be at assets/js/CPM.js. It should be composed of 2 parts:
- CPProjInit: initiator, containing all detailed descriptions of objects (text, images, sound, etc.) shown in project. It is private per project. That's why we will extract it into a standalone file.
- Components: animator, which will decorate the page and manage all internal "movements" of project. This part can be duplicated between them, thus we can factorize.
Besides, two folders assets/ar (containing audio files) and assets/dr (containing images files) will be also picked out along CPProjInit.
We can write the unit loader in any web developping language, but in this example, we will reuse mostly what is written in index.html of each exported Captivate project with a little help of javascript.
This loader will be called in an iframe inside cluster/index.html.
Container of common resources of these modules. Pay attention to assets/js/CPM.js because we will replace it by a version covering all components found in projects, but not holding any initiator.
You can take the assets folder in this folder as the base for your cluster. In that case, make sure to update them regularly in order to have a good performance.
sample contains HTML5 modules exported by Adobe Captivate without any "factorisation". You can use them for this tutorial.
If you are used to CLI, this is right for you.
Requirements: Node >= v8.9.1
Install:
- via git clone:
git clone https://github.com/perfectstrong/CPExternalizer-CLI
cd CPExternalizer-CLI
npm install
# ready to run- via download whole source: here. Extract to a folder and open a bash there. Run also
npm installto install the dependecies. Now it's ready.
Easy to use. Check out the lastest release to get a bundled build.
Or you can build by yourself. Requirements:
- Node >= v8.9.1.
- Electron ~1.7.11.
git clone https://github.com/perfectstrong/CPExternalizer-GUI
cd CPExternalizer-GUI
npm install
npm startSuppose that we're having 2 modules exported by Adobe Captivate and we want to integrate them into our cluster.
+--Example1/
+--Example2/
GUI
-
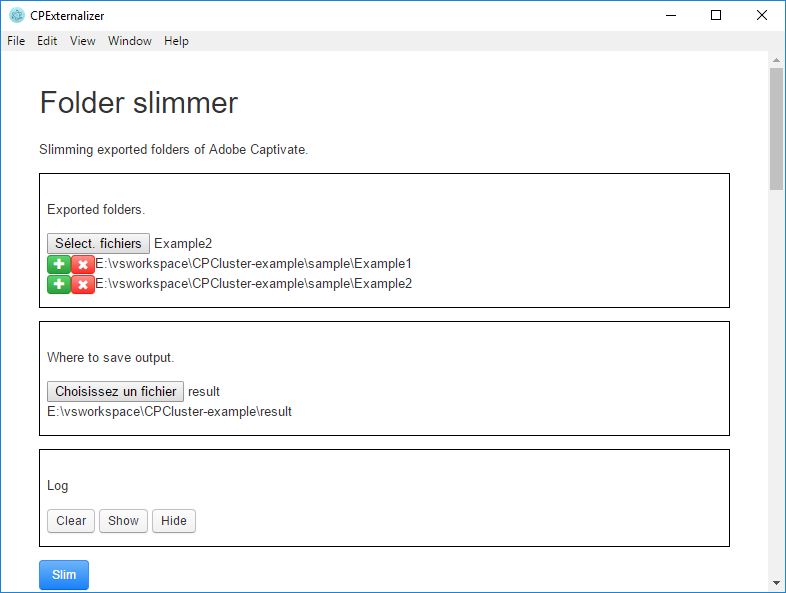
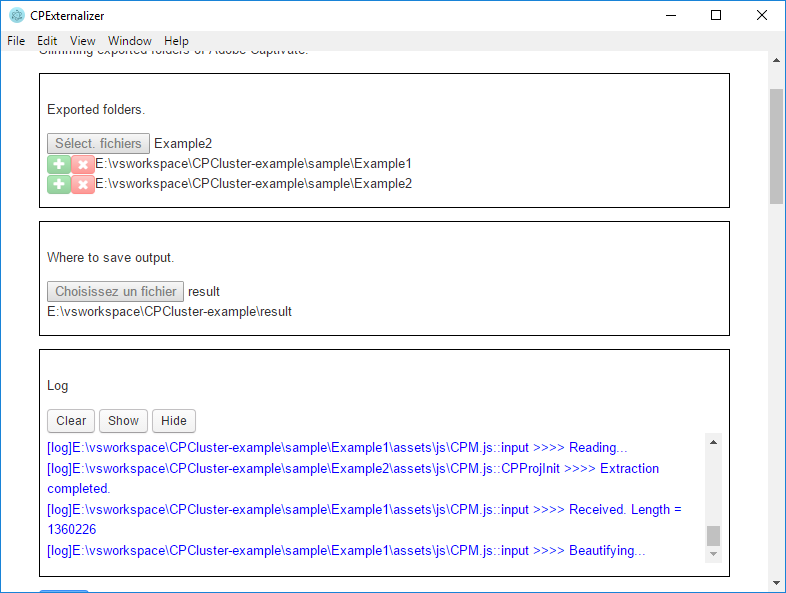
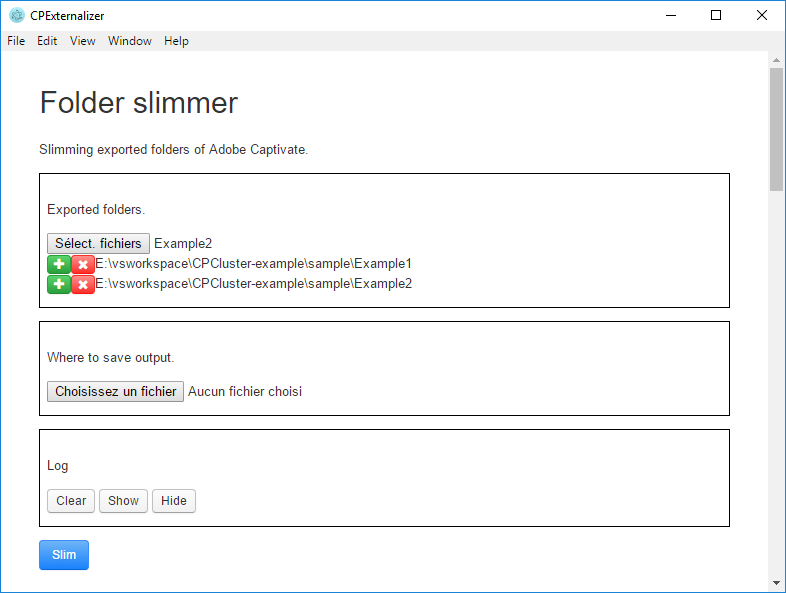
In the Folder slimmer section, at Exported folders, choose those 2 above. Note: for instance, you can only choose one per time, but you can always add another by clicking on either the first button or the plus(+) button (the cross(x) button will remove your choice instead).
-
Then put your results in
cluster/module.
CLI
node main.js dirext --src "E:\vsworkspace\CPCluster-example\sample\Example1" "E:\vsworkspace\CPCluster-example\sample\Example2" --outdir "E:\vsworkspace\CPCluster-example\result\module"In these modules, pick the assets folder which you judge more "general", covering all necessary components. Then place in cluster.
Replace cluster/assets/js/CPM.js by the full version here.
Sometimes, if your module contains questions, you should also replace cluster/assets/css/CPLibraryAll.css by this.
The unitLoader.html takes mots part of index.html inside an exported project, with the changes in resources to load.
cpXHRJSLoader.css()is the method to load css files.lJSFilesis the list of JS files to load. (We will use it to charge our catridgeCPProjInit.js.)imageJSONFilesis the list of images encoded in Base64 and saved indrfolder. Example:dr/img1.json,dr/img2.json, etc.imagesJSONFilesis the map of images indrfolder.
In this tutorial, we use a static variable to store resources path of module, then transmit to iframe by sessionStorage.
If your projects have sounds or music, their audio resources will saved in ar and their path will be in CPProjInit.js. However, due to the factorisation, the path has changed. Therefore, we need to fix it right away.
GUI
-
In the Sound fixing section, firstly choose the initiators above (
CPProjInit.js) in your cluster. You can choose multiple file simultaneously. Use plus(+) to add other files and cross(x) to remove a choice.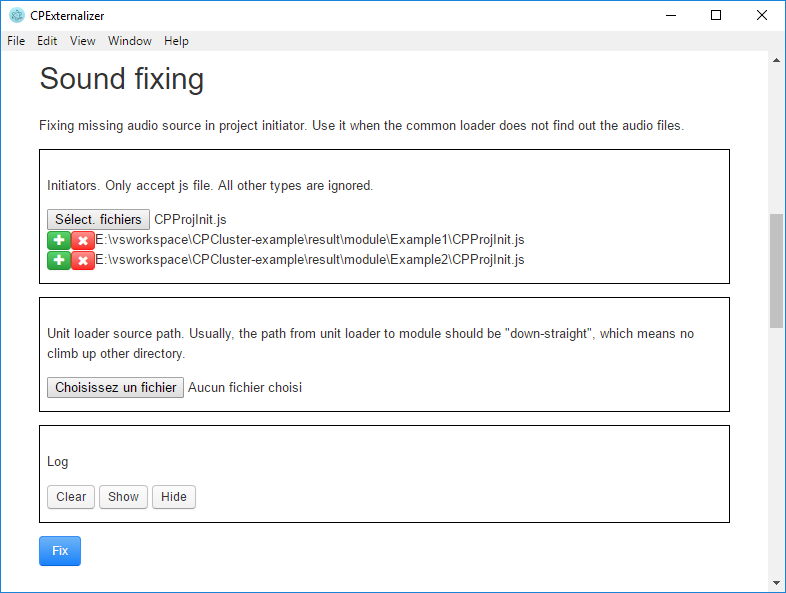
-
Next, choose your unit loader (where you put the loader). Because the links in initiator are relative, you have to place the unit loader so that it can access directly to the audio files, for example:
module/example1/ar/Mouse.mp3(unitLoader.htmlis in the same directory withmodule/).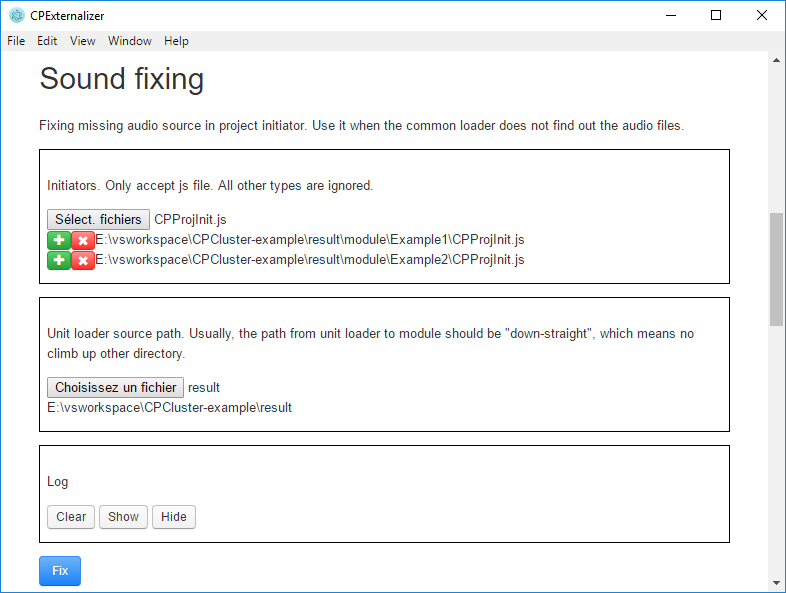
-
Lastly, click Fix to begin fixing. The result are saved right into input files.
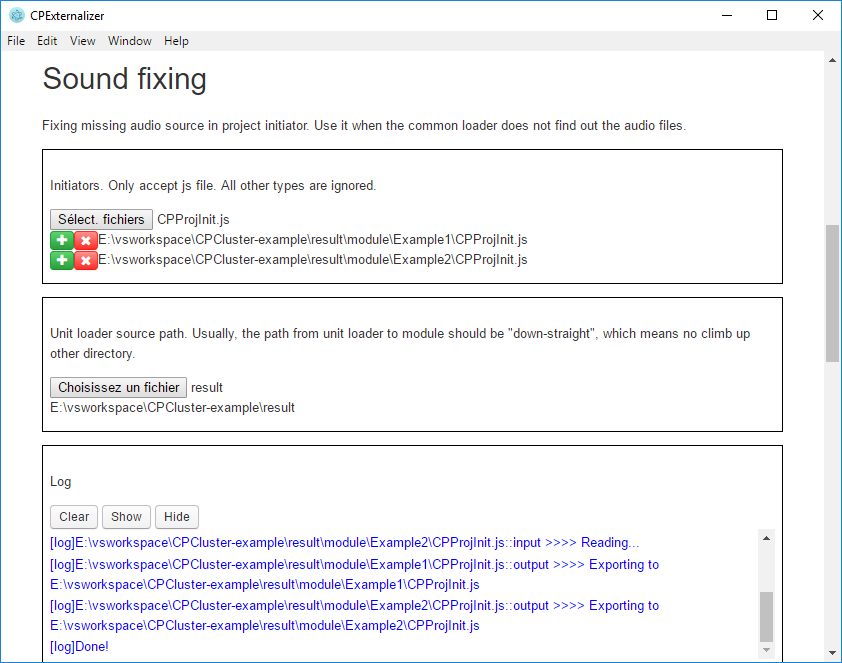
CLI
node main.js soundfix --src "E:\vsworkspace\CPCluster-example\result\module\Example1\CPProjInit.js" "E:\vsworkspace\CPCluster-example\result\module\Example2\CPProjInit.js" --ulpath "E:\vsworkspace\CPCluster-example\result\unitLoader.html"With CLI, you can even give an entire directory as the source. The program will automatically search all js files inside and fix those who are initiators.
node main.js soundfix --src "E:\vsworkspace\CPCluster-example\result\module" --ulpath "E:\vsworkspace\CPCluster-example\result\unitLoader.html"Now, the cluster should be fine.
Attention: See the contribution part.
This is a part of the factorisation.
GUI
- In Project initiator section, firstly, choose the path(s) to non-externalized
CPM.js. Multiple choice possible. Add another by (+). Remove by (x). - Choose a folder to save the result.
- Click Extract to begin.
Attention: the name of exported file will be numbered randomly.
CLI
node main.js extract --src path/to/CPM.js path/to/an/other/CPM.js etc/CPM.js --outdir path/to/a/folder/to/storeIf your unit loader does not function right, maybe the common CPM.js still miss some components. This feature can help you discover them (although not very stable result).
GUI
- In the Extra components, give the path(s) to the non-modified
CPM.js. Multiple choice possible. Add another by (+). Remove by (x). - Choose a folder to save the result.
- Choose a sample
CPM.jsfile to compare. You can use the one given by program. Or you can use your own commonCPM.js. - Click Extract to begin.
There are perhaps minor differences in resources between projects that we still can not find out. Please be kind to raise an issue here with your source if the unit loader does not display your projects correctly.
