NOTE: The current state of this project is unfinished but most of the documentation is included. I'm still filling in some holes, fixing some links and editing. Be aware that you may require to complete a little investigation yourself.
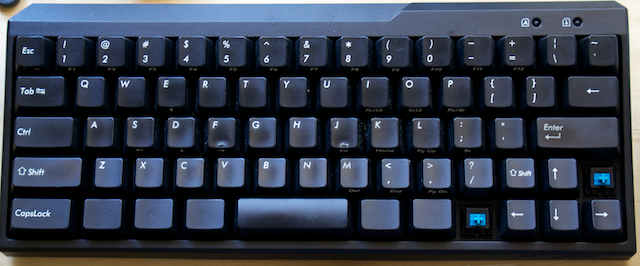
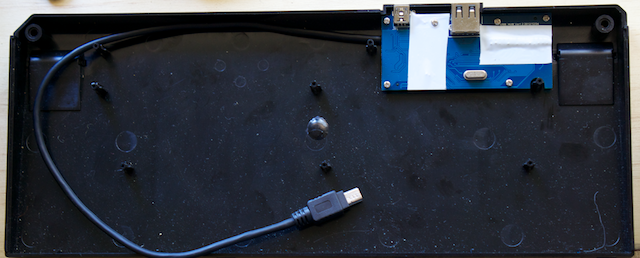
This project is an attempt to fully document the hardware of the Filco Minila and describe how to hack the tmk_keyboard firmware in. When you are finished, you should have a fully programmable keyboard that looks identical to the original Minila.
The ML62 was my first attempt. A very successful attempt in my opinion, but I came to discover that if I were to resolve some initial design decisions, I'd need to start over.
If I was going to start again, it made sense to properly document everything as I went. I also decided that for the project to be most useful, I should include some things that I personally didn't require myself. When I get this finished, ML67 will become the base project and ML62 will become a personal fork containing my own drastic customisations.
- Work as a fully programmable keyboard.
- Continue to fit within original casing.
- Functional LEDs.
- Interface with the original USB connector.
- Functioning USB hub.
I have mostly succeeded in fulfilling my design criteria. The one exception is the functioning USB hub. I've been unable to solder to such a fine circuit.
- Filco Minila (I'm using Matrix Ver1.0 2012/10/17. I can't guarantee that anything else will work).
- Teensy 2
- Wire. Red, black and four other colours of your choice.
- Mini USB cable
- Soldering Iron
- Multimeter
- Wire Cutters
- Screwdrivers
To give you an idea on how long it should take I would expect that you should get it done in a weekend pretty easily. Just in case, I wouldn't count on it working on Monday morning. Have a spare keyboard.
Good luck in your own ML67 build.


