Kinetica ETL lab walkthrough using Airflow & Spark in Docker containers.
In this lab you will ingest geometric data into Kinetica using AirFlow. The data is a simple CSV file of all counties in US.
The entire project is built with Docker containers and linked using a custom Docker network. To read more on this take a look here Docker Custom Network
- Airflow
- Kinetica
- Postgres (for airflow backend)
- CDAP (Optional)
- Spark Master/Worker (Optional)
The CDAP and spark containers are included in a separate docker compose file, but not used during this lab. In this lab the Spark environment is included in the Airflow container therefore separate containers will not be used - this is known as Local spark mode. If you would like to run in Spark standalone mode then the master and worker containers can be used. To learn more about spark standalone mode check out this link: Spark Standalone
- Clone this lab repository
git clone https://github.com/pheer/kinetica-airflow-lab.git
- Install Docker and Docker Compose - pick your OS
- Open command line and run
docker --versionanddocker-compose --versionto make sure both installed corretly - Run
docker psto make sure docker is able to connect to engine and list any running containers. If this is new install there should be no containers listed - Change into lab working directory and start stack
cd kinetica-airflow-labdocker-compose upordocker-compose up -dto run in detached or background mode
It will take a while to download containers if this is the first time running the stack.
docker-compose ps should show three running containers:
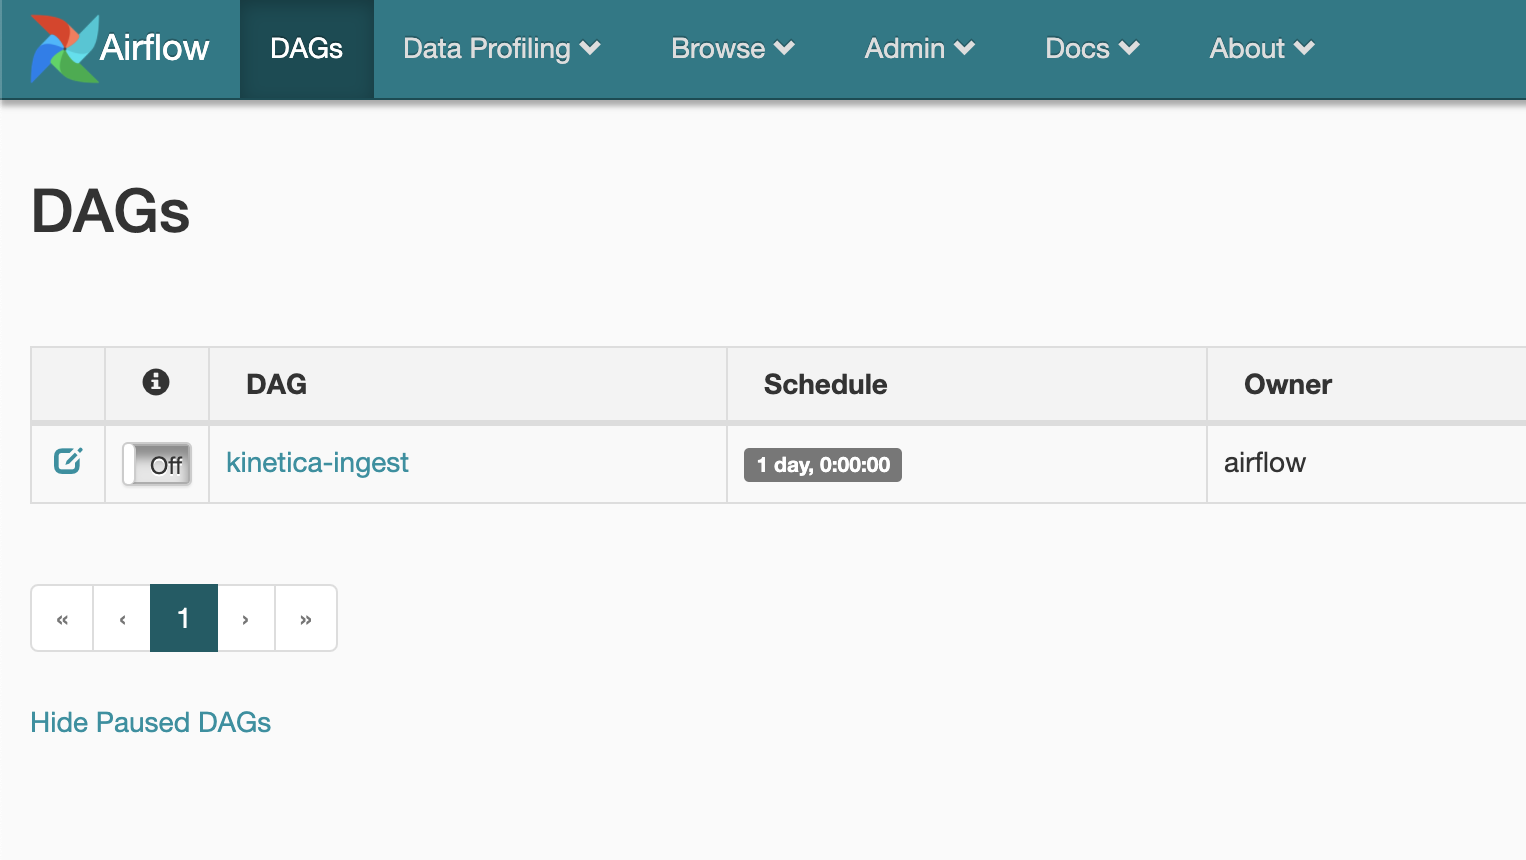
Check AirFlow UI at http://localhost:8282/admin/
Configure
-
login to Kinetica user: admin password: admin
- Activate a Kinetica License and start
Admin -> StartandStartagain - Logout and log back in - change password to
KineticaFlow1!
- Activate a Kinetica License and start
-
Make sure airflow user owns the directories run:
docker exec --user root -it airflow_container chown -R airflow:airflow . -
In AirFlow UI go to
Admin -> Connections, findspark_default, and hit pencil icon to edit -
Set
hostproperty fromyarntolocal
To learn more about Airflow click here
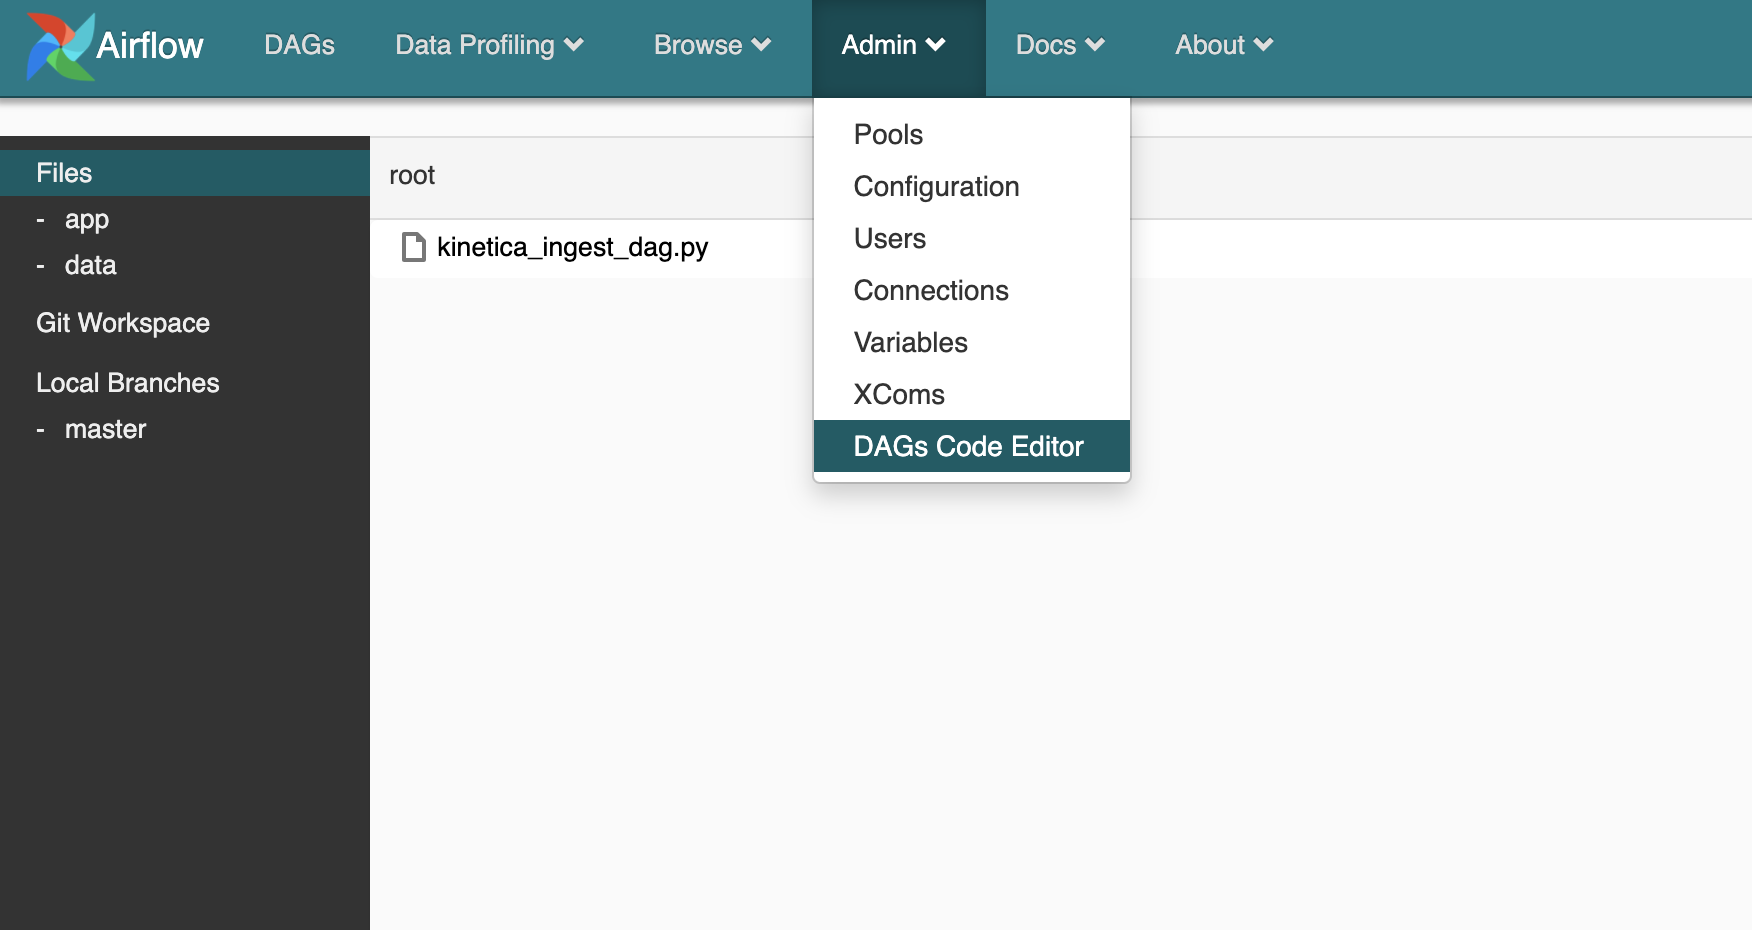
This lab version of Airflow has a DAG code editor already installed - in order to access this click Admin -> DAGs Code Editor
Notice there are three folders mounted to easily edit files from Airflow vs command line.
- Files (root) <- this folder holds the Airflow Dags
- app <- this holds the application data files. In our case this is the spark program and conf file
- data <- this folder holds any data files. For this lab there is a
us_counties.csvfile
Any other editor can be used to edit these files. Here are the mount mappings from host to container. project_home is where you checked out the lab.
- project_home/dags -> /usr/local/airflow/dags
- project_home/spark/app -> /app
- project_home/spark/resources/data -> /data
- project_home/spark/resources/libs -> /libs
Create Table in Kinetica
- Go to Kinietica UI
Query -> SQL - Add following DDL to textarea and hit
Run SQL
CREATE TABLE "ki_home"."us_counties"
(
   "WKT" geometry,
   "STATEFP" VARCHAR (2),
   "COUNTYFP" VARCHAR (4),
   "COUNTYNS" VARCHAR (8),
   "AFFGEOID" VARCHAR (16),
   "GEOID" VARCHAR (8),
   "NAME" VARCHAR (32),
   "LSAD" VARCHAR (2),
   "ALAND" VARCHAR (16),
   "AWATER" VARCHAR (16)
)
Run Airflow ETL job
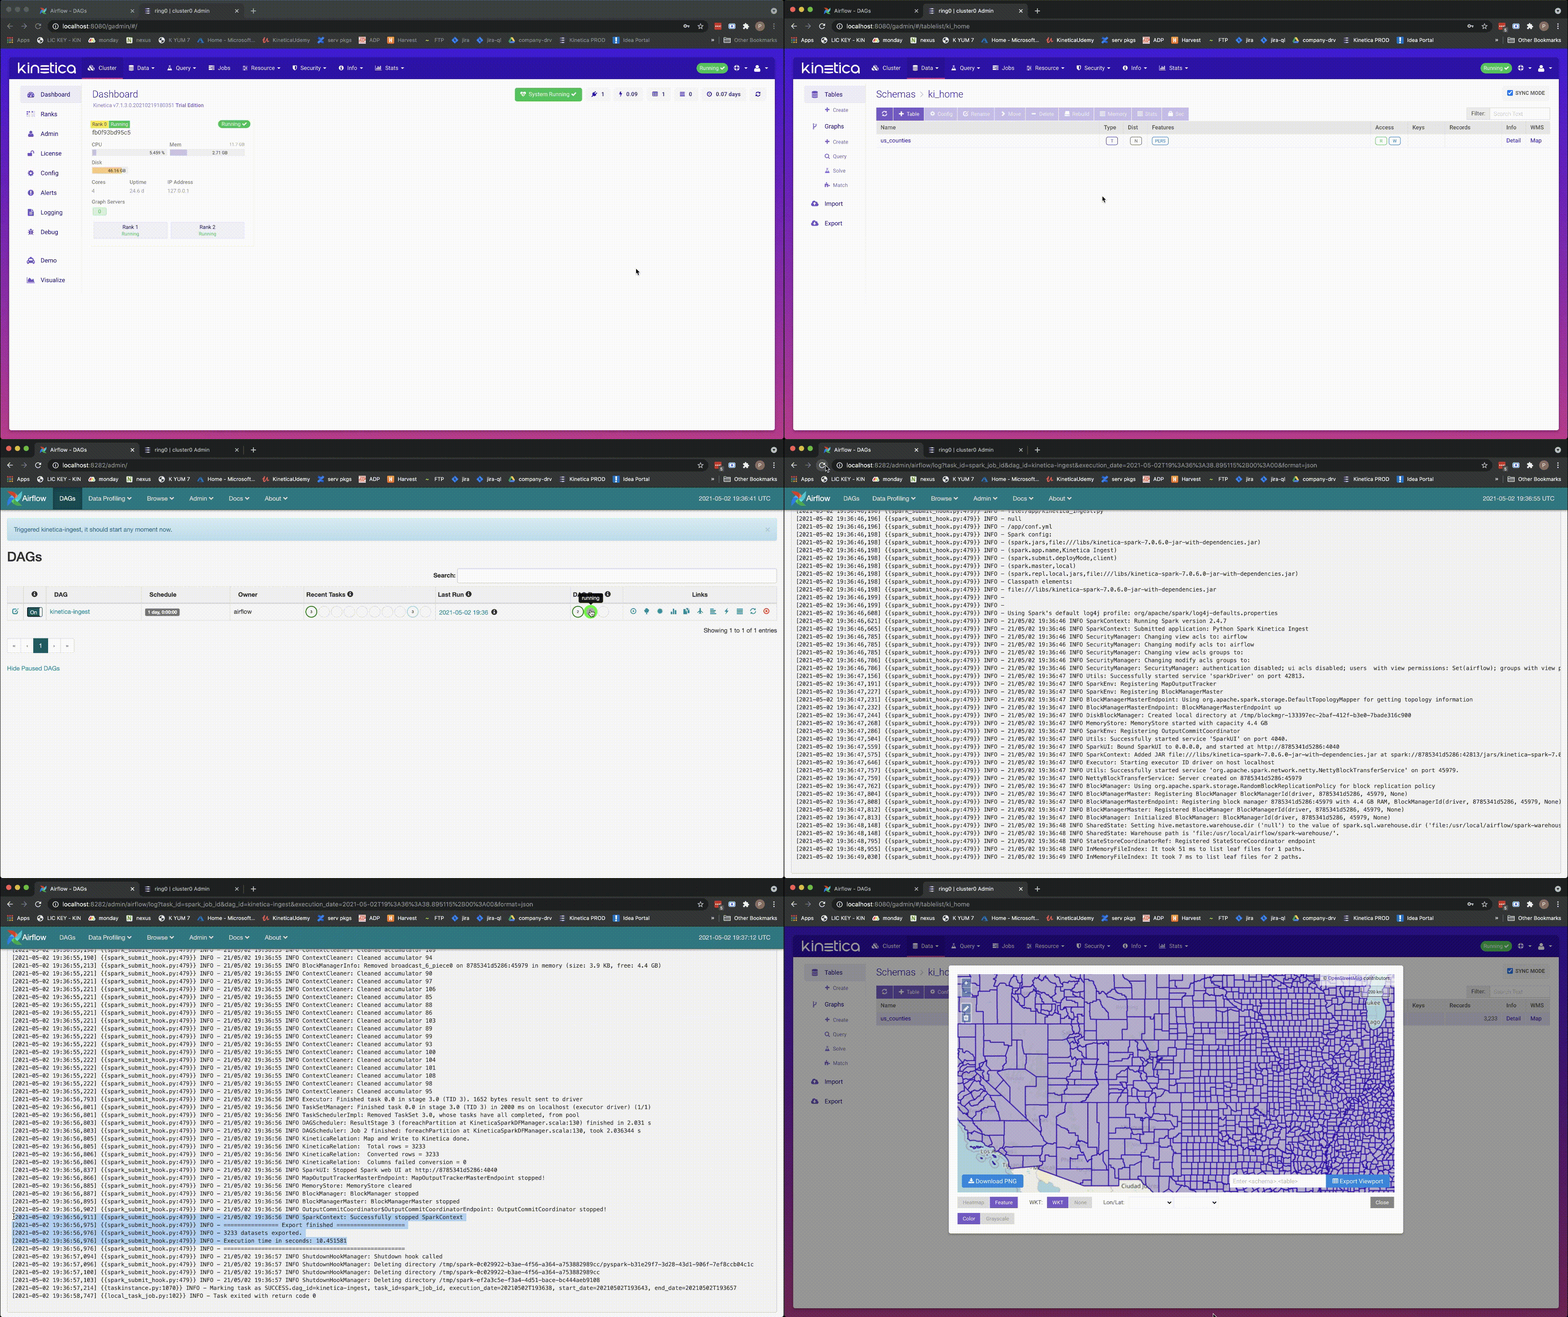
See video below on how to run the Kinetica ingest job from airflow UI.
The dag file holds the high level configuration of the job: kinetica_ingest_dag.py under dags folder. See more on scheduling jobs (for example, how to run a job every night at 8PM). check here
Take a look at the kinetica_ingest.py file under spark/app. This file reads the CSV file using the following line:
df = spark.read.format("csv").option("header", "true").load(appOpts.get('input_dir'))Once the data is loaded into a Spark data frame it can be written to Kinetica using the following line:
df.write.format("com.kinetica.spark").options(**kineticaIngest).save()The write method uses the Kinetica Spark connector to write the dataframe to Kinetica. This connector handles all the mapping and Kinetica specific ingest details. See Kinetica Spark Connector for more details.
Take a look at the configuration for the job at spark/app/conf.py. Notice the section kineticaIngest, here is where Kinetica connection information is configured.
If an Airflow job fails - click the red failed job circle in Airflow UI and clear task to retry/rerun job.


