NodeMCU script to control NeoPixel ws2812b led strips.
Control colors, brightness and some effects with HTTP or MQTT calls.
Alexa control in the video is not part of this description. The http server gets initialzed on port 5001, this can be changed in the code.
You should change the following variables to your needs:
- wifi_ssid
- wifi_password
- mqtt_server
- mqtt_user
- mqtt_password
- OTA_hostname
- OTA_password
- PixelCount
The MQTT version uses 3 topics:
home/ledcontroller/ -> you will receive status changes on this topic
home/ledcontroller/set -> control effects, brightness, animation, color on this topic
home/ledcontroller/log -> receive log messages and errors on this topic
Set animation FUN:
{"animation":"fun"}
Possible values: off, beam, fun, cylon, pulse, fire, aqua
Set brightness (0-100):
{"brightness":20}
Set static color with predefined color values:
{"animation":"colorred"}
{"animation":"colorblue"}
{"animation":"colorgreen"}
{"animation":"colorwhite"}
{"animation":"colorblack"}
Set static color with RGB values:
{"animation":"color","color":{"r":200,"g":200,"b":10}}
Set all at once:
{"animation":"color","brightness":34,"color":{"r":200,"g":200,"b":10}}
Note: color values only get considered when animation=color is selected
During startup and in case an effect changes the controller sends a status message to the MQTT topic. The status in a JSON message and looks like the following. The "uptime" value are the milliseconds since the controller was started, "uptimeH" are the hours since it was started. The "brightness" value is the percent value between 0 and 100, brightnessraw is the actual set value between 0 and 255{
"uptime":143248,
"uptimeH":0,
"animation":"fun",
"brightness":34,
"brightnessraw":86,
"color":{
"r":9,
"g":49,
"b":9
}
}
String  Light_L_Digiledstrip_Anim       "Current Animation [%s]"          {mqtt="<[openhab2:home/ledcontroller:state:JSONPATH($.animation)]"}
String  Light_L_Digiledstrip_Bright     "Brightness [%s]"                 {mqtt="<[openhab2:home/ledcontroller:state:JSONPATH($.brightness)]"}
String  Light_L_Digiledstrip_Uptime     "Uptime [%s h]"                   {mqtt="<[openhab2:home/ledcontroller:state:JSONPATH($.uptimeH)]"}
Color   Light_L_Digiledstrip_Color      "Color"
String  Light_L_Digiledstrip            "LED Animation"                 { mqtt=">[openhab2:home/ledcontroller/set:command:*:{animation\:${command}}]" }
Frame label="LED Light" icon="light" {
  Selection item=Light_L_Digiledstrip mappings=[off="off", colorblue="Movie", beam="Beam", fun="Party", cylon="Cylon", pulse="Pulse", fire="Fire", aqua="Aqua"]
  Colorpicker item=Light_L_Digiledstrip_Color
  Slider item=Light_L_Digiledstrip_Bright
  Text item=Light_L_Digiledstrip_Uptime
}
import java.awt.Colorrule "LED controller Brightness" when Item Light_L_Digiledstrip_Bright received command then logInfo( "FILE", "RULE: LED controller Brightness triggered") publish("openhab2","home/ledcontroller/set","{brightness:" + Light_L_Digiledstrip_Bright.state + "}") end
rule "LED controller Color" when Item Light_L_Digiledstrip_Color received command then logInfo( "FILE", "RULE: LED controller Color triggered") var hsbValue = Light_L_Digiledstrip_Color.state as HSBType var Color color = Color::getHSBColor(hsbValue.hue.floatValue / 360, hsbValue.saturation.floatValue / 100, hsbValue.brightness.floatValue / 100)
var String redValue = String.format("%03d", ((color.red.floatValue / 2.55).intValue)) var String greenValue = String.format("%03d", ((color.green.floatValue / 2.55).intValue)) var String blueValue = String.format("%03d", ((color.blue.floatValue / 2.55).intValue)) logInfo("FILE", "RED: "+ redValue + " GREEN: "+ greenValue + " BLUE: "+ blueValue + "")
publish("openhab2","home/ledcontroller/set","{animation:color,color:{r:" + redValue + ",g:" + greenValue + ",b:" + blueValue + "}}") end
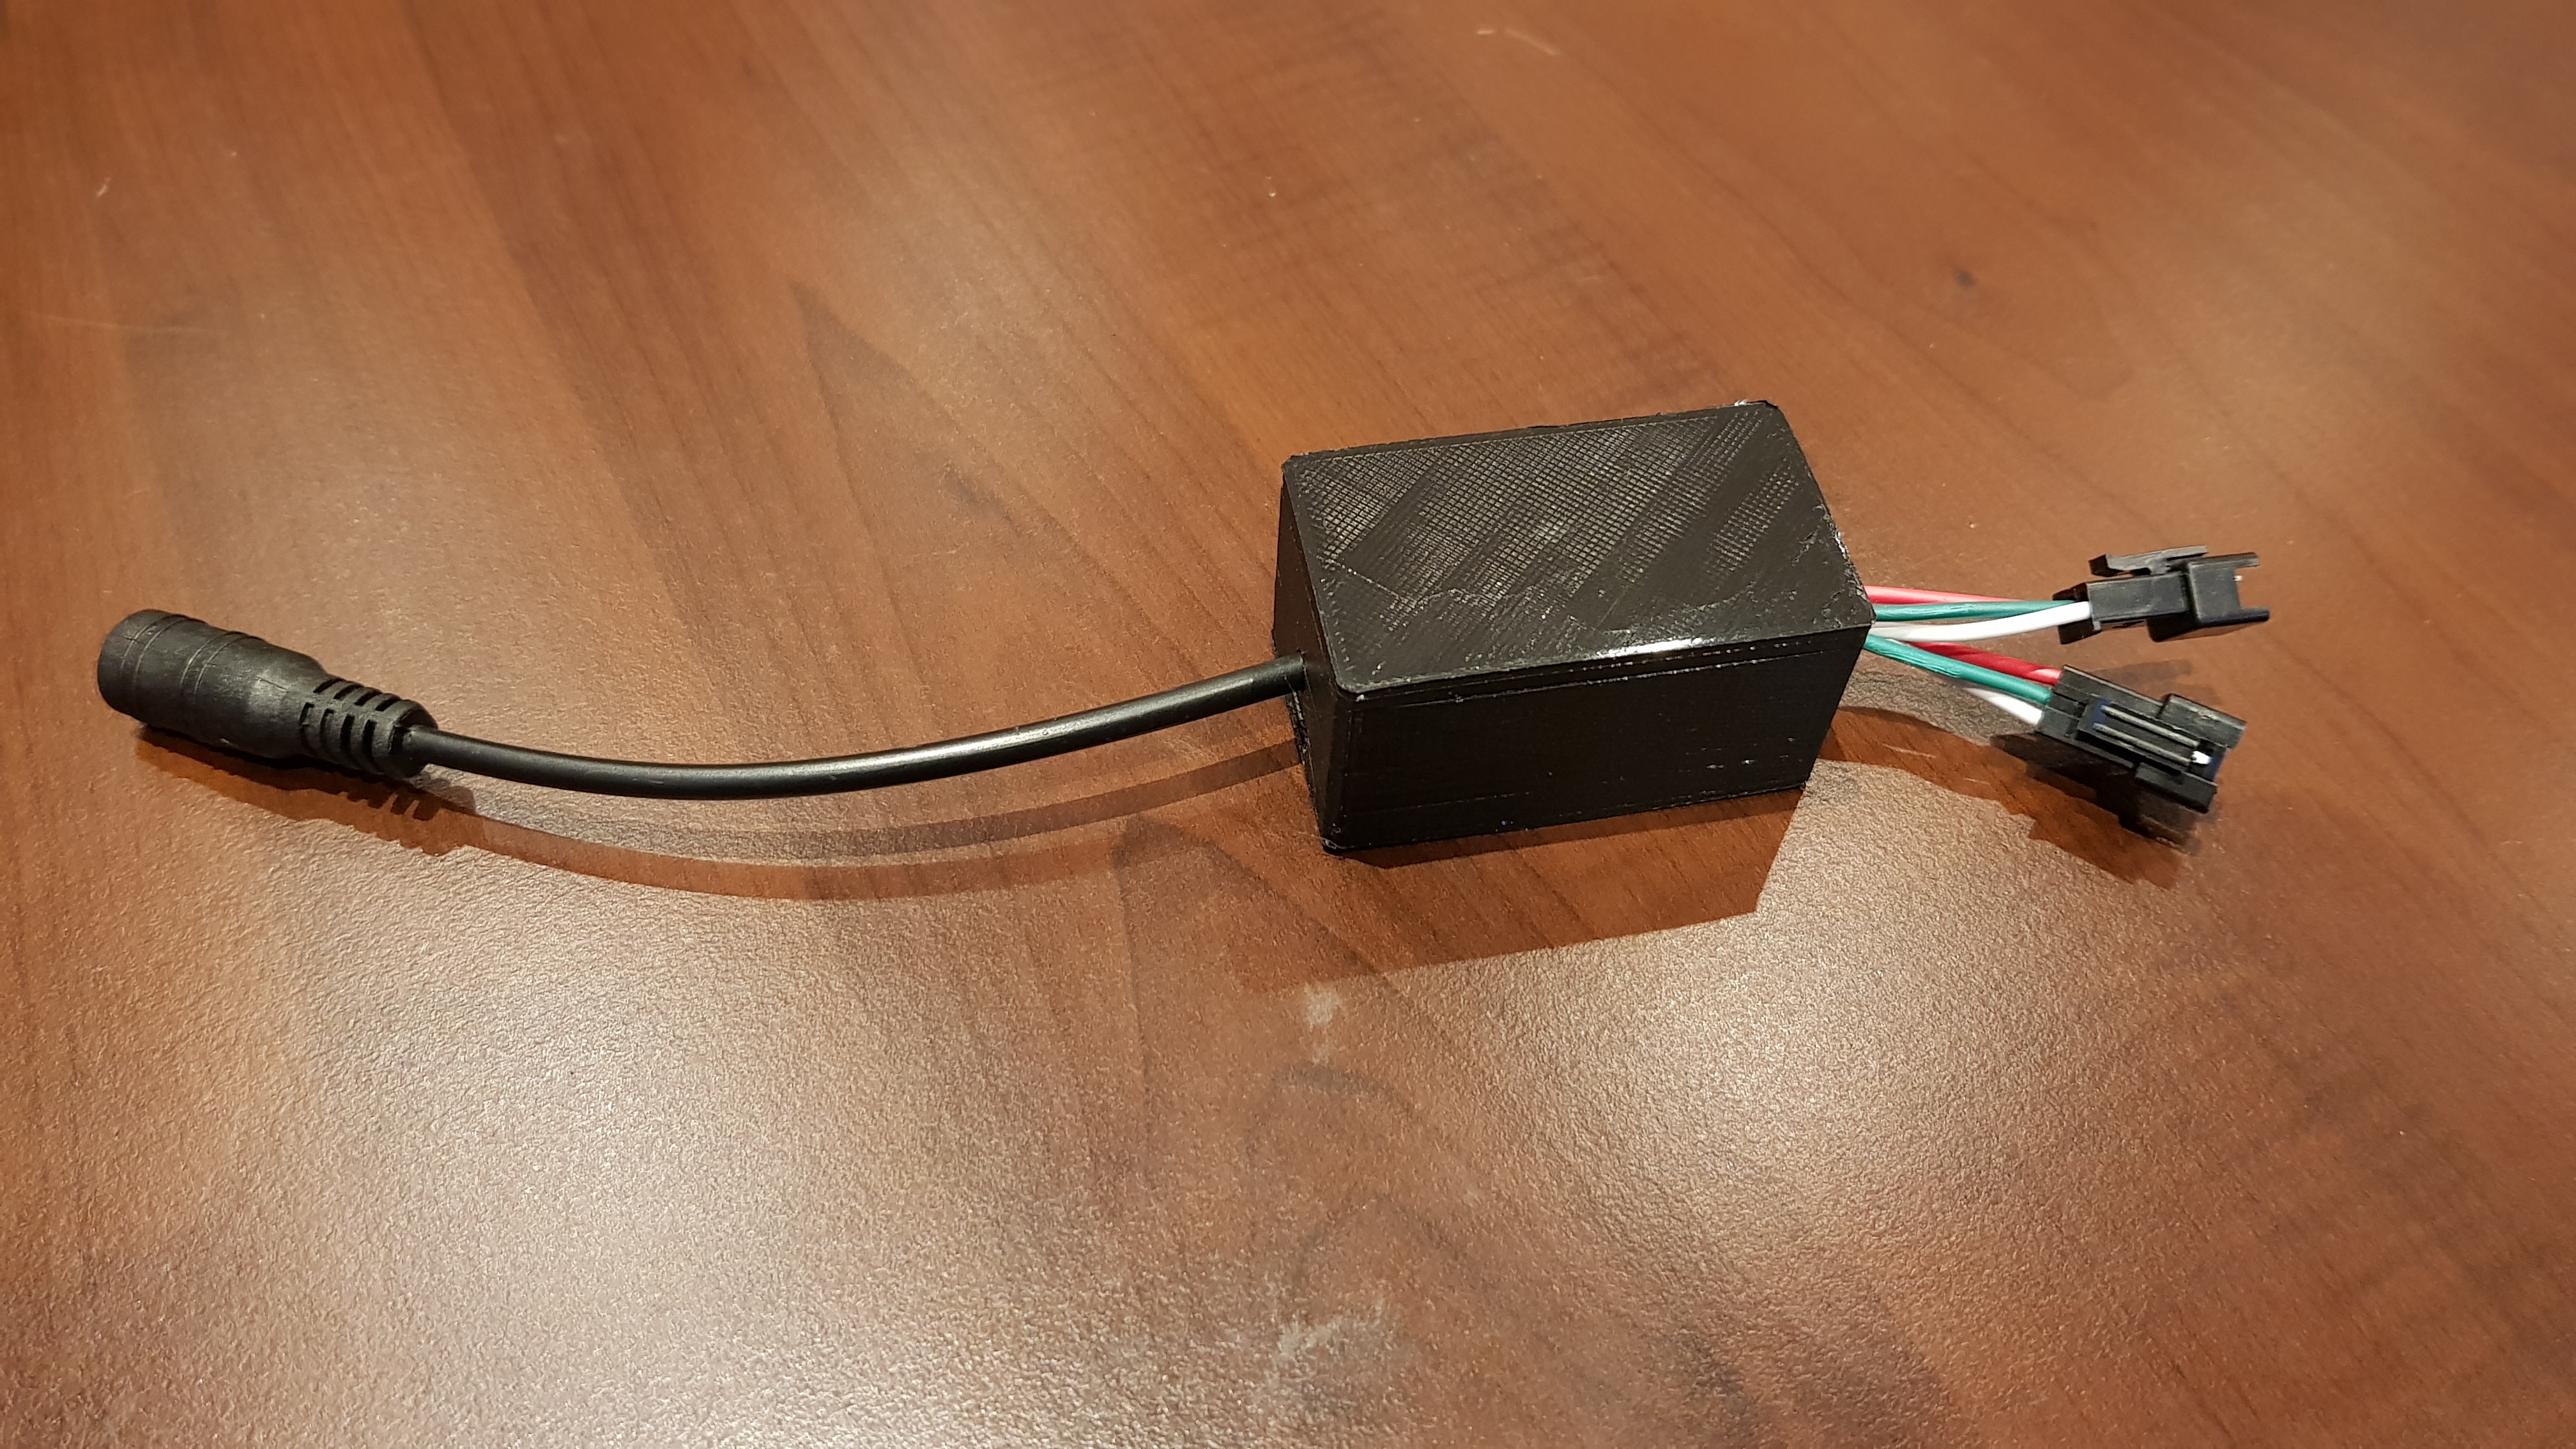
See included STL file for a case for the Node MCU V2 (small version)
http://[ip]:5001/control?animationid=fun
http://[ip]:5001/control?animationid=beam
http://[ip]:5001/control?animationid=fire
http://[ip]:5001/control?animationid=aqua
http://[ip]:5001/control?animationid=pulse
http://[ip]:5001/control?animationid=cylon
http://[ip]:5001/control?animationid=colorred http://[ip]:5001/control?animationid=colorblue http://[ip]:5001/control?animationid=colorgreen http://[ip]:5001/control?animationid=colorblack http://[ip]:5001/control?animationid=colorwhiteYou can add an RGB color code (9 digits) at the end of the color command to set a custom color
http://[ip]:5001/control?animationid=color255255255Value is a percent value between 0 and 100)
http://[ip]:5001/control?brightness=20
http://[ip]:5001/control?animationid=off
http://[ip]:5001/control?status
The returned message is the same as in the MQTT version
Stefan Schmidhammer 2017