This tool is used to automatically connect Substance Painter textures to Maya.
Supported render engines and materials:
- Arnold - aiStandardSurface
- VRay - VrayMtl
- Renderman - PxrDisney
- Renderman - PxrSurface
- Redshift - RedshiftMaterial
- Stingray - StingrayPBS
-
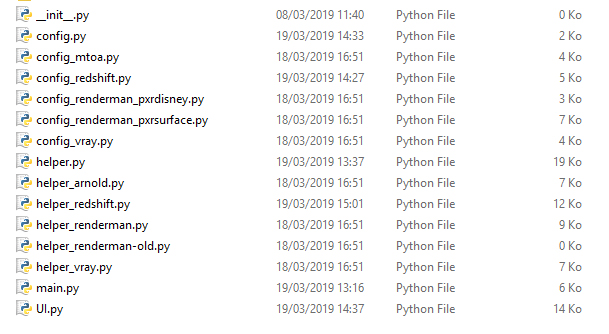
Put the SubstancePainterToMaya folder in a maya script directory
(I.e: C:\Users\user\Documents\maya\scripts on Windows)

-
Create a shelf button in Maya with the following Python command

Here the text version for copy+paste :
from SubstancePainterToMaya import main
reload(main)
main.SPtoM()
UDIM option added in the Options part of the UI.
See the UDIM part of this documentation
- Open a scene
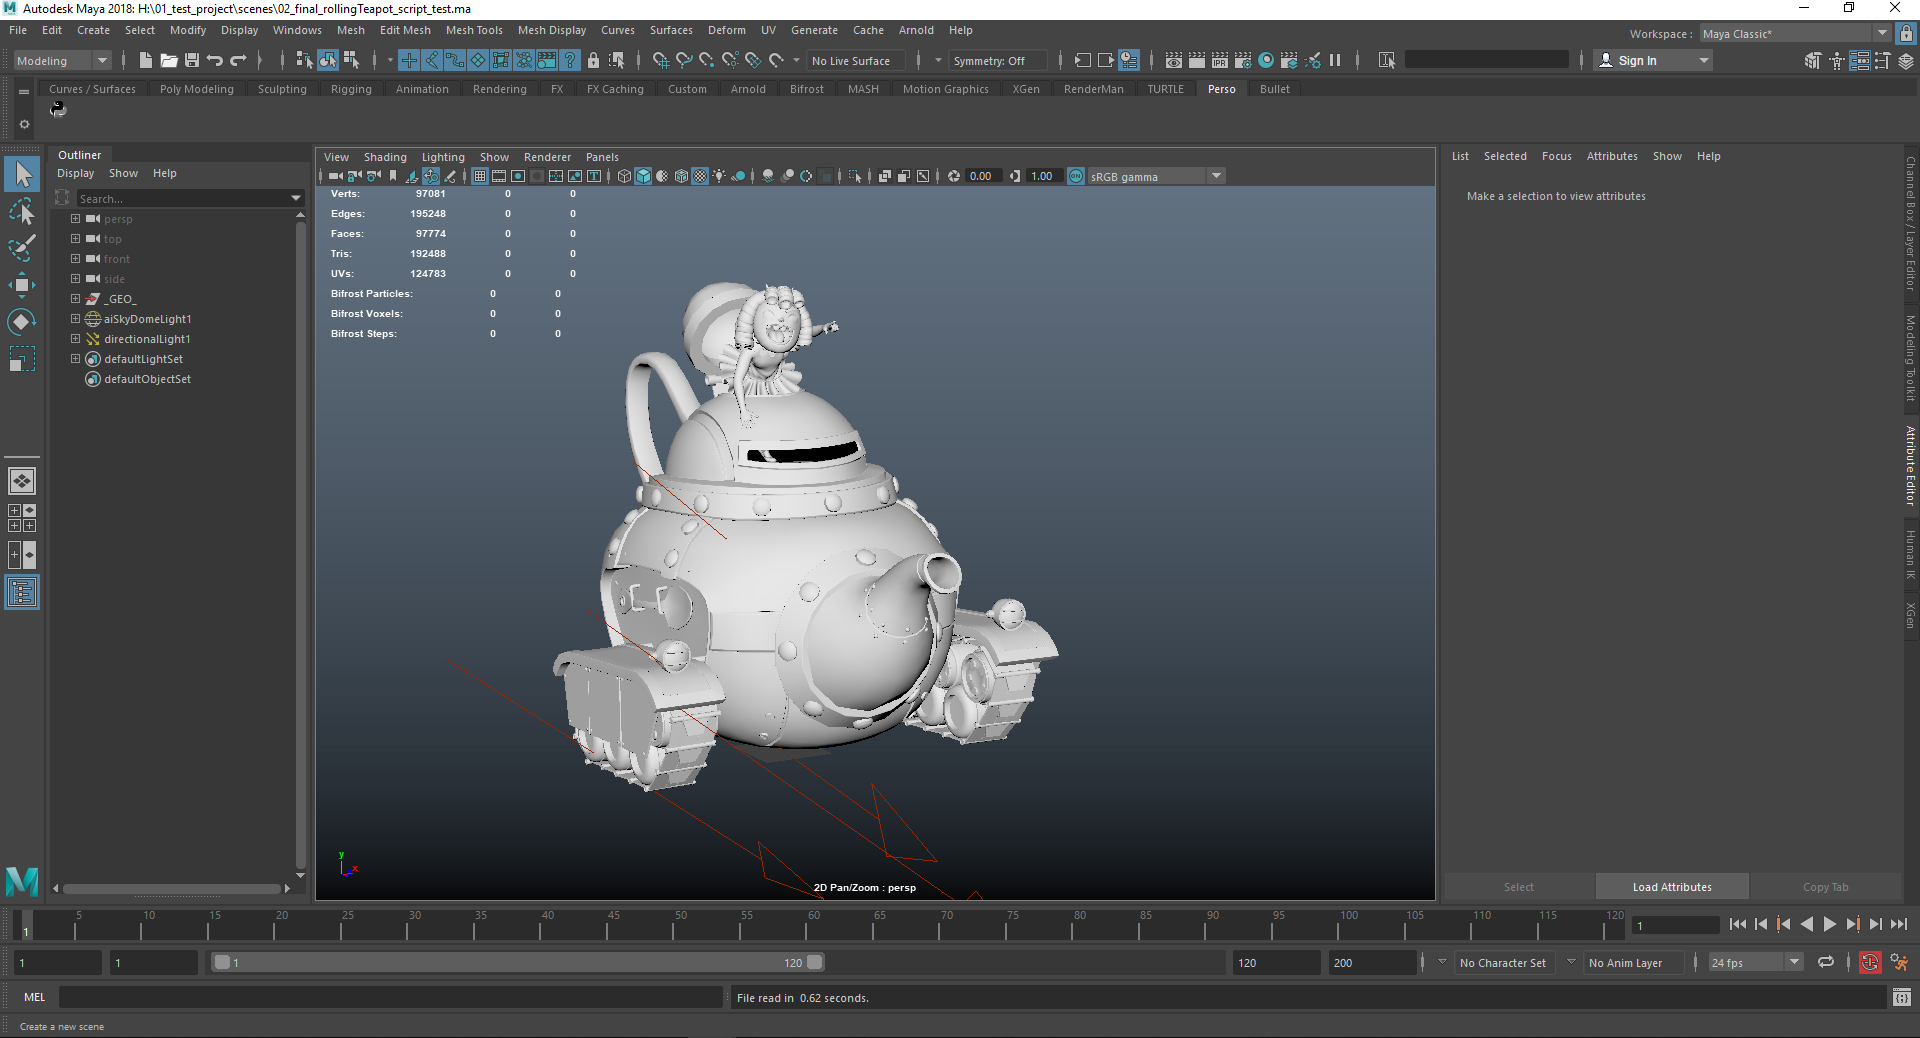
- Click on the shelf button to launch the tool
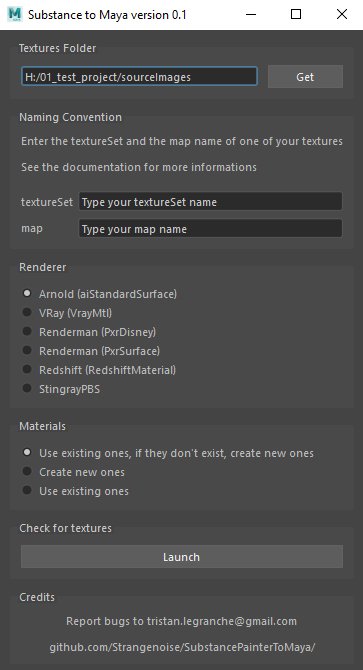
- Define the texture folder
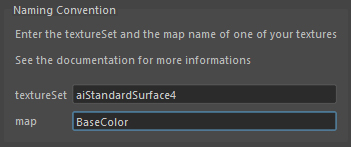
- Define the Naming Convention (more...)
- Choose the renderer
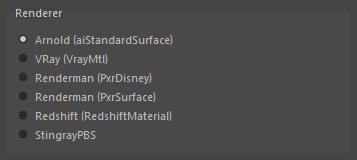
- Choose a materials option

- Click on Launch

- The maps found are listed
- Specify where to plug each found maps
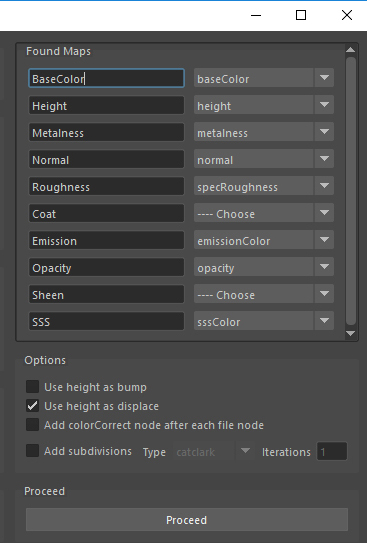
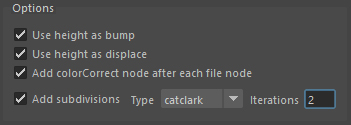
- Choose some options
- Click on Proceed

- Enjoy !
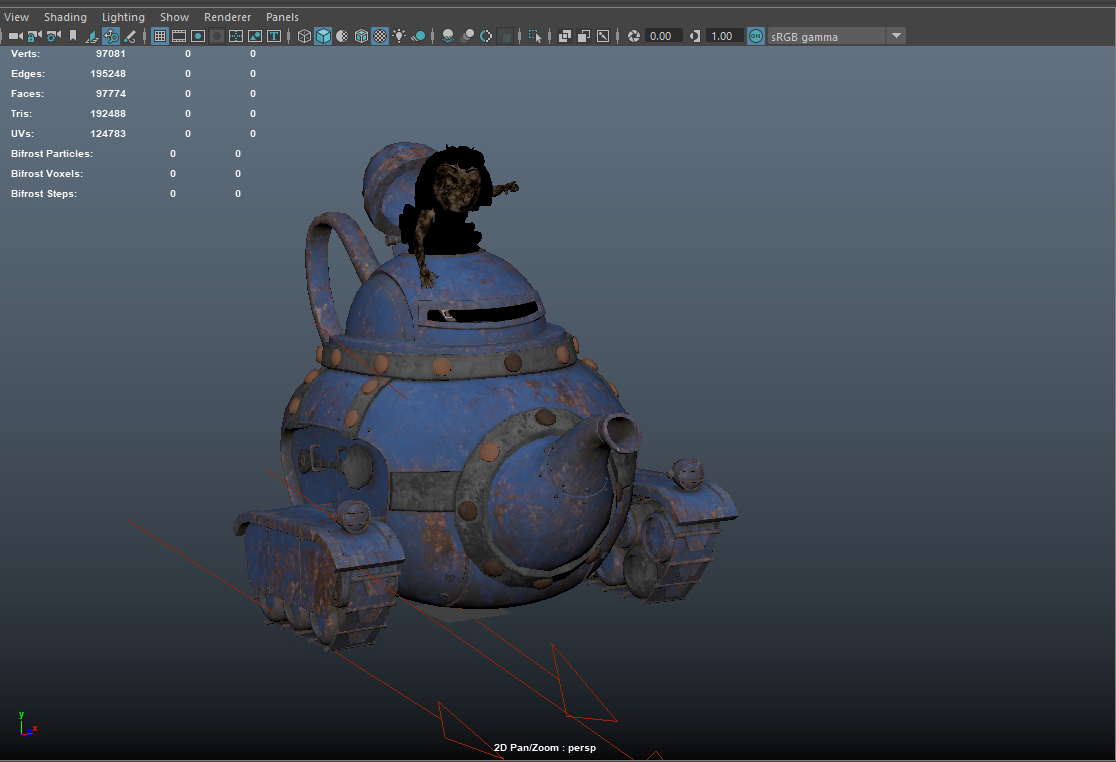
Choose the folder that contains your Substance Painter textures
Click Get to open a dialog and choose the folder
By default, the tool uses the sourceImages folder of your project
Enter the textureSet name and the map name of one of your textures.
Be careful with the lowers and the CAPITALS letters
More on the naming convention
Choose the renderer you want to use
Create new ones if they doesn't exist, instead use existing ones
If the tool find shaders named like your textures's textureSet, and if the shaders are the ones used by your renderer, the textures will be plugged in those shaders, instead, the tool will create new shaders with the name and '_shd' as suffix.
Create new ones
The tool will create new shaders and plug the textures in them and add '_shd' suffix to the found name.
Use existing ones
If the tool find shaders named like your textures's textureSet, and if the shaders are the ones used by your renderer, the textures will be plugged in those shaders, instead, nothing will append.
Click this button to search for the textures and create the second part of the UI.
Click the Re-launch button if you've changed the texture folder, the naming convention, the renderer, or after you've moved new textures in the Texture Folder and want to use that changes.
Based on your Naming Convention, the tool will create lines
On the left are the found maps, and for each name, a dropdown menu is created on it's right to let you specify in which parameter you want to plug that map.
The script automatically purpose parameters for usual maps
(I.e: baseColor, BaseColor, albedo... are related to the baseColor/diffuse parameter, but you can choose another one in the dropdown menu)
Use height as bump
If enabled, the height maps will be used as bump maps (if there's also a normalMap, both will be used)
Use height as displace
If enabled, the height maps will be used as displacement maps
Add colorCorrect node after each file node
If enabled, the tool will add a colorCorrect node after each file node
Add subdivisions
If enabled, you can add subdivisions to the meshes or materials (depending of your render engine)
Click this button to import the textures, create the nodes and connect everything
-
The textureSet name here is your FBX file name (used by Substance Painter as part of the texture name, without the .fbx extension)
-
As the script uses the textureSet as the material name, I recommand you to export your FBX to substancePainter with the name of the material instead of the name of the object.
-
This way the exported maps will have your material's name as part of their name and you can use it in the textureSet part of the script.
-
If you don't do it this way, you have two solutions:
- Let the things as they are and manually connect the new materials to your objects.
- Rename your assigned materials to be the same as your FBX file names.
- I got a mesh MyCharacter with a MyCharacterShader material on it.
- I export my mesh with UDIM as MyCharacterShader.fbx
- I do the textures in Substance Painter using the "Create a texture set per UDIM tile"
- I export my maps which are named like "MyCharacterShader_1001_BaseColor.png"
- In Maya I launch the script and use MyCharacterShader as textureSet name and BaseColor as map name
- Tadaaaaaaam everything is connected and the UDIM are automatically working.
Arnold - Step by step
VRay - Step by step
Renderman - PxrDisney - Step by step
Renderman - PxrSurface - Step by step
Redshift - Step by step
Stingray PBS - Step by step
- Add the new UI with the UDIM option to the documentation
- Choose the shader to use (I.e: aiStandardHair, aiStandardVolume...)
- Don't create nodes if they're not needed
Created by Tristan Le Granche
Send bugs report to tristan.legranche@gmail.com
