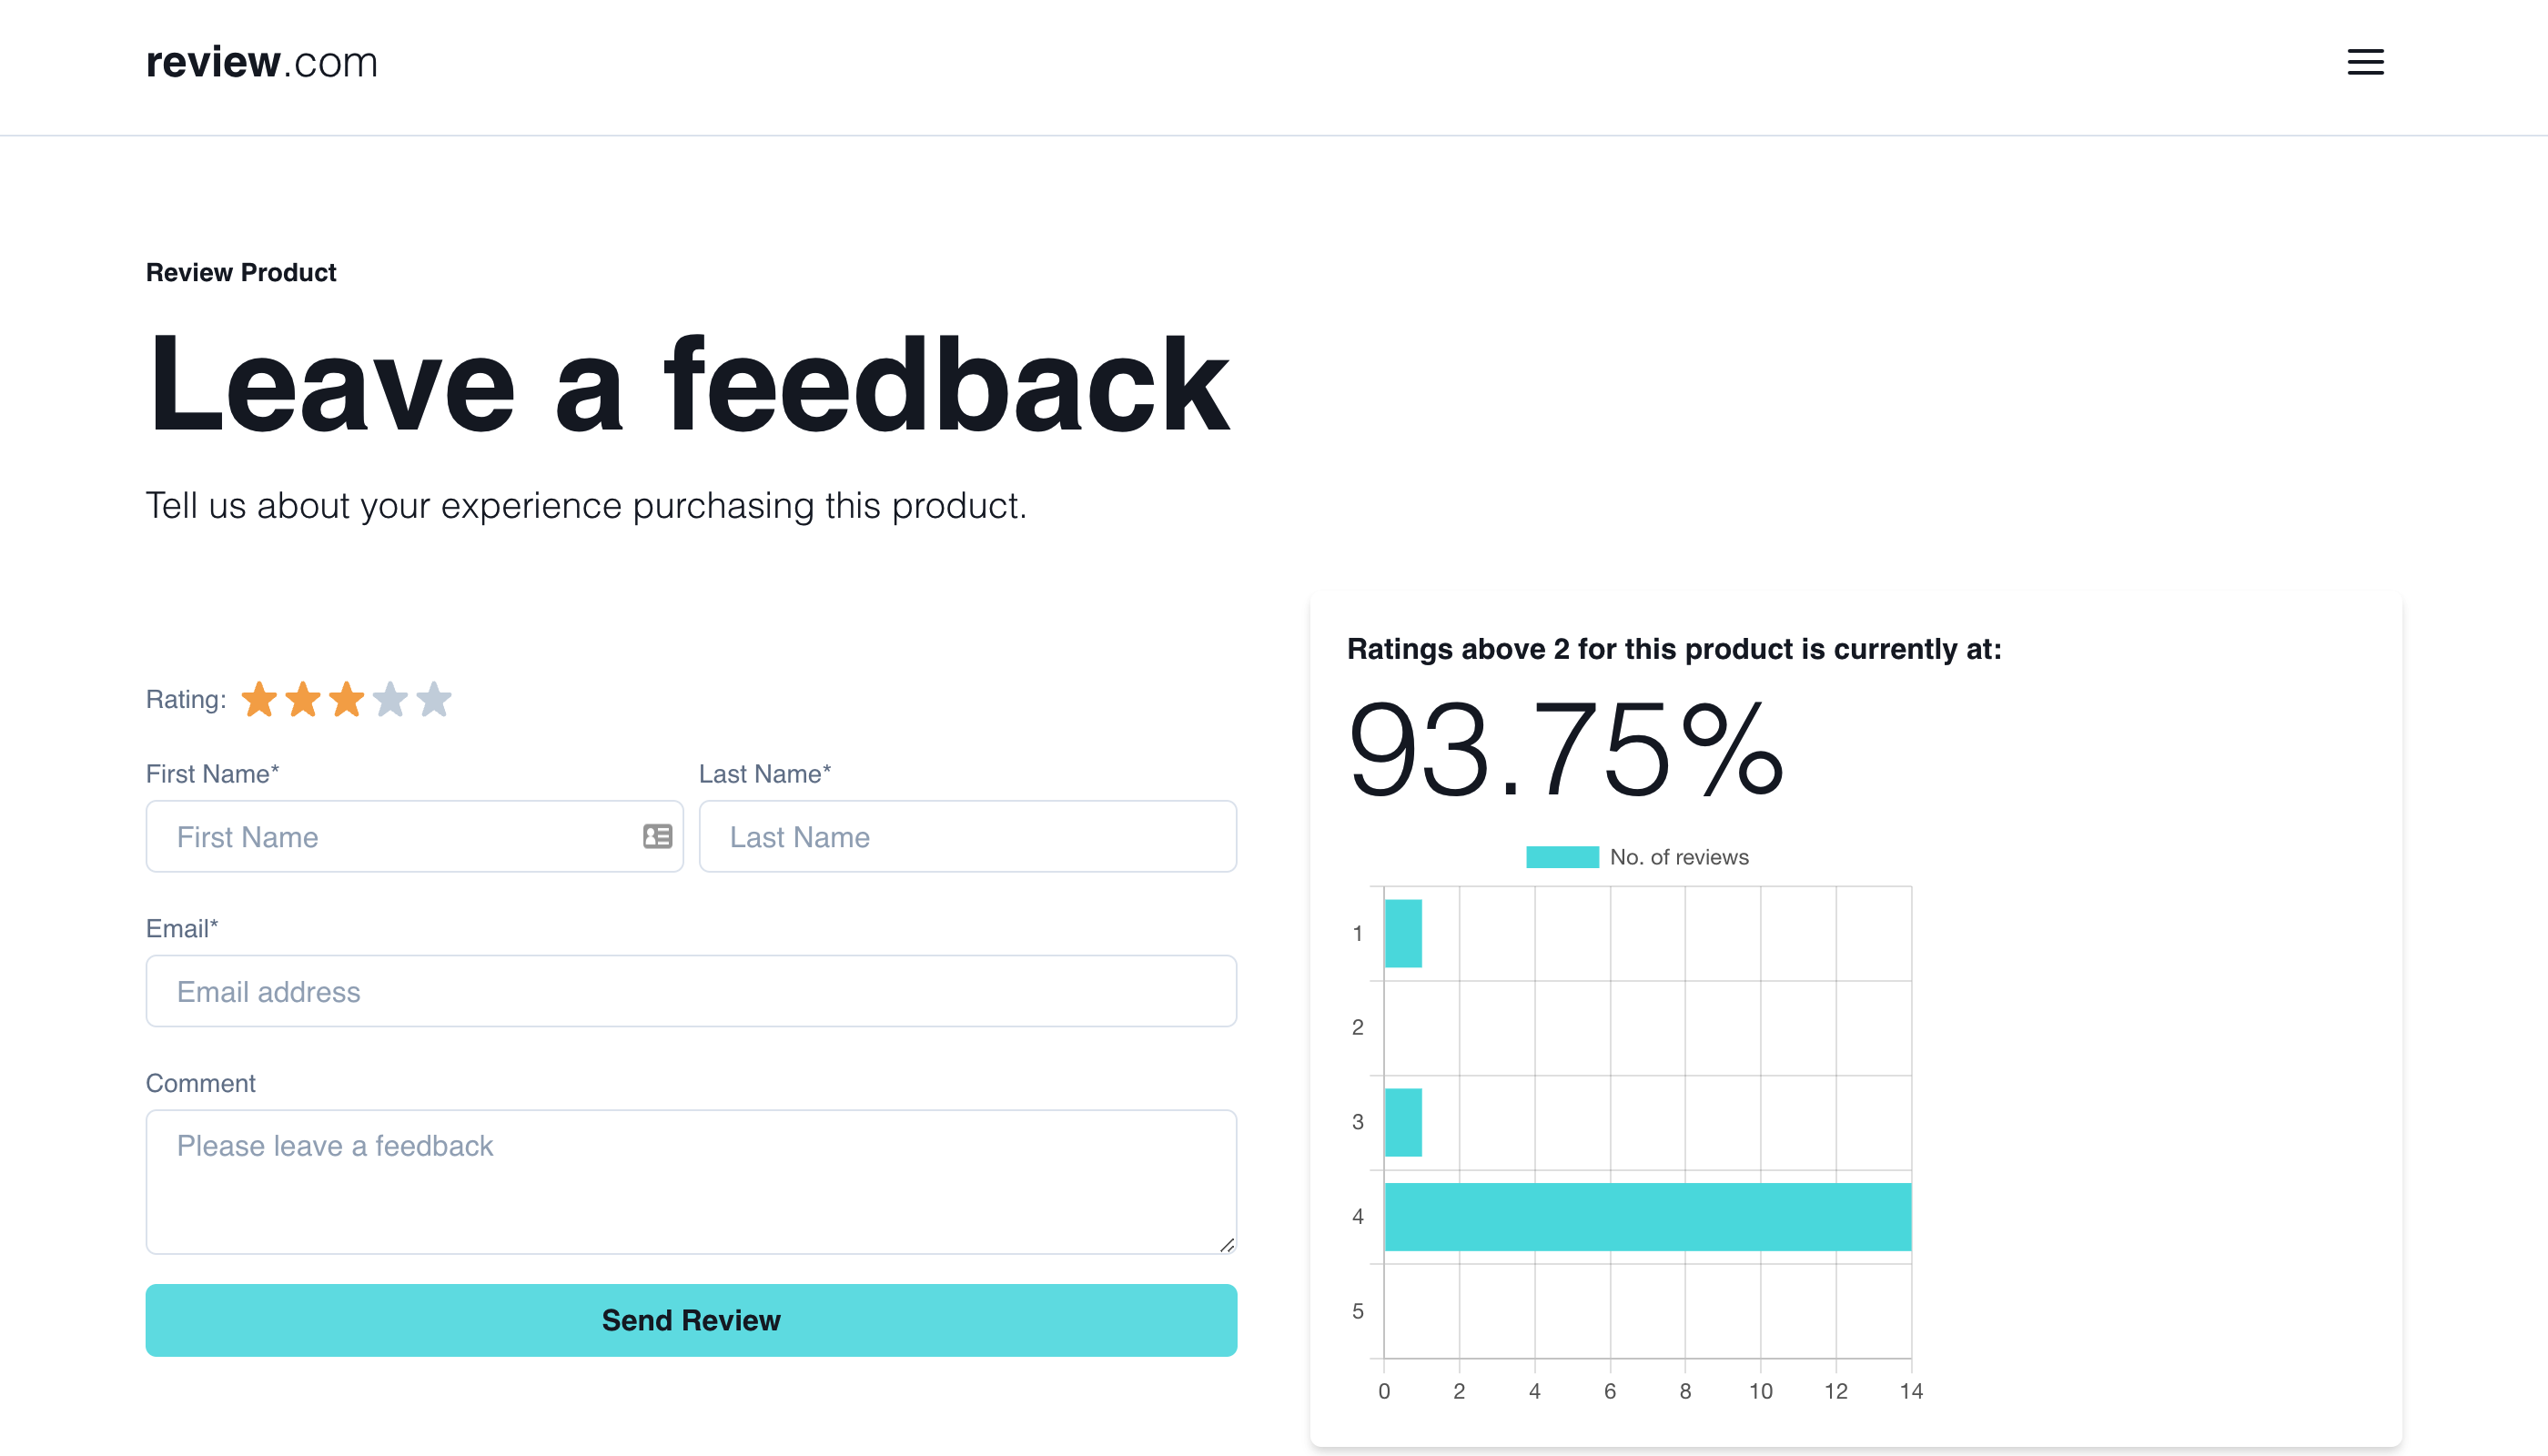
A customer review demo application to collect product reviews after a successful purchase with an OpenAI GPT-3 analytics page to analyze natural language reviews.
- View all comments/feedback/reviews from customers on a product.
- Customer can create feedback by entering their name, email, rating and comment
- Display product performance based on the reviews by showing a graphical preview in a chart format and the percentage of reviews above 2.
- Paginate records for reviews.
- Application logging with tools like Sentry and Hotjar
- Husky for running pre-commit tests before pushing code to SCM's like GitHub
This applicaiton is currently deployed on vercel, a demo preview can be seen on this Preview Link
Below are the main tools and technologies used in this project:
- NextJS - UI Framework
- ReactJS - Frontend UI library
- Cypress - E2E, integration and unit tests
- ChakraUI - Design system, theming and accessibility
- ESLint - Linting
- TypeScript - Type checking
- Formik - Form validation
- Axios - HTTP requests
- Chart.js - Data representation package (e.g. Charts, graph)
- Mongoose - NoSQL Database
- Google Analytics - Metrics and usage
- CircleCI - Continous Integration
- Docker - Containerisation
-
- Create a
.envfile at the root directory of the project - Copy the content of the
.env.examplefile onto it - Update the values as required. e.g.
API_URL=http://localhost:3000/api
- Create a
-
Before proceeding with this section, kindly ensure that your terminal window is open on the root directory of the project, you can use the below helper commands to check/confirm:
cdcommand to change directory e.g.cd path/to/projectpwdcommand to check your "print working directory"lscommand to show the content of your current directory
By default the
devscript runs on port3000, if you have another application making use of that port on your machine, you can either terminate that process/application or use the--portflag where necessary to change the running port, kindly remember to update any relative script found on the project e.g. thepackage.jsonandDockerfile.
- Create Azure OpenAI tenant step by step
- Deploy the model
text-davinci-003
# Step 1: Install dependencies
$ npm install

# Step 2: Run Nextjs and cypress in interactive mode concurrently
$ npm run developOther commands can be found on the package.json file in the root directory of the project.
Please note that you need to have run the cypress tests at least once before a report can be generated which would be located here:
coverage/lcov-report/index.html, you can directly open it by navigating to the folder or via your terminal with the below command:
$ open coverage/lcov-report/index.htmlBefore proceeding with the below command, ensure Docker is installed and running on your machine.
# Runs Nextjs within a docker container
$ docker-compose upThis is a demo project for proof of concept only.
