The commentera api exposes their customers to create communities, where many users could comment on articles, created by customers as the community owners.
You'll need to complete a few installation steps to run the API.
The Commentera API is a Python application, so you'll need a working Python environment to run it.
The API currently requires Python 3.11+.
It's recommended to create and activate a virtual environment before installing dependencies.
Python offers a built-in method for installing lightweight virtual environments, the venv module. To create a virtual environment with this command:
$ python3 -m <path to virtual environment>After you've created your new virtual environment, you'll need to activate it in order to ensure subsequent commands use it instead of your system's default Python environment.
$ source .venv/bin/activateAfter you've created your virtual environment, you'll want to ensure that the correct dependencies are installed.
Run the pip command below to instead dependencies
$ pip install -r requirements.txtTo configure git to use the API's configured pre-commit hooks (defined in .pre-commit-config.yaml).
$ python3 -m pip install pre-commit

$ pre-commit installWhile you can easily perform some tasks (like testing) in a local virtual environment, it is recommended to set up Docker. You can find instructions to install Docker here.
Docker Compose is a tool for orchestrating Docker containers. If you have installed Docker Desktop, you already have Docker Compose installed. However, if you need to separately install Docker Compose, you can find instructions for installing it here.
If you've never built the API container before (and therefore don't have any build caches in place). Before running the command below.
$ docker-compose build
$ docker-compose up- Install Required Packages
Install dependencies using the command given above
- Create A Database
In order to perform migrations and run the app, you'll need to create a database.
you should create a database called commentera
To do this, you can use the Postico app or any other Postgresql client of your choice.
- Copy
.env& set correct values
The easiest way to set all environment variables needed for the API is to copy from sample:
$ cp .env_sample .env
The most important thing is to set DATABASE_URL. DATABASE_URL is mandatory and must be set to successfully run the API.
- Copy
alembic.ini& check sqlalchemy.url
In order for alembic to successfully run migrations, you'll need to update the sqlalchemy.url line in alembic.ini. An example of alembic.ini has been provided at alembic.ini.example. If you haven't already added your own version of this file, run the following command:
$ cp alembic.ini.example alembic.ini
Then, open alembic.ini in your editor of choice and ensure sqlalchemy.url line is EMPTY. It should look like this:
sqlalchemy.url =
- Run Database Migrations
To create the database tables required by this app, the alembic library is provided. It has already been initialized, and if you have updated the alembic.ini file as specified above, you should be able to perform the latest database migrations by simply running:
$ alembic upgrade head
Please keep in mind that these migrations may remove all data from the database and set everything up from zero, so this particular command should never be used in a production environment or in any scenario where you wish for data to persist.
- Run Application
To run the application, run the following:
$ python main.pyNOTE: make sure you have your radis server running, by running the command below:
$ redis-server- Seeding the database
Run the command below to seed the database:
$ python seed_database.pyYou can test by running the command. Make you have your database set-up before running the command below.
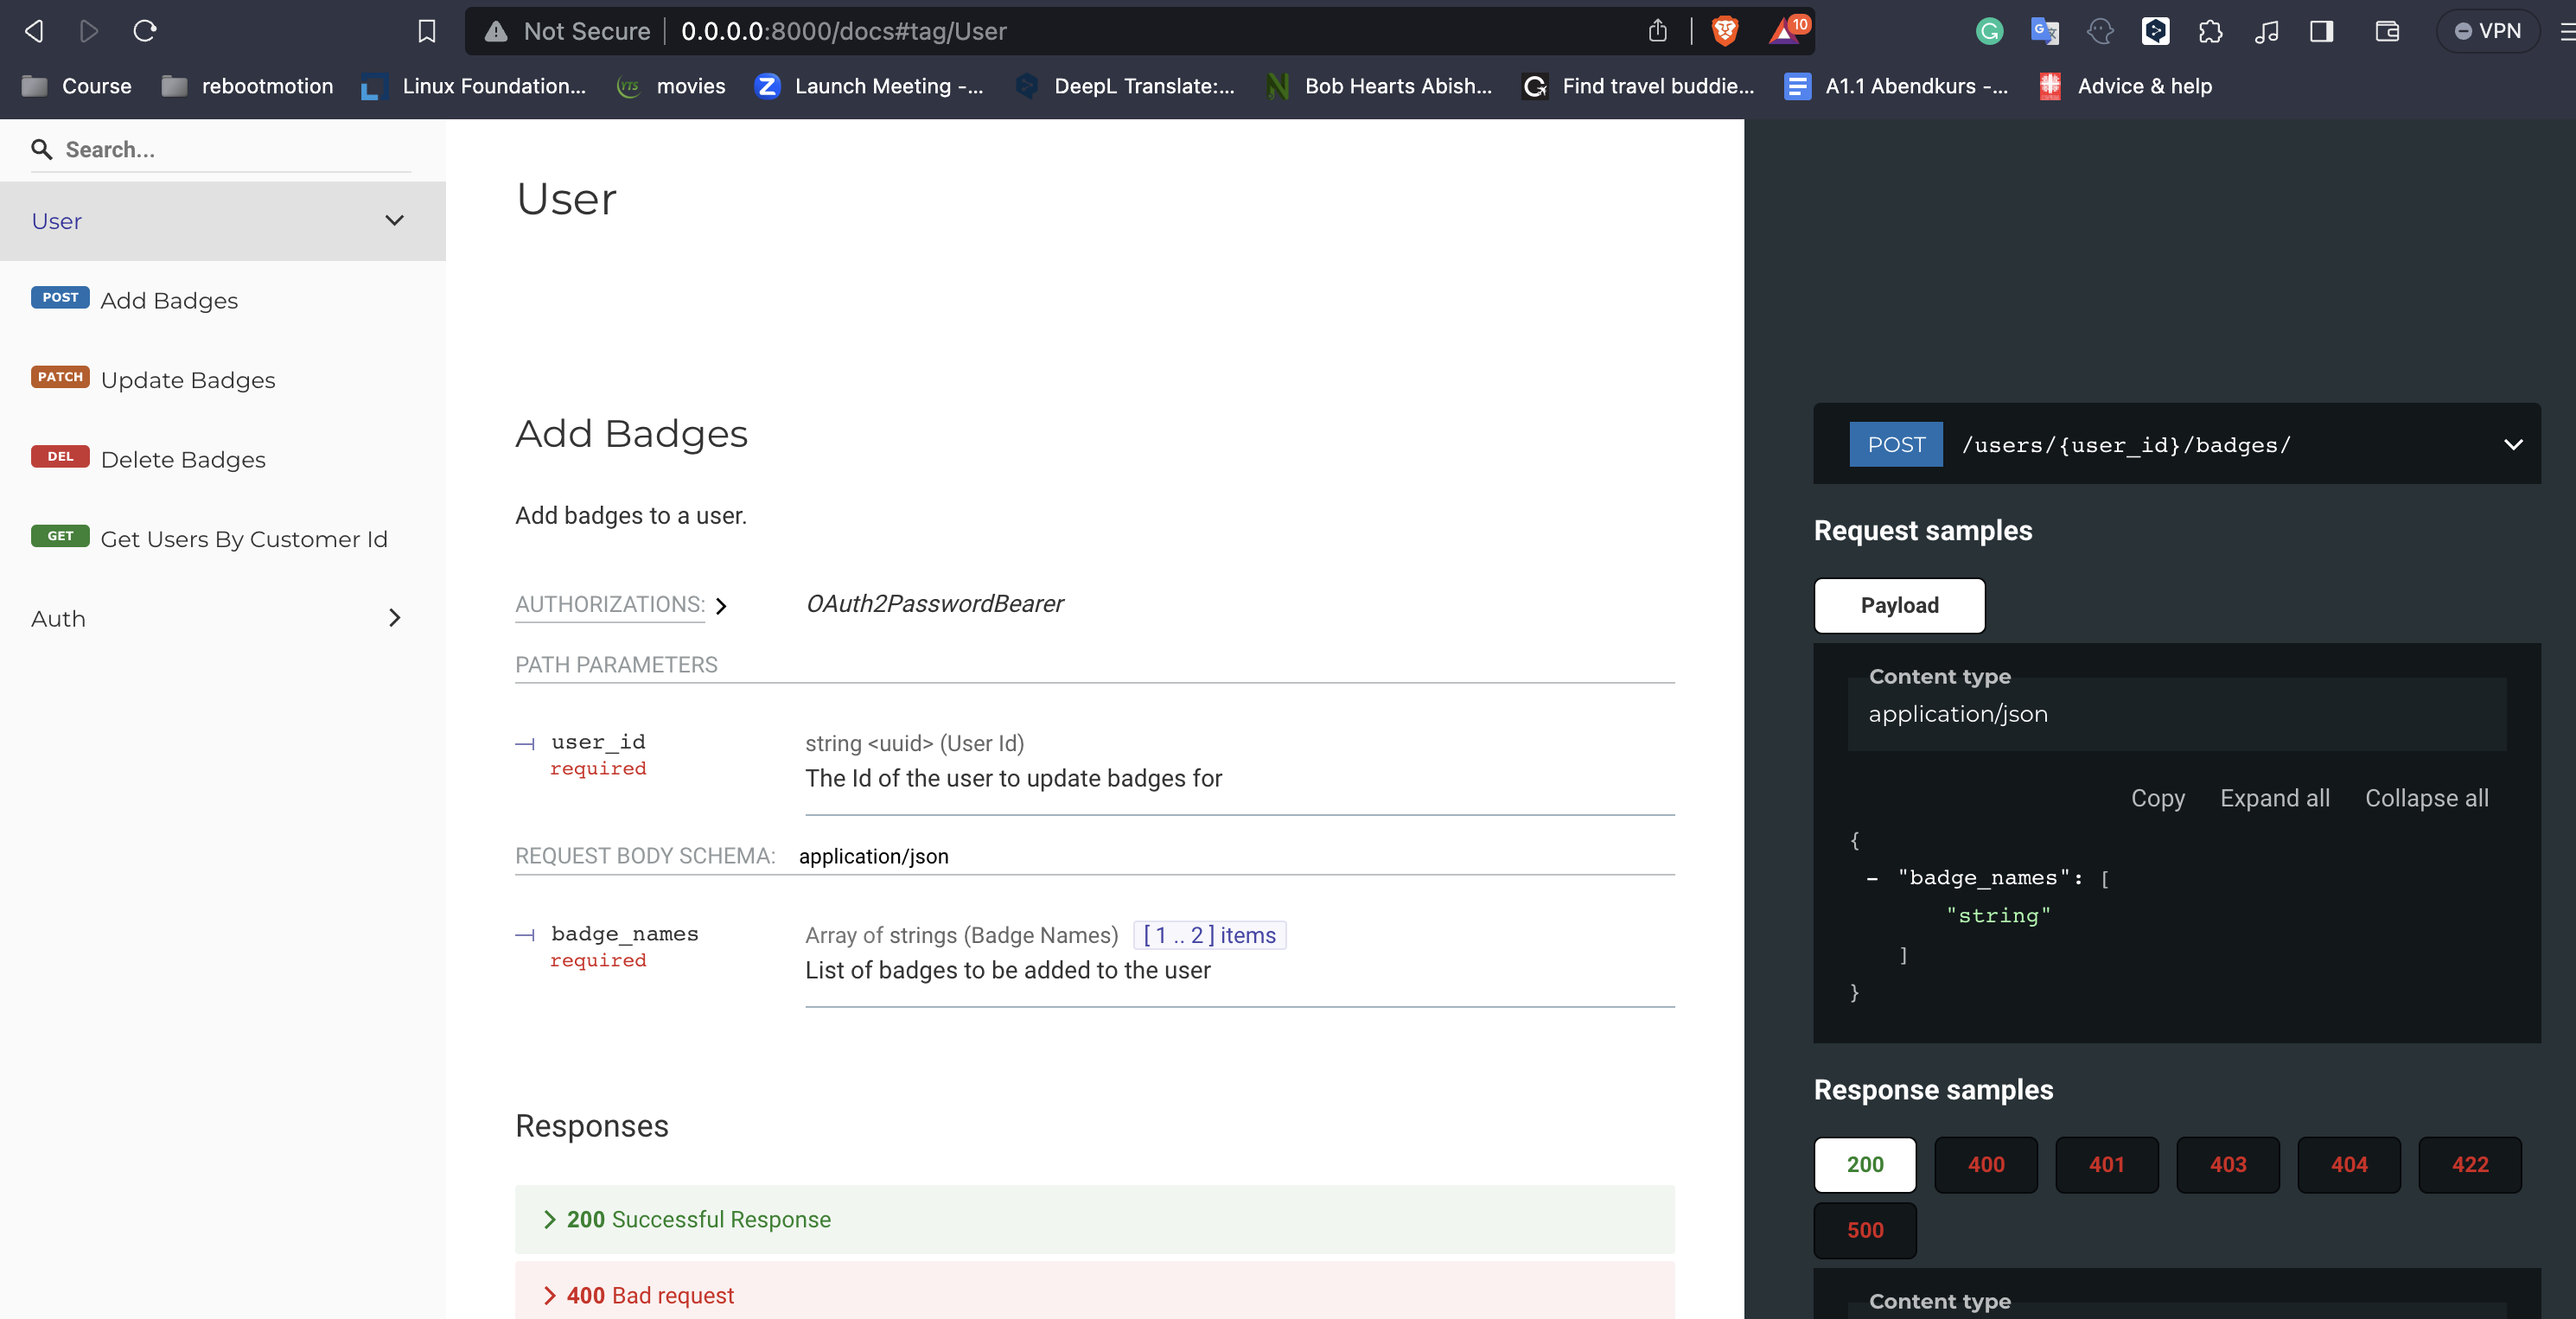
$ pytestOnce the application is running, you can view the API documentation by opening http://0.0.0.0:8000/docs in the web browser of your choice.
After running the command to seed the database, you use a sample customer alias from the csv and get a token to test the api (The API uses bearer token for authentication). Use the generate_token endpoint. Here is a sample payload.
{
  "customer_alias": "bbg",
}
You can get sample user IDs accessing the users/by_customer endpoint. This is a protected endpoint, so don't forget to use the token generated above to access it.
    curl --location 'http://0.0.0.0:8000/users/by_customer' \
--header 'Authorization: Bearer <replace this with token>'

