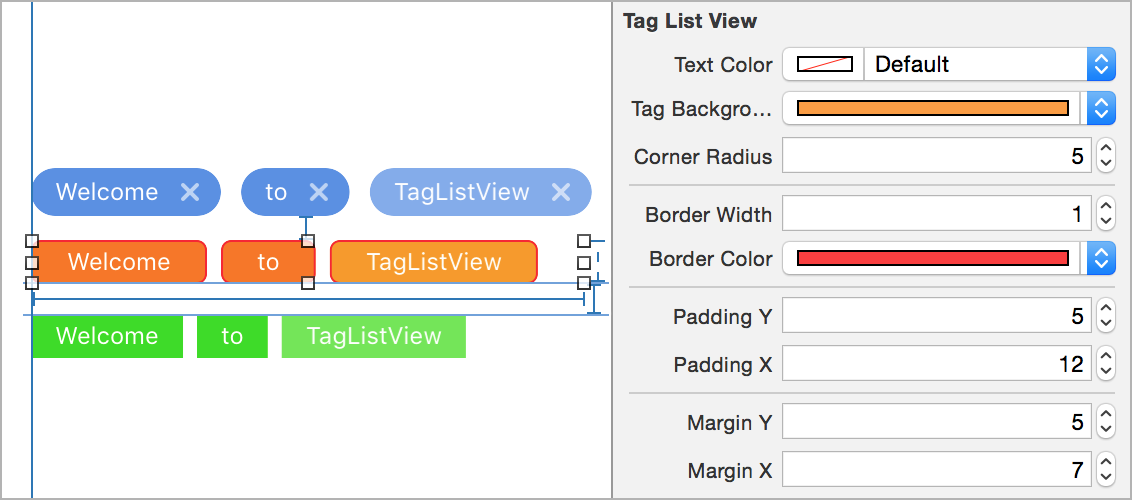
Simple and highly customizable iOS tag list view, in Swift.
Supports Storyboard, Auto Layout, and @IBDesignable.
The most convenient way is to use Storyboard. Drag a view to Storyboard and set Class to TagListView (if you use CocoaPods, also set Module to TagListView). Then you can play with the attributes in the right pane, and see the preview in real time thanks to @IBDesignable.
You can add tag to the tag list view, or set custom font and alignment through code:
tagListView.textFont = UIFont.systemFont(ofSize: 24)
tagListView.alignment = .center // possible values are .left, .center, and .right

tagListView.addTag("TagListView")
tagListView.addTags(["Add", "two", "tags"])

tagListView.insertTag("This should be the second tag", at: 1)

tagListView.setTitle("New Title", at: 6) // to replace the title a tag

tagListView.removeTag("meow") // all tags with title “meow” will be removed
tagListView.removeAllTags()
You can implement TagListViewDelegate to receive tag pressed event:
// ...
{
    // ...
    tagListView.delegate = self
    // ...
}

func tagPressed(title: String, tagView: TagView, sender: TagListView) {
    print("Tag pressed: \(title), \(sender)")
}
You can also customize a particular tag, or set tap handler for it by manipulating the TagView object returned by addTag(_:):
let tagView = tagListView.addTag("blue")
tagView.tagBackgroundColor = UIColor.blueColor()
tagView.onTap = { tagView in
    print("Don’t tap me!")
}
Be aware that if you update a property (e.g. tagBackgroundColor) for a TagListView, all the inner TagViews will be updated.
Use CocoaPods:
pod 'TagListView', '~> 1.0'Or Carthage:
github "ElaWorkshop/TagListView" ~> 1.0Or drag TagListView folder into your project.
Currently, the master branch is using Swift 5.
For Swift 4, use version 1.3.2 or swift-4 branch. For Swift 3, use version 1.2.0 or swift-3 branch. For Swift 2, use version 1.0.1 or swift-2.3 branch. For Swift 1.2, use version 0.2.
Pull requests are welcome! If you want to do something big, please open an issue to let me know first.
MIT


