In this example guide, we will:
- Create custom Spring Cloud Stream apps
- Deploy stream apps to a Spring Cloud Dataflow server
- Use a CI/CD tool to automate building and deploying the stream apps on the SCDF server
To get started, ensure you have the following
- Java JDK 8
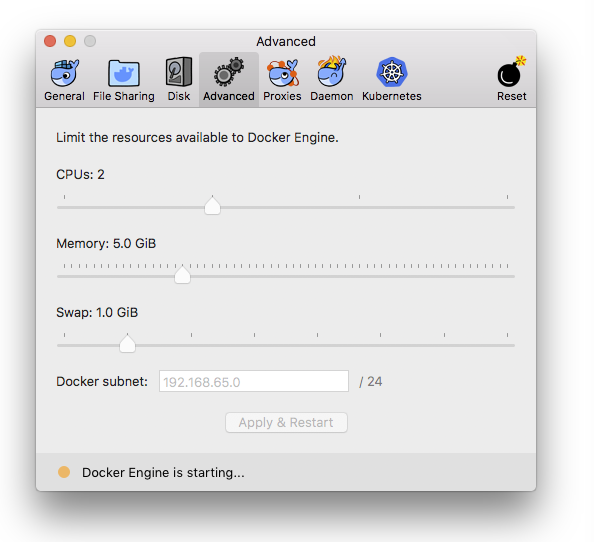
- Docker Desktop with lots of RAM (6GB+)
Ensure Docker Desktop has enough RAM.
If you have access to a Spring Cloud Dataflow server, you may skip setting up a local Dataflow server. However, you will have to configure URLs in Concourse pipelines accordingly.
For the purose of this guide, we'll use a pre-configured docker-compose.yml to run most of our local environment for Dataflow. This docker-compose.yml is from the official guide.
This image will run the following:
- Spring Cloud Dataflow Server
- Kafka Message Queue
- Apache Zookeeper (for Kafka)
This will simulate a Dataflow server which is typically available as a tile on a PAS or a PKS instance.
Download docker-compose.yml from this repo, and run it.
> wget https://raw.githubusercontent.com/spring-cloud/spring-cloud-dataflow/v1.7.4.RELEASE/spring-cloud-dataflow-server-local/docker-compose.yml

> DATAFLOW_VERSION=1.7.4.RELEASE docker-compose up
Downlaod and run the Dataflow shell jar. It will automatically figure out how to talk to SCDF server.
> wget http://repo.spring.io/release/org/springframework/cloud/spring-cloud-dataflow-shell/1.7.4.RELEASE/spring-cloud-dataflow-shell-1.7.4.RELEASE.jar

> java -jar spring-cloud-dataflow-shell-1.7.4.RELEASE.jar
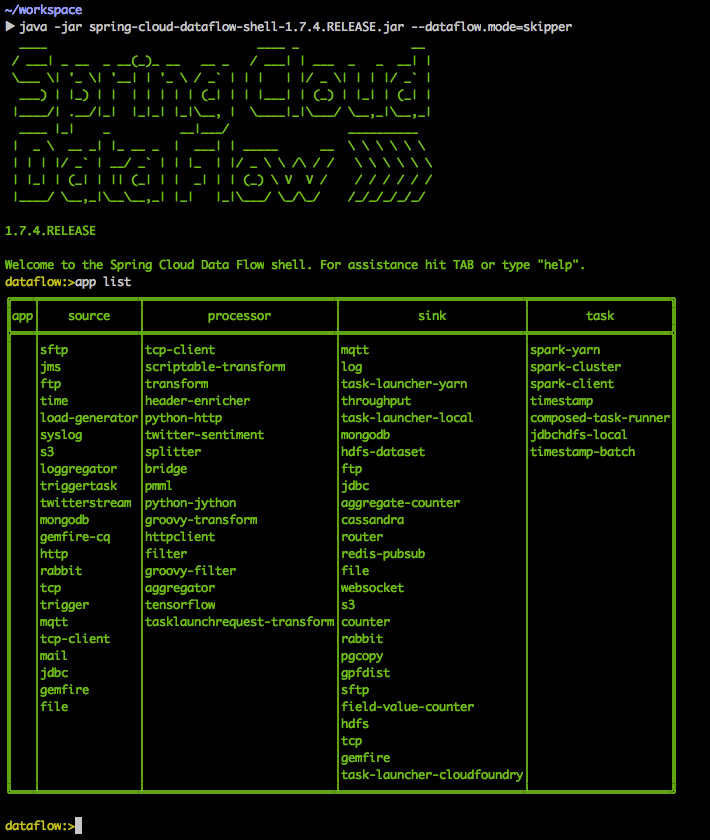
Once the shell boots up, you can type in commands such as help or app list to interact with the SCDF server.
If you see unknown> instead of dataflow> in the shell prompt, that means something went wrong. Try stopping and removing all your docker containers, and trying again from step 1.
Here we'll write some custom SC stream apps. A stream is composed of a series of apps which starts with a source and ends with a sink.
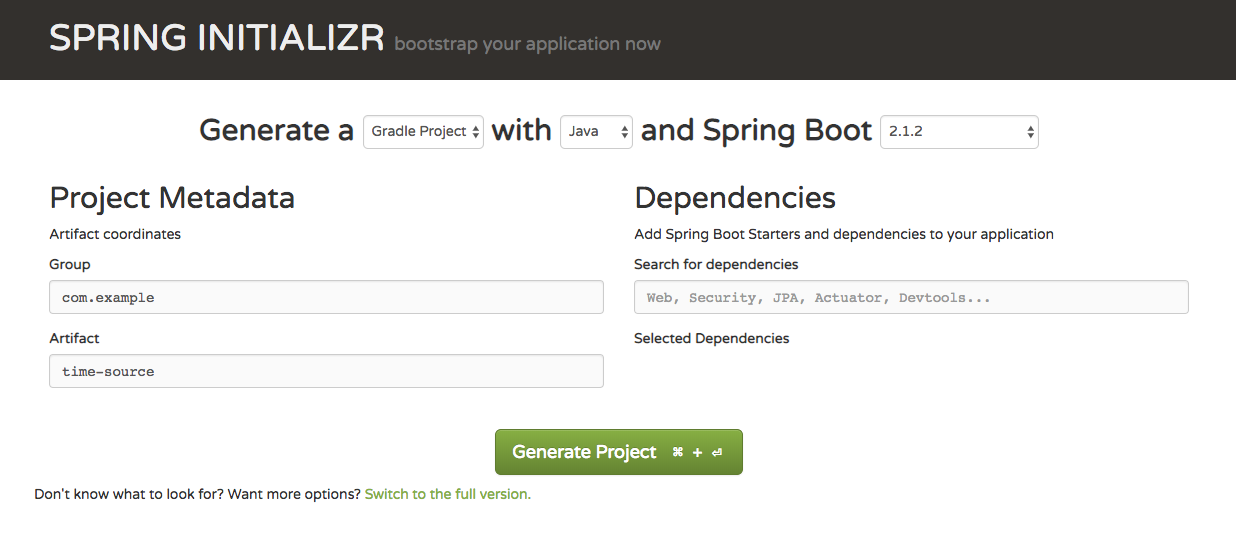
Create a Gradle Spring Boot project named time-source via Spring Initializr. Add no dependencies.
Add spring-cloud-starter-stream-kafka as a dependency in build.gradle.
dependencies {
    compile 'org.springframework.boot:spring-boot-starter'
    compile 'org.springframework.cloud:spring-cloud-starter-stream-kafka:2.1.0.RELEASE'
    testImplementation 'org.springframework.boot:spring-boot-starter-test'
}
*Note I had to change implementation to compile to ensure Spring dependencies are present in the compiled jar file.
Add @EnableBinding(Source.class) annotation to the main application class.
@EnableBinding(Source.class)
@SpringBootApplication
public class TimeSourceApplication {

    @Bean
    @InboundChannelAdapter(
            value = Source.OUTPUT,
            poller = @Poller(fixedDelay = "5000", maxMessagesPerPoll = "1")
    )
    public MessageSource<Long> timeMessageSource() {
        return () -> MessageBuilder.withPayload(new Date().getTime()).build();
    }

    public static void main(String[] args) {
        SpringApplication.run(
                TimeSourceApplication.class, args);
    }
}
Define a @InboundChannelAdapter to send a message to the source app's output channel.
@Bean
@InboundChannelAdapter(
        value = Source.OUTPUT,
        poller = @Poller(fixedDelay = "5000", maxMessagesPerPoll = "1")
)
public MessageSource<Long> timeMessageSource() {
    return () -> MessageBuilder.withPayload(new Date().getTime()).build();
}
To build the jar file run:
> ./gradlew build
Create another Gradle Spring Boot project named time-processor via Spring Initializr. Add no dependencies.
Add spring-cloud-starter-stream-kafka as a dependency in build.gradle.
dependencies {
    compile 'org.springframework.boot:spring-boot-starter'
    compile 'org.springframework.cloud:spring-cloud-starter-stream-kafka:2.1.0.RELEASE'
    testImplementation 'org.springframework.boot:spring-boot-starter-test'
}
Change implementation to compile to ensure Spring dependencies are present in the compiled jar file.
Add @EnableBinding(Processor.class) annotation to the main application class.
@EnableBinding(Processor.class)
@SpringBootApplication
public class TimeProcessorApplication {

    public static void main(String[] args) {
        SpringApplication.run(
                TimeProcessorApplication.class, args);
    }
}
Define a @Transformer to process the data coming in from the source app.
@Transformer(inputChannel = Processor.INPUT,
  outputChannel = Processor.OUTPUT)
public Object transform(Long timestamp) {

    DateFormat dateFormat = new SimpleDateFormat("yyyy/MM/dd hh:mm:yy");
    String date = dateFormat.format(timestamp);
    return date;
}
To build the jar file run:
> ./gradlew build
Create another Gradle Spring Boot project named logging-sink via Spring Initializr. Add no dependencies.
Add spring-cloud-starter-stream-kafka as a dependency in build.gradle.
dependencies {
    compile 'org.springframework.boot:spring-boot-starter'
    compile 'org.springframework.cloud:spring-cloud-starter-stream-kafka:2.1.0.RELEASE'
    testImplementation 'org.springframework.boot:spring-boot-starter-test'
}
Change implementation to compile to ensure Spring dependencies are present in the compiled jar file.
Add @EnableBinding(Sink.class) annotation to the main application class.
@EnableBinding(Sink.class)
@SpringBootApplication
public class LoggingSinkApplication {

    public static void main(String[] args) {
        SpringApplication.run(
                LoggingSinkApplication.class, args);
    }
}
Define a @StreamListener(Sink.INPUT) to handle incoming messages from the processor application.
@StreamListener(Sink.INPUT)
public void loggerSink(String date) {
    logger.info("Received: " + date);
}
To build the jar file run:
> ./gradlew build
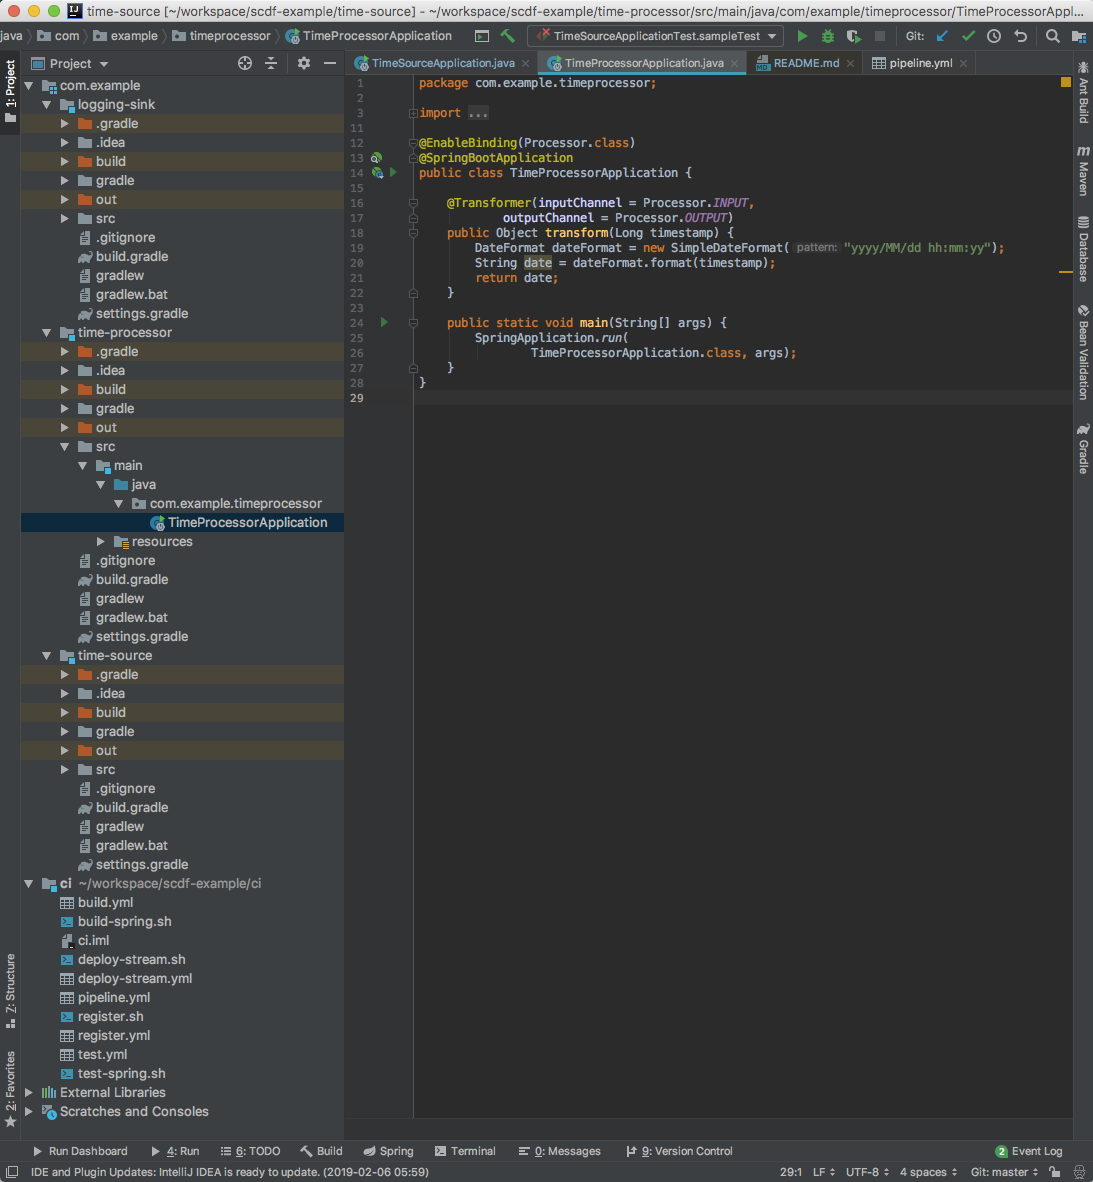
For development, I prefer importing each stream app projects as a module in a single Intellij window, resembling below.
There are a multiple approaches to making your stream app jars available to a Dataflow server. One method is to use Artifactory to host jar files.
Here, we'll use a free instance of Artifactory OSS on the localhost. If you have access to a hosted artifactory, you can skip this step.
> docker pull docker.bintray.io/jfrog/artifactory-oss:latest

> docker run --name artifactory -d -p 8081:8081 docker.bintray.io/jfrog/artifactory-oss:latest
If whatever reason the artifactory container has stopped, you can re-run it via the following command.
> docker run artifactory
The above will spin up an instance of Artifactory on http://localhost:8081.
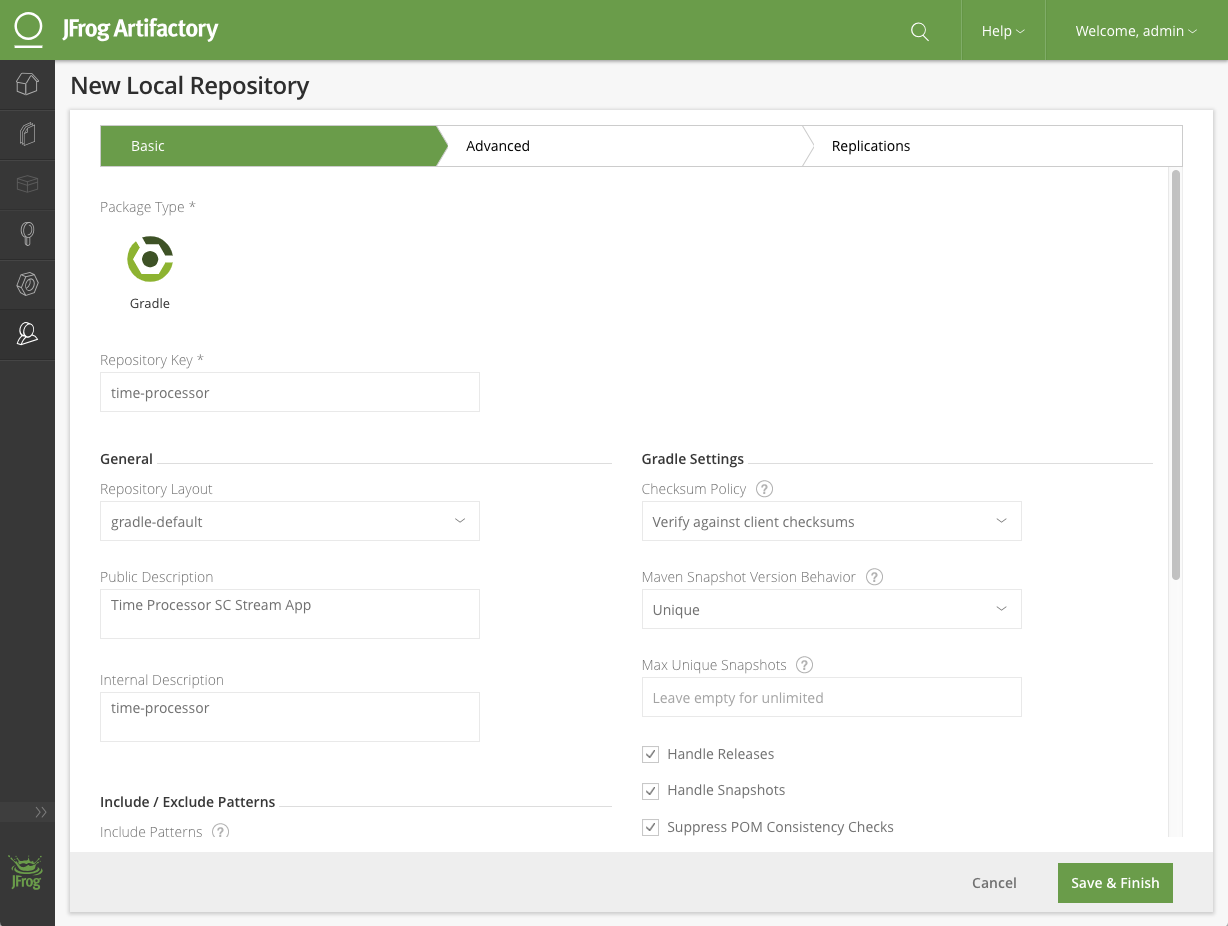
Create a repository for each stream apps (time-source, time-processor, logging-sink)
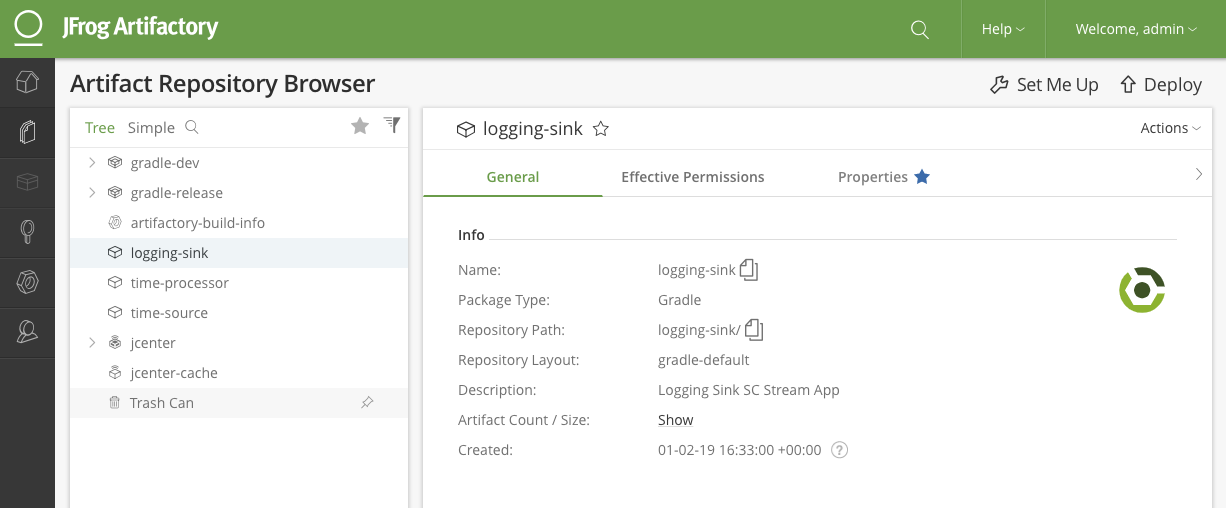
After creating repos for all three stream apps, the artifactory may look like the following.
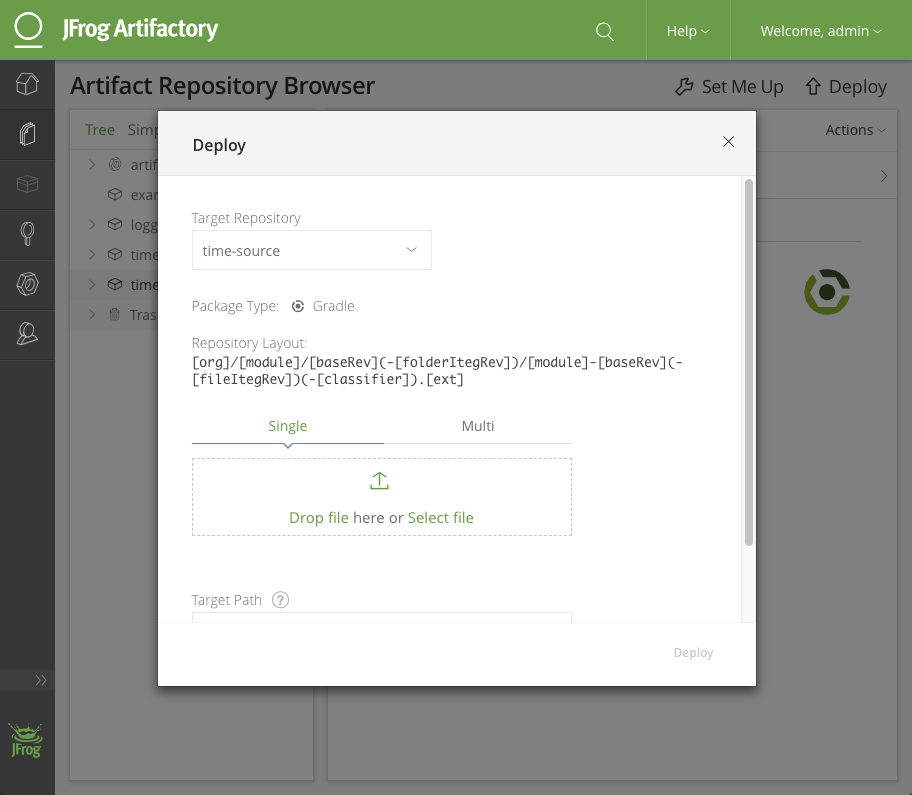
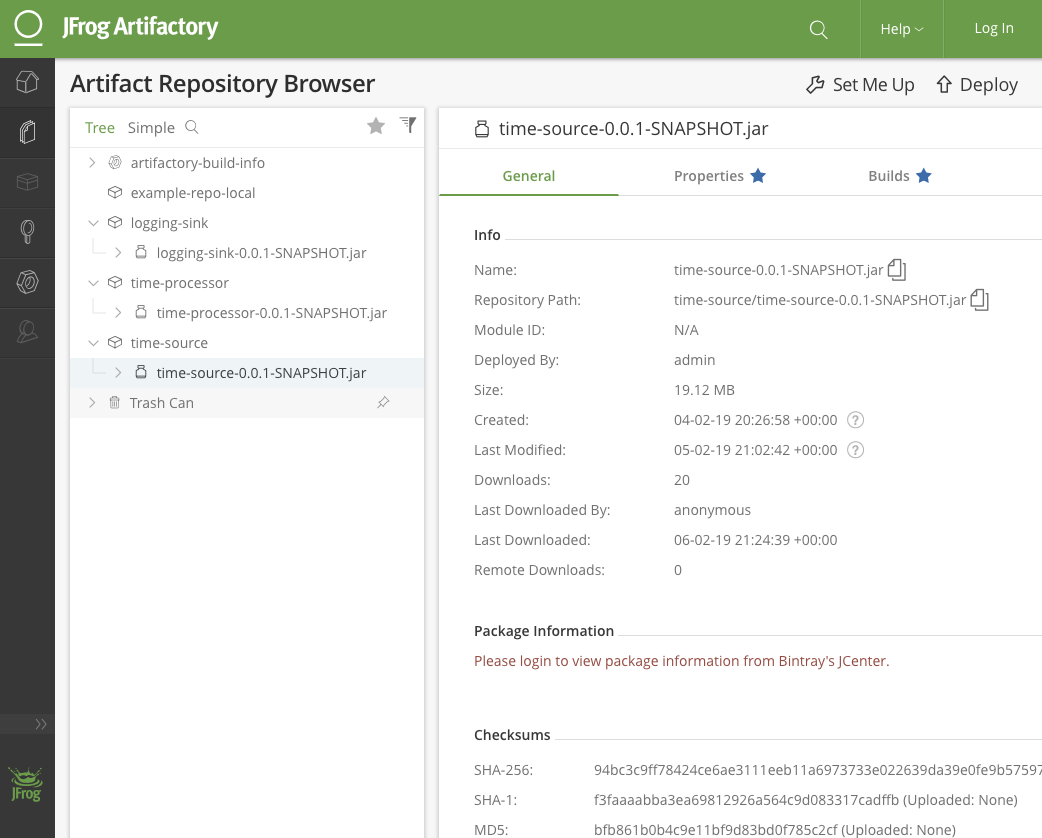
After uploading jars for all three stream apps, the artifactory may look like the following.
We'll make use of Dataflow server's REST API to manually register stream apps and deploy a stream.
The below will create three stream apps:
time-source, type:sourcetime-processor, type:processorlogging-sink, type:sink
Reference: Registering a New Application
> curl 'http://localhost:9393/apps/source/time-source' -i -X POST -d \
    "uri=http://host.docker.internal:8081/artifactory/time-source/time-source-0.0.1-SNAPSHOT.jar"

> curl 'http://localhost:9393/apps/source/time-processor' -i -X POST -d \
    "uri=http://host.docker.internal:8081/artifactory/time-processor/time-processor-0.0.1-SNAPSHOT.jar"

> curl 'http://localhost:9393/apps/source/logging-sink' -i -X POST -d \
    "uri=http://host.docker.internal:8081/artifactory/logging-sink/logging-sink-0.0.1-SNAPSHOT.jar"
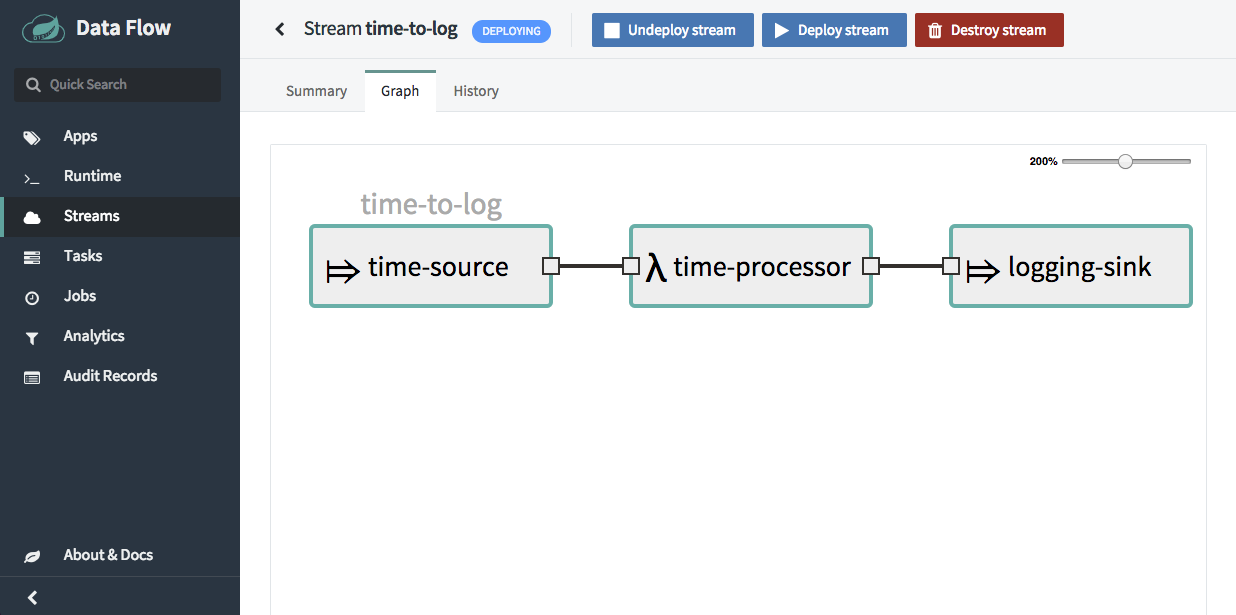
The below will create a stream named time-to-log with stream DSL time-source | time-processor | logging-sink, and deploy.
Reference: Creating a New Stream Definition
> curl "http://localhost:9393/streams/definitions" -i -X POST -d "name=time-to-log&definition=time-source | time-processor | logging-sink&deploy=true"
> curl 'http://localhost:9393/streams/deployments/time-to-log' -i -X DELETE
> curl 'http://localhost:9393/streams/deployments/time-to-log' -i -X POST
> curl 'http://localhost:9393/streams/definitions/time-to-log' -i -X DELETE
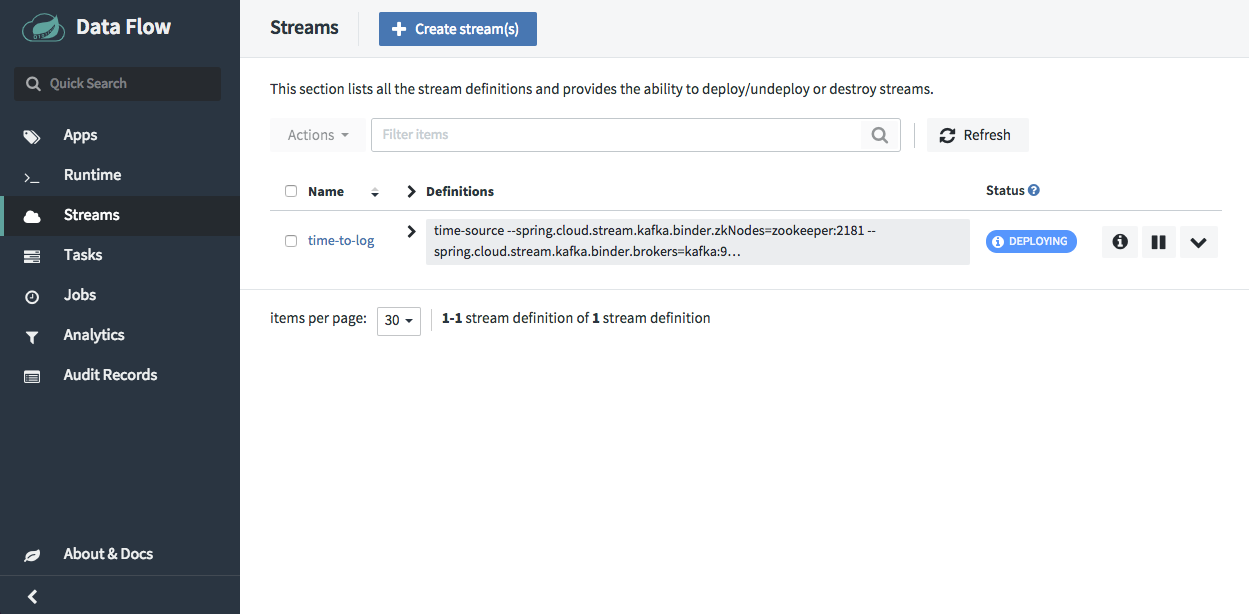
Once finished deploying the stream, confirm the stream is deployed by navigating to Streams page on the Dataflow server's web interface.
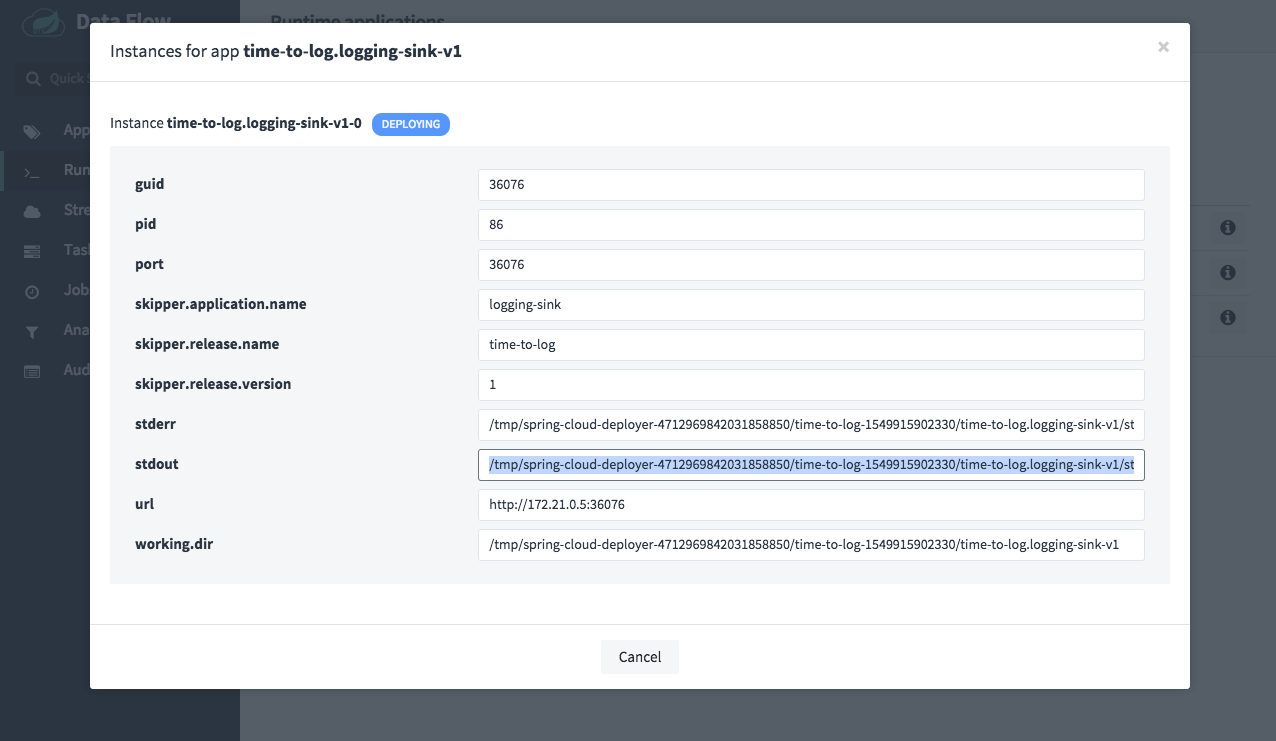
Verification can be possible by looking at the logs.
Copy the path to output log of a running stream app.
Print the logs on terminal in realtime.
> docker exec -it dataflow-server tail -f <COPIED-STDOUT-PATH>
We'll use Concourse for CI/CD.
We'll once again leverage Dataflow server's REST API to write Concourse tasks.
> wget https://concourse-ci.org/docker-compose.yml

> docker-compose up
> wget -O /usr/local/bin/fly http://localhost:8080/api/v1/cli\?arch\=amd64\&platform\=darwin

> chmod +x /usr/local/bin/fly
> fly -t ci login -c http://localhost:8080 -u test -p test
Download pipeline.yml from this repo, and create a pipeline named scdf-example.
> wget https://github.com/pivotal-djoo/scdf-example/raw/master/ci/pipeline.yml

> fly -t ci set-pipeline -p scdf-example -c pipeline.yml
The above will setup a pipeline resembling below.
[TEST] -> [BUILD] -> [REGISTER] -> [DEPLOY]
ci /
pipeline.yml - Main pipeline file for Concourse
test.yml - Test task, runs test-spring.sh
test-spring.sh - Runs gradlew tests for a given project path
build.yml - Build task, runs build-spring.sh
build-spring.sh - Runs gradlew build for a given project path
register.yml - Register task, runs register.sh
register.sh - Registers a given URI of a stream app to a given Dataflow server
deploy-stream.yml - Deploy task, runs deploy-stream.sh
deploy-stream.sh - Undeploys a given stream name from a given Dataflow server, then attempt to deploy the stream again. On a failure, attempts to create the stream from DSL, and deploy it.
- Add a set of acceptance tests for a deployed stream and add it as a verification step on Concourse.
- Integrate with Spring Cloud Sleuth and Zipkin for observability and traceablility.
Spring Cloud Data Flow - Spring.io
Spring Cloud Stream - Spring.io
Spring Cloud Data Flow Reference Guide
Spring Cloud Data Flow Reference Guide - REST API Guide
DevNexus 2018: Continuous Delivery for Data Pipelines
Webinar: Cloud-native patterns for Data-intensive applications
Getting Started with Stream Processing with Spring Cloud Data Flow - Baeldung
Artifactory OSS
Concourse Artifactory Resource - Pivotal Services
