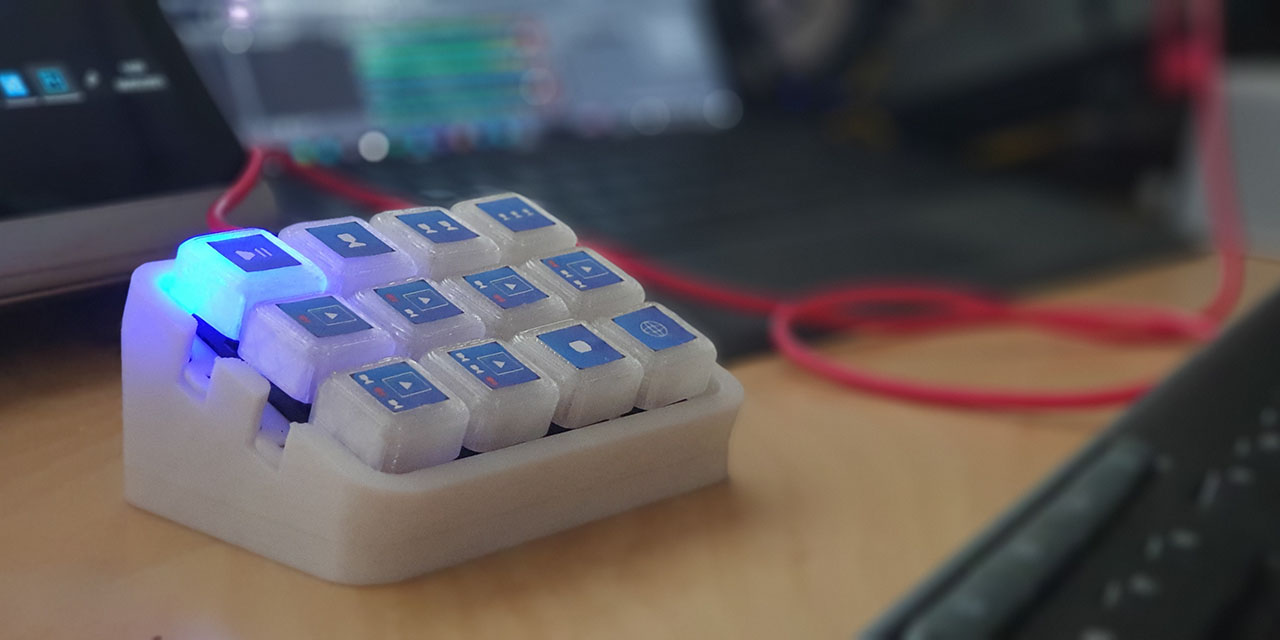
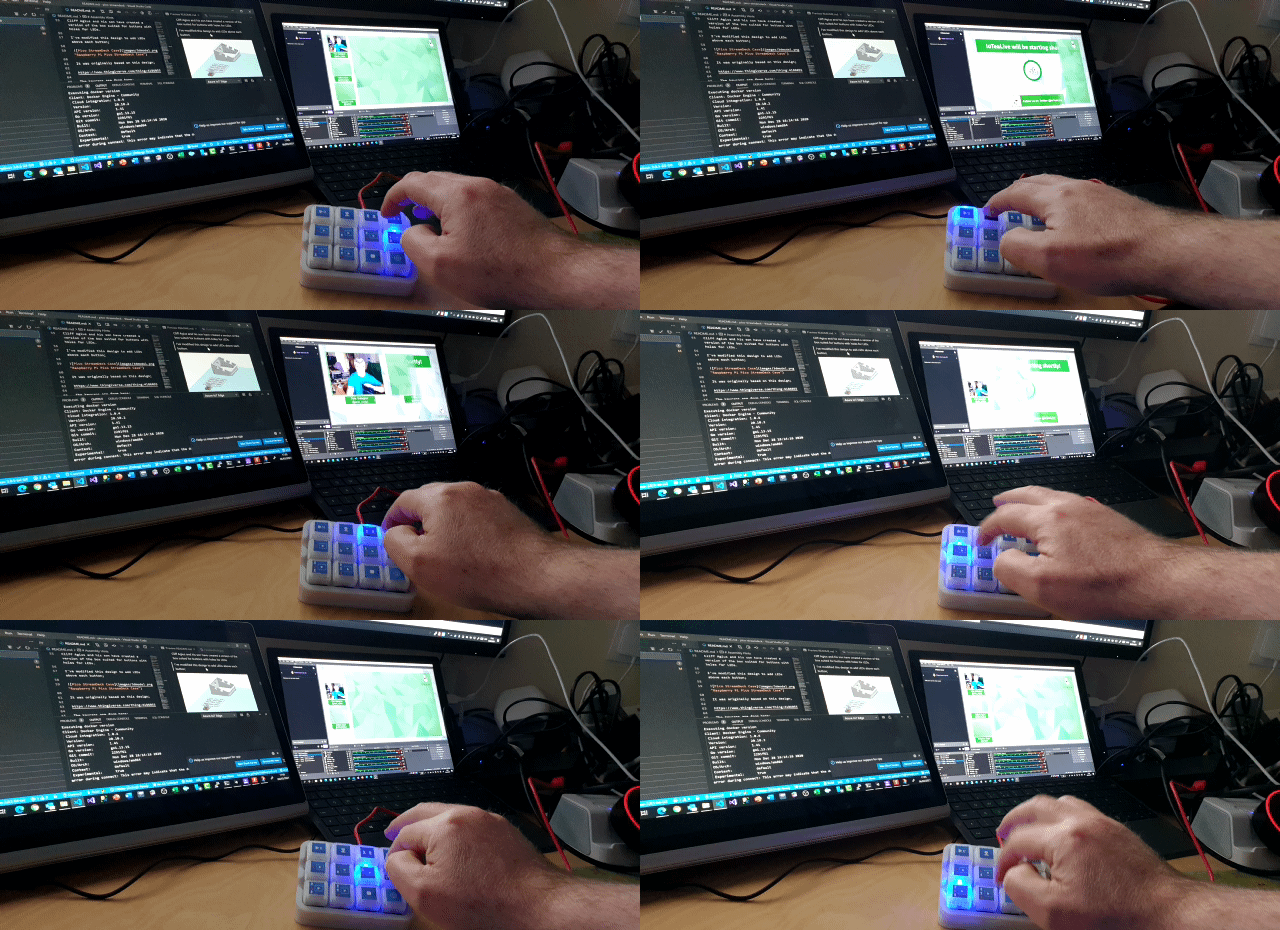
This project is an OBS Controller using a Raspberry Pi Pico and CircuitPython.
The Raspberry Pi Pico Producer has been featured in the following publications;
- Raspberry Pi Website: https://www.raspberrypi.org/documentation/rp2040/getting-started/
- Hackster: https://www.hackster.io/news/pete-gallagher-s-raspberry-pi-pico-stream-deck-aids-obs-work-via-a-smart-circuitpython-script-0df423724379
- Hackster: https://www.hackster.io/news/use-a-raspberry-pi-pico-to-build-your-own-affordable-stream-deck-a0ad237f0d25
- Hackaday: https://hackaday.com/2021/02/23/lighted-raspberry-pico-stream-deck-is-easy-as-pi/
- OSH Park: https://blog.oshpark.com/2021/03/08/obs-controller-using-circuitpython-on-rpi-pico/
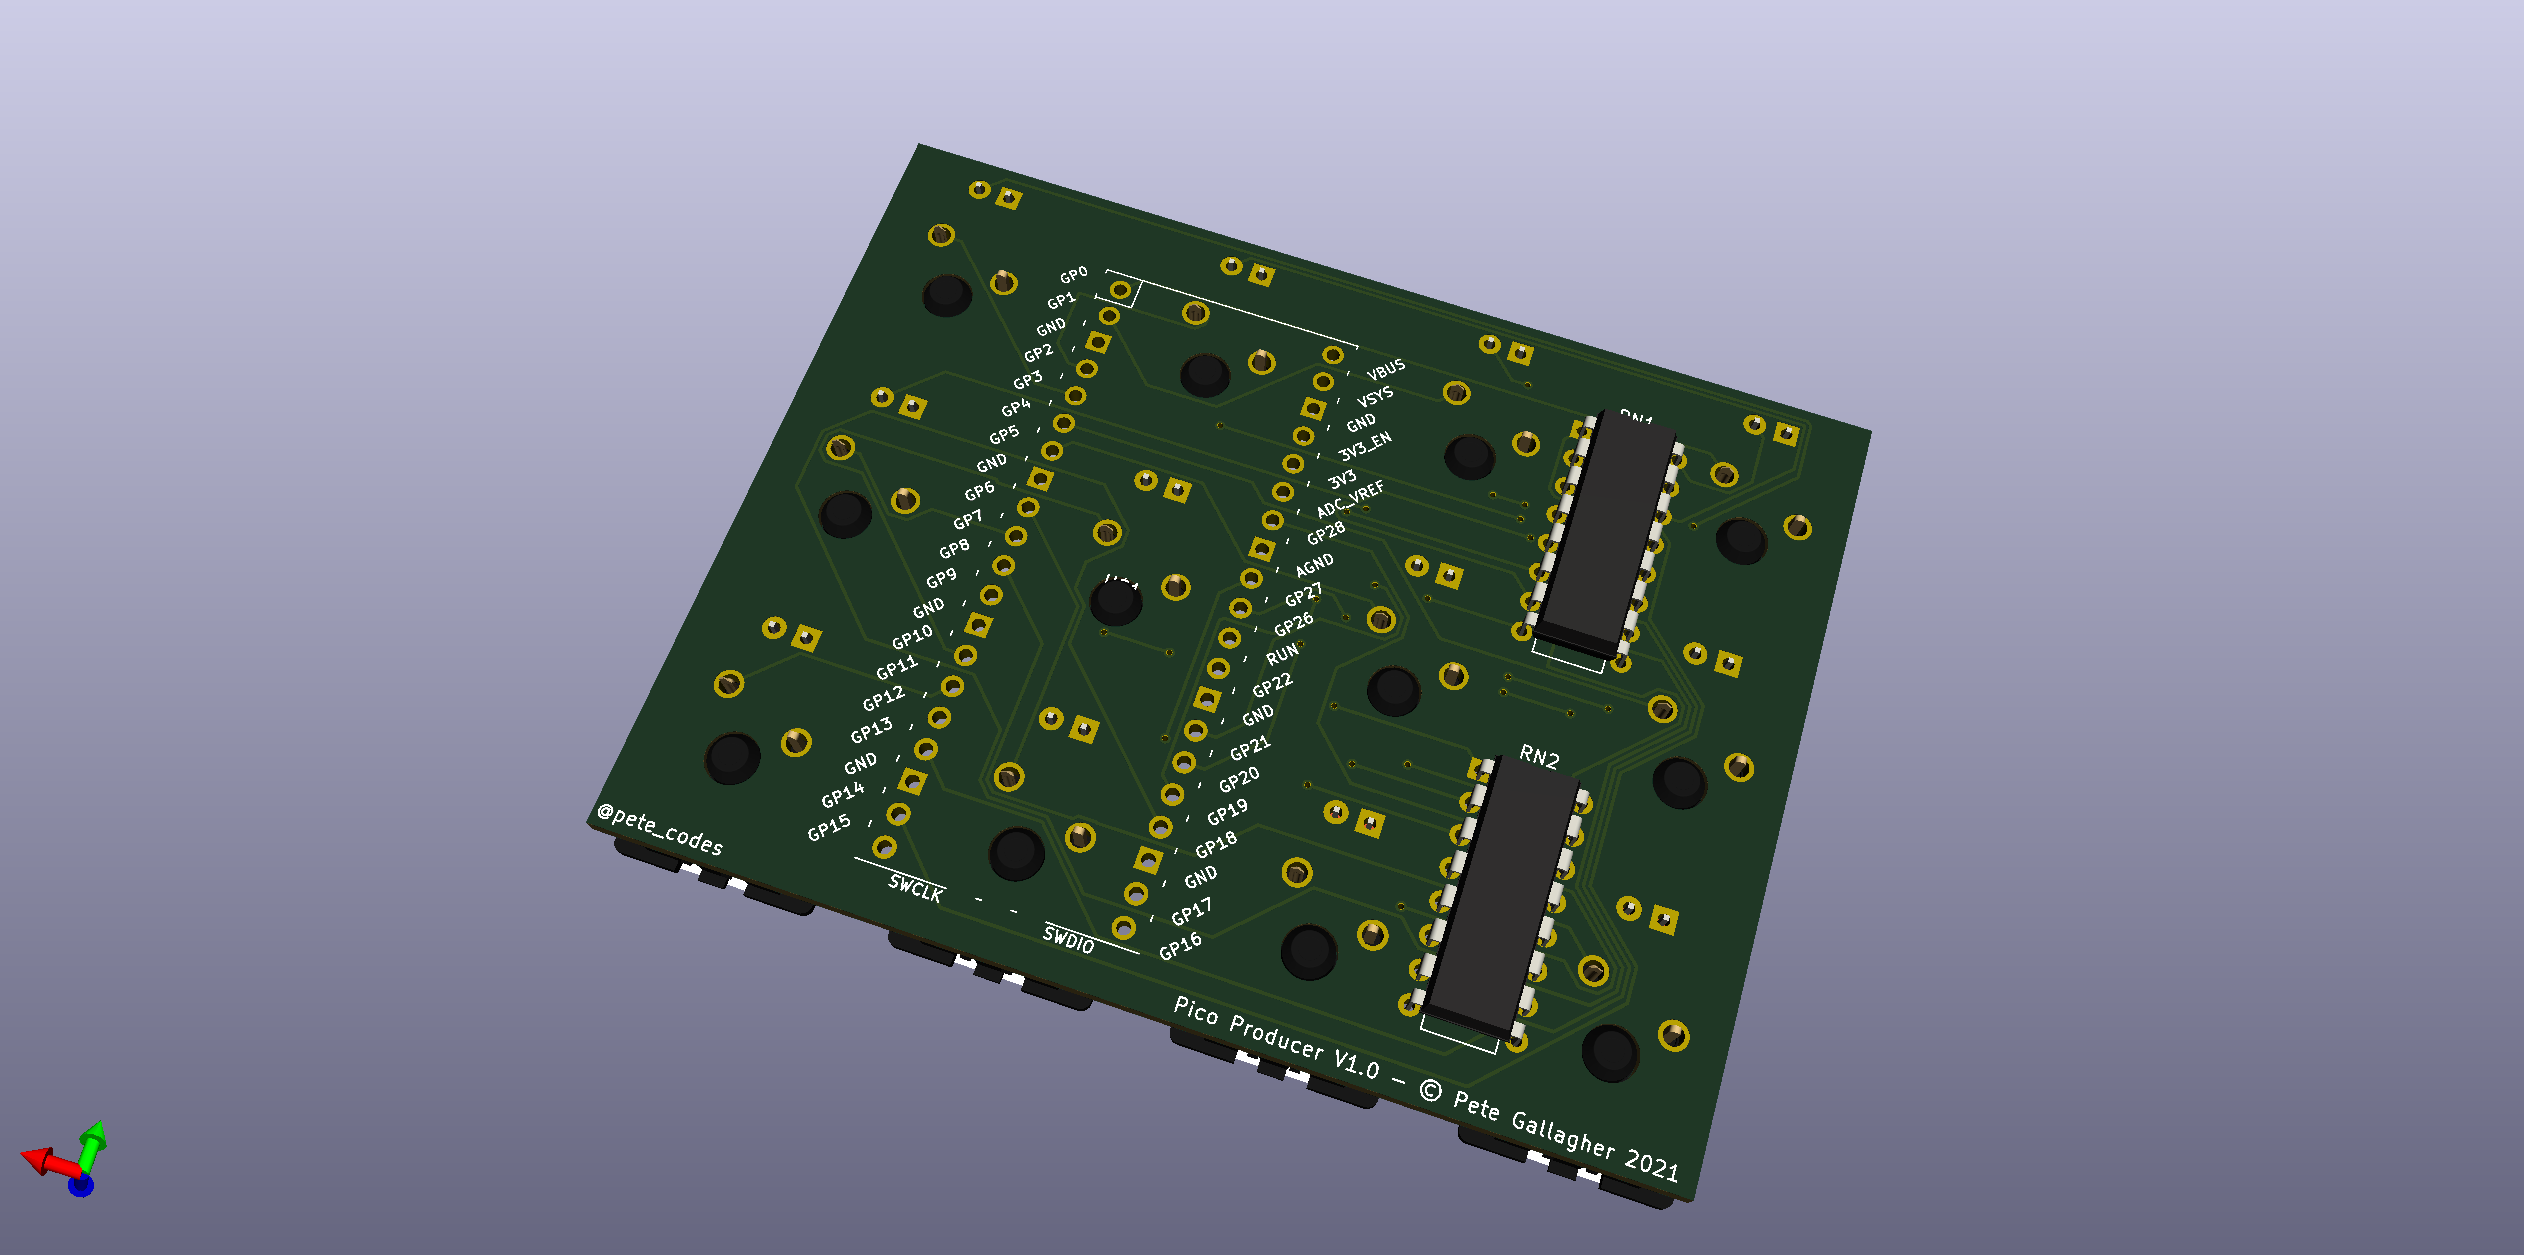
I've avoid GP15 as it's assigned a USB function... Using GP15 results in the following error at startup;
"ValueError: GP15 in use"
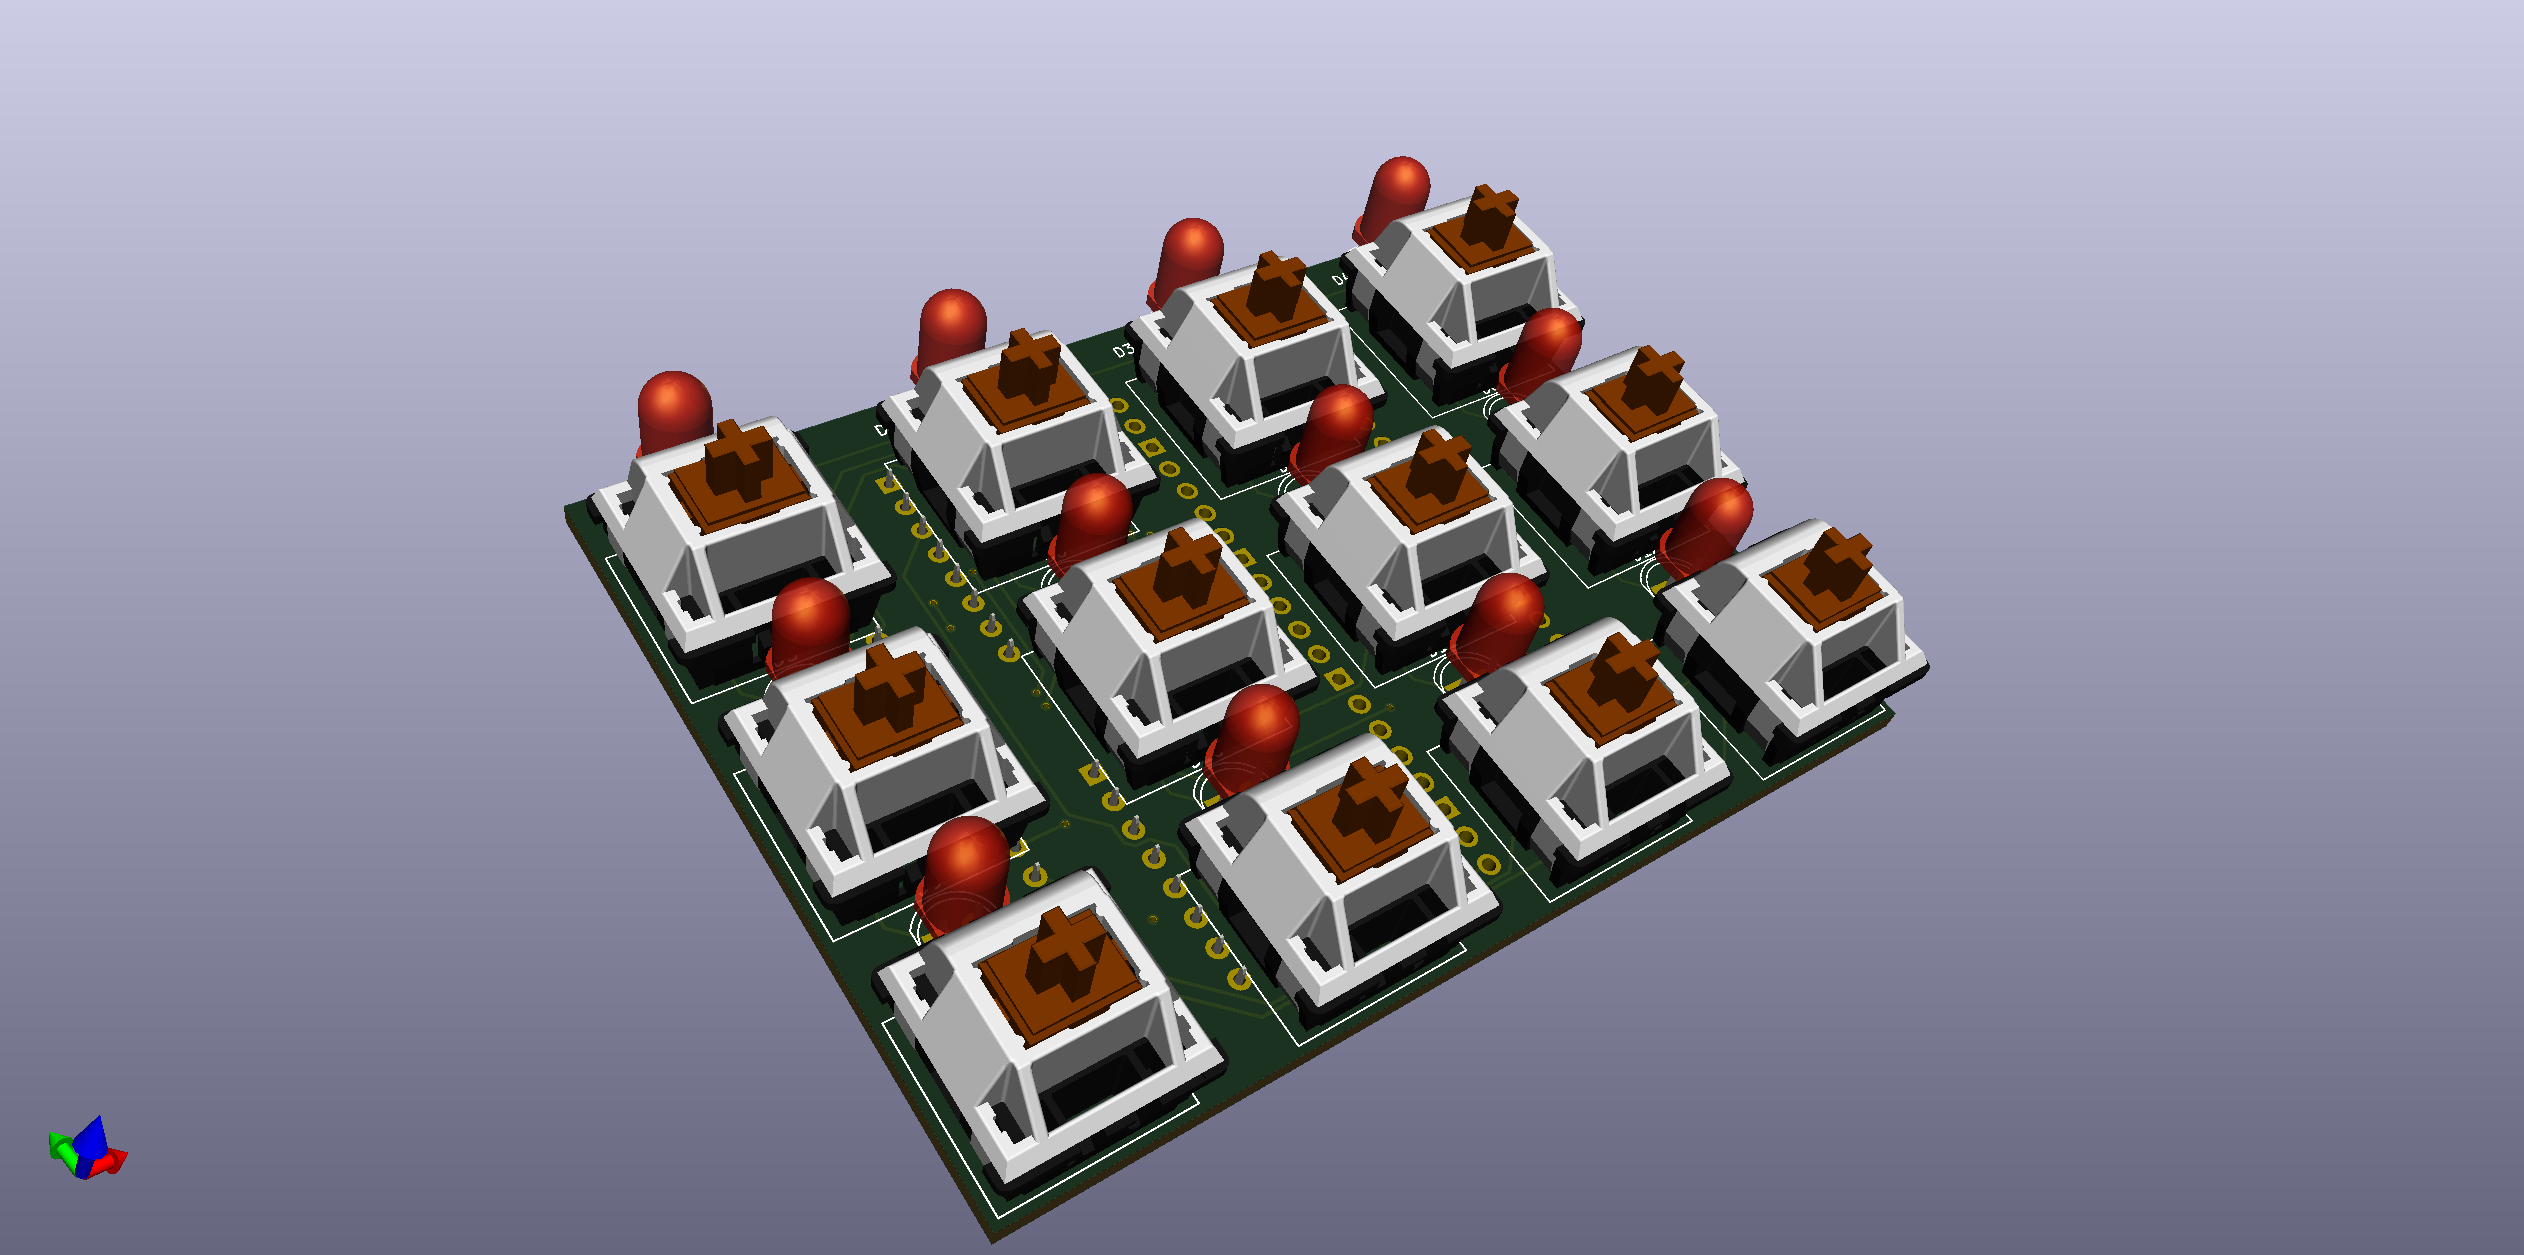
Front
Back
PCB
You can have your PCB made at OSH Park here;
https://oshpark.com/shared_projects/UNP0qi2U
| Part | Qty | Link |
|---|---|---|
| PCB | 1 | https://oshpark.com/shared_projects/UNP0qi2U |
| Cherry MX Keycaps | 12 | https://amzn.to/2Oo1nLP |
| 3mm LED | 12 | https://amzn.to/3rAqNEV |
| 220 Ohm 8x Isolated Resistor Pack | 2 | http://bit.ly/picoproducerresistorarray |
| Raspberry Pi Pico | 1 | http://bit.ly/pimoroni-pico |
| 20 pin Male PCB Header | 2 | https://amzn.to/3sUr8lN |
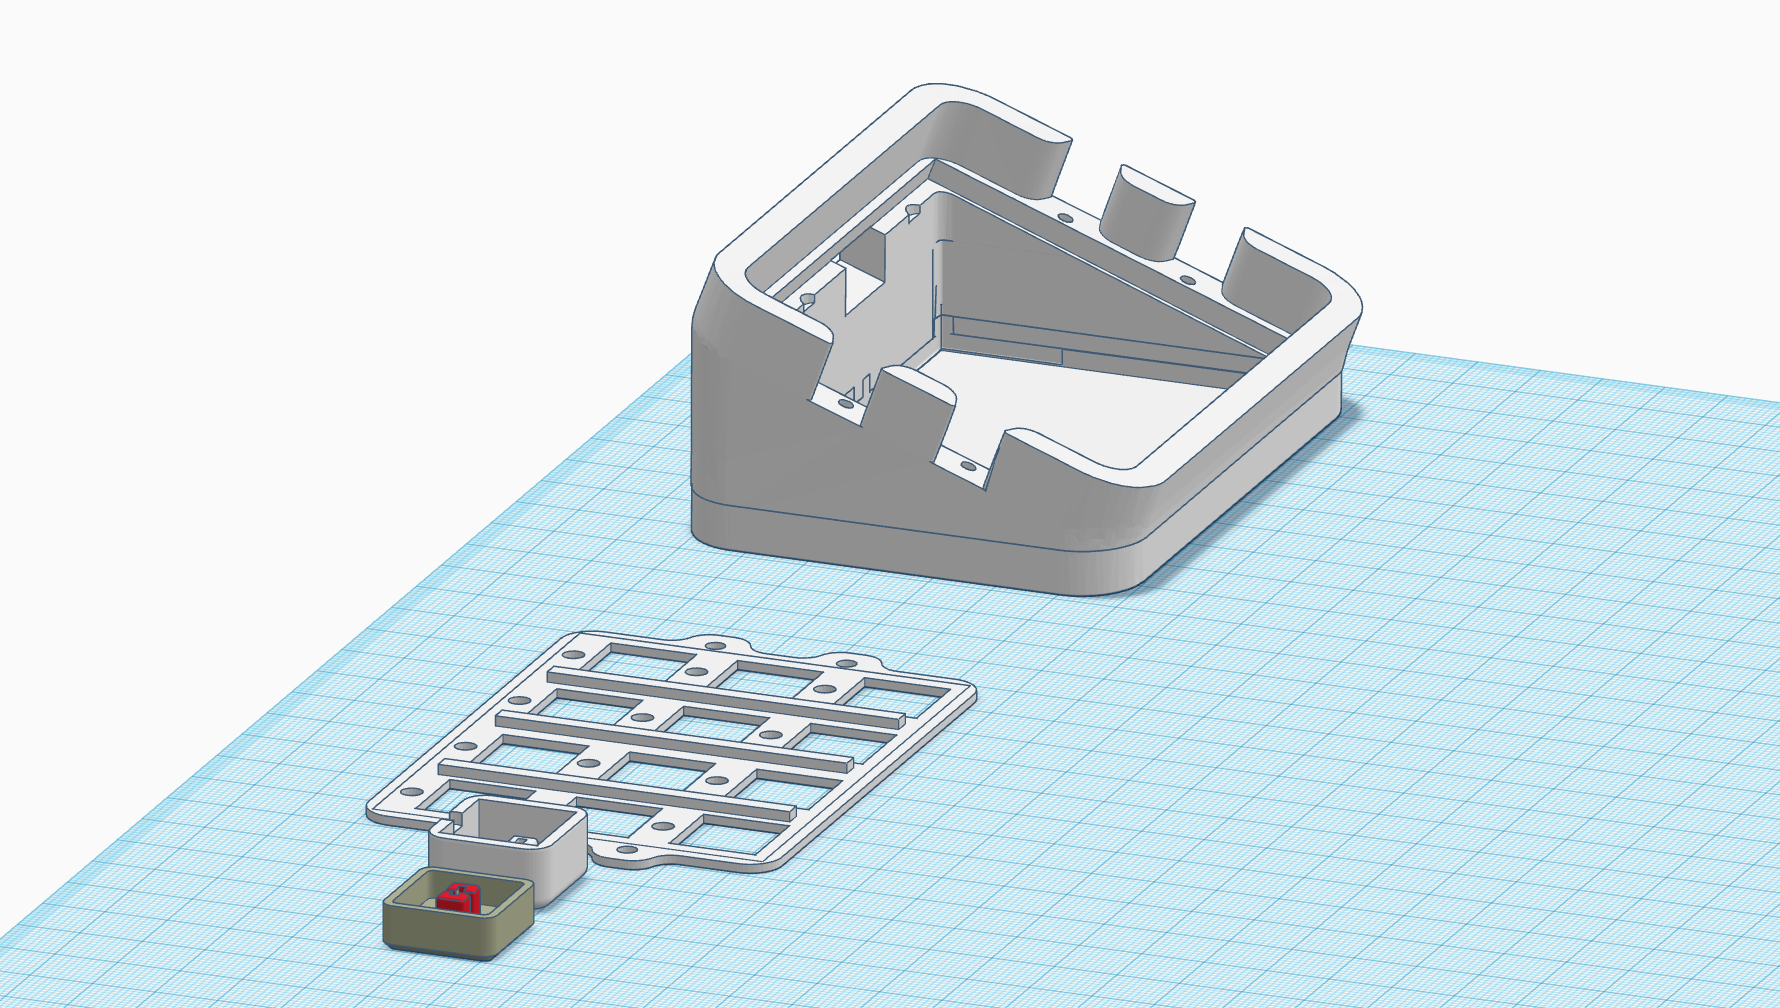
| 3D Printed Case | 1 | https://www.thingiverse.com/thing:4800253 |
Notes:
- You can feel free to use 12 individual 220 Ohm Resistors - https://amzn.to/3qqaWai
- If you wire this without a PCB then use the following wire from Pimoroni - http://bit.ly/pimoroni-rainbow-wire
We now have two different case designs....
Cliff Agius and his son have created a version of the box suited for buttons with holes for LEDs.
I've modified this design to add LEDs above each button;
It was originally based on this design;
https://www.thingiverse.com/thing:4186055
The keycaps are from here;
https://www.thingiverse.com/thing:4186055
You can find the project on Thingiverse here;
https://www.thingiverse.com/thing:4800253
- Insert the 20 Pin PCB headers with the long legs away from the PCB towards the Pico (Otherwise it'll fowl the faceplate)
- Solder the 2 Resistor Packs and the Pico PCB Headers first. Then the LEDs and Buttons. Then the Pico.
- You'll need to trim the legs on the resistor packs which border the three left hand buttons.
- Insert the LEDs into the PCB, then insert the Buttons into the faceplate and then insert that into the PCB.
- Push the leds back through the PCB, so they poke into the holes in the faceplate, otherwise they'll be below the faceplate.
- You'll need to trim the legs on the PCB headers otherwise it'll fowl the bottom of the case.
You can find some more info about the CircuitPython KeyMappings here;
https://circuitpython.readthedocs.io/projects/hid/en/latest/_modules/adafruit_hid/keycode.html
- Plug in the Raspberry Pi Pico while holding the onboard button.
- Your PC will mount the Pico as a drive
- Copy the
adafruit-circuitpython-raspberry_pi_pico-en_US-6.2.0-beta.1.uf2file to the Pico - The Pico will reboot once it's done with CircuitPython onboard.
- Copy the
adafruit_hidfolder and thecode.pyfile to the Pico - In OBS setup Hotkeys for the different scenes by putting your cursor in the Hotkey Box and pressing a button...
Scene 1 =  ctrl + F1
Scene 2 =  ctrl + F2
Scene 3 =  ctrl + F3
Scene 4 =  ctrl + F4
Scene 5 =  ctrl + F5
Scene 6 =  ctrl + F6
Scene 7 =  ctrl + F7
Scene 8 =  ctrl + F8
Scene 9 =  ctrl + F9
Scene 10 =  ctrl + F10
Scene 11 =  ctrl + F11
Scene 12 =  ctrl + F12
- Press the buttons to change scenes in OBS!
- Each button will light a corresponding LED to show which Scene is currently active.
Circuit Python creates a virtual COM port, so you can use a terminal Program set to 8N1 9600 Baud to debug the code... Just hit the enter key at teh prompt, and the terminal will echo there.
It might help to put a large enough delay at the start of your code to give you time to initialise the terminal.
- Look at Bluetooth / WebSockets (Will need add on circuitary!)
- Possible Matrix Input (But, I like the simplicity)
- Possible Resistor Ladder Input (But, again, I like the simplicity)
The HID control code is based on a nice blog post by Hriday which shows how to get the Pico working as a HID device, emulating a keyboard;
Thanks to Cliff Agius and his son for the original 3d Files. Thanks to John Furcean for refactoring the code. Thanks to frankalicious for fixing some spelling checks.
