Extract faces from images inside a folder.
CLI utility to extract faces from an image or a folder. Mostly based on the awesome article by Adrian Rosebrock.
OS X & Linux:
Clone the repository and run:
git clone https://github.com/rickaa/face_extract.git
chmod +x face_extract.py
Install dependecies if needed:
pip install numpy
pip install opencv-contrib-python
If you use Pipenv for virtual environments management and have OpenCV installed with HomeBrew you can do:
ln -s "$(brew --prefix)"/lib/python3.7/site-packages/cv2*.so "$(pipenv --venv)"/lib/python3.7/site-packagesIf you want to run the test_face.py file:
pip install matplotlibPlace the images you want to extract faces from in the input folder
./face_extract.py -f ./input/ -p deploy.prototxt.txt -m res10_300x300_ssd_iter_140000.caffemodelDetect faces in image test1.jpg but without extracting them
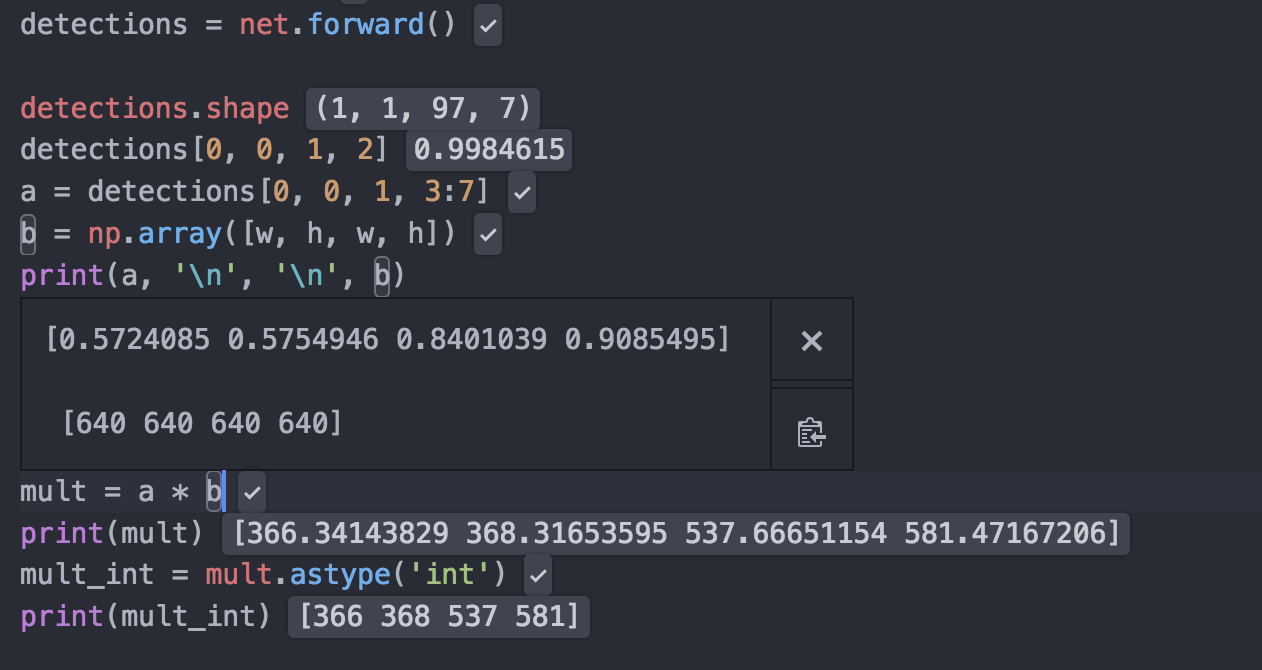
./face_extract.py -i ./input/test1.jpg -p deploy.prototxt.txt -m res10_300x300_ssd_iter_140000.caffemodelThe file test_face.pyis meant to be run with a kernel so that you can see step by step what is going on
in a clearer way than just looking at the for loop in the main script. In order to work
with it place a file called test.jpg in the input folder.
For example:
- 0.1.0
- The first proper release
https://www.linkedin.com/in/ricardoanderegg/
- Fork it (https://github.com/rickaa/face_extract/fork)
- Create your feature branch (
git checkout -b feature/fooBar) - Commit your changes (
git commit -am 'Add some fooBar') - Push to the branch (
git push origin feature/fooBar) - Create a new Pull Request
