Hashtags is an iOS library for displaying, customizing and interacting with a list of #hashtags, written in Swift
- Simplistic and easy to use
- Fully customizable
- Dynamic height
To run the example project, clone the repo, and run pod install from the Example directory first.
Hashtags requires iOS 9.0+
Hashtags is available through CocoaPods. To install it, simply add the following line to your Podfile:
pod 'Hashtags'let tag = HashTag(word: "hashtag")
let tag = HashTag(word: "hashtag", withHashSymbol: false)
let tag = HashTag(word: "hashtag", withHashSymbol: true, isRemovable: true)The boolean isRemovable defines if the hashtag can be removed from the list, by displaying a button next to it. The boolean withHashSymbol allows to automatically display a '#' symbol before the word.
NOTE: By default, the hashtag will display the hash symbol and won't be removable.
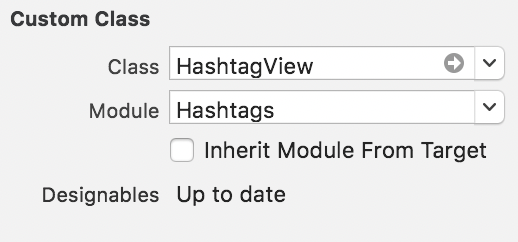
You can use the Hashtags view either directly from the code, or through your Interface Builder.
var hashtags = HashtagView(frame: ...)

hashtags.backgroundColor = UIColor.lightGray
hashtags.tagBackgroundColor = UIColor.blue
hashtags.cornerRadius = 5.0
hashtags.tagCornerRadius = 5.0
hashtags.tagPadding = 5.0
hashtags.horizontalTagSpacing = 7.0
hashtags.verticalTagSpacing = 5.0

self.view.addSubview(hashtags)Simply define a UIView and set its class to HashtagsView. You're all set.
let hashtag = ...
hashtagsView.addTag(tag: tag)
You can add one, or multiples hashtags at the time. Same if you want to remove them.
func addTag(tag: HashTag)
func addTags(tags: [HashTag])
func removeTag(tag: HashTag)
func removeTags()You may want to expand the size of your HashtagView when the hashtags exceed the actual size of the view.
To do so, implement HashtagsViewDelegate :
UIViewController: HashtagsViewDelegate {

    func hashtagRemoved(hashtag: HashTag) {
        // Your code here
    }
    func viewShouldResizeTo(size: CGSize) {
        // Your code here
    }
}One simple way to expand the height of your HashtagsView when needed is to set a height constraint on it (from the code or interface builder). Then you can modify the constant property of the constraint when the view needs to be expanded. Add an animation and you got it !
UIViewController: HashtagsViewDelegate {
    func viewShouldResizeTo(size: CGSize) {
        guard let constraint = self.heightConstraint else {
            return
        }
        constraint.constant = size.height
        UIView.animate(withDuration: 0.4) {
            self.view.layoutIfNeeded()
        }
    }
}
NOTE: If you are using interface builder, you might want to link your height constraint to your parent view with an @IBOutlet�. Check our example project for more details.
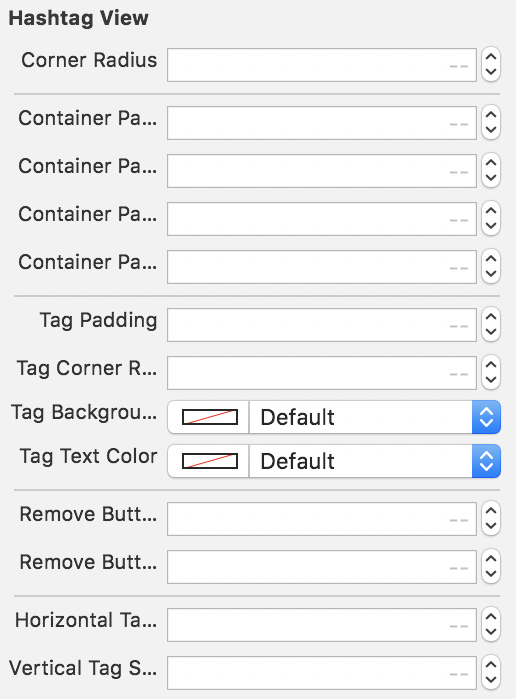
You can change style attributes of the view and the design of the hashtags themselves.
-
containerPaddingLeft -
containerPaddingRight -
containerPaddingTop -
containerPaddingBottom
-
tagPaddingLeft -
tagPaddingRight -
tagPaddingTop -
tagPaddingBottom
-
horizontalTagSpacing -
verticalTagSpacing
-
tagCornerRadius -
tagBackgroundColor -
tagTextColor -
removeButtonSize -
removeButtonSpacing
If you decided to define the view from Interface Builder, you have access to those values too.
Oscar Gotting (@Scaraux)
AlignedCollectionViewFlowLayout by Mischa Hildebrand
Hashtags is available under the MIT license. See the LICENSE file for more info.


