- Connect your phone to your computer and enable developer mode (for iPhone, enable developer mode by
connecting an iPhone while Xcode is running on a Mac) - Install yarn, node, and git if not installed
*yarn: https://classic.yarnpkg.com/en/docs/install/#windows-stable
*node: https://nodejs.org/en/download/
2.1 yarn and node.js can also be installed on Mac/Linux through the homebrew command: brew install yarn
-
Install expo client using the following command line: npm install --global expo-cli
3.1 If the installation stucks, it is possible that npm is broken and need to be reinstalled, use this command:
npm install -g npm-reinstallAlternatively, if that doesn't work, try running yarn global add expo-cli
-
Clone this repo to your computer using this tutorial: https://blog.scottlowe.org/2015/01/27/using-fork-branch-git-workflow/
-
Install expo local server using : yarn add expo in the directory that contains app.js
5.1 Install firebase using yarn add firebase -
Go back to directory that contain app.js and run the command: expo start
-
Click on Run Android/emulator, or any other option of your devices, etc.
-
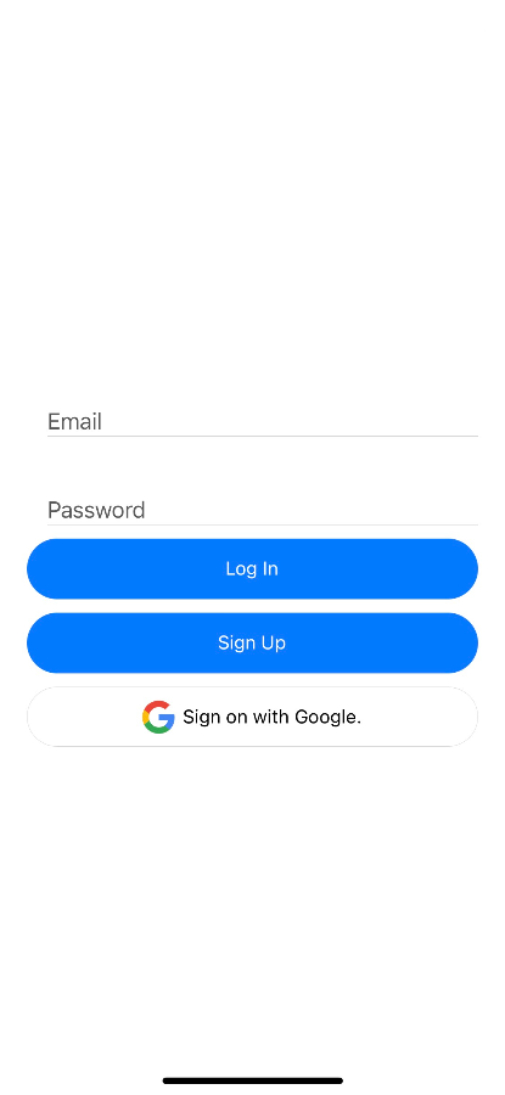
On your device, a Log In/Sign Up screen like this should appear.
- If the URL of your server is different from the production URL, then you will need to change that in the code. The URL can be found in the camera screen inside the fetch call.
- You can change this to your localhost if you are running the docker container locally.
- Remember, when runnign the expo app on yourt phone, and the server locally, you must add your ip to the address.
- For example, if your ip is 111.000.0.1 and the port the server is running on is port 5000 then the URL will look like http://111.000.0.1:5000/predict
-
Allow the user to sign up for the application.
-
Calendar Feature - Allows the user to add workouts to calendar
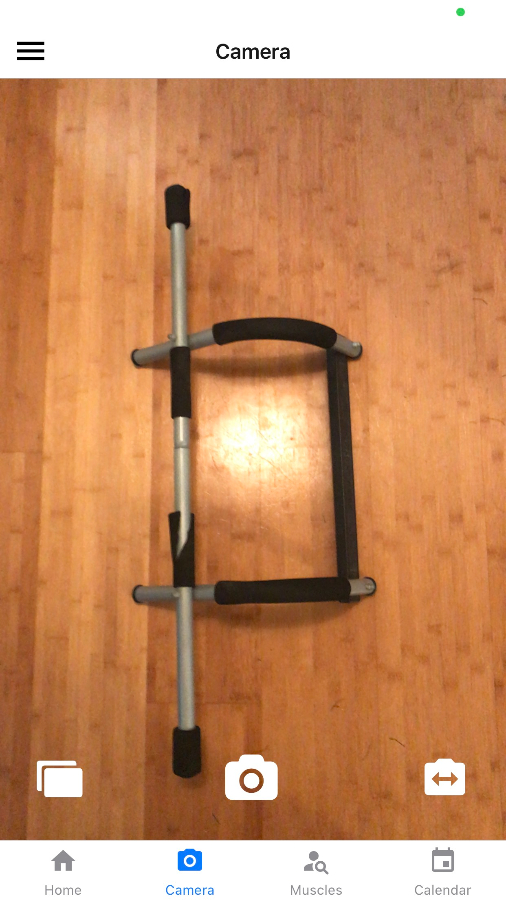
- Image Recognition - Allow the user to take a photo, or choose from their library, workout equipment. The user then receives a suggestion of possible exercises.
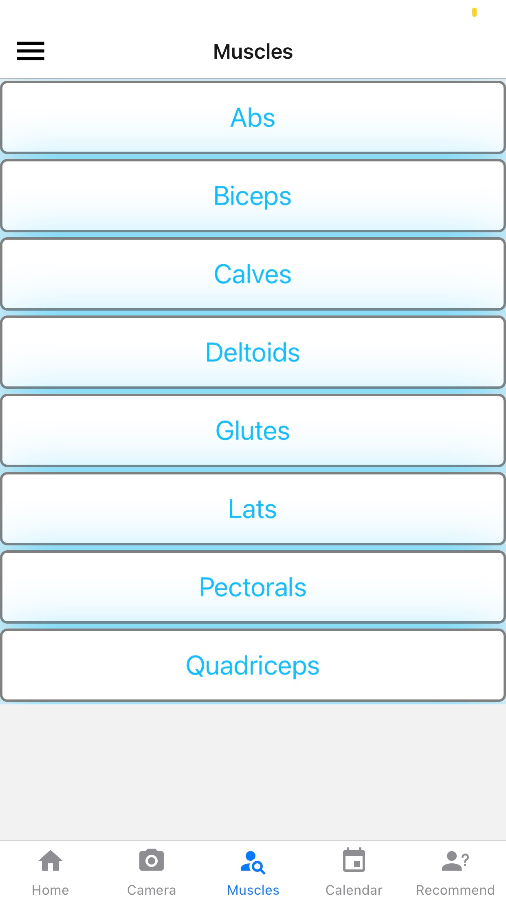
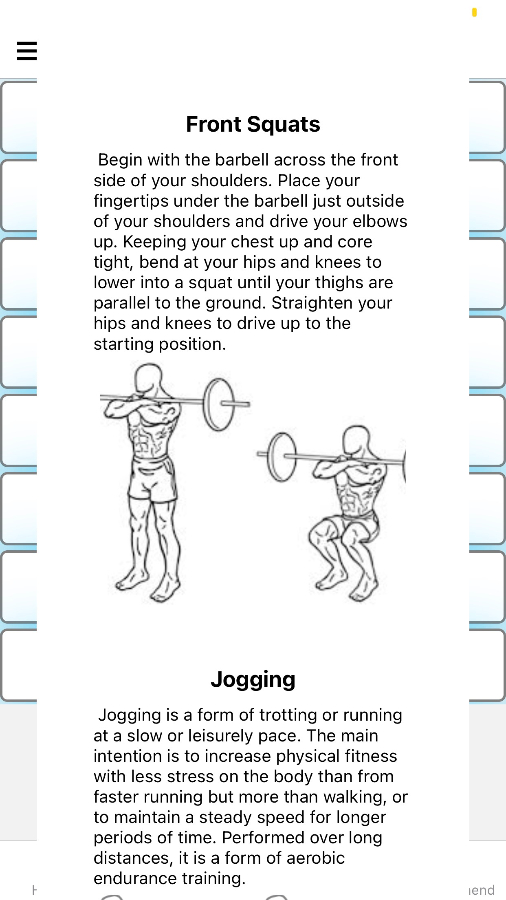
- Muscle Selector Feature - Allows the user to select a muscle group and get exercises they can do
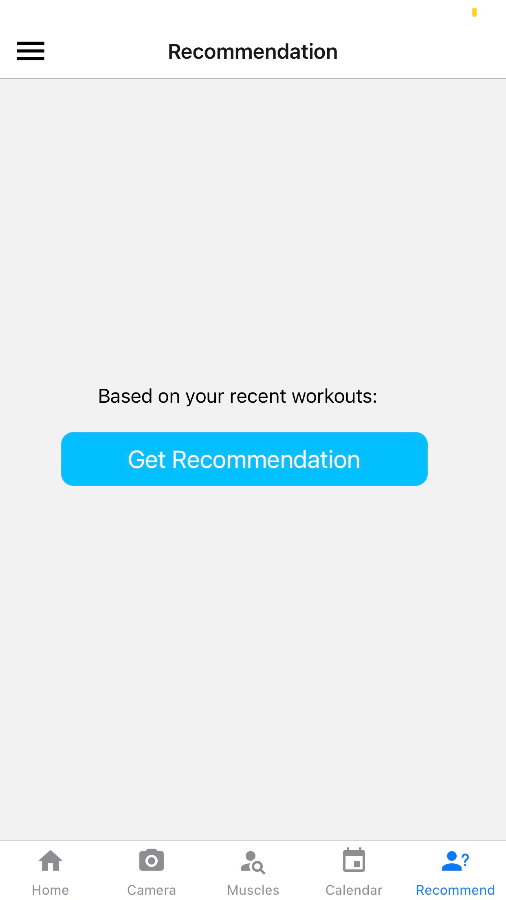
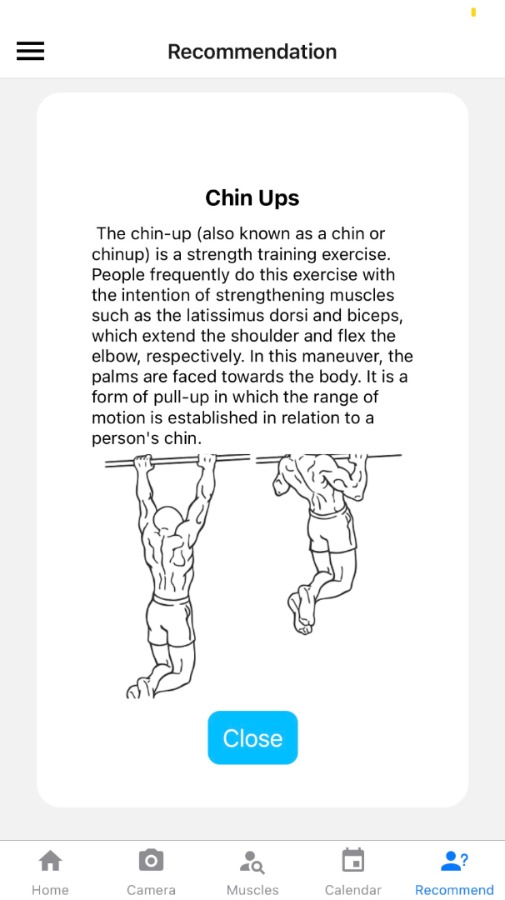
- Recommendation Feature - Recommend to the user a possible exercise based on exercises they have in their calendar.
For the course of this project, the branching strategy will involve using git flow.
This means we will use a master branch for releases and a develop branch to work off of for integrating features. See link above for a more detailed explanation. Whenever a new feature is to be implemented, a feature branch will be created. It's highly recommended that you check out the link above as it will give you a better understanding of what this branching strategy is. This will align with our Rally tickets. The format for creating a new branch is as follows:
TicketNumber/type-name
See an example below
If the rally ticket number is TA111 and it's title is "Implement login feature" it is a feature, then the branch will be named as follows TA111/feature-implement-login-feature
If the rally ticket is TA111 "Fix login bug" for a bug fix it will look like TA111/bug-fix-login-bug
Remember, everytime you wish to create a new feature, branch off of develop. This will help to avoid merge conflicts, make it easier to code review changes, amongst many other benefits.
If there is any confusion, see the link above, or talk to the team leader.
If you need a refresher on git, there is a good cheatsheet here.
-
For Google Sign - In:
expo install expo-google-sign-in -
For React Navigation:
yarn add react-navigationthenyarn add react-navigation-stack @react-native-community/masked-view react-native-safe-area-context -
Expo camera module:
expo install expo-camera -
React Native Calendar:
npm install react-native-calendars / yarn add react-native-calendars
- Testing on Android sometimes throws up the error: Error while updating property 'src' of a view managed by: RCImageView; sometimes this error can be circumvented by simply dismissing it; otherwise, removing the image tag spanning lines 172 - 178 on MuscleSelectorScreen.js should suffice, though doing so will remove the corresponding images from the muscle group modals.
- Testing on iOS sometimes throws up the error: Invariant Violation: Tried to register two views with the same name RNCSafeAreaProvider; this can be resolved by: 1) Deleting node_modules and the lockfile (package-lock.json / yarn.lock) 2) Removing react-native-safe-area-context from package.json (being sure to remove both the field and the value)
- run
yarn or npm install4) runexpo install react-native-safe-area-context
https://expo.io/@whatisthis/firebase-react-native
Log in to Expo with shared project account credentials: Username: whatisthis Password: temple2020
