Written by Amar Panjwani
Instructional Associate
This tutorial describes how to write a coding bootcamp project README in Markdown and HTML in under 30 minutes.
Complete the following steps prior to getting started:
Requirements:
- A banner representing your app
| Description | Screenshot |
|---|---|
 |
<div id="header" align="center">

  <img src="https://i.imgur.com/y2SPx4E.jpg" width="800" height="400">

</div>Requirements:
- App name
- What problem the app solves and how
- How to win (if app is a game)
| Description | Screenshot |
|---|---|
 |
<div id="description" align="center">
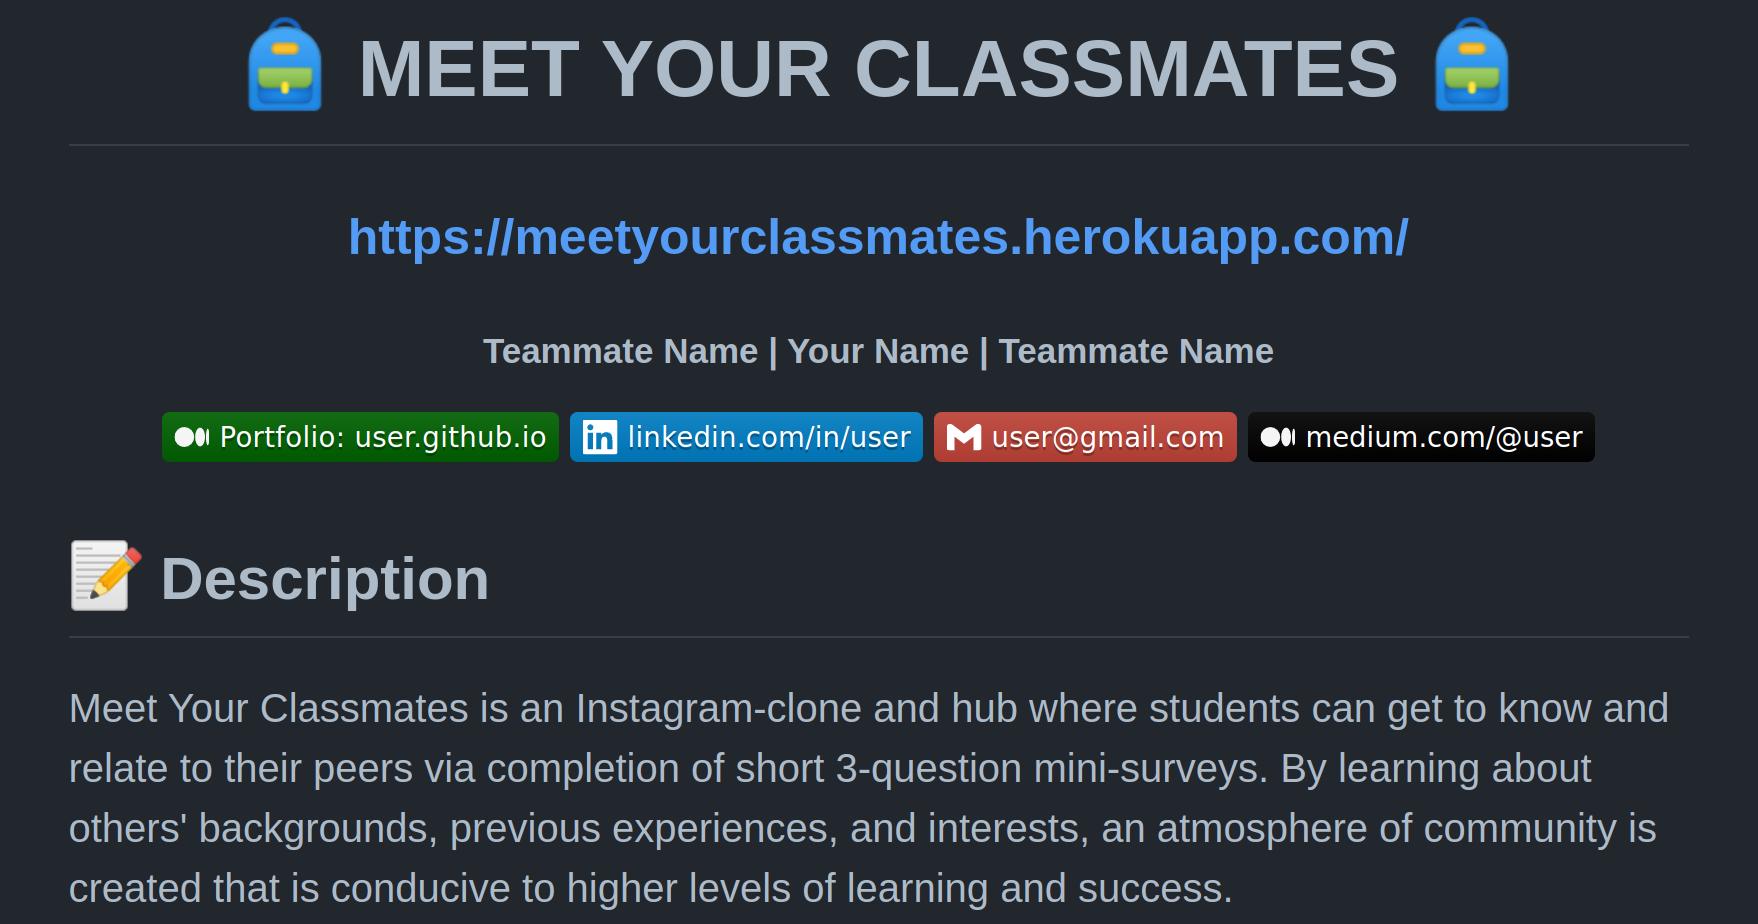
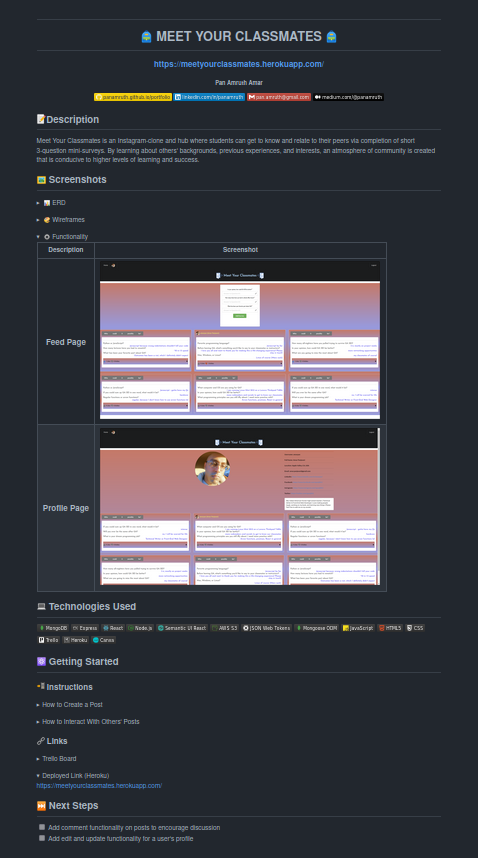
# Meet Your Classmates
### [CLICK TO DEMO](https://meetyourclassmates.herokuapp.com/)
##### Amar Pan
[](https://www.linkedin.com/in/amarpan/)
## :pencil: Description
Meet Your Classmates is a hub where students can get to know and relate to their peers via completion of short 3-question
mini-surveys. By learning about others' backgrounds, previous experiences, and
interests, an atmosphere of community is created that is conducive to higher
levels of learning and success.
</div>-
Add your deployed link directly to the top - most users won't scroll all the way down to find it.
-
Use emojis by typing in
:emojiname:a. Visit the following resource for a full list of available GitHub emojis:
-
In version 1.0 of this tutorial, I suggested to add emojis around your
h1tag. However, this is bad practice for Search Engine Optimization (SEO).
Install the following extension to see GitHub emojis in VS Code:
Requirements:
- Screenshots of your app's home page and any other pages of interest
| Description | Screenshot |
|---|---|
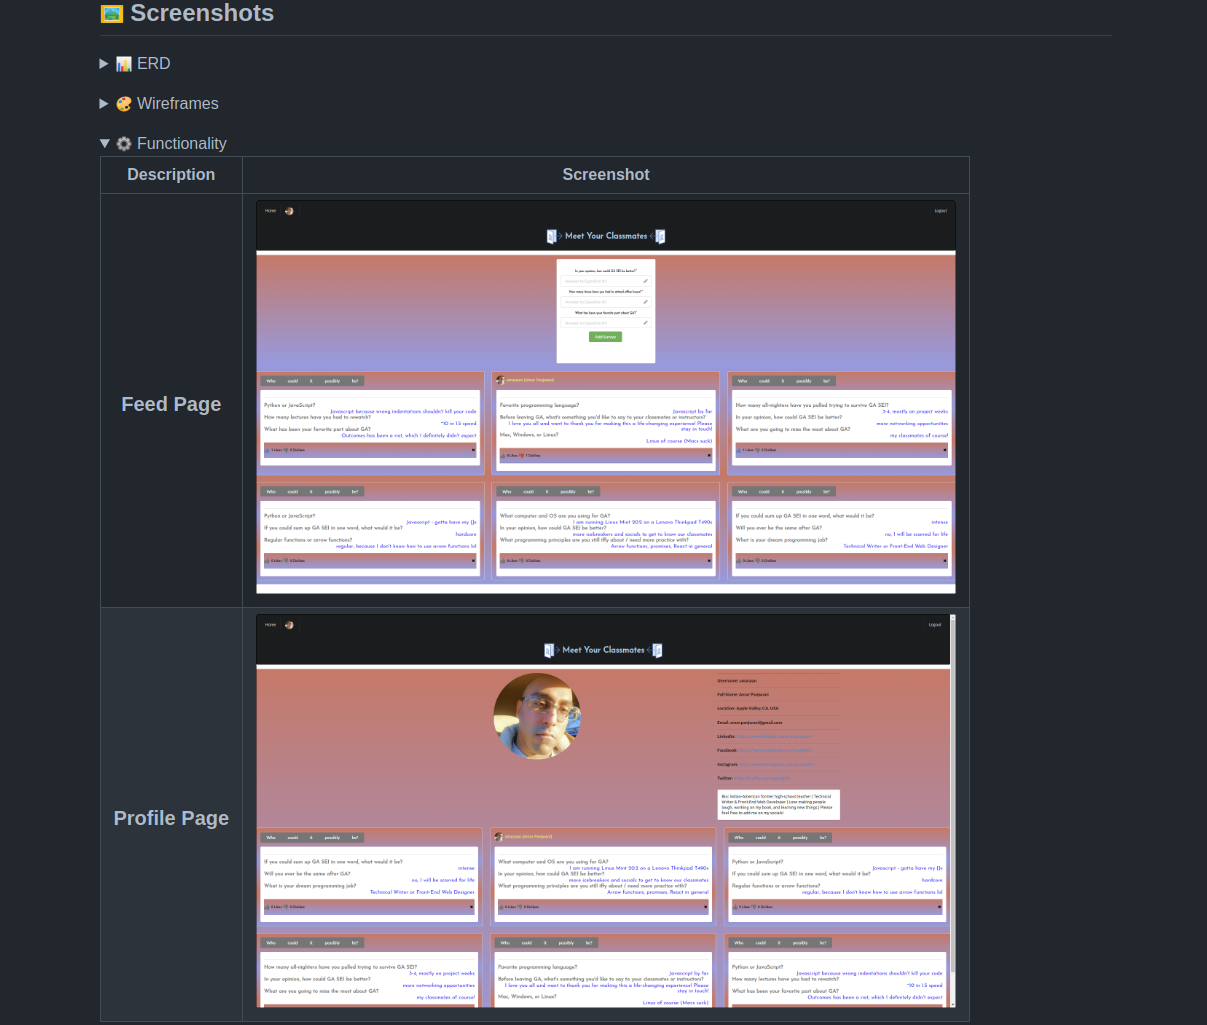 |
  ## :camera_flash: Screenshots

  |   Description | Screenshot |
  |:-------------:| -----------|
  | <h3>Feed Page</h3> | <img
    src="https://github.com/amarpan/meet-your-classmates/blob/main/public/Screenshots/FeedPage.png?raw=true"
    width="700"
  /> |
  | <h3 align="center">Profile Page</h3> | <img
  src="https://github.com/amarpan/meet-your-classmates/raw/main/public/Screenshots/ProfilePage.png"
  width="700"
/> |- Whatever is placed in between
<details></details>will be hidden beneath a closed drop-down menu until its arrow is clicked on. The caption for this should be placed in between<summary></summary>. - To have a drop-down menu display as open by default, (without the user having to click it) add the word 'open' to the details tag.
Requirements:
- List of the technologies used
| Description | Screenshot |
|---|---|
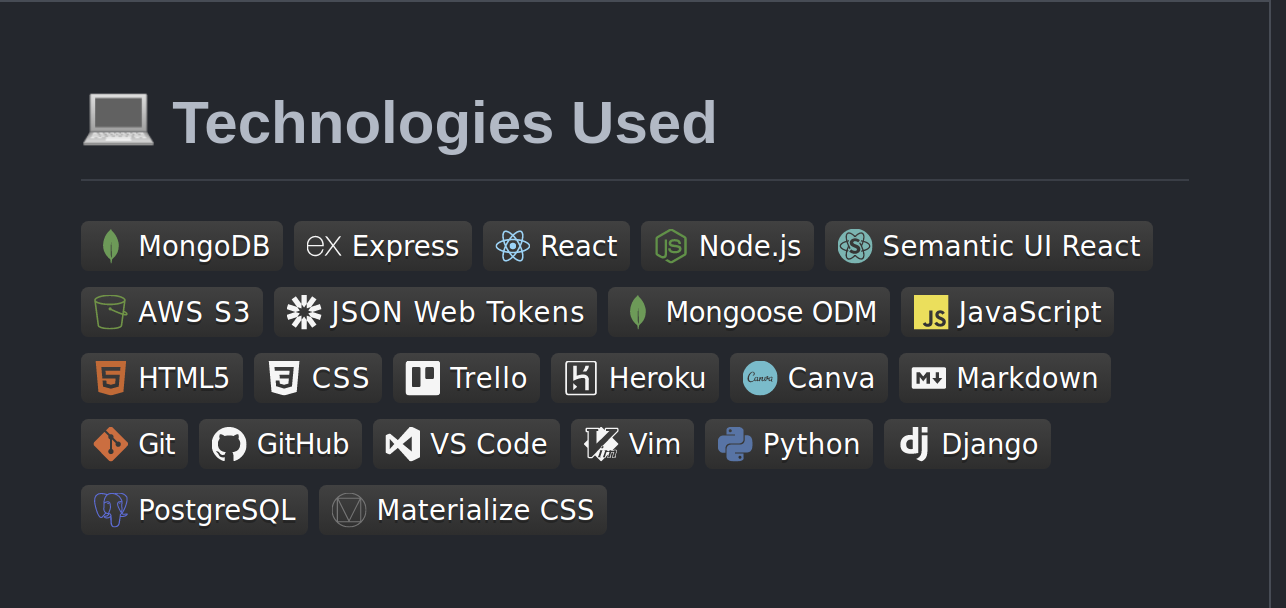 |
## :computer: Technologies Used
A screenshot of your app's landing page and any other screenshots of interest.


- Additional badges of this style can be found at the following resource:
- Alternative badges of a more colorful style can be found at the following resource:
Requirements:
- A link to the deployed app
- A link to the Trello board used for the project's planning that includes:
- a. user stories
- b. wireframes
- c. entity relationship diagram (ERD)
| Description | Screenshot |
|---|---|
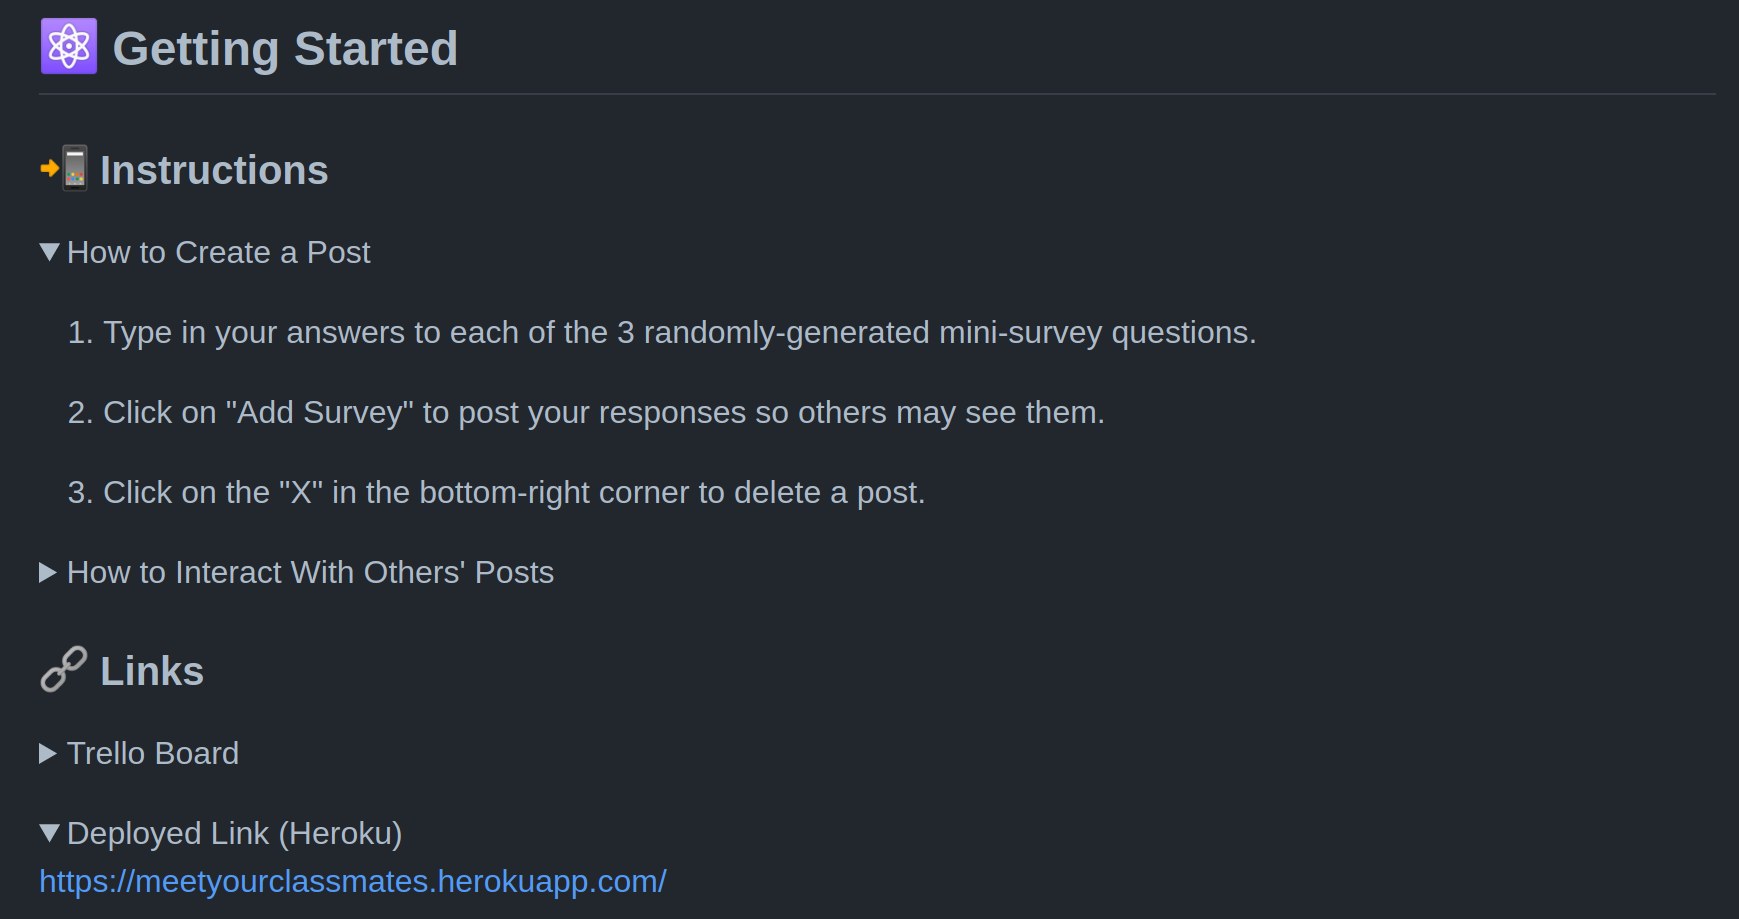 |
## :fire: Getting Started

<details open>
  <summary> How to Create a Post </summary>
    1. Type in your answers to each of the 3 randomly-generated mini-survey questions.
    2. Click on "Add Survey" to post your responses so others may see them.
    3. Click on the "X" in the bottom-right corner to delete a post.
</details>

<details>
  <summary> How to Interact With Others' Posts </summary>
    1. Posts may be "liked" or "disliked" by clicking on the thumbs up or down button on their card.
    2. To reveal the author of a post, hover over the `Who could it possibly be?` button.
    3. To see more posts by the same user, click on the revealed username and profile picture.
</details>

<details open>
  <summary> Trello Board </summary>
  <a href="https://trello.com/b/x4ViComX/meet-your-classmates-project-4"
    > https://trello.com/b/x4ViComX/meet-your-classmates-project-4 </a
  >
</details>

<details open>
  <summary> Deployed Link (Heroku) </summary>
  <a href="https://meetyourclassmates.herokuapp.com/"
    > https://meetyourclassmates.herokuapp.com/ </a
  >
</details>- Use numbered lists as opposed to lengthy paragraphs to make sure this section is easily readable.
- Put your links in more drop-down menus using
<details open>and<summary>. - Try to choose something simple yet memorable when choosing your URL / link name.
Requirements:
- Planned future enhancements (icebox items)
| Description | Screenshot |
|---|---|
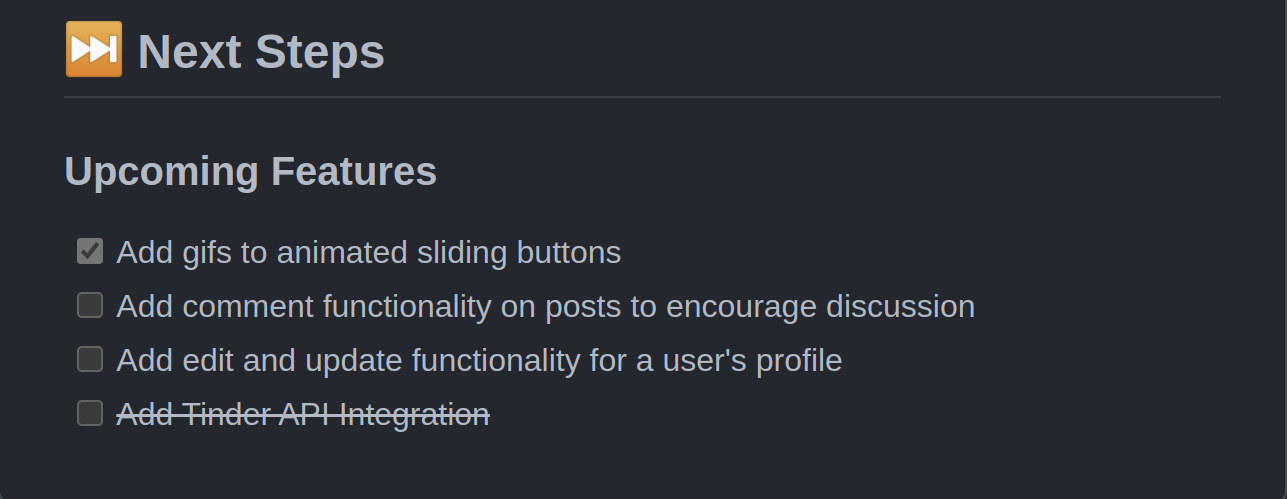 |
## :satellite: Upcoming Features

- [:star:] Animations on sliding buttons

- [:x:] Comment functionality on posts to encourage discussion

- [:x:] ~~Tinder API Integration~~- Avoid using the word
icebox, as most non-technical users probably won't know what this means. - Use bullet points rather than paragraphs to make it immediately clear what each new feature would be.
- Just for fun, add an easter egg joke using double tildes (~~) for a crossout
| Description | Screenshot |
|---|---|
 |


