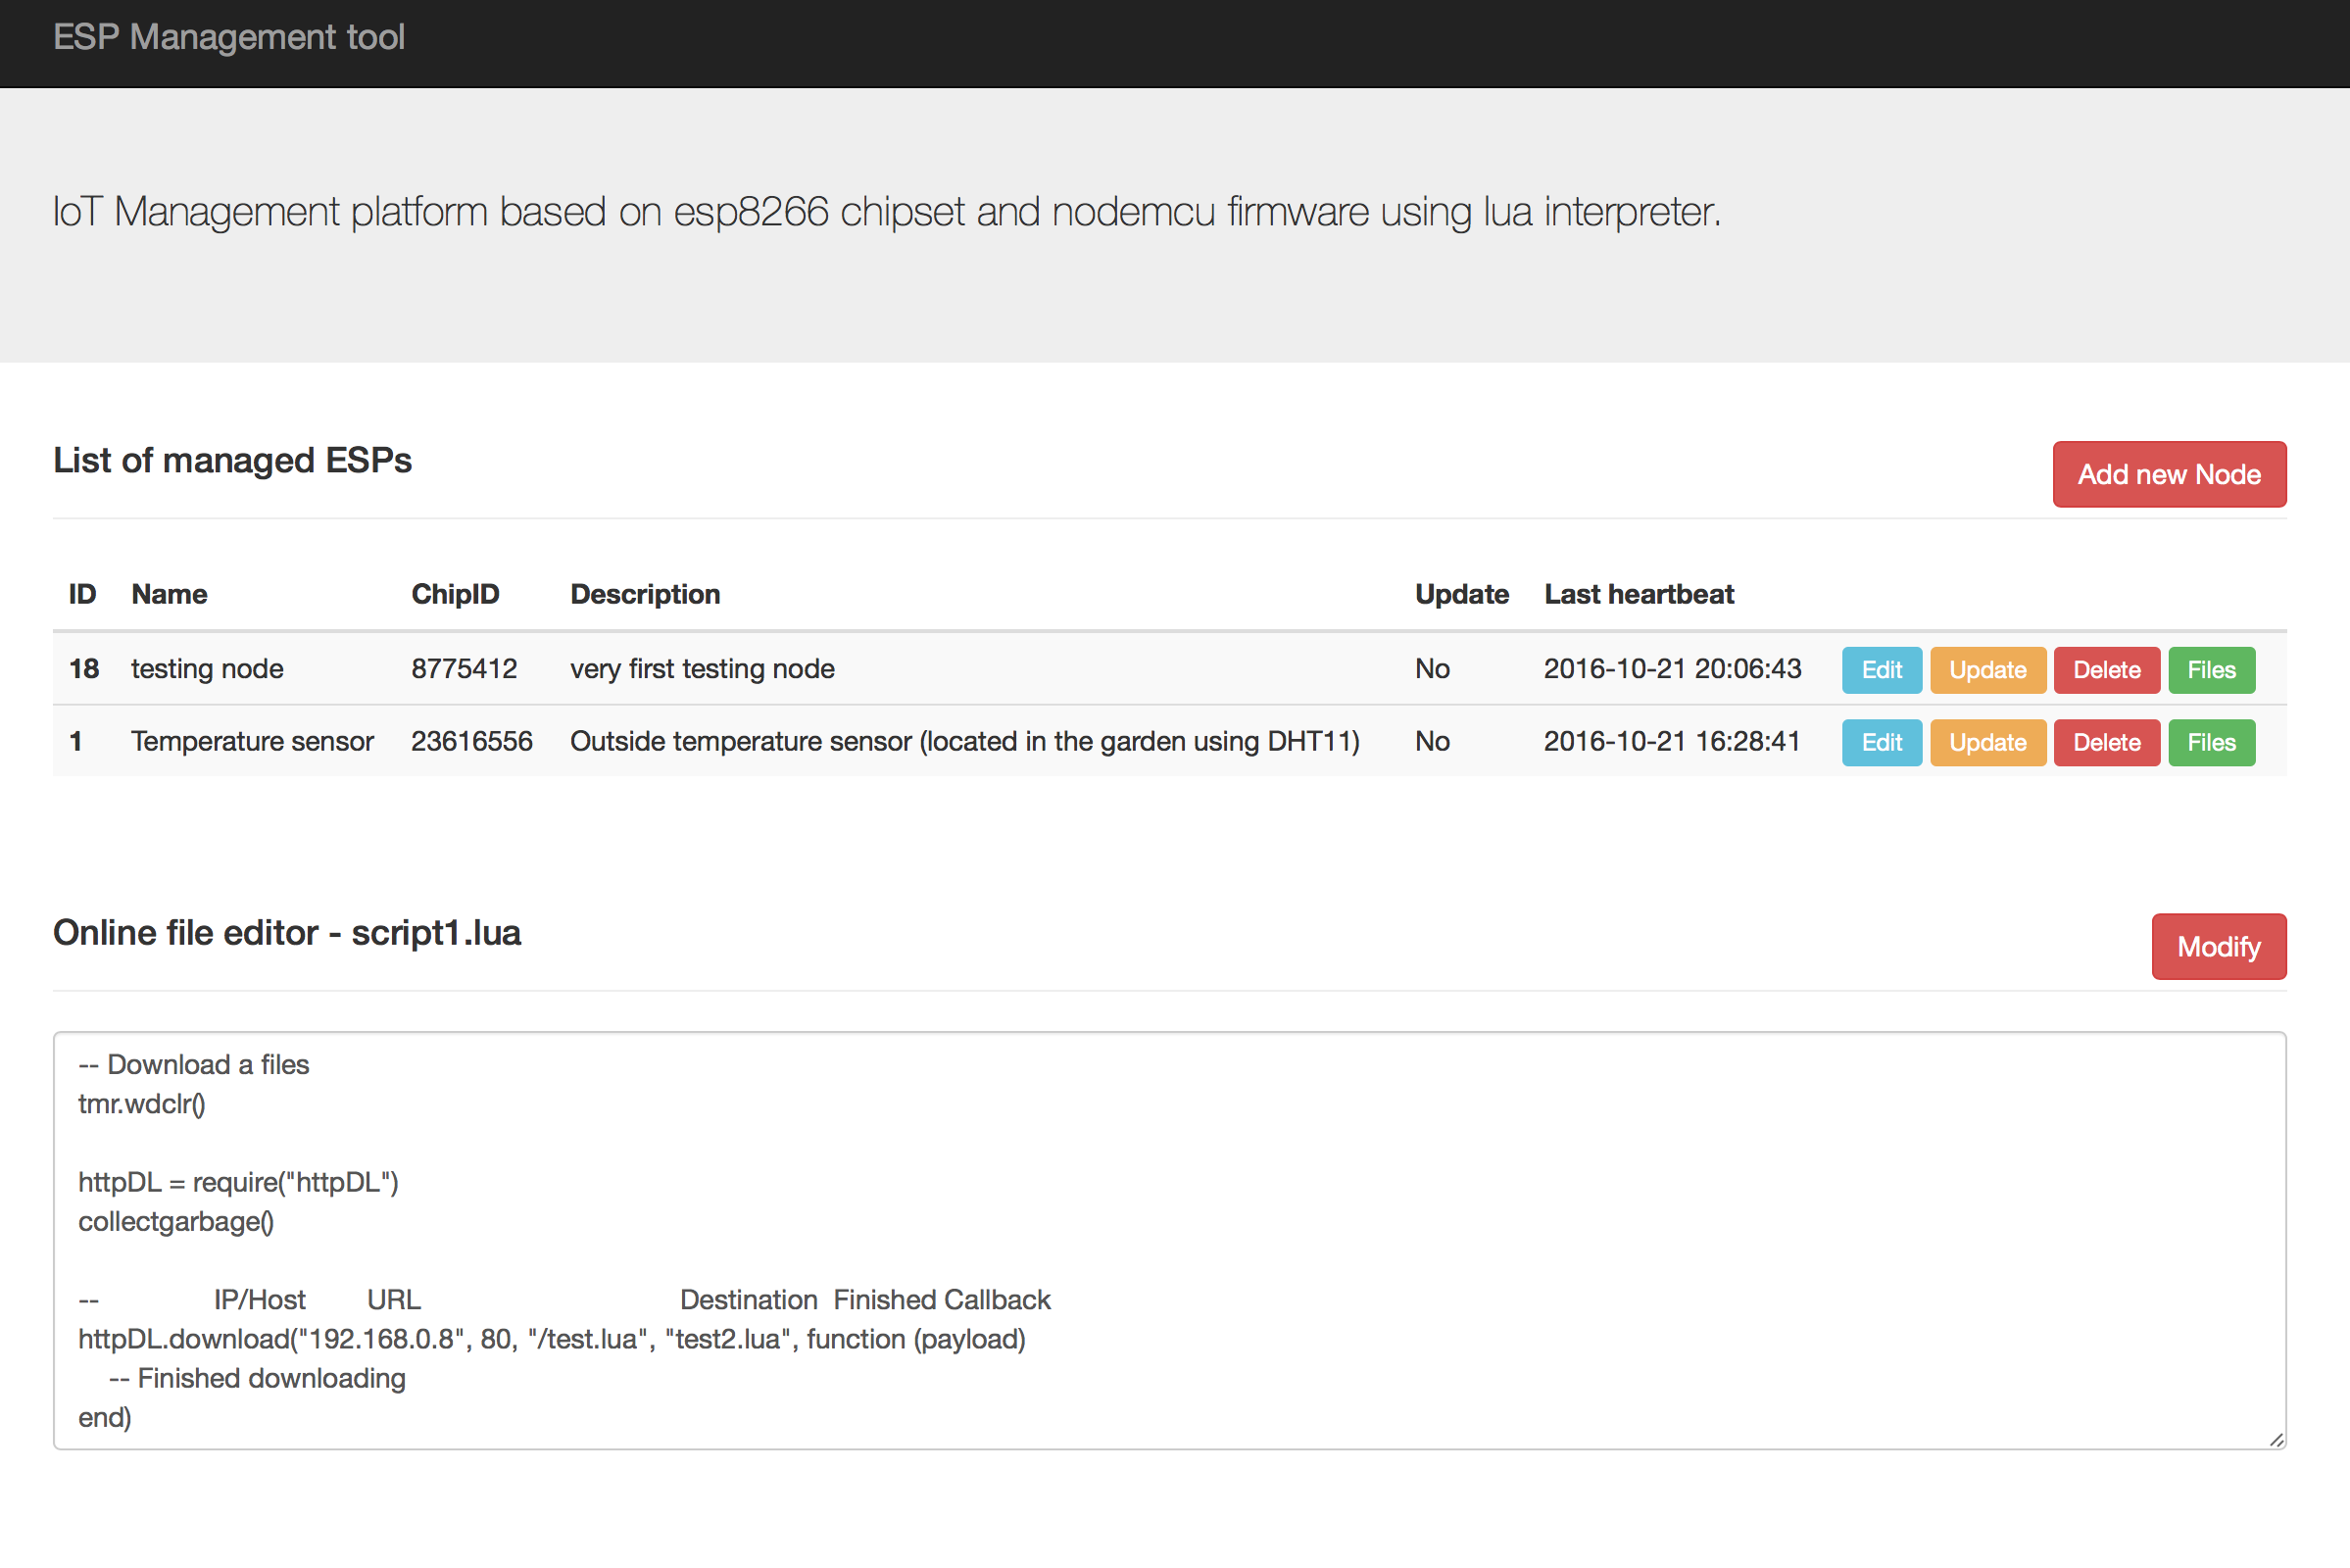
I was really inspired by Robo Durden and his nice work - ESPLoader - https://github.com/RoboDurden/ESPLoad however it was not really suitable for my purposes so I modified it a lot and the result is my new version of ESPLoader which got some fancy functionalities including web management (php + mysql) Please understand that I'm not the coder, so that's why some parts may looks strange, but finally it works quite well :)
The main goal was to update ESP8266 with nodemcu firmware easily using my server. Basic description how it works:
- Save all necessary files to ESP
- ESP start for the 1st time, no config there so start as AP with IP 192.168.4.1
- Connect to WIFI essid: WiFi_to_Config and open url http://192.168.4.1
- Enter all required fields such as essid, password, host, domain, path and update interval. Submit it.
- ESP will boot , find the config as s.txt load all variables and find that no scripts were downloaded yet, so it start the client to download it from server
- client script will be run. it will connect to server, get the list of files to be downloaded and then download each of them, compile
- After succesfull download the esp will restart and start the downloaded script and also check periodically for new update.
How to install it: Using ESPlorer or another tool upload init.lua, config.htm, client.lua and server.lua to the esp You should configure a webserver (raspberry pi) and create there a folder /esp/ and copy all files from folder WebUI_MNG to that folder. Import sql database to your mysql server (folder sql, filename: esp.sql). Edit config.php and insert your db credentials. If everything is OK you should be able to access management UI http://ip_of_your_server/esp/ There one can find a sample configuration.
As soon as your webserver is ready. Power on the esp8266. During the first boot process the ESP will show in console its chipid - please copy that. Configure the parameters via web gui and that's it. web GUI is accessible via http://192.168.4.1
parametrs are stored in s.txt and it includes
host= -ip of your webserver
path= -folder where you place the server php scripts (in my case it's esp folder)
ssid= -your AP essid
pwd= -pasword to your wifi
err= -used for error log
boot= -define which file must be executed
domain= -your webserver domain
update= -define the period of time when the esp will check for new upgrade files (defined in minutes)
Sample config (do it via web gui in AP mode) host=192.168.0.1 path=esp ssid=my_wifi pwd=my_pass123 err= boot= domain=mydomain.com update=60
As soon as you configure basic configuration to your esp8266, open management UI on your server, create a new node, use the chipid you copy and add some files you can you use simple script2.lua stored in WebUI_MNG/uploads/script2.lua Please note that you should mark the file with boot flag (if not then first file will be used as bootscript(it's a lua script which will be start automatically)). Using the UI you are able also edit script files and also do remote upgrade. To upgrade the esp just use UPDATE button. Heartbeat info show you the timestamp of last update check of your esp. If Update is marked as Yes, then next time the esp will be updated.
There still a lot of work to do, bugfix, optimize the code, ....
Hope you will enjoy it
For more details your emails are welcome - esp_ota(a)k0val.sk
