The RoboMaster EP is an autonomous vehicle platform equipped with a 4-axis palletizing robot arm and an encircling gripper for flexible gripping action, inspired by DJI's annual RoboMaster robotics competition. It provides Mecanum wheel omnidirectional movement, a fast wireless data link system including a real-time video stream, and an open SDK for further development and programming.
In order to match the theme of Sim2Real, we equip the RoboMaster EP with an external computing platform (NUC), as well as additional sensors, including onboard lidar and RGB-D cameras, for better perception of the environment.
An external computing platform is also prepared to communicate with EPs through the RoboMaster EP SDK. This platform is dedicated to running real applications in both simulated and real environments.
The specifications of the equipped NUC are listed as follows:
| Model | CPU | RAM | SSD |
|---|---|---|---|
| NUC11PAHI7 | i7-1165G7 (2.8GHz, 8 Cores) | 8GB | 256GB |
graph LR

A([ROS Master])

S([Server])

C([Client])

subgraph Net Bridge

S-..ROS topics..->C

C-..ROS topics..->S

C---A
A---S

end
This part serves as the communication pivot in ROS systems.
In stage 1, the task is performed in the simulated scene. Therefore, we build a digital twin of the testing scene in reality with habitat-sim and habitat-lab. This digital twin contains a refined simulation of the testing ground used in the later stage as well as the simulation of the EP itself.
The interfaces between the server and client are defined by ROS topics, and detailed definitions can be found here.
In this repo, we provide a baseline method for this task. A functional image can be obtained by building the image or pulling tb5zhh/icra-2023-client:latest.
Note that, due to the hardware resource constraints on EP, a launched client should be limited to using less than 6 CPUs and 8192MB memory. These constraints are imposed by the --cpus=5.6 -m 8192M arguments in `launch.sh. Do not remove them during development, or online testing performance may be significantly lower than local testing.
The baseline image (and potentially the images you built) is based on the base image docker.discover-lab.com:55555/rm-sim2real/client-base:v1.4.0. Basic functional units (e.g. keyboard control) are included in this base image. Please refer to this repo for further information on the base image.
The launching script launch.sh will create the docker network, the communicating core, the server and client container respectively:
scripts/launch.shYou can change the images used by specifying the environment variables SERVER_IMAGE and CLIENT_IMAGE:
# Suppose your client image is client-test:latest
CLIENT_IMAGE=client-test:latest scripts/launch.sh
This is especially useful when you are launching with the client image you built locally.
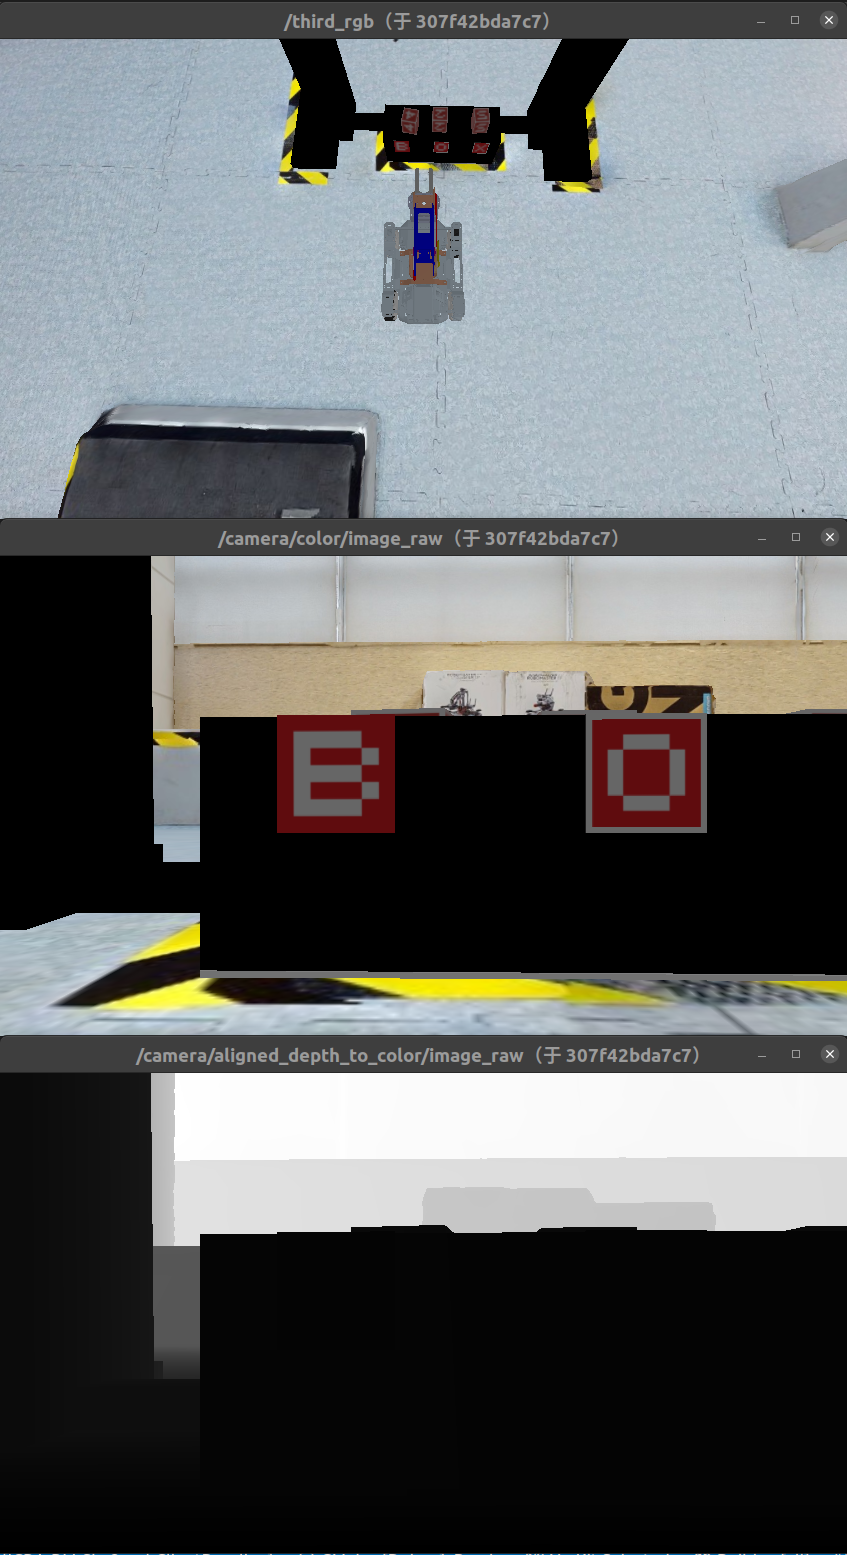
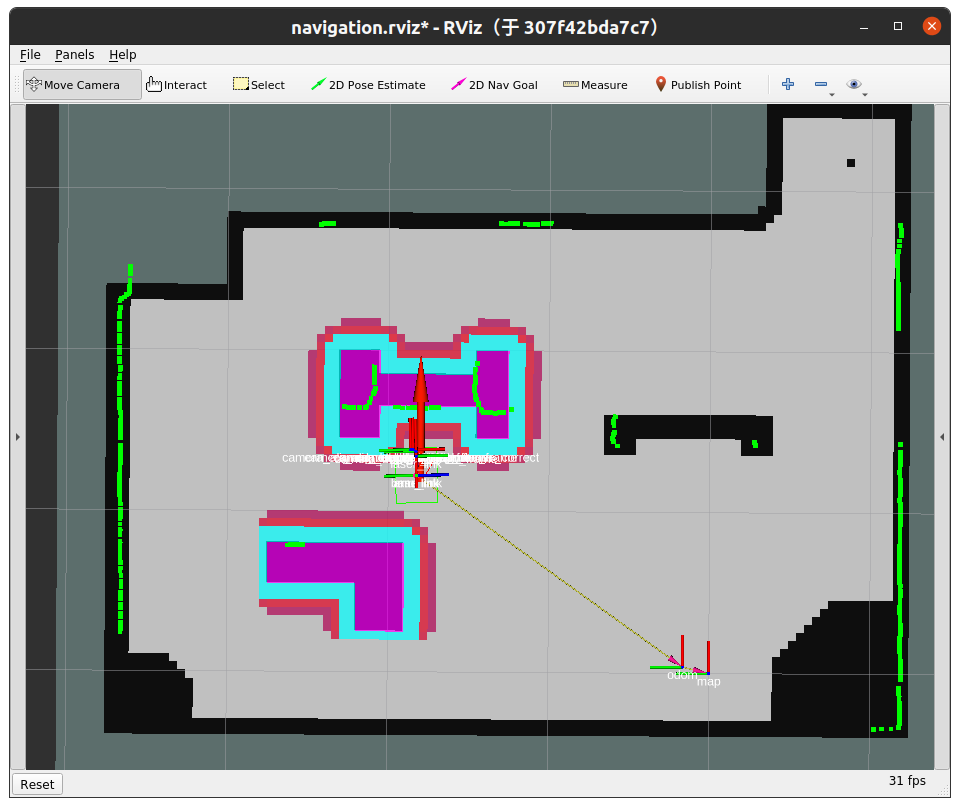
By default, if the launch is successful, three image-view windows and one cartographer window would appear on the screen:
If you wish to launch the simulation server and then create the client container without automatically starting the game, execute launch.sh with an additional start-point.
This is typically used for debugging before launching individual components of the client:
scripts/launch.sh bashThe visualization output should be the same as the part above (since the server is launched in the same way).
This script will stop all running containers and remove the network right away:
scripts/halt.shThis script will open a shell inside the client:
scripts/shell.shNote that, by default ROS commands (e.g. rostopic, roslaunch, rosrun) are ready to use without additional setup (no need to source setup.bash file).
Also, any changes made in a running container DOES NOT persist. It is suggested to use the shell for debugging only and use docker build (see build the container) for persistent changes.
shell.sh also accepts commands as arguments. For example:
scripts/shell.sh rostopic list -vUse scripts/kbd_control.sh to manually control EP:
scripts/kbd_control.shControl reference:
i: Move forwardj: Rotate counter clock-wisel: Rotate clock-wise,: Move backwardJ: Move horizontally to leftL: Move horizontally to rightk: Stop movingq: Increase robot speedz: Decrease robot speed1: Lower robot arm2: Lift robot arm3: Close gripper4: Open gripperCtrl + C: Stop listening keyboard inputs
judging.sh invokes rostopic echo which prints the /judgement/markers_time on the screen:
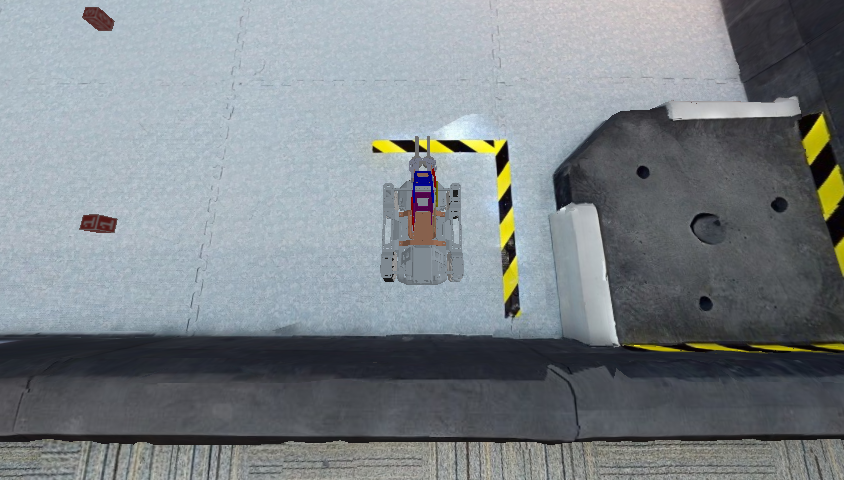
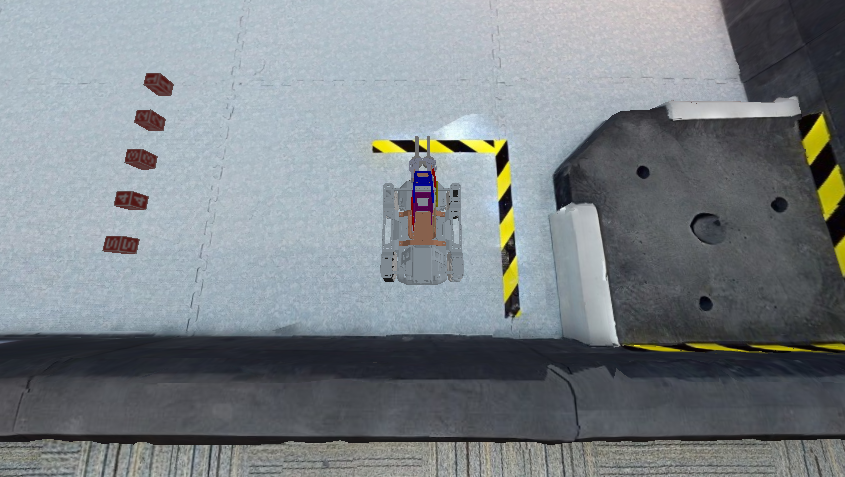
scripts/judging.shWe provide ROS interfaces for manually placing the minerals in the simulated environment. By default, the minerals are arranged in the same way of RM Sim2Real 2022.
To place the minerals at random positions:
docker exec -it client /opt/ros/noetic/env.sh /opt/workspace/devel_isolated/env.sh /opt/ep_ws/devel/env.sh rostopic pub -1 /reset geometry_msgs/Point "x: 0.0
y: 0.0
z: 0.0"
The x, y, and z values represent the index numbers of the minerals to be exchanged.
If the values of x, y, and z are not between 1 and 5 or the same, they will be set randomly.
To place the minerals at manually specified positions: (The PoseArray should have 5 entries)
docker exec -it client /opt/ros/noetic/env.sh /opt/workspace/devel_isolated/env.sh /opt/ep_ws/devel/env.sh rostopic pub -1 /pose_set geometry_msgs/PoseArray "header:
  seq: 0
  stamp:
    secs: 0
    nsecs: 0
  frame_id: ''
poses:
- position:
    x: 3.0
    y: 0.0
    z: 3.0
  orientation:
    x: 0.0
    y: 0.0
    z: 0.0
    w: 1.0
- position:
    x: 3.0
    y: 0.0
    z: 3.15
  orientation:
    x: 0.0
    y: 0.0
    z: 0.0
    w: 1.0
- position:
    x: 3.0
    y: 0.0
    z: 3.3
  orientation:
    x: 0.0
    y: 0.0
    z: 0.0
    w: 1.0
- position:
    x: 3.0
    y: 0.0
    z: 3.45
  orientation:
    x: 0.0
    y: 0.0
    z: 0.0
    w: 1.0
- position:
    x: 3.0
    y: 0.0
    z: 3.6
  orientation:
    x: 0.0
    y: 0.0
    z: 0.0
    w: 1.0

"
If the number of poses is less than five or if the pose is invalid, it will be set to a random value.
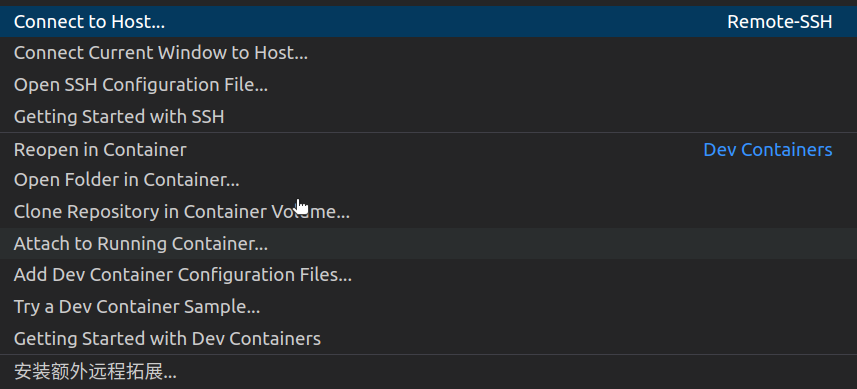
Install the extension for remote developing of the docker container (ms-vscode-remote.remote-containers):
Click the remote development button in the left-bottom corner and then select "Attach to Running Container":
Then choose the running client container (i.e., /client) and then open the folder /opt/ep_ws/src. Now you should be able to make changes directly to the files inside the docker.
Note that any changes made in this way DOES NOT persist. Once the container is stopped and removed, changes will be lost. It is suggested to use the shell for debugging only and use docker build (see build the container) for persistent changes.
A Dockerfile is included in this repository. To build a newer client image, execute:
# Build with name `client-custom` and tag `latest`
docker build . -t client-custom:latest
By default, the codes for controlling are located in src/ (src/ in this repo). When building a client image, all codes under src/ will be copied to /opt/ep_ws/src/rmus_solution in the image.
Inside the image, /opt/ep_ws is the ROS workspace directory. Later in the dockerfile, catkin_make is run in this directory.
The entry for the client is fixed to start.sh in the root of repo. When the image is building, this script is copied to /opt/start.sh and serves as the main entry for the client. The content of this file can be changed arbitrarily to suit the requirements,** but the name of the script (start.sh) should not be changed**.
If additional apt and pip requirements are needed in the newer image, please modify Dockerfile to obtain these packages at compile time.
Change these lines to add more apt dependencies:
# Install extra dependencies with apt
RUN apt-get update && \
     apt-get install -y --no-install-recommends \
     ros-noetic-depthimage-to-laserscan ros-noetic-map-server python3-tf-conversions ros-noetic-global-planner && \
     rm -rf /var/lib/apt/lists/* && apt-get clean
Change these lines to add more pip dependencies:
# Install extra dependencies with pip
RUN pip3 install -i https://pypi.tuna.tsinghua.edu.cn/simple scipySubmitting images requires registering for the ICRA Robomaster Sim2Real challenges. Please sign up before proceeding.
After registration, you will be authorized the access to our docker registry. We will provide these infomation:
username: registry login usernamepassword: initial registry login password. Change it asap on the websiteproject name: the project name of your team in the registry, which corresponds to your team nameinquire hash: url suffix for results inquiry. detailed later
If you wish to submit the image for online testing, please first log in:
docker login docker.discover-lab.com:55555You will be prompted to enter your username and password, which are the same as the username and password of the registry.
Then, build your image:
CLIENT_IMAGE=docker.discover-lab.com:55555/[project_name]/client:[tag] bash scripts/build.shReplace [project_name] with your project name in the registry. To request a simulation test, [tag] should starts with sim-. To request a real test, [tag] should starts with real-. Note that, images whose name are not client will be ignored by the online testing system.
After that, push your image to our registry:
docker push docker.discover-lab.com:55555/[project_name]/client:[tag]You may find the testing result of your images on https://sim2real.discover-lab.com:11011/list/[inquire_hash].
You may refer to this page for copying files between containers and the host.
Normally, when you need to update sources in the containers, you should change the source codes in this repo and refer to this part to build an updated image. Directly copying files into containers should be used for debugging only.
To invoke routines of indivisual components of the baseline, see routines.md.
See reference.md.

