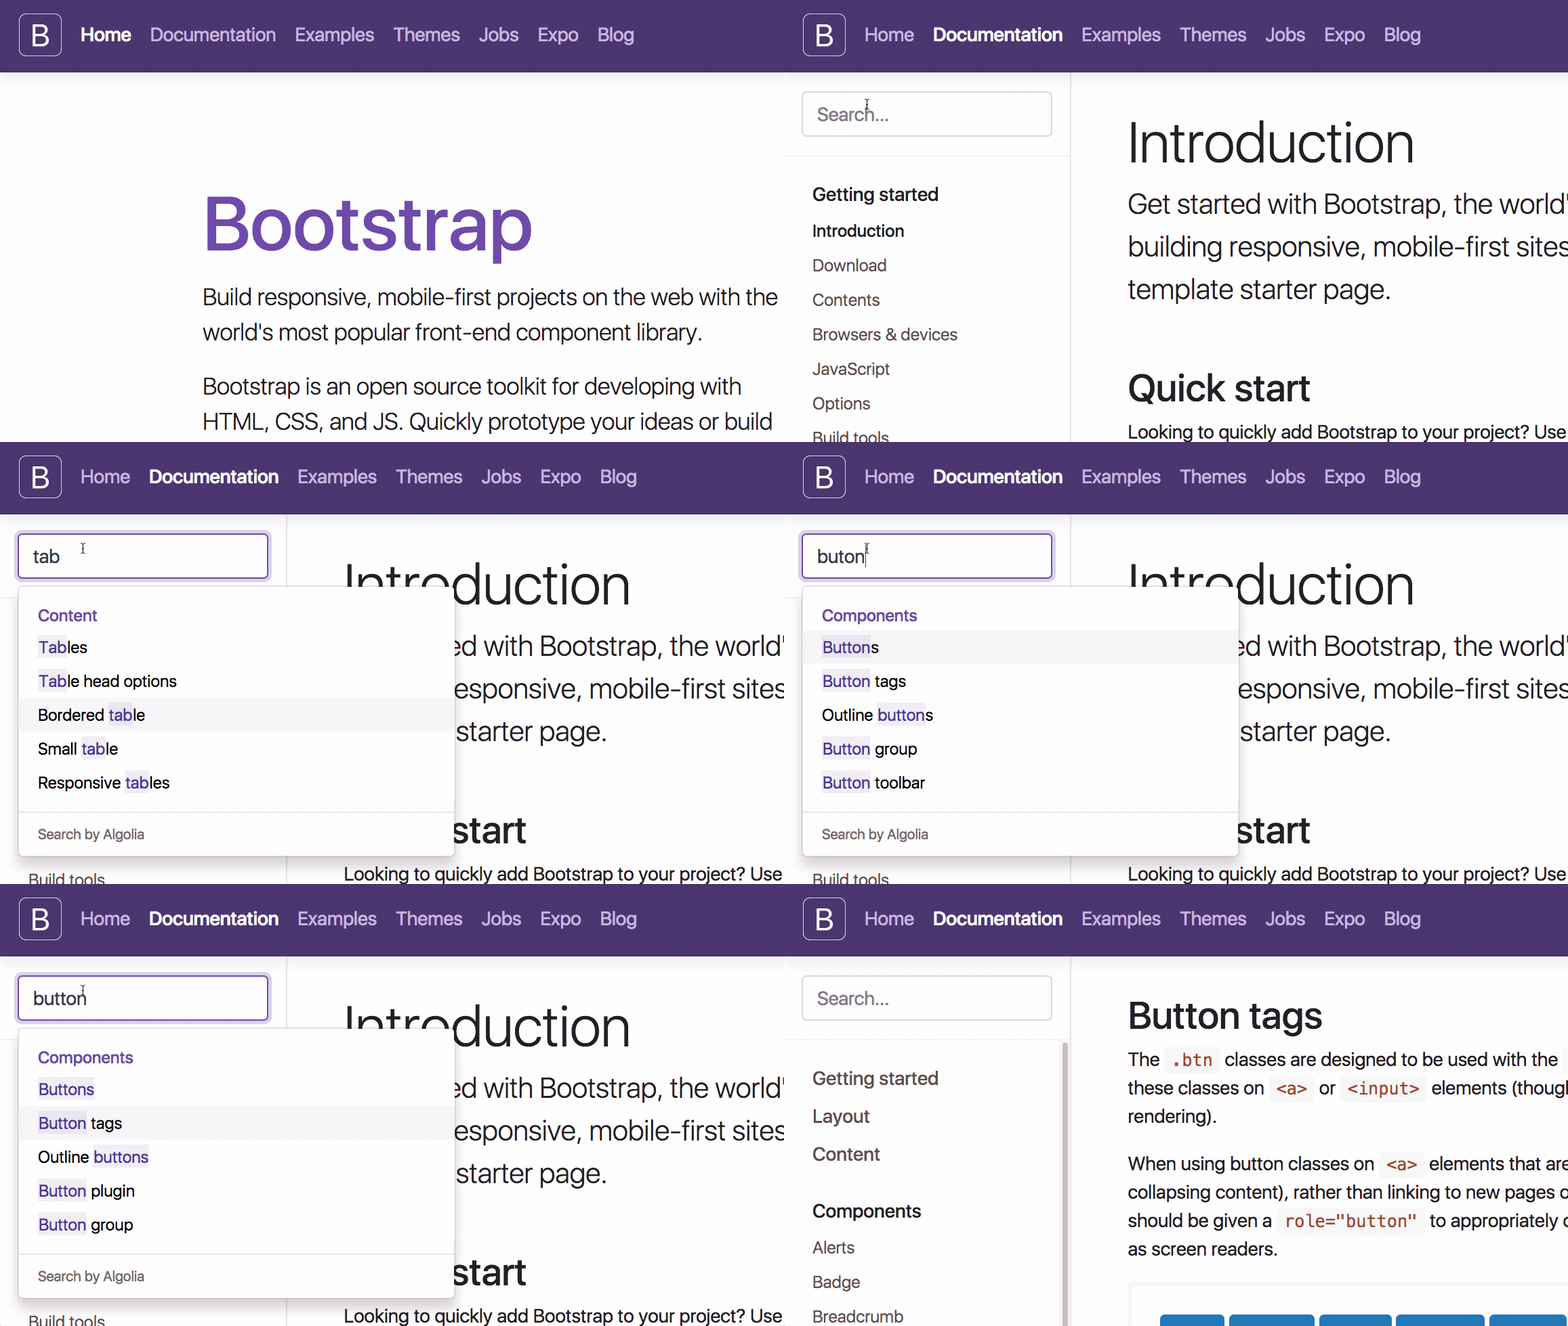
The easiest way to add search to your documentation. For free.
Check out our website to add an outstanding search to your documentation.
We're scratching our own itch here. As developers, we spend a lot of time reading documentation, and it isn't always easy to find the information we need.
Not blaming anyone here. Building a good search for a documentation is a complex challenge. We happen to have a lot of experience doing that, and we want to share it with the world. For free.
Just submit the form on the website and we'll get back to you with what you need to integrate your new search into your website.
- We'll crawl your documentation pages,
- We'll configure your search experience,
- You'll need to add a bit of JavaScript and CSS code to your website.
If you prefer to DIY, you can run the scraper in your own infra.
Once we've crawled your documentation website we'll send you the credentials you need to add the following code snippet to your website:
<link rel="stylesheet" href="https://cdn.jsdelivr.net/docsearch.js/2/docsearch.min.css" />
<script type="text/javascript" src="https://cdn.jsdelivr.net/docsearch.js/2/docsearch.min.js"></script>
<script type="text/javascript">
docsearch({
  apiKey: '<API_KEY>',
  indexName: '<INDEX_NAME>',
  inputSelector: '<YOUR_INPUT_DOM_SELECTOR>'
});
</script>
You can also install docsearch via npm:
npm install --save docsearch.jsWe're happy to provide DocSearch free of charge for your site, and you're welcome to customise that experience in a way that works for you; all we ask is that Algolia be attributed within the search context. For example, in the default implementation, we place a small "Search by Algolia" logo in the corner. If you prefer to roll your own UX, you'll need to make sure that this logo is included in your implementation as well.
The default colorscheme is white and gray:
To update the colors to suit your website, you just need to override a few colors. Here is an example of a CSS file that you can use as a basis to set white and purple colors.
/* Bottom border of each suggestion */
.algolia-docsearch-suggestion {
  border-bottom-color: #3A3DD1;
}
/* Main category headers */
.algolia-docsearch-suggestion--category-header {
  background-color: #4B54DE;
}
/* Highlighted search terms */
.algolia-docsearch-suggestion--highlight {
  color: #3A33D1;
}
/* Highligted search terms in the main category headers */
.algolia-docsearch-suggestion--category-header .algolia-docsearch-suggestion--highlight  {
  background-color: #4D47D5;
}
/* Currently selected suggestion */
.aa-cursor .algolia-docsearch-suggestion--content {
  color: #272296;
}
.aa-cursor .algolia-docsearch-suggestion {
  background: #EBEBFB;
}

/* For bigger screens, when displaying results in two columns */
@media (min-width: 768px) {
  /* Bottom border of each suggestion */
  .algolia-docsearch-suggestion {
    border-bottom-color: #7671df;
  }
  /* Left column, with secondary category header */
  .algolia-docsearch-suggestion--subcategory-column {
    border-right-color: #7671df;
    background-color: #F2F2FF;
    color: #4E4726;
  }
}If you want to do heavy changes to the way results are displayed, you might find
it easier to directly edit the scss files in this repository.
_variables.scss
contains all the color, breakpoints and size definitions while
main.scss
holds the structure of the display.
You can regenerate the whole final css file from those scss files by running
npm run build:css. The resulting files will be found in ./dist/cdn/.
All you have to do now is change the link tag that was loading the default
styling from our CDN, to one that is loading your newly compiled file.
DocSearch is a wrapper around the autocomplete.js library that gets its results from the Algolia API. As such, you can use any options provided by autocomplete.js and by the Algolia API.
You can pass any options to the underlying autocomplete instance through
theautocompleteOptions parameter. You will find all autocomplete options in
its own documentation.
You can also listen to autocomplete events through the .autocomplete
property of the docsearch instance.
var search = docsearch({
  apiKey: '<API_KEY>',
  indexName: '<INDEX_NAME>',
  inputSelector: '<YOUR_INPUT_DOM_SELECTOR>',
  debug: true,
  autocompleteOptions: {
    // See https://github.com/algolia/autocomplete.js#options
    // For full list of options
  }
});

// See https://github.com/algolia/autocomplete.js#custom-events
// For full list of events
search.autocomplete.on('autocomplete:opened', function(e) {
  // Do something when the dropdown menu is opened
});We already bind the autocomplete:selected event inside the docsearch.
If you want to replace the default behavior you can pass the handleSelected option.
var search = docsearch({
  apiKey: '<API_KEY>',
  indexName: '<INDEX_NAME>',
  inputSelector: '<YOUR_INPUT_DOM_SELECTOR>',
  handleSelected: function (input, event, suggestion) {
  }
});If you want modify the query before it is send to Algolia you can pass the queryHook option.
var search = docsearch({
  apiKey: '<API_KEY>',
  indexName: '<INDEX_NAME>',
  inputSelector: '<YOUR_INPUT_DOM_SELECTOR>',
  queryHook: function (query) {
      return query + "_modified";
  }
});If you want to modify the hits before displaying them you can make use of the
transformData option
var search = docsearch({
  apiKey: '<API_KEY>',
  indexName: '<INDEX_NAME>',
  inputSelector: '<YOUR_INPUT_DOM_SELECTOR>',
  transformData: function (hits) {
    // modify hits
    return hits;
  }
});
You can also pass any specific option to the Algolia API to change the way
records are returned. You can pass any options to the Algolia API through
the algoliaOptions parameter.
docsearch({
  appId: '<APP_ID>', // if you are running the crawler yourself
  apiKey: '<API_KEY>',
  indexName: '<INDEX_NAME>',
  inputSelector: '<YOUR_INPUT_DOM_SELECTOR>',
  algoliaOptions: {
    hitsPerPage: 10
  }
});
You will find all Algolia API options in its own documentation.
See CONTRIBUTING


