Next.js/Astra Starter
10 minutes, Beginner, Start Building
A sample Next.js + DataStax Astra starter app that leverages the AstraDB REST API to manage a character database.

Objectives
- Provide a fullstack development example using Astra as the storage backend
How this works
Once the Astra credentials are provided, the necessary tables are created in the database and sample data is inserted. The webservice will be available on port 3000 once the application has been deployed. Once the application is running, you can begin to make changes to your app by editing pages/index.js.
Next.js is an open-source JavaScript framework that lets you build server-side rendering and static web applications using React. It is not nescessary to configuration of webpack or similar to start using Next.js, as it comes with its configuration. This make it very simple to start a project, as we only need to execute simple commands and the project is ready.
Vercel is a cloud platform for static sites and Serverless Functions, it enables developers to host Jamstack websites and web services that deploy instantly. You also have the option to deloy this app in Vercel.
Get Started
To build and play with this app, follow the build instructions that are located here: https://github.com/DataStax-Examples/astra-next.js-starter
Running Next.js/Astra Starter
Follow the instructions below to get started.
Prerequisites
Let's do some initial setup by creating a serverless(!) database.
DataStax Astra
-
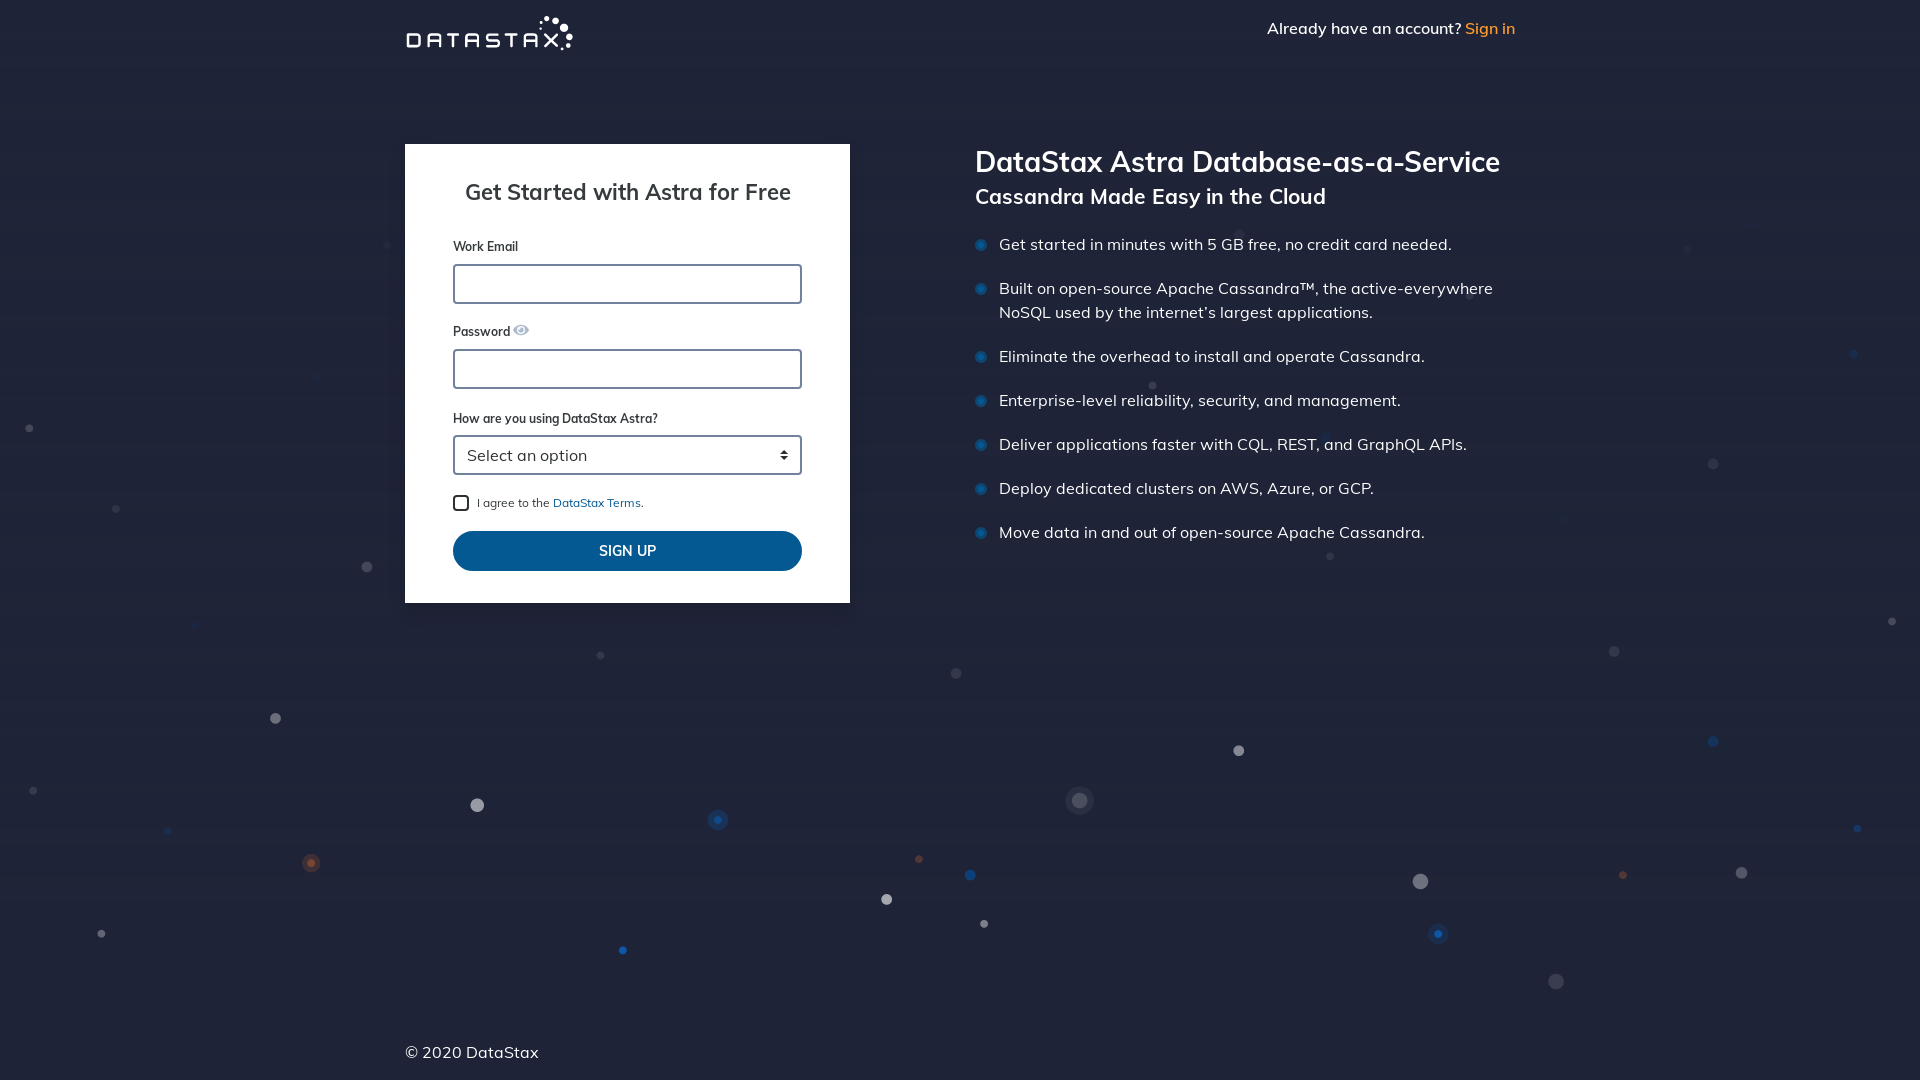
Create a DataStax Astra account if you don't already have one:
-
On the home page. Locate the button
Create Database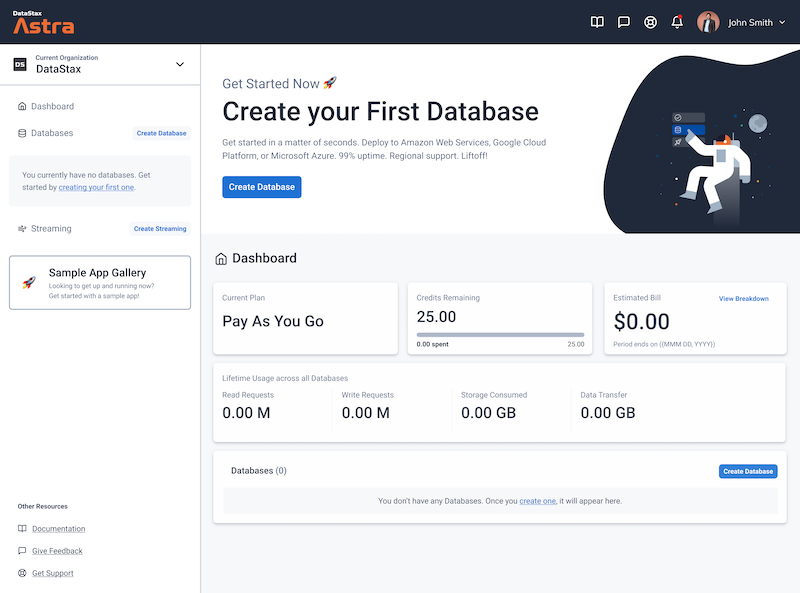
-
Locate the
Get Startedbutton to continue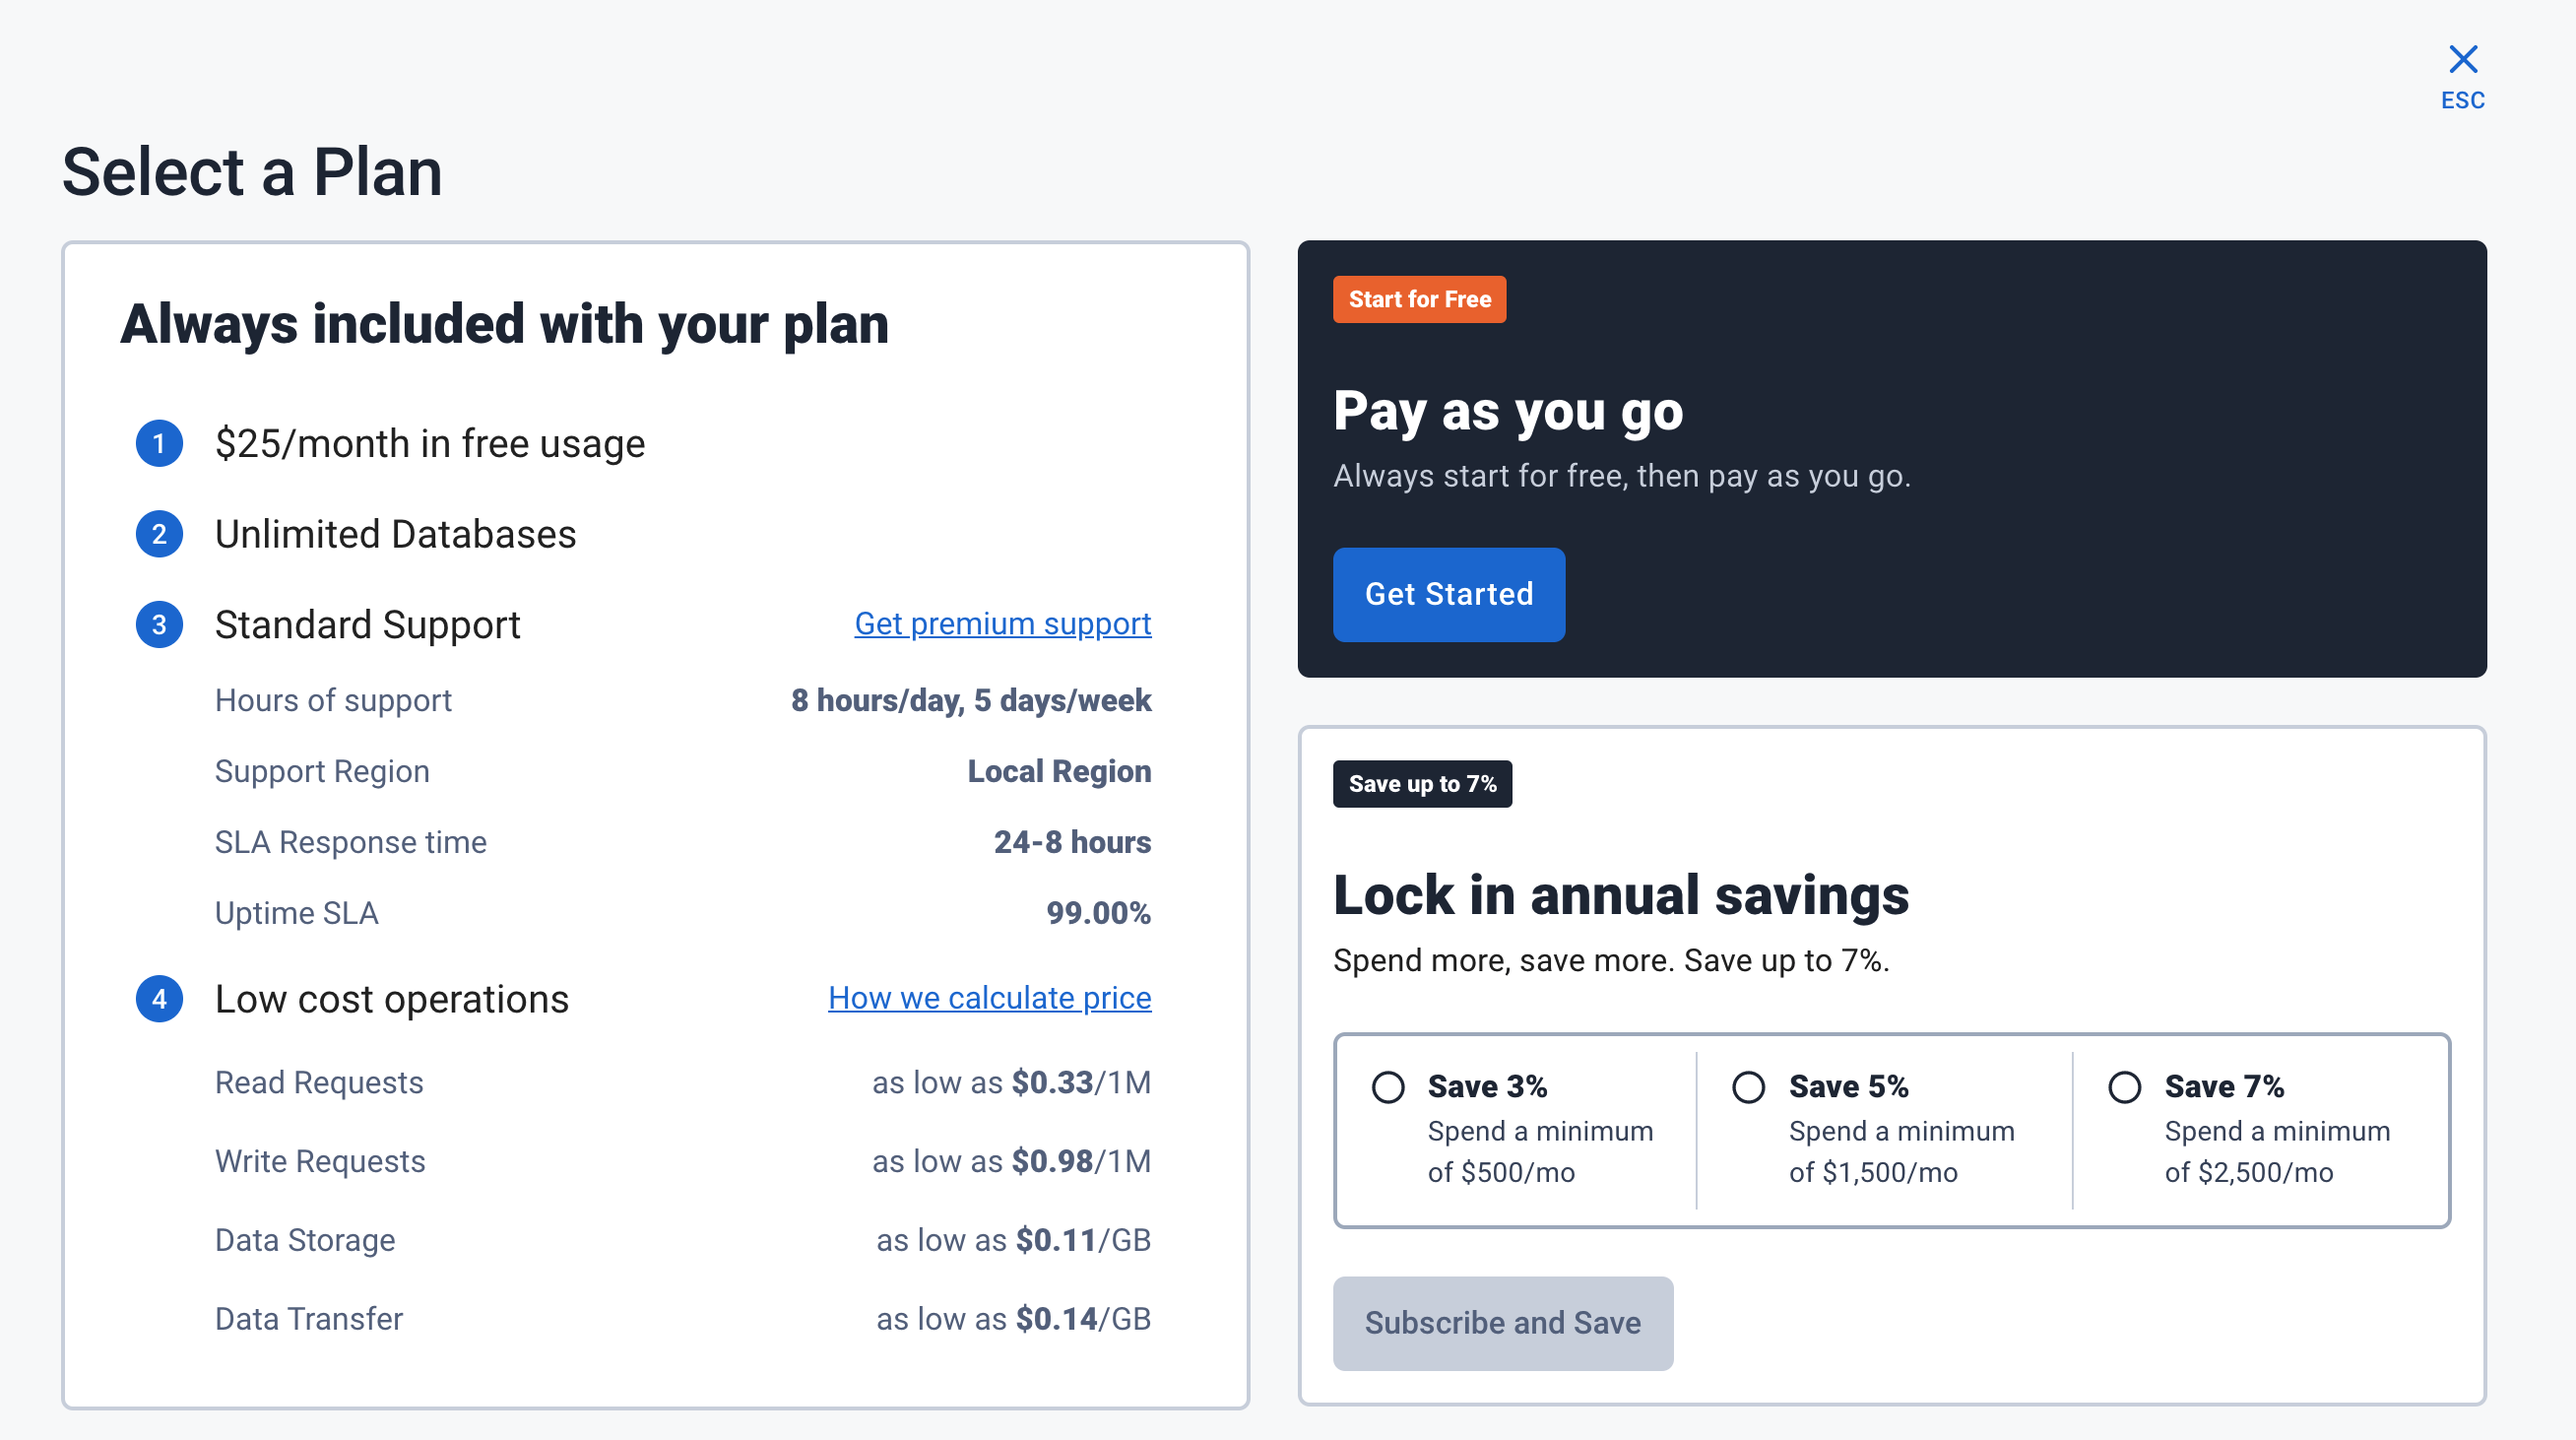
-
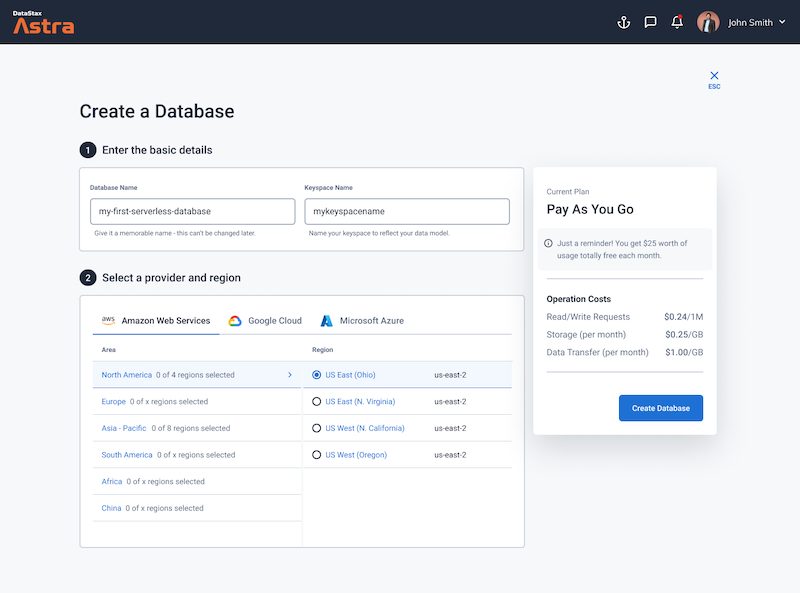
Define a database name, keyspace name and select a database region, then click create database.
-
Your Astra DB will be ready when the status will change from
PendingtoActive💥💥💥
-
After your database is provisioned, we need to generate an Application Token for our App. Go to the
Settingstab in the database home screen.
-
Select
Admin Userfor the role for this Sample App and then generate the token. Download the CSV so that we can use the credentials we need later.
-
After you have your Application Token, head to the database connect screen and copy the connection information that we'll need later. We'll replace
ASTRA_DB_APPLICATION_TOKENwith theTokenvalue that is part of your Application Token.
Github
-
Click
Use this templateat the top of the GitHub Repository:
-
Enter a repository name and click 'Create repository from template':
-
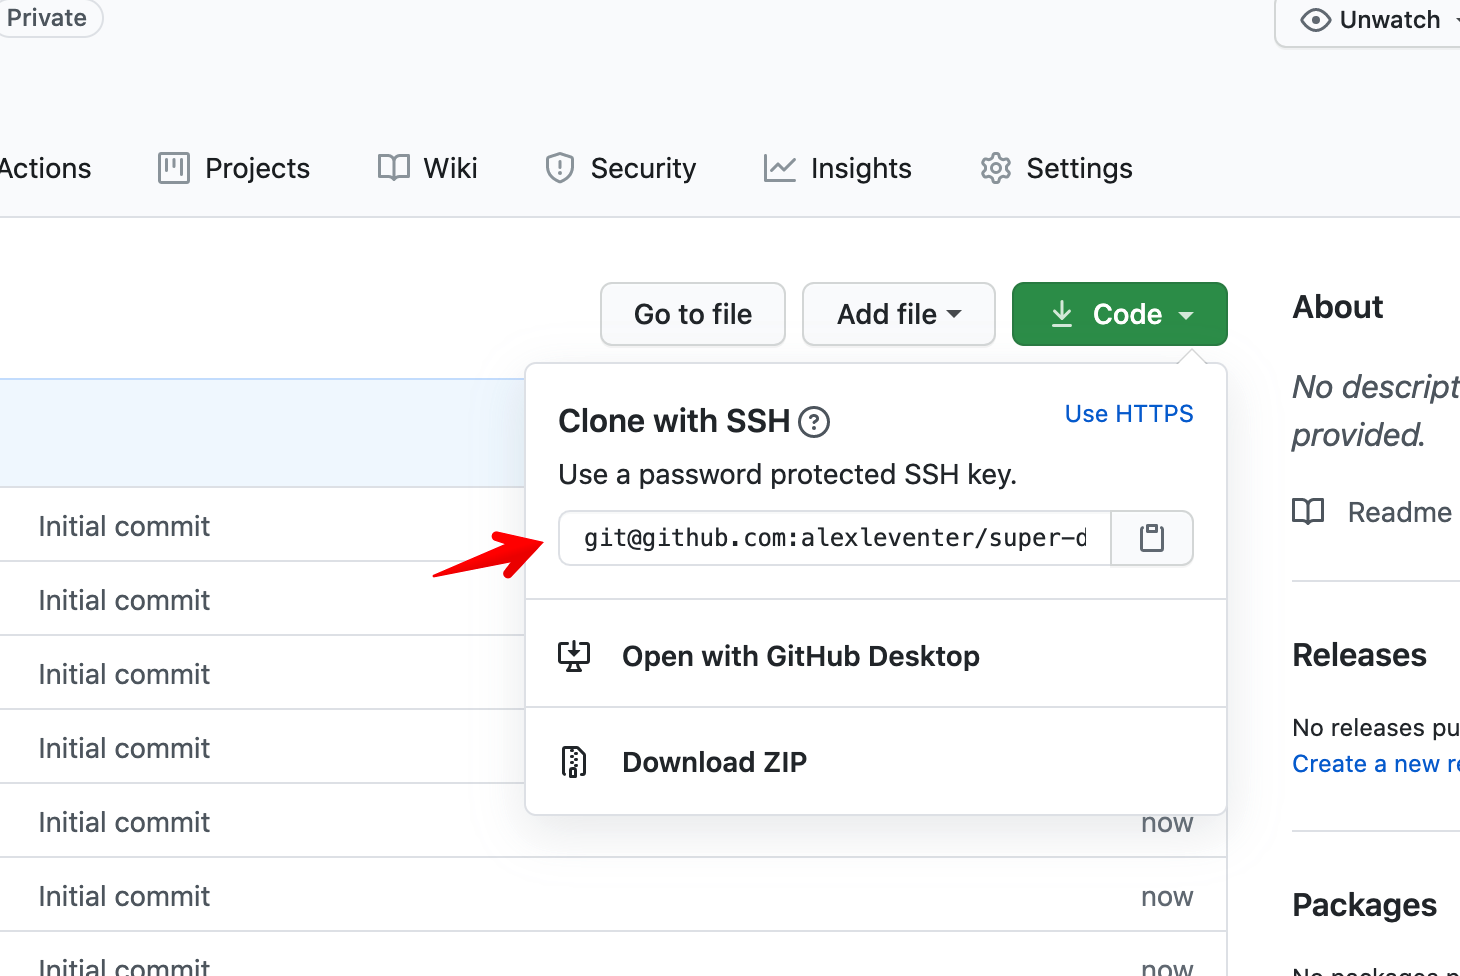
Clone the repository:
🚀 Getting Started Paths:
Make sure you've completed the prerequisites before starting this step
Running on your local machine
-
cdinto the cloned repository. Install Node dependencies with Yarn:yarn install(Alternatively, use npm:npm install) -
Run the set up script:
. ./gitpod-setup.sh -
Start your app by running:
yarn startornpm start -
You can view your app at http://localhost:3000/:

Running on GitPod
-
Click the 'Open in GitPod' link:
-
Wait for your GitPod workspace to start:

-
Set your Astra credentials (from prerequisites) in the GitPod terminal at the bottom of the screen:

-
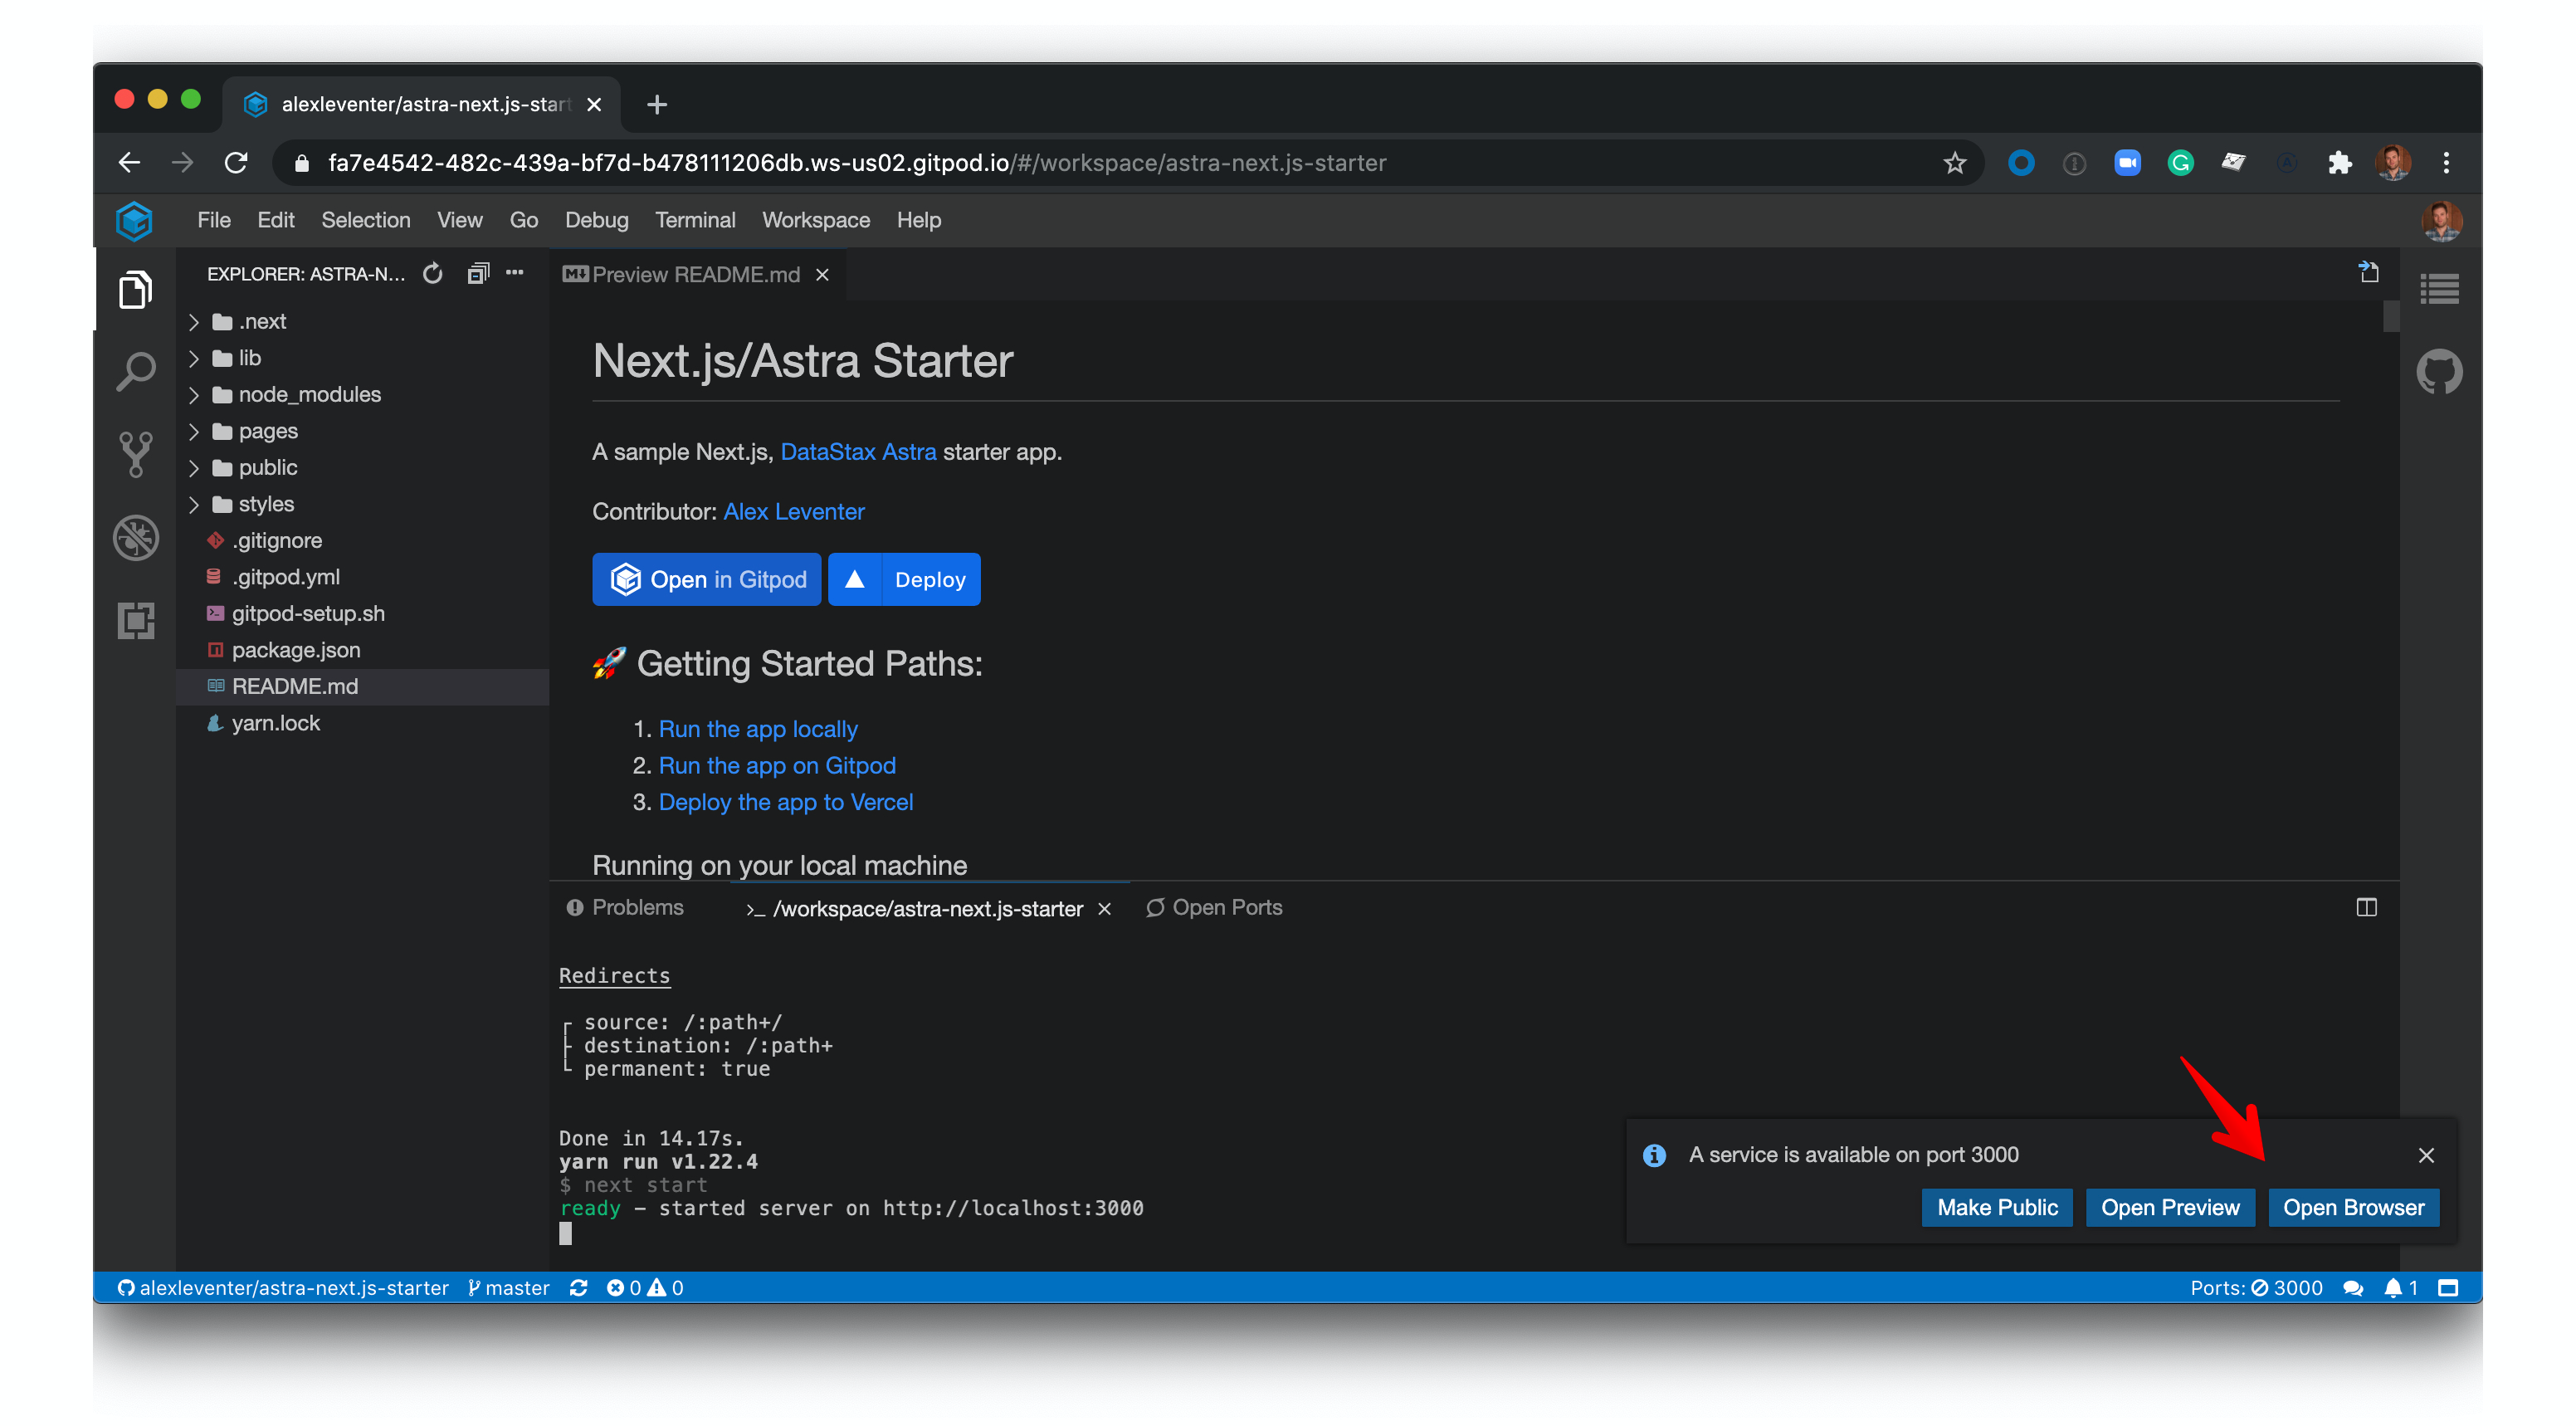
Click the 'Open browser' button in the bottom right of the screen:
-
View your application:

Deploying to Vercel
-
Click the 'Deploy' button:
-
Click continue:

-
Install Vercel for Github:

-
Enter your Astra database details and click deploy:

-
Click visit to view your live app:
