GPUTUM FEM Solver is a C++/CUDA library written to solve an FEM linear system. It is designed to solve the FEM system quickly by using GPU hardware.
The code was written by Zhisong Fu and T. James Lewis at the Scientific Computing and Imaging Institute, University of Utah, Salt Lake City, USA. The theory behind this code is published in the papers linked below. Table of Contents
- [Linux and OSX](#linux-and-osx)
- [Windows](#windows)
- [Running Examples](#running-examples) - [Using the Library](#using-the-library) - [Testing](#testing)
** Architecting the Finite Element Method Pipeline for the GPU**
AUTHORS:
Zhisong Fu(a)
T. James Lewis(b)
Robert M. Kirby(a)
Ross T. Whitaker(a)
This library solves for the partial differential equations and coefficients values
on vertices located on a tetrahedral or triangle mesh on the GPU. Several mesh formats
are supported, and are read by the TetGen Library and the
TriMesh Library.
The METIS library is used to partition unstructured
meshes.
Google Test is used for testing.
Requirements
- Git, CMake (3.0+ recommended), and the standard system build environment tools.
- You will need a CUDA Compatible Graphics card. See here You will also need to be sure your card has CUDA compute capability of at least 2.0.
- SCI-Solver_FEM is compatible with the latest CUDA toolkit (7.0). Download here.
- This project has been tested on OpenSuse 12.3 (Dartmouth) on NVidia GeForce GTX 570 HD, Ubuntu 14.04 on NVidia GeForce GTX 560 Ti, Windows 7 on NVidia GeForce GTX 775M, and OSX 10.10 on NVidia GeForce GTX 775M.
- If you have a CUDA compatible card with the above operating systems, and are experiencing issues, please contact the repository owners.
- Windows: You will need Microsoft Visual Studio 2013 build tools. This document describes the "NMake" process.
- OSX: Please be sure to follow setup for CUDA here. There are several compatability requirements for different MAC machines, including using a different version of CUDA (ie. 5.5).
Note: For all platforms, you may need to specify your CUDA toolkit location (especially if you have multiple CUDA versions installed):
cmake -DCUDA_TOOLKIT_ROOT_DIR="~/NVIDIA/CUDA-7.0" ../src(Assuming this is the location).
Note: If you have compile errors such as undefined reference: atomicAdd, it is likely you need to set your compute capability manually. CMake outputs whether compute capability was determined automatically, or if you need to set it manually. The default (and known working) minimum compute capability is 2.0.
cmake -DCUDA_COMPUTE_CAPABILITY=20 ../src
makeYou will need to enable examples in your build to compile and run them
cmake -DBUILD_EXAMPLES=ON ../src
make
You will find the example binaries built in the build/examples directory.
Run the examples in the build directory:
examples/Example1
examples/Example2
...
Each example has a -h flag that prints options for that example.
Follow the example source code in src/examples to learn how to use the library.
To run examples similar to the paper, the following example calls would do so:
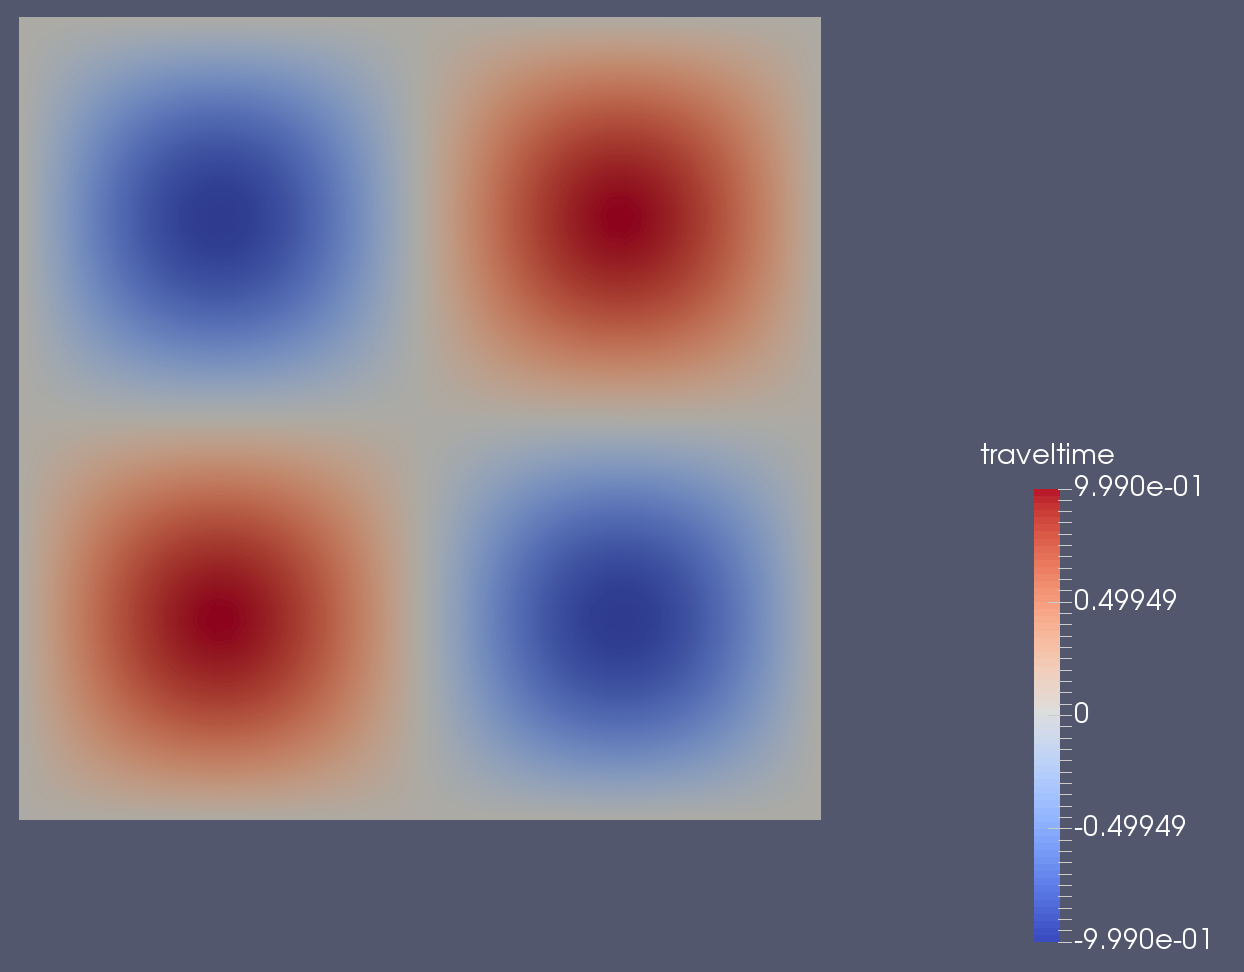
2D FEM, Egg Carton
examples/Example2 -v -i ../src/test/test_data/simple.ply -A "../src/test/test_data/simpleTri.mat" -b "../src/test/test_data/simpleTrib.mat"
NOTE All examples output a set of result.vtk (name based off input
filename) VTK files in the current directory. These files are easily viewed via VTK readers like Paraview.
You can clip and add iso-values to more distinctly visualize the result. An output.mat
MATLAB file is also written to file (solution coefficients).
A basic usage of the library links to the libFEM_CORE library during build and
includes the headers needed, which are usually no more than:
#include "FEMSolver.h"Then a program would setup the FEM parameters using the
"FEMSolver object" object and call
object.solveFEM() to generate
the answer matrices.
Here is a minimal usage example (using a tet mesh).
#include <FEMSolver.h>
int main(int argc, char *argv[])
{
  //the filename in the constructor below means ~/myTetMesh.node & ~/myTetMesh.ele
  FEMSolver data("~/myTetMesh", false, true); // tet mesh, not a tri mesh, and verbose
  //read in your Matrices (A matrix object is a member of FEMSolver)
  data.readMatlabSparseMatrix("~/A_MATRIX.mat");
  Vector_h_CG b_h(cfg.getMatrixRows(), 1.0);
  data.readMatlabArray("~/b_array.mat", &b_h)
  //The answer vector.
  Vector_h_CG x_h(cfg.getMatrixRows(), 0.0);
  //Run the solver
  data.solveFEM(&x_h, &b_h);
  //now use the result
  data.writeMatlabArray("outputName.mat", x_h);
  //write the VTK
  std::vector<double> vals;
  for (size_t i = 0; i < x_h.size(); i++){
    vals.push_back(x_h[i]);
  }
  data.writeVTK(vals, "outputName");
  return 0;
}
You can access the A matrix and meshes directly:
TetMesh * FEMSolver::tetMesh_;
TriMesh * FEMSolver::triMesh_; class FEMSolver {
bool verbose_; // output verbosity
std::string filename_; // mesh file name
int maxLevels_; // the maximum number of levels
int maxIters_; // the maximum solve iterations
int preInnerIters_; // the pre inner iterations for GSINNER
int postInnerIters_; // the post inner iterations for GSINNER
int postRelaxes_; // the number of post relax iterations
int cycleIters_; // the number of CG iterations per outer iteration
int dsType_; // data structure type
int topSize_; // max size of coarsest level
int randMisParameters_; // max size of coarsest level
int partitionMaxSize_; // max size of of the partition
int aggregatorType_; // aggregator oldMis (0), metis bottom up (1),
// metis top down (2), aggMisGPU (3), aggMisCPU (4), newMisLight (5)
int convergeType_; // the convergence tolerance algorithm <absolute (0)|relative (1)>
double tolerance_; // the convergence tolerance
int cycleType_; // the cycle algorithm <V (0) | W (1) | F (2) | K (3)>
int solverType_; // the solving algorithm <AMG (0) | PCG (1)>
double smootherWeight_; // the weight parameter used in a smoother
double proOmega_; // the weight parameter used in prolongator smoother
int device_; // the GPU device number to specify
int blockSize_;
...
};You will need to make sure your CMake/Makfile/Build setup knows where to point for the library and header files. See the examples and their CMakeLists.txt.
Testing ============== The repo comes with a set of regression tests to see if recent changes break expected results. To build the tests, you will need to set
BUILD_TESTING to "ON" in either ccmake or when calling CMake:
cmake -DBUILD_TESTING=ON ../srcAfter building, run make test or ctest in the build directory to run tests.
cmake -DBUILD_TESTING=ON -Dgtest_forced_shared_crt=ON ../srcBe sure to include all other necessary CMake definitions as annotated above.

