Beautiful, performant feature flags for Ruby.
Flipper gives you control over who has access to features in your app.
- Enable or disable features for everyone, specific actors, groups of actors, a percentage of actors, or a percentage of time.
- Configure your feature flags from the console or a web UI.
- Regardless of what data store you are using, Flipper can performantly store your feature flags.
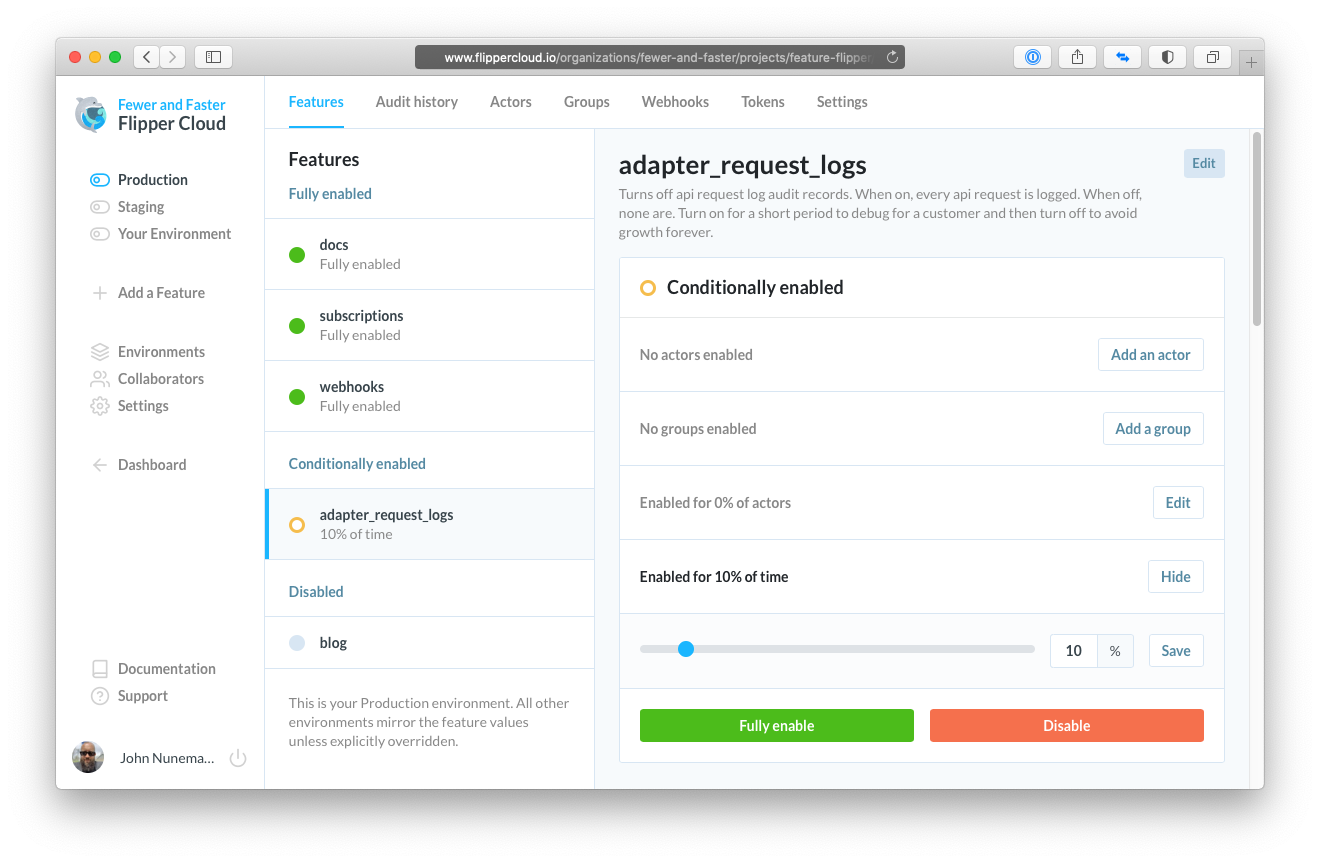
- Use Flipper Cloud to cascade features from multiple environments, share settings with your team, control permissions, keep an audit history, and rollback.
Control your software — don't let it control you.
Add this line to your application's Gemfile:
gem 'flipper'
You'll also want to pick a storage adapter, for example:
gem 'flipper-active_record'
And then execute:
$ bundle
Or install it yourself with:
$ gem install flipper
💌 Subscribe - I'll send you short and sweet emails when we release new versions.
Use Flipper#enabled? in your app to check if a feature is enabled.
# check if search is enabled
if Flipper.enabled? :search, current_user
  puts 'Search away!'
else
  puts 'No search for you!'
end
All features are disabled by default, so you'll need to explicitly enable them.
Flipper.enable :searchFlipper.enable_actor :search, current_userFirst tell Flipper about your groups:
# config/initializers/flipper.rb
Flipper.register(:admin) do |actor|
  actor.respond_to?(:admin?) && actor.admin?
end
Then enable the feature for that group:
Flipper.enable_group :search, :adminFlipper.enable_percentage_of_actors :search, 2Read more about enabling and disabling features with Gates. Check out the examples directory for more, and take a peek at the DSL and Feature classes for code/docs.
Flipper is built on adapters for maximum flexibility. Regardless of what data store you are using, Flipper can performantly store data in it.
Pick one of our supported adapters and follow the installation instructions:
Or roll your own. We even provide automatic (rspec and minitest) tests for you, so you know you've built your custom adapter correctly.
Read more about Adapters.
If you prefer a web UI to an IRB console, you can setup the Flipper UI.
It's simple and pretty.
Or, (even better than OSS + UI) use Flipper Cloud which comes with:
- everything in one place — no need to bounce around from different application UIs or IRB consoles.
- permissions — grant access to everyone in your organization or lockdown each project to particular people.
- multiple environments — production, staging, enterprise, by continent, whatever you need.
- personal environments — no more rake scripts or manual enable/disable to get your laptop to look like production. Every developer gets a personal environment that inherits from production that they can override as they please (read more).
- no maintenance — we'll keep the lights on for you. We also have handy webhooks for keeping your app in sync with Cloud, so our availability won't affect yours. All your feature flag reads are local to your app.
- audit history — every feature change and who made it.
- rollbacks — enable or disable a feature accidentally? No problem. You can roll back to any point in the audit history with a single click.
Cloud is super simple to integrate with Rails (demo app), Sinatra or any other framework.
A few miscellaneous docs with more info for the hungry.
- Instrumentation - ActiveSupport::Notifications and Statsd
- Optimization - Memoization middleware and Cache adapters
- API - HTTP API interface
- Caveats - Flipper beware! (see what I did there)
- Docker-Compose - Using docker-compose in contributing
- Fork it
- Create your feature branch (
git checkout -b my-new-feature) - Run the tests (
bundle exec rake) - Commit your changes (
git commit -am 'Added some feature') - Push to the branch (
git push origin my-new-feature) - Create new Pull Request
- Update the version to be whatever it should be and commit.
script/release- Profit.
| pic | @mention | area |
|---|---|---|
| @jnunemaker | most things | |
| @bkeepers | most things | |
| @alexwheeler | api | |
| @thetimbanks | ui | |
| @lazebny | docker |


