eXo Cloud Drive it is a portal extension to eXo Platform which is providing integration with remote cloud documents such as Google Drive or Box. Users must have a valid cloud account to connect his documents.
Thanks to this extension it's possible connect cloud drives as folders in eXo Documents and then access user files using features of ECMS Document Explorer.
Currently supported cloud drives:
- Google Drive
- Box
- Any CMIS compliant repository
This addon is for eXo Platform version 4.0 and 4.1.
Cloud Drive add-on binaries can be downloaded from eXo Add-ons on SourceForge or build from sources.
To build add-on from sources use Maven 3.
Clone the project with:
git clone git@github.com:exo-addons/cloud-drive-extension.git
cd cloud-drive-extension
Build it with
mvn clean package
Go to packaging bundle file created by last build in cloud-drive-extension/packaging/target/cloud-drive-bundle-packaging.zip. Use it for deployment to Platform below.
Install eXo Platform 4.1 Tomcat bundle to some directory, e.g. /opt/platform-tomcat.
Users of Platform 4.1, and those who installed Addons Manager in Platform 4.0, can simple install the add-on from central catalog by command:
./addon install exo-cloud-drive
If want install latest development milestone use "--unstable" key with the addon tool.
Users of base Platform 4.0 need download the add-on bundle and extract it to extensions subfolder in the Platform folder.
unzip ./cloud-drive-bundle-packaging.zip -d /opt/platform-tomcat/clouddrive
Install the add-on extension from root of the Platform:
./extension.sh --install clouddrive
This will copy required files to the Platform Tomcat folders, details will be printed to the console.
- Go to the Google API Console : https://code.google.com/apis/console/
- Create an new API project
- In the Services page, enable the Drive API
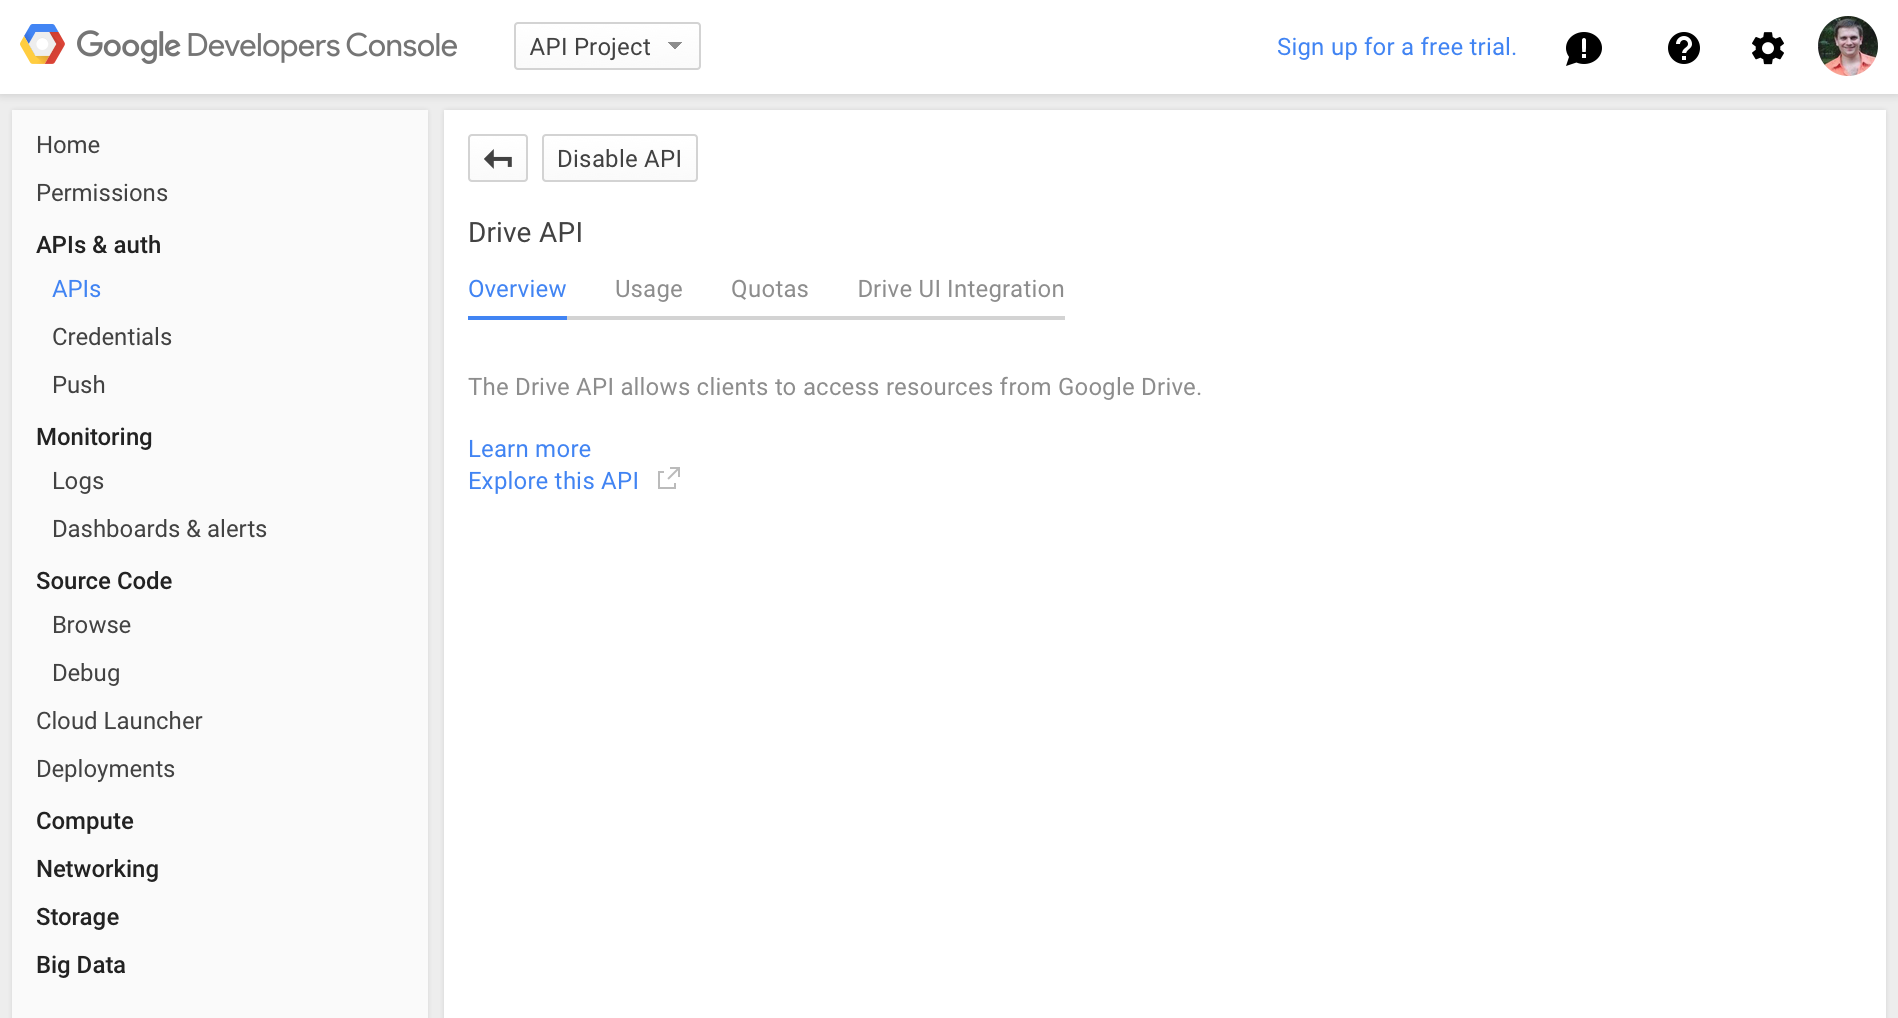
- In the API Access page, click on the "Create an OAuth 2.0 client ID..." button
- Fill the form with a product name of your choice (e.g. "My Platform"), an optionnally a product logo and a home page URL
- Click Next
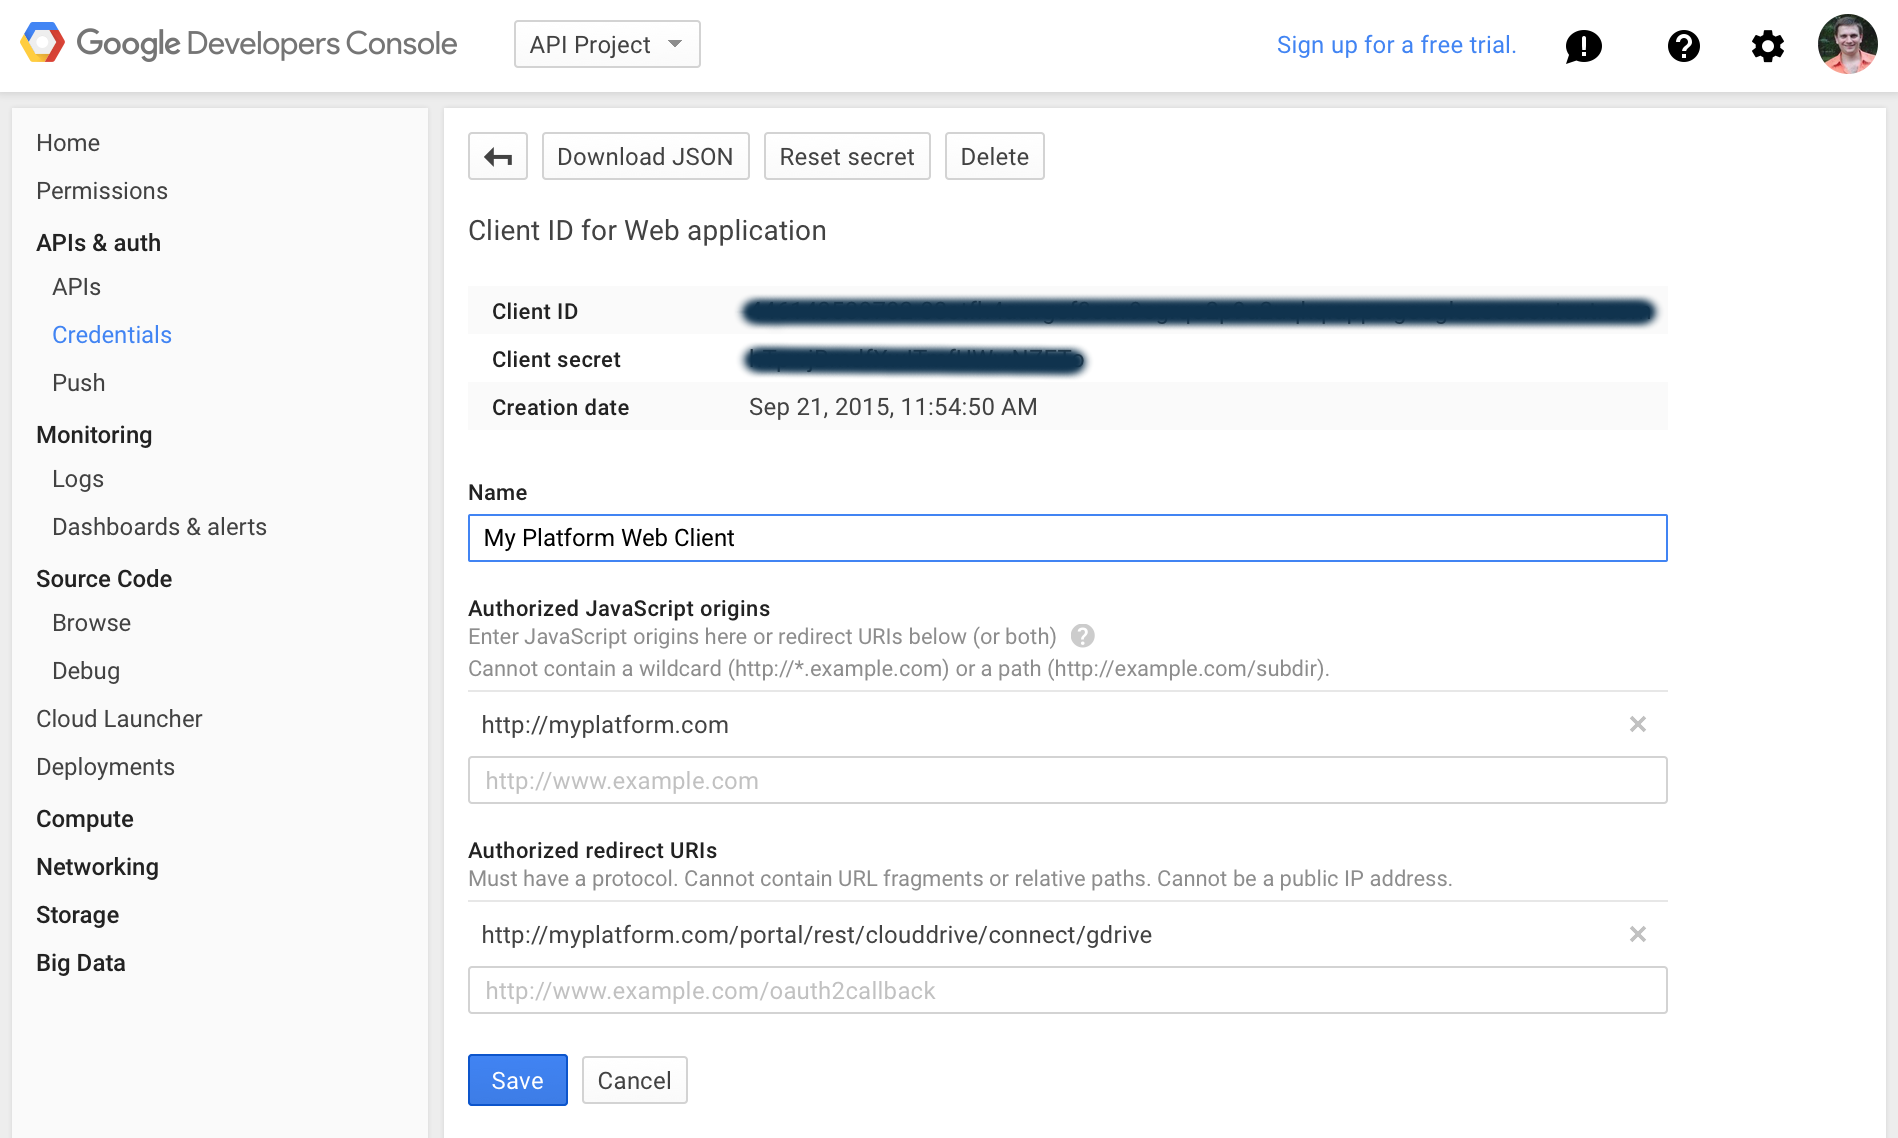
- Select the "Web application account" option
- Click more options on "Your site or hostname", later assumed http://myplatform.com as host name of the server
- Enter "Authorized Redirect URIs": http://myplatform.com/portal/rest/clouddrive/connect/gdrive. Note that path in the URI should exactly "/portal/rest/clouddrive/connect/gdrive".
- "Authorized JavaScript Origins": http://myplatform.com
- Click on "Create client ID"
- Remember
Client IDandClient secretfor configuration below.
- Go to Box Developers site, to My Box Apps.
- Create a new app with API Key Type: Content API. This action will warn you that it will upgrade your account to a Development type with an access to Enterprise features. Take this in account, you may consider for a dedicated Box account to manage your keys to Box API. Details about OAuth2 access described in this guide. Note: don't need point
redirect_urifor the app, it will be submited by the add-on in the authentication requests. - Use your
client_idandclient_secretvalues for configuration below.
To connect CMIS repository you need following:
- an URL of AtomPub binding of your CMIS server
- username and password to authenticate to the server
- if the the server has several repositories you'll need to select an one: each repository can be connected as a separate drive
Important notice that username and password will be sent in plain text, thus enasure you are connecting via secure connection in production.
More information find on CMIS connector page.
Open the configuration file of your Platform server /opt/platform-tomcat/gatein/conf/exo.properties (configuration.properties for Platform 4.0).
Add the two following variables:
#clouddrive.service.schema=https
#clouddrive.service.host=mysecureplatform.com
clouddrive.service.host=myplatform.com
clouddrive.google.client.id=00000000000@developer.gserviceaccount.com
clouddrive.google.client.secret=XXXXXXX
clouddrive.box.client.id=YYYYYY
clouddrive.box.client.secret=ZZZZZZ
The clouddrive.google.client.id parameter is the Client ID of the service account (available in your Google console, see previous screenshot).
The clouddrive.google.client.secret parameter is Client Secret of the service account (available in your Google console, see above).
The same way clouddrive.box.client.id and clouddrive.box.client.secret refer to Box's client_id and client_secret.
By default, Cloud Drive assumes that it runs on non-secure host (http protocol). But Box API requires secure URI for a production, thus it needs https URL for OAuth2 redirect and you have to configure your production to support SSL HTTP. You also may use your Platform server with enabled HTTPS connector for other needs. In both cases you need add clouddrive.service.schema to the configuration with proper value "https".
For more details check configuration section on connectors page.
CMIS connector has additional optional settings to configure.
Single Sign-On (SSO) often used by enterprise and they may adapt SSO to access their cloud files. Cloud Drive add-on uses OAuth2 URL that cloud provider offers, it offten can be enough to leverage the SSO available for your enterprise (e.g. for Google Drive). But other cloud providers (e.g. Box) may require an another URL to force SSO for user login. To be able solve this you can force use of SSO via configuration in the add-on.
To enable SSO in configuration add following parameter:
clouddrive.login.sso=true
This will tell a drive connector to force SSO for authentication URL (to obtain OAuth2 tokens or for embedded file view). But a drive connector may require additional parameters to enable SSO. They are provider specific. Below specific configiration described for Box.
There are two options for Box connector:
-
Need provide a partner SAML Identity Provider ID, this ID will be used to construct SSO URL:
clouddrive.box.sso.partneridpid=YOUR_PARTNER_ID -
Or provider ready SSO URL
clouddrive.box.sso.url=CUSTOM_SSO_URL
Ready SSO URL has precedence on partner ID, if exists it will be used to construct OAuth2 URL by appending actual authentication URL at the end. Take this in account when configuring SSO URL.
When provide partner ID, then Box connector will construct SSO URL in following form:
https://sso.services.box.net/sp/startSSO.ping?PartnerIdpId=${clouddrive.box.sso.partneridpid}&TargetResource=${OAUTH2_URL}. Where OAUTH2_URL an authentication URL as described in Box documentation.
Switch to a folder with your Platform and start it.
cd /opt/platform-tomcat
./start_eXo.sh
In running Platform go to Documents app, open Personal Documents folder root and click "Connect your Google Drive". Detailed steps described in this post eXo Add-on in Action: Connecting your Google Drive to eXo Platform.
There is a single entry point to the Cloud Drive API: CloudDriveService component, you can get from eXo container. When you need interact with cloud drives (connect, find etc.), you need use this component only.
Cloud Drive consists of core and ECMS services and extension webapp. The core offers common logic implementation for connecting, synchronizing and storing remote files in JCR. These common abstractions can be adapted to many external file storages and cloud services. To make the architecture pluggable Cloud Drive introduced Connector API, see a paragraph below about creation of new connectors for further details. All connectors, are component plugins of CloudDriveService and don't need get/create/invoke them explicitly to work with particular type of cloud drive, this component will do this for you.
When you work from outside the Platform's JVM, you may use existing RESTful services: ConnectService, DriveService, ProviderService, FeaturesService. Refer to javadoc of these classes for usage interfaces.
There is also a Javascript client which can be loaded as AMD module (via RequireJS). It offers UI support for ECMS views and collection of helpful methods to access Cloud Drive web-services. This client described more in Connector API.
Having CloudDriveService components in the hands you can use it to get available providers and proceed with a flow to connect your remote drive:
- obtain instance of cloud provider via getProvider(String id) with required connector id.
- authenticate your user authenticate(CloudProvider cloudProvider, String key), this method historically build for OAuth2 flow and assume that you already have a key - an authorization code from your OAuth2 service. It also assumes that related connectors already configured with required client credentials.
- having cloud user instance you can connect remote drive to any JCR node (it should be nt:folder). The add-on doesn't care about what is it a node and where it located. Limitation to Personal Documents placed on WebUI level via component filter PersonalDocumentsFilter for action components in ECMS UI. You can choose for a node from your requirements. Use method createDrive(CloudUser user, Node driveNode) to create cloud drive in this node. The add-on will use it as a root of the remote drive and will manage its content respectively. Under drive creation it assumes initial fetch of all remote files and creation of meta-objects as sub-nodes in the JCR.
- if you need find/test if some node already is a connected cloud drive - use findDrive() methods for this purpose.
- how synchronization works: it should be invoked from outside the add-on via a method on drive instance CloudDrive.synchronize(). Cloud Drive integration with ECMS UI does this automatically thanks to Javascript client, loaded in ECMS pages as part of the add-on WebUI components and managed by set of filters (CloudDriveFilter, CloudFileFilter, BelongToCloudDriveFilter). When you open your node in ECMS file explorer they should work for you and you don't need anything to invoke the synchronization. For other pages you'll need use Javascript client to invoke synchronization according your app logic.
Below a sample code to connect Google Drive to some JCR node you prepared:
// Your JCR node of type nt:folder, it will be a root folder of cloud drive in eXo
Node node = ...;
// get eXo container
ExoContainer myContainer = ExoContainerContext.getCurrentContainer();
// obtain OAuth2 authentication code in your app
String code = ...;
// use CloudDriveService
CloudDriveService cloudDrives = (CloudDriveService) myContainer.getComponentInstance(CloudDriveService.class);
CloudProvider googleProvider = cloudDrives.getProvider("gdrive");
CloudUser googleUser = cloudDrives.authenticate(googleProvider, code);
CloudDrive myGoogleDrive = cloudDrives.createDrive(googleUser, node);
// you may store myGoogleDrive instance for later use, e.g. add listeners, get its files or invoke synchronization explicitlySince version 1.1.0-Beta5 there is Feature API in Cloud Drive extension. It is Java and REST services that can be used to control new drive creation and automatic synchronization on per user basis. Thanks to this API, it's possible to restrict a connection to a new cloud accounts if an user has limitations in the Platform (resources quota, limited permissions etc); the same rule can be applied to a new auto-synchronization that is working when an user in the drive folder in Documents.
Technical details in Features API documentation.
Cloud Drive add-on is extensible and it's possible to create new connectors to support more cloud providers. Since version 1.1.0-RC2 internal architecture reorganized to offer better separation based on conventions and allow client modules in Javascript.
Follow Connector API for understanding of development conventions and for required steps.