This repository contains updated Arduino code for the Elecrow HMI 7" display.
All code is based on the sample programs provided in the Elecrow Wiki, but is updated to be used in the Arduino IDE V2 and with current library versions.
-
You need the device: ESP32 Display 7.0" Intelligent Touch Screen Wi-Fi&BLE 800*480 HMI Display
-
Download this repository or clone it via git by executing
cd MySuperRepoDirectory
git clone https://github.com/ramdacxp/ElecrowHmi7.git
In the Arduino IDE add support for generic ESP32 boards in the File > Preferences dialog. Add the following line to the Additional board manager URLs field:
https://raw.githubusercontent.com/espressif/arduino-esp32/gh-pages/package_esp32_index.json
Build can take some time.
If you like to see what's going on, enable show verbose output during compile.
In the Library Manger on the left side, search for the following libraries and install them:
LovyanGFX(Display, by lovyan03, v1.1.12)TAMC_GT911(Touch Panel, by TAMC, v1.02)
- Open one of the
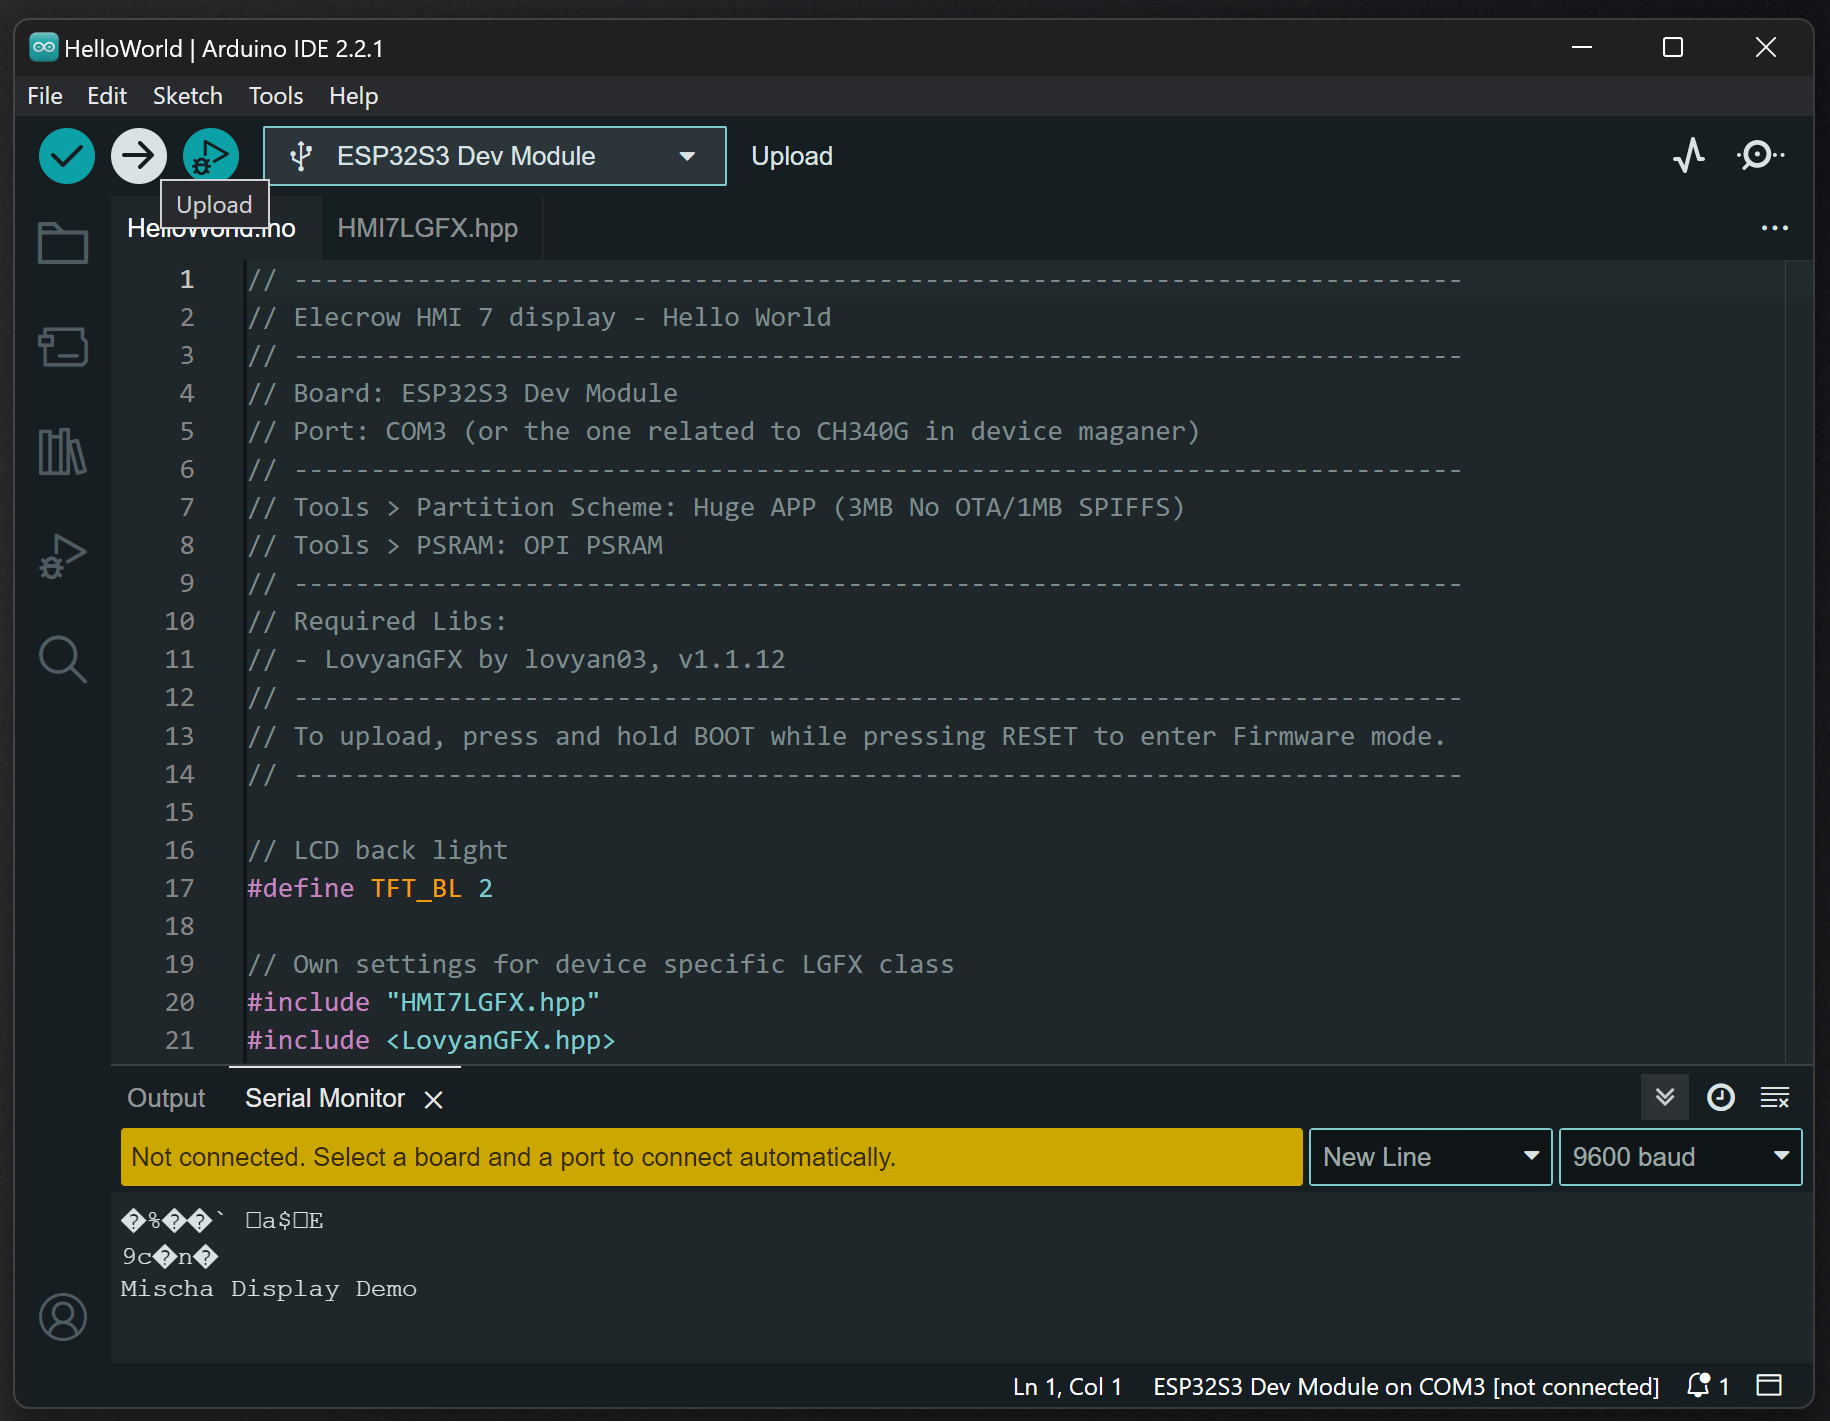
*.inofiles in the Arduino IDE - Connect the device via USB and check its COM port in the Windows device manager (which most likely will be
COM3) - In the selection above the code window, select the board
ESP32S3 Dev Moduleand portCOM3 - In
Tools > Partition SchemechooseHuge APP (3MB No OTA/1MB SPIFFS) - In
Tools > PSRAMchooseOPI PSRAM - Activate the firmware mode of the device by holding down the
BOOTbutton on the device and shortly pressing theRESETbutton - Compile and upload the code via the
[->]button in the IDE - Open the Serial Monitor window via the
[.-O..]button - If the upload was successful, press the
RESETbutton on the device to leave the firmware mode and to run your program - Have fun ;)
