Deploy Sendy on Kubernetes
Table of Contents
Deploy Sendy on Kubernetes
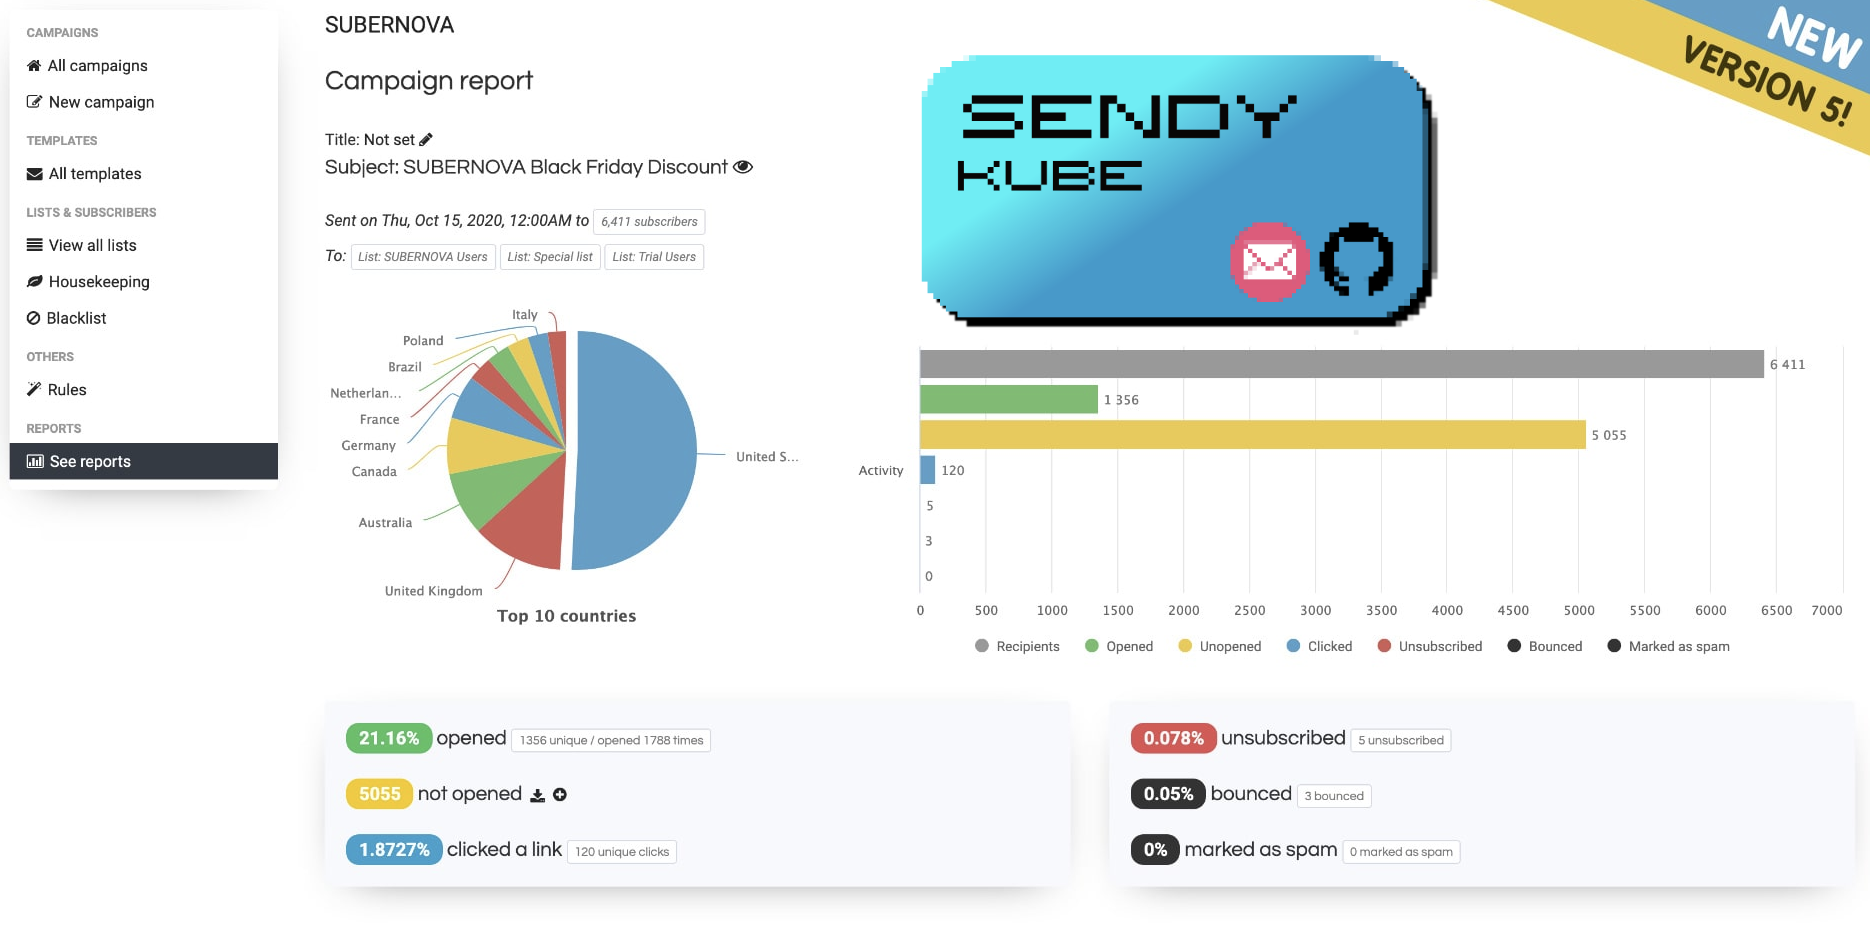
Sendy is a self hosted email newsletter application that lets you send trackable emails via Amazon Simple Email Service (SES). This makes it possible for you to send authenticated bulk emails at an insanely low price without sacrificing deliverability.
So what can be better than that? Sendy on Kubernetes!
Useful extras:
This repo was built together with this guide (follow this as it is more thorough):
Get your cluster, if you don't have one you can deploy one on Digital Ocean:
Be sure you also get your Sendy license, you can can use my referral code and get some % off here: Sendy
Ensure staging.yourdomainname.com and yourdomainname.com are both individually set to point at your clusters loadbalancer (I am using Traefik, you might be using nginx etc).
I am using Gitlab for my build script (.gitlab-ci.yml). When that file is deployed it will start the deploy process. If you are not using Gitlab or want to deploy manually, you can just copy the commands in the file and run them from the terminal in order of the stages using kubectl.
Here you can provide the steps required to install your project on the users machine.
- Clone the repo
git clone https://github.com/jotcodeofficial/sendy-kube.git
- Edit all the files for your own domains
- Deploy files to your own repo (re-enable the .gitinore file)
- Edit .gitlab-ci.yml then deploy
git add *
git add .gitlab-ci.yml
git commit -m "deploy time"
git push -u origin master
When your Sendy application is live you can configure the alias manually for your client domains by doing the following: (Ensure your clientdomain A records point to your cluster in your domain server)
  kubectl apply -f production/alias/newsletter-clientdomain-ingress-route.yml
  kubectl apply -f production/alias/newsletter-clientdomain-secure-ingress-route.yml
  kubectl apply -f production/alias/newsletter-clientdomain-issuer.yml
  kubectl apply -f production/alias/newsletter-clientdomain-solver.yml
You can do the same for staging.
Great things are a sum of their parts. By contributing your time and effort you can help make this project even better. Collaborative efforts ftw.
Released under the MIT License.
If you are not a coder you can still help support the project by sharing it far and wide. Thanks! ❤️
I would like to acknowledge the following projects for inspiration:
https://github.com/bubbajames-docker/sendy
https://chris-vermeulen.com/using-gitlab-registry-with-kubernetes/


