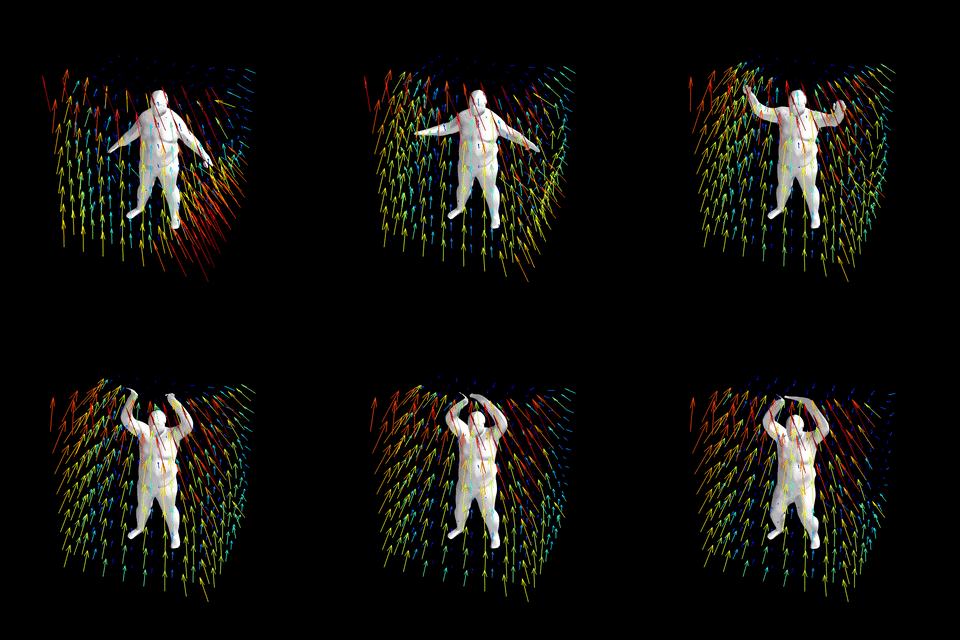
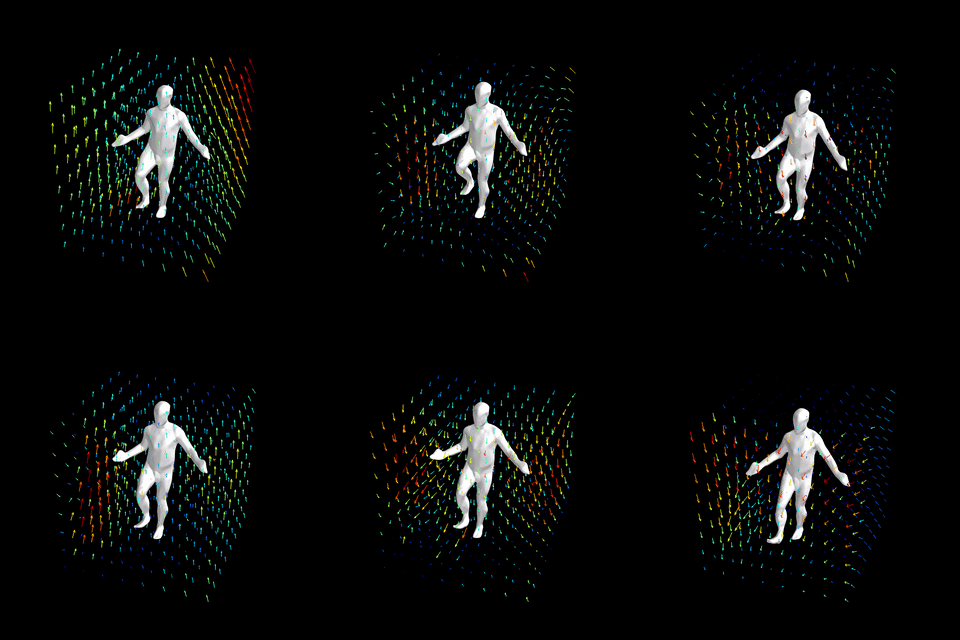
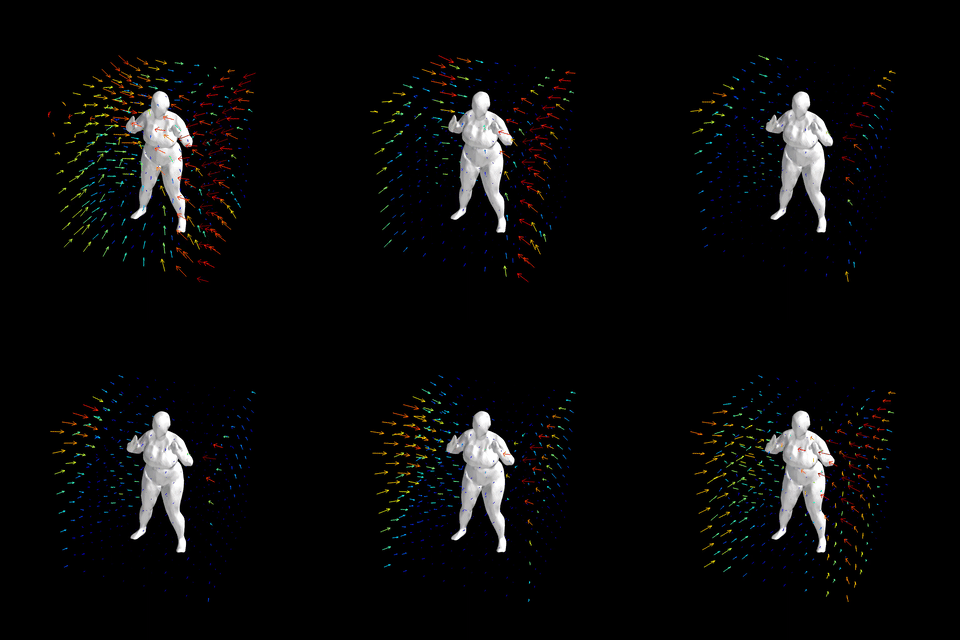
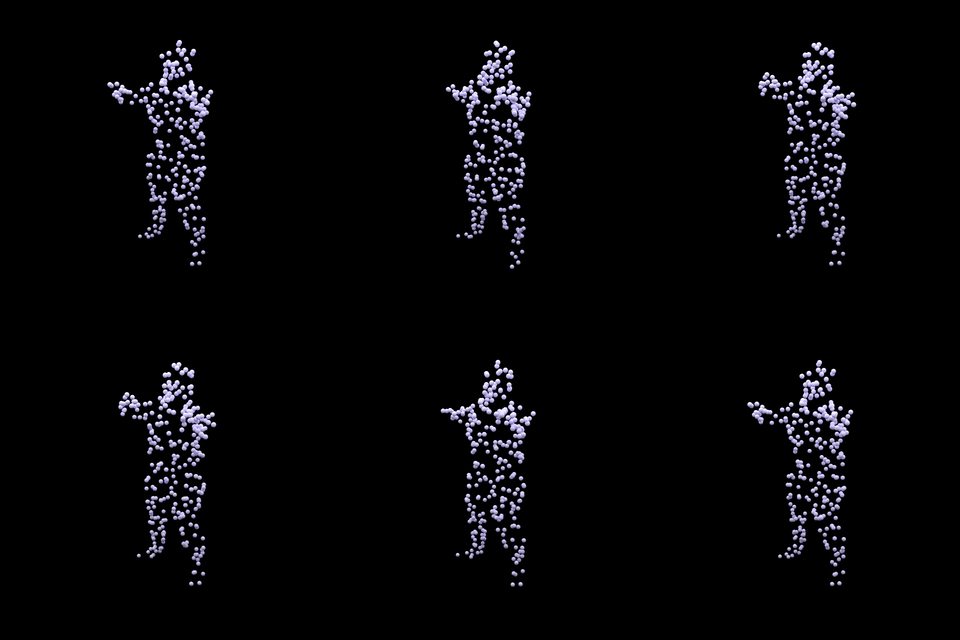
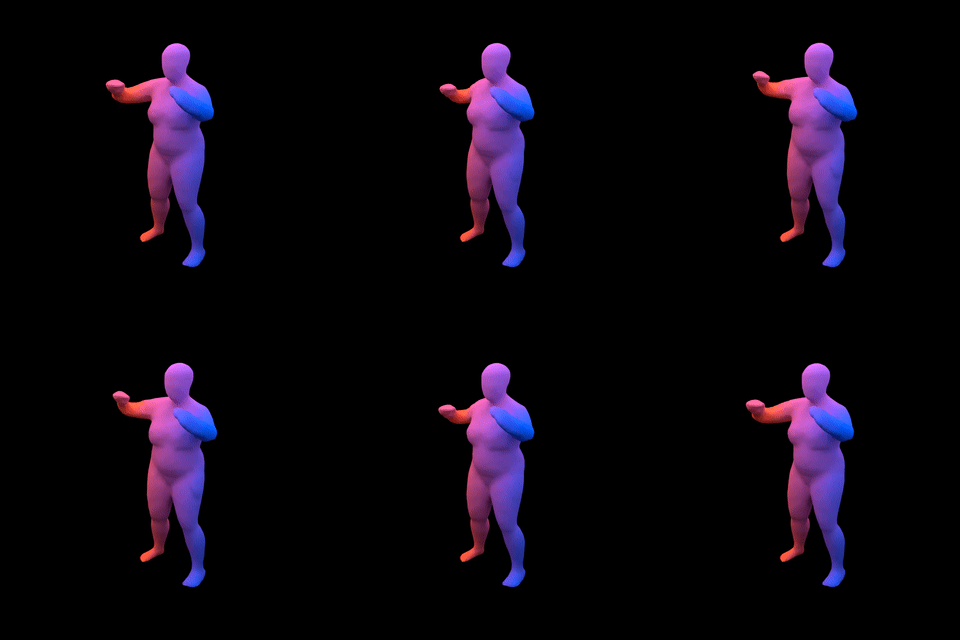
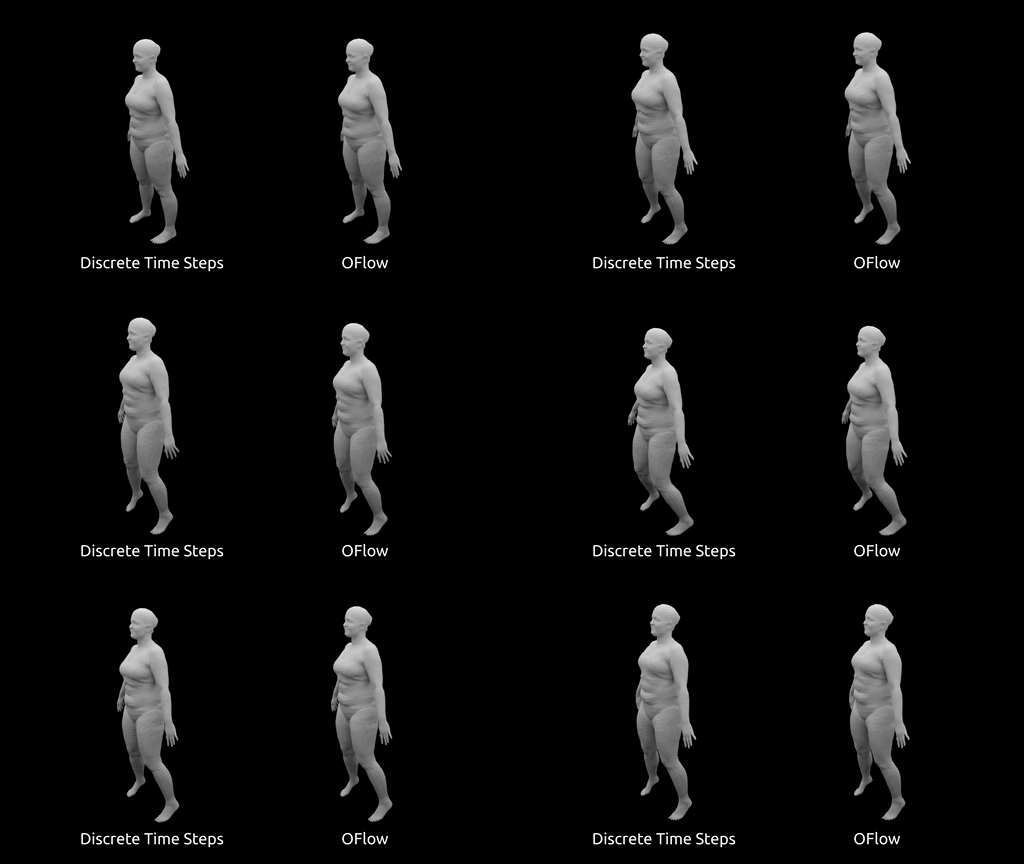
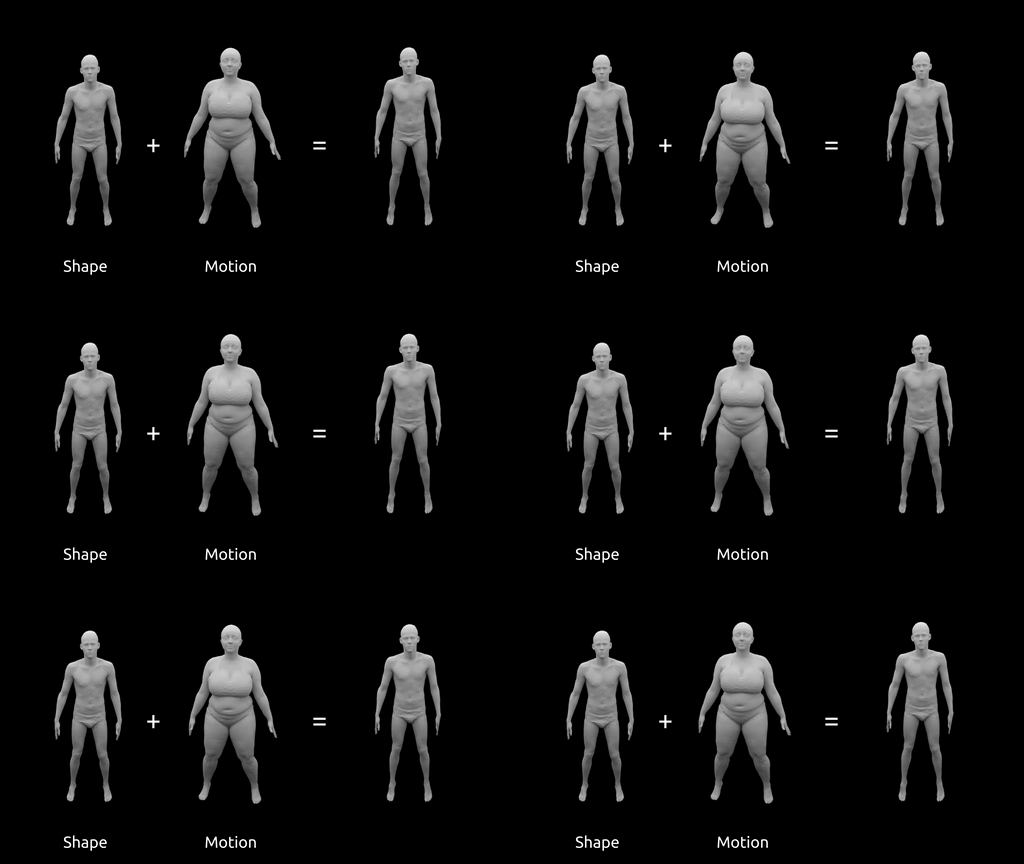
This repository contains the code for the project Occupancy Flow - 4D Reconstruction by Learning Particle Dynamics.
You can find detailed usage instructions for training your own models and using pre-trained models below.
If you find our code or paper useful, please consider citing
@inproceedings{OccupancyFlow,
    title = {Occupancy Flow: 4D Reconstruction by Learning Particle Dynamics},
    author = {Niemeyer, Michael and Mescheder, Lars and Oechsle, Michael and Geiger, Andreas},
    booktitle = {Proc. of the IEEE International Conf. on Computer Vision (ICCV)},
    year = {2019}
}
First you have to make sure that you have all dependencies in place. The simplest way to do so, is to use anaconda.
You can create and activate an anaconda environment called oflow using
conda env create -f environment.yaml
conda activate oflow
Next, compile the extension modules. You can do this via
python setup.py build_ext --inplace
You can test our code on the provided input point cloud sequences in the demo/ folder. To this end, simple run
python generate.py configs/demo.yaml
This script should create a folder out/demo/ where the output is stored.
To train a new model from scratch, you have to download the full dataset. You can download the pre-processed data (~42 GB) using
bash scripts/download_data.sh
The script will download the point-based point-based data for the Dynamic FAUST (D-FAUST) dataset to the data/ folder.
Please note: We do not provide the renderings for the 4D reconstruction from image sequences experiment nor the meshes for the interpolation and generative tasks due to privacy regulations. We outline how you can download the mesh data in the following.
Please follow the instructions on D-FAUST homepage to download the "female and male registrations" as well as "scripts to load / parse the data".
Next, follow their instructions in the scripts/README.txt file to extract the obj-files of the sequences. Once completed, you should have a folder with the following structure:
your_dfaust_folder/
| 50002_chicken_wings/
| 00000.obj
| 00001.obj
| ...
| 000215.obj
| 50002_hips/
| 00000.obj
| ...
| ...
| 50027_shake_shoulders/
| 00000.obj
| ...
You can now run
bash scripts/migrate_dfaust.sh path/to/your_dfaust_folder
to copy the mesh data to the dataset folder.
The argument has to be the folder to which you have extracted the mesh data (the your_dfaust_folder from the directory tree above).
When you have installed all dependencies and obtained the preprocessed data, you are ready to run our pre-trained models and train new models from scratch.
To start the normal mesh generation process using a trained model, use
python generate.py configs/CONFIG.yaml
where you replace CONFIG.yaml with the name of the configuration file you want to use.
The easiest way is to use a pretrained model. You can do this by using one of the config files
configs/pointcloud/oflow_w_correspond_pretrained.yaml
configs/interpolation/oflow_pretrained.yaml
configs/generative/oflow_pretrained.yaml
Our script will automatically download the model checkpoints and run the generation.
You can find the outputs in the out/ folder.
Please note that the config files *_pretrained.yaml are only for generation, not for training new models: when these configs are used for training, the model will be trained from scratch, but during inference our code will still use the pretrained model.
For model-specific latent space interpolations and motion transfers, you first have to run
python encode_latent_motion_space.py config/generative/CONFIG.yaml
Next, you can call
python generate_latent_space_interpolation.py config/generative/CONFIG.yaml
or
python generate_motion_transfer.py config/generative/CONFIG.yaml
Please note: Make sure that you use the appropriate model for the generation processes, e.g. the latent space interpolations and motion transfers can only be generated with a generative model (e.g. configs/generative/oflow_pretrained.yaml).
You can evaluate the generated output of a model on the test set using
python eval.py configs/CONFIG.yaml
The evaluation results will be saved to pickle and csv files.
Finally, to train a new network from scratch, run
python train.py configs/CONFIG.yaml
You can monitor the training process on http://localhost:6006 using tensorboard:
cd OUTPUT_DIR
tensorboard --logdir ./logs --port 6006
where you replace OUTPUT_DIR with the respective output directory. For available training options, please have a look at config/default.yaml.
If you like the Occupancy Flow project, please check out our similar projects on inferring 3D shapes (Occupancy Networks) and texture (Texture Fields).
If you enjoyed our approach using differential equations, checkout Ricky Chen et. al.'s awesome implementation of differentiable ODE solvers which we used in our project.
We applied our method to the cool Dynamic FAUST dataset which contains sequences of real humans performing various actions.
