- SmartBrain v1: Client / Server
- SmartBrain v2: Client / Server
- SmartBrain Docker v1: Docker Server
- SmartBrain Docker v2: Docker Client + Server
Updated Version of this Repo: https://github.com/rbhachu/smartbrain-master-docker
🚀 View Live Demo 🚀
You can use the following test login details (ensure lowercase as case sensitive)
Email: a@a.com
Password: a

Please note: Site may take a few seconds to initially load due to using free tier on Heroku .
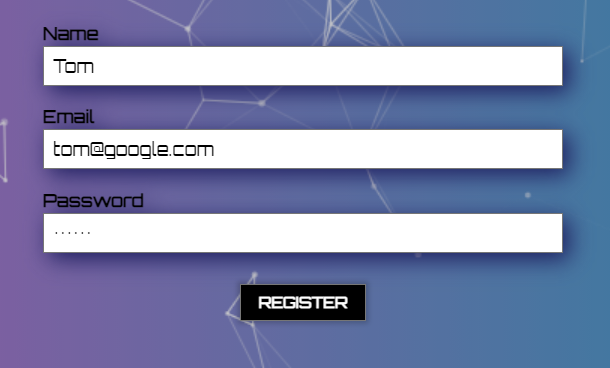
Or click on the 'Register' tab and create your own new login details to use instead.
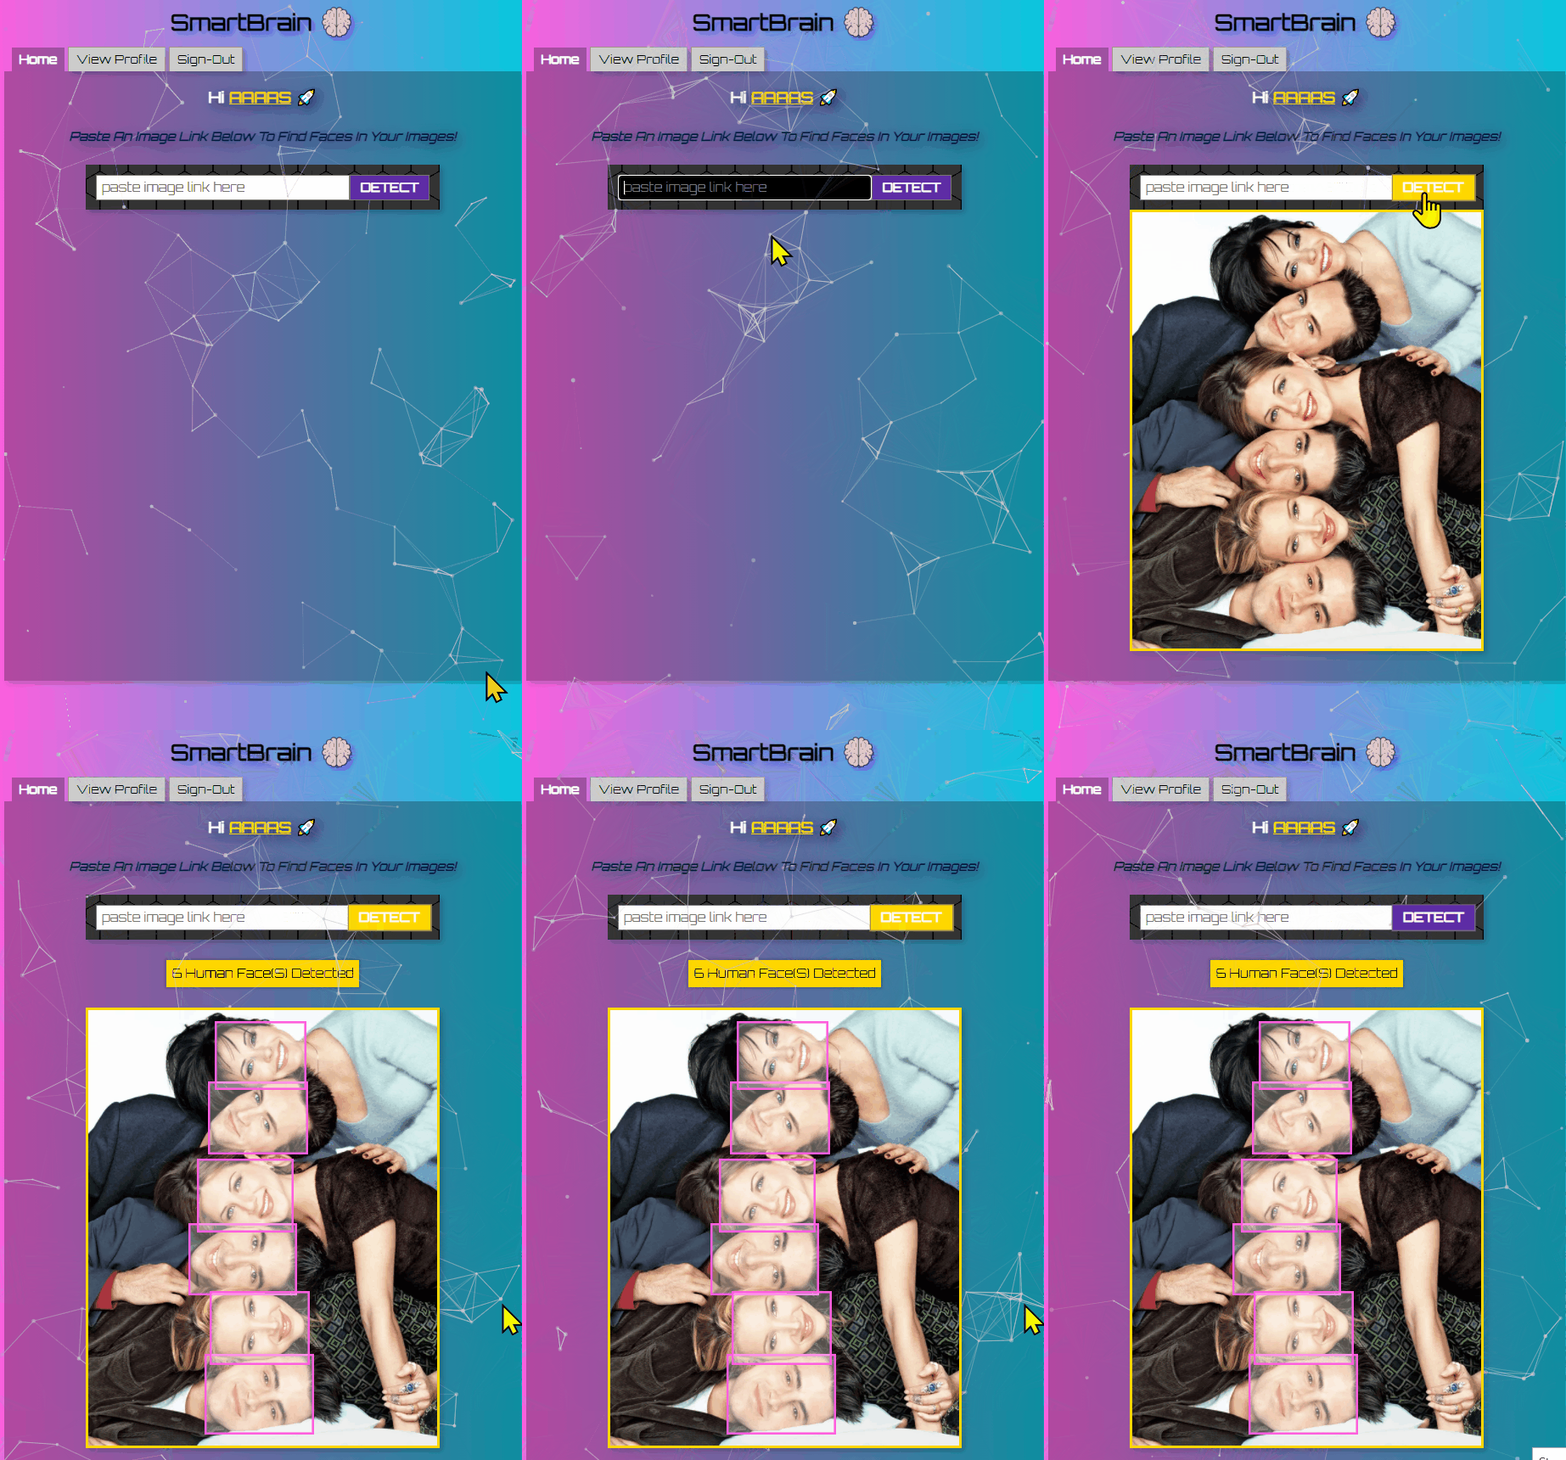
Once logged in simply copy, then paste an image url from the web (example: https://rbhachu-smartbrain-f-master.herokuapp.com/test-image.jpg) into the search input field, then click the 'DETECT' button to run the Face Detection API.
Each time you upload an image the 'Total Images Submitted' value is incremented by +1.
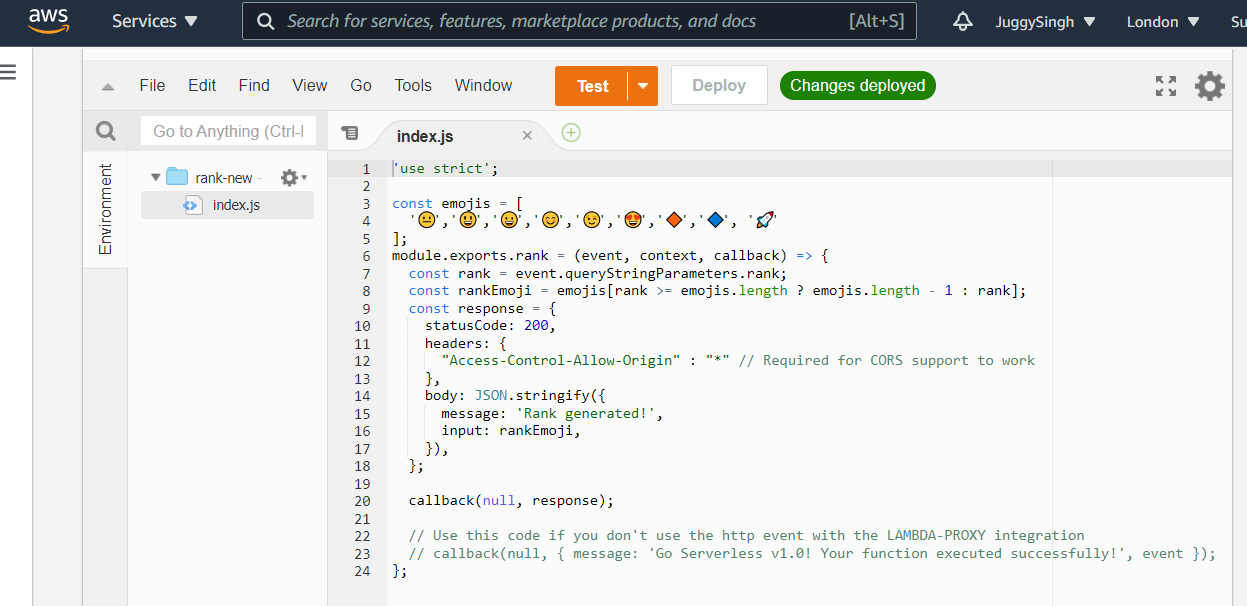
You can view the current total in the 'View Profile' tab, along with the 'Current Rank 'Badge', which is fed from AWS Lambda as a serverless function.
The Rank Badge updates based on the current image upload count.
| Total Images Submitted | Current Rank 'Badge' |
|---|---|
| 0 | 😐 |
| 1 | 😃 |
| 2 | 😀 |
| 3 | 😊 |
| 4 | 😉 |
| 5 | 😍 |
| 6 | 🔶 |
| 7 | 🔷 |
| 8 or over | 🚀 |
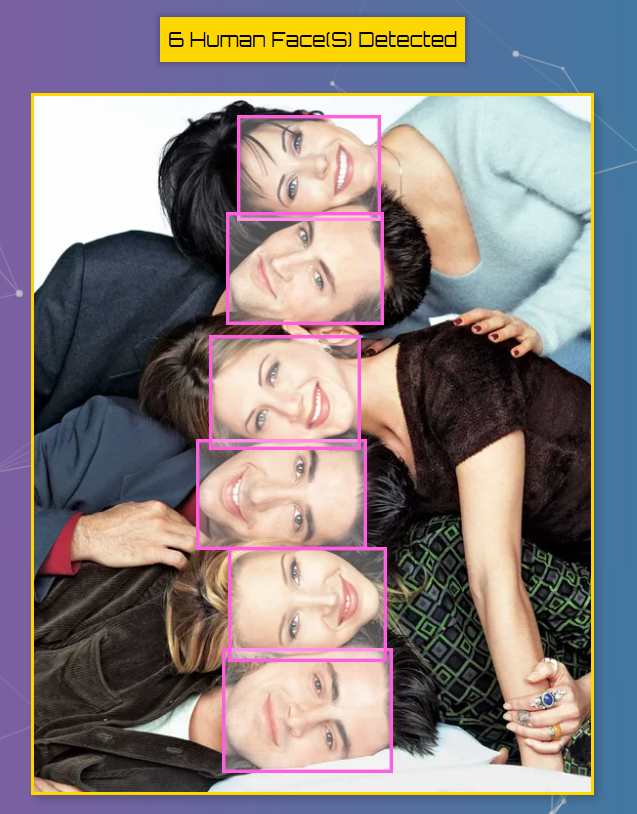
A React App that detects, then highlights faces in web images. Including a user profile with image upload count and a Ranking Badge served from AWS Lambda as a serverless function.
Built with React.js, Node.js, Express, Bcrypt, PostgreSQL, Redis, Tachyon CSS, Clarifai Face Detection API, and all running on Heroku Servers 'synched' with GitHub.
Back-end Server Repo Link: https://github.com/rbhachu/smartbrain-backend-jwt
Thanks to Andrei Neagoie for creating the ZTM Web Developer Zero to Mastery and ZTM Junior to Senior Web Developer courses which SmartBrain is based on.
Since completing both courses and further personal development I have also updated the SmartBrain app further extensively, adding numerous updates, bug fixes etc. With the fundamental update being to adapt it to run 100% remotely with Heroku hosting the site in tandem with PostgreSQL DB, Redis DB and AWS Lambda servers too.
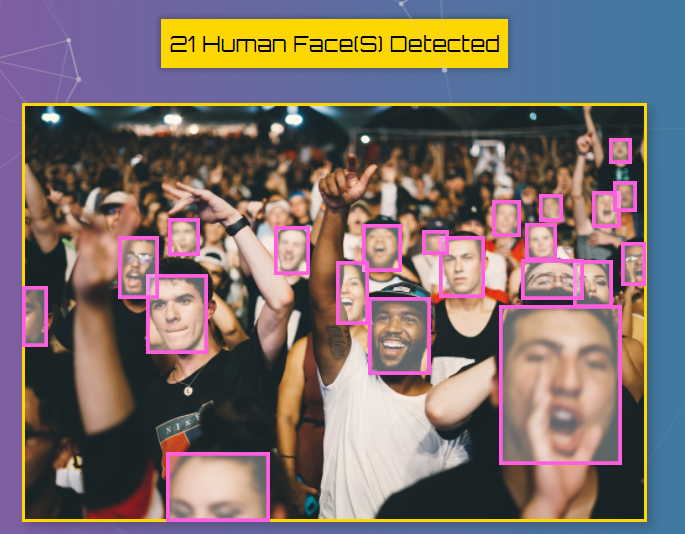
- Multi-Face Detection using Clarifai Face Detection API
- Ranking badge element served from external AWS Lambda as a serverless function
- User authentication using JSON Web Tokens (JWT)
- With a Redis Database for Token Management
- User profile with capture of image uploads, stored via a PostgreSQL Database
- Portable Web App (PWA) enabled
- Responsive layout using Flexbox
- TS Particles for background animation
- Parallax tilt for interactive site logo
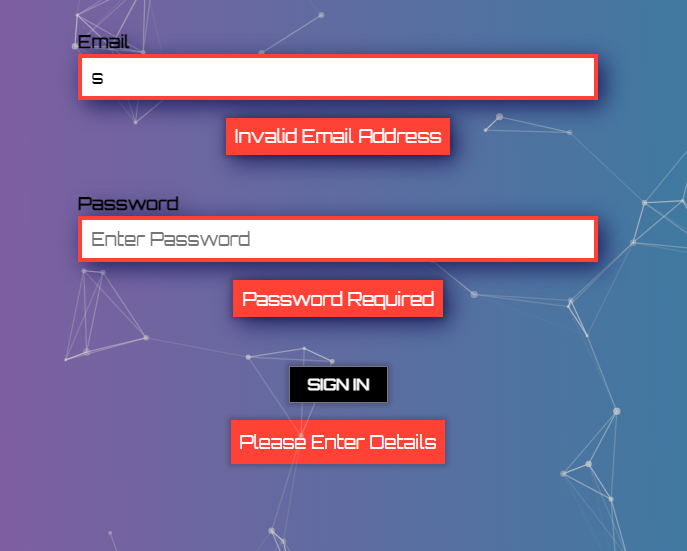
- Form validation
- Bcrypt user password encryption/decryption to/from PostgreSQL Database
- Tabbed layout
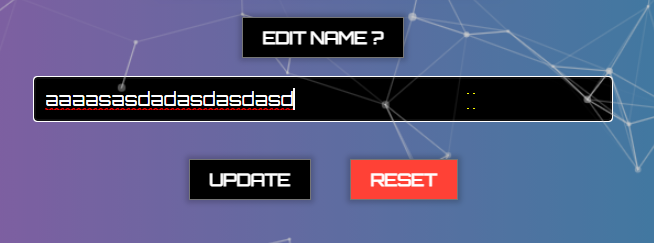
- Editable user profile
- Custom site fav icon with support for apple, android devices too
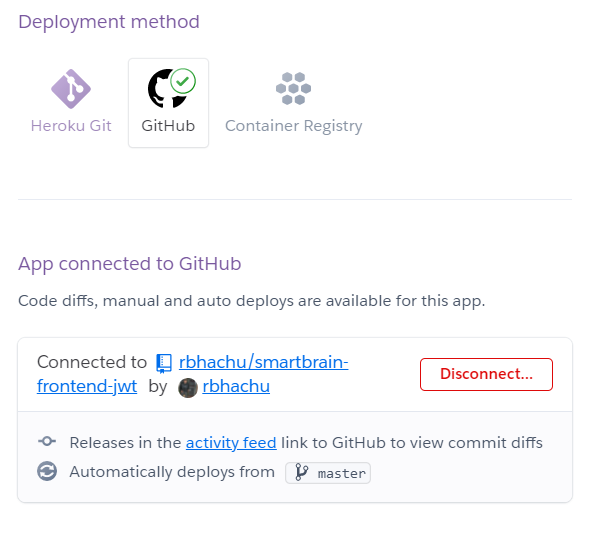
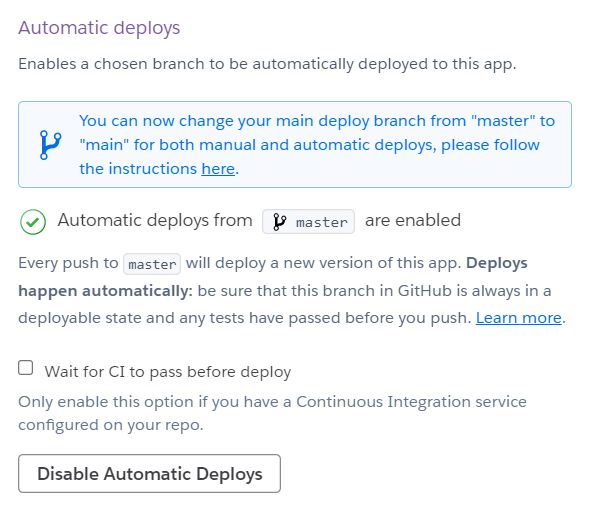
- The Heroku Server is also synched with the associated GitHub repo, so changes are automatically deployed
React v17.0.2 - Part of React core
React-dom v17.0.2 - Part of React core
React-scripts v4.0.3 - Part of React core
Tachyons v4.12.0 - For dynamic css
Prop-Types v15.7.2 - for tab interface
React-Parallax-Tilt v1.5.23 - For background animation
React-TSParticles v1.28.0 - For interactive logo heading
Open your Code Editor and 'CD' into your working directory, then download the repo to that location, by executing the following command in your terminal.
git clone https://github.com/rbhachu/smartbrain-frontend-jwt.gitOnce the repo has been downloaded, 'CD' to the newly downloaded project folder. Then execute the following command in your terminal.
npm installAlso check for any updates by running the following command too.
npm updateThere is a settings file in the root of the project folder called '.env' which is also known as the Environmental Variables file.
Using this file you can control how you want the app to run; Remotely or Locally.
To run the app Remotely, overwrite the current values in the .env file with the following values;
#FRONT-END CLIENT
REACT_APP_CLIENT_URL=https://rbhachu-smartbrain-f-master.herokuapp.com

#BACK-END SERVER
REACT_APP_SERVER_URL=https://rbhachu-smartbrain-b-master.herokuapp.com

#AWS Lambda
REACT_APP_AWS_LAMBDA=https://vqvvli950h.execute-api.us-east-1.amazonaws.com
Alternatively, to run the app Locally, overwrite the current values in the .env file with the following values; *
#FRONT-END CLIENT
REACT_APP_SERVER_URL=http://localhost:3001

#BACK-END SERVER
REACT_APP_CLIENT_URL=http://localhost:3000

#AWS Lambda
REACT_APP_AWS_LAMBDA=https://vqvvli950h.execute-api.us-east-1.amazonaws.com
* To deploy SmartBrain locally, you will also need to download the SmartBrain Back-End Server Repo and install it too. Full instructions on how to do this are included in the repo readme file.
Back-End Server Repo Link: https://github.com/rbhachu/smartbrain-backend-jwt
Finally, to run the app, simply execute the following command in your terminal (ensuring you are in the correct project directory too).
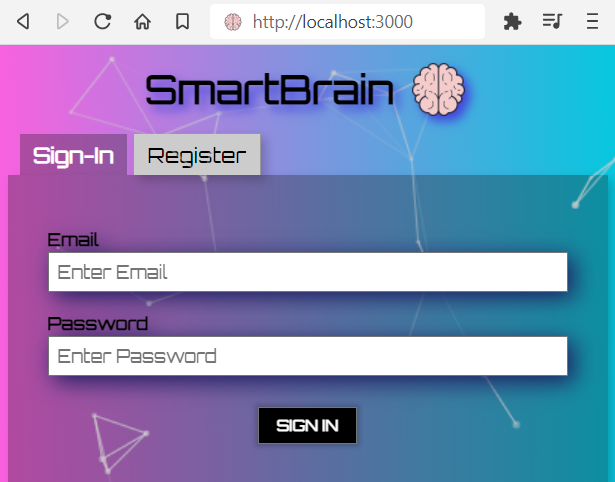
npm startAfter a few seconds, your browser should automatically open to the following link; http://localhost:3000 and display the project in the browser.
Please drop me a message if you have any issues or problems running the project.
👤 Rishi Singh Bhachu
Contact me via LinkedIn
If you liked this project it would be greatly appreciated to show your support by simply giving this repo a ⭐️ rating too, many thanks!
