UPSPack V3P Firmware upgrade tutorial
The upgrade method mentioned in this article is only applicable to the hardware of UPSPack Standard V3P version (not applicable to V3 or older hardware version).
This article is the entire process of doing a fresh configuration after installing from a fresh Raspberry Pi OS system.
Software upgrade steps
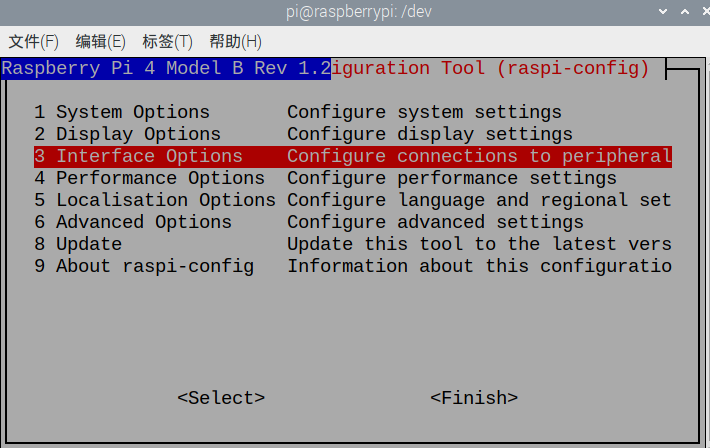
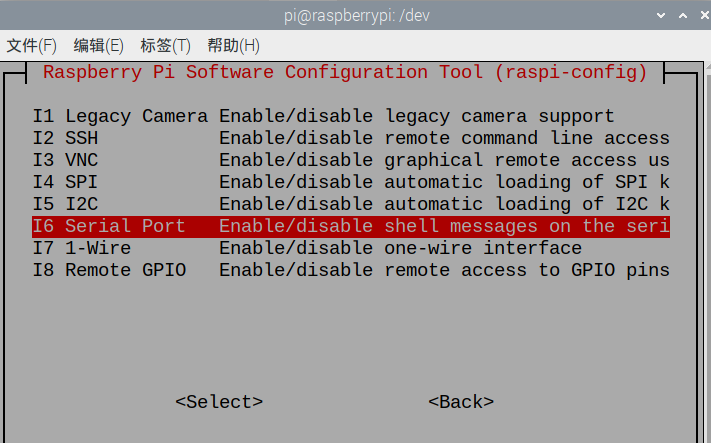
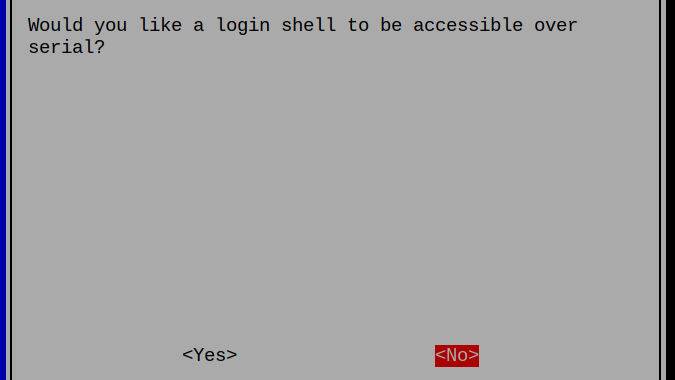
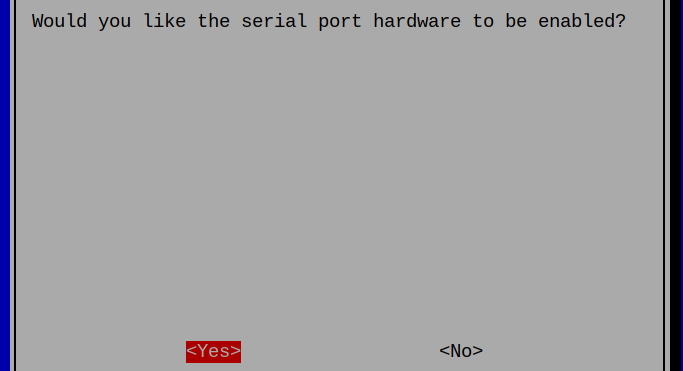
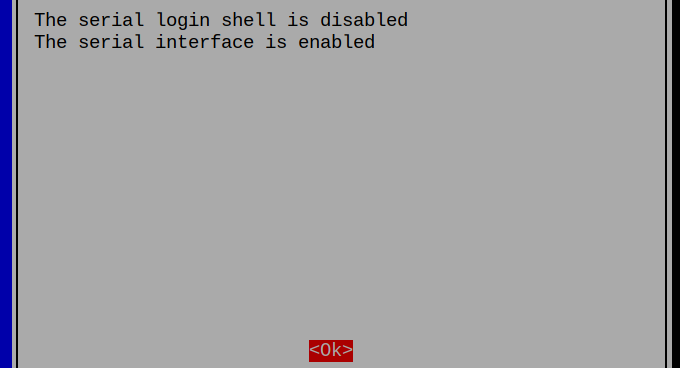
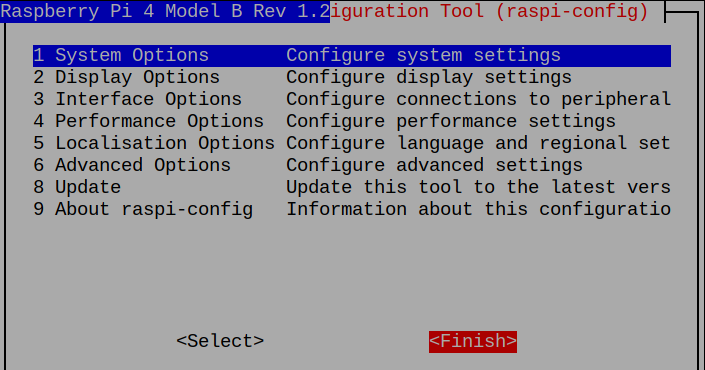
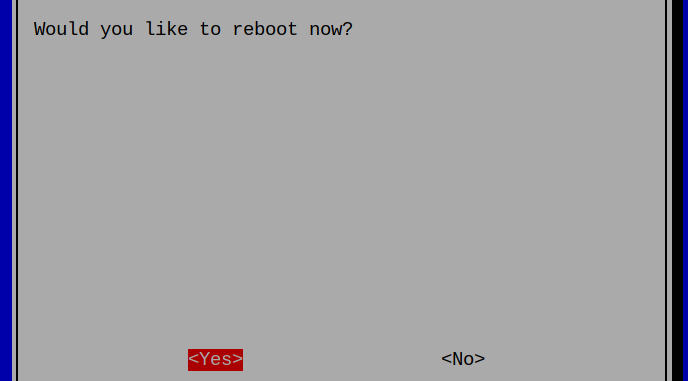
Correctly configure the RPi serial port and other previous work
-
Configure the UART serial port function, and after restarting, check the serial port correspondence
-
Install minicom software, execute
sudo apt-get install minicom -y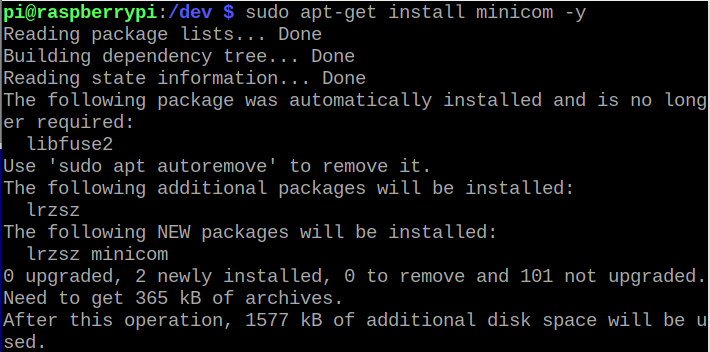
-
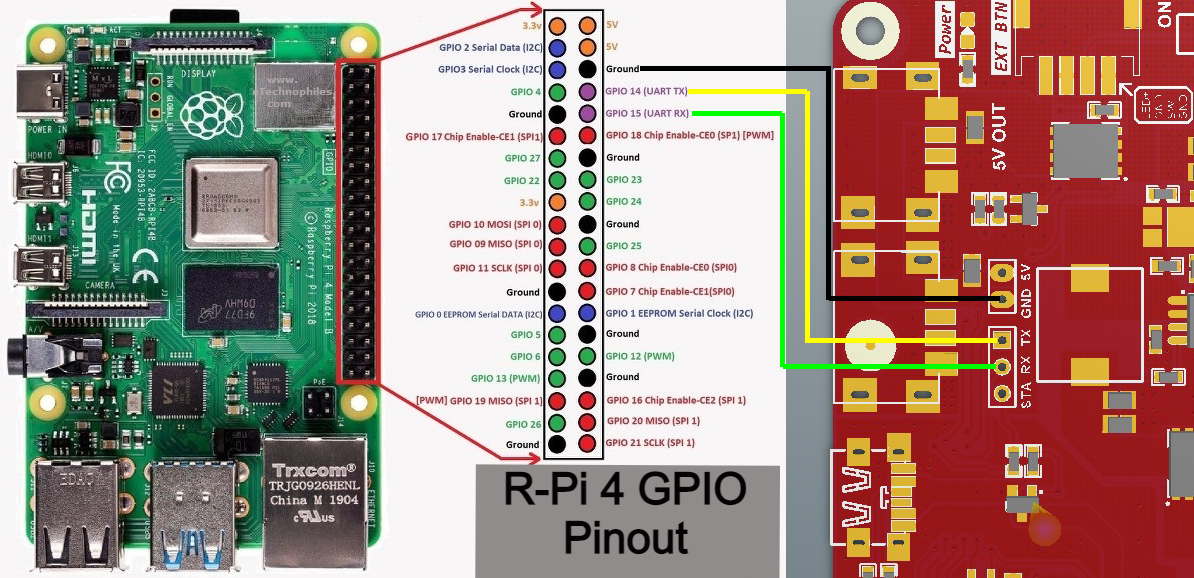
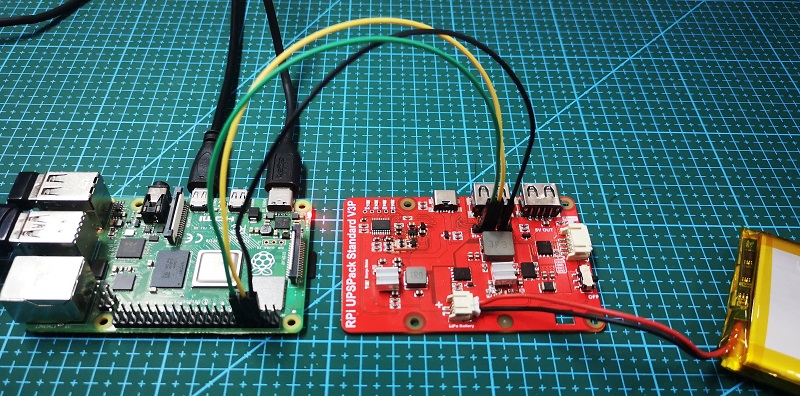
Connect the GND, TX, RX on the Pi with the GND, TX, RX on the UPS one-to-one through the DuPont line. Installation tips:
-
The UPS switch remains off (the switch is turned to the OFF position, and the Power LED is off)
-
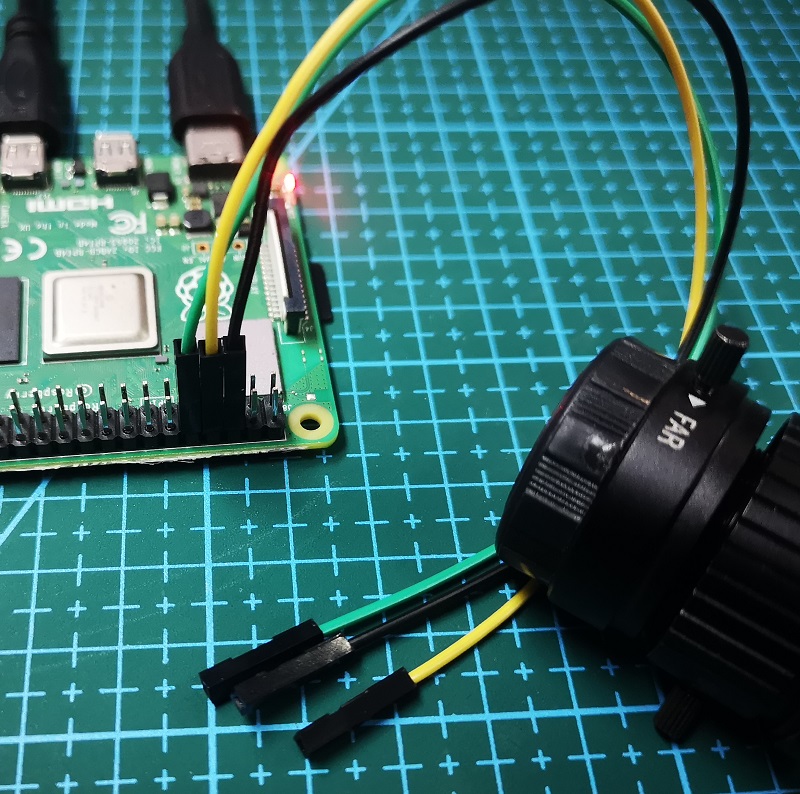
First connect the 3 DuPont lines of the GPIO port of the Pi: GND (black), TX (yellow), RX (green)
-
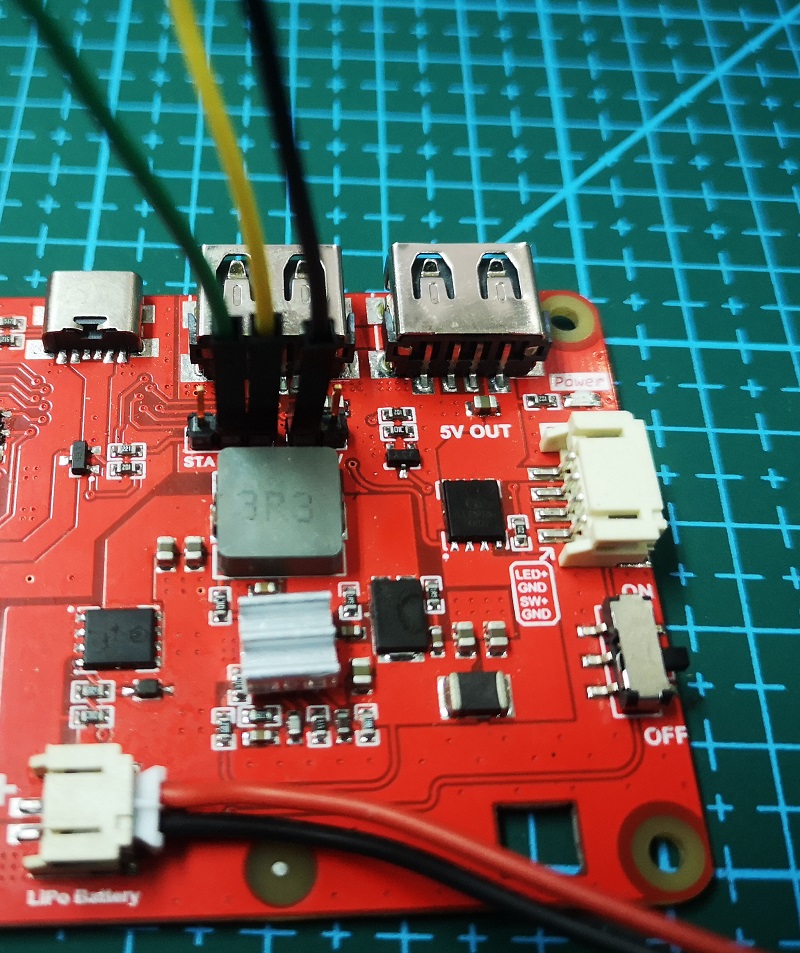
Then connect the 3 DuPont lines of the UPS motherboard: GND (black), TX (yellow), RX (green)
-
-
Execute
minicom -D /dev/serial0 -b 9600, turn on the switch of the UPS, and read the version number of the UPS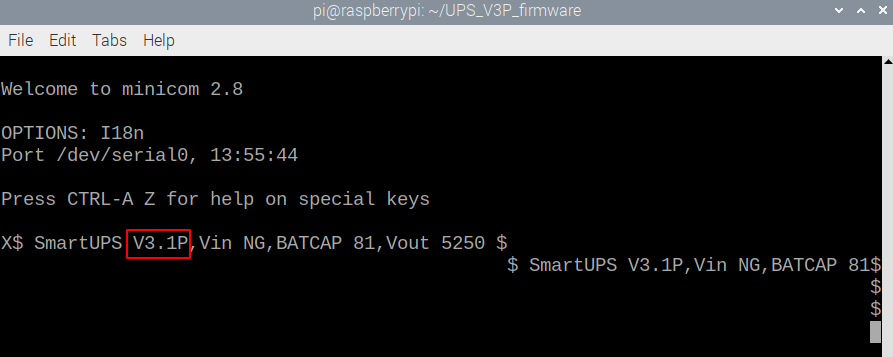
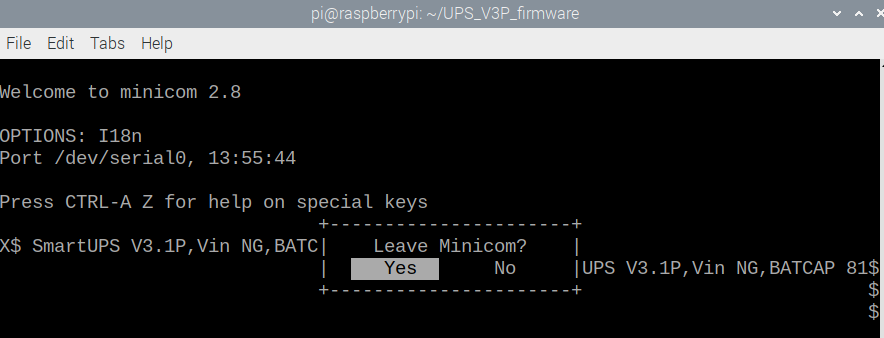
The way to exit minicom: first press ctrl+a, then press the z key, and finally press the x key
-
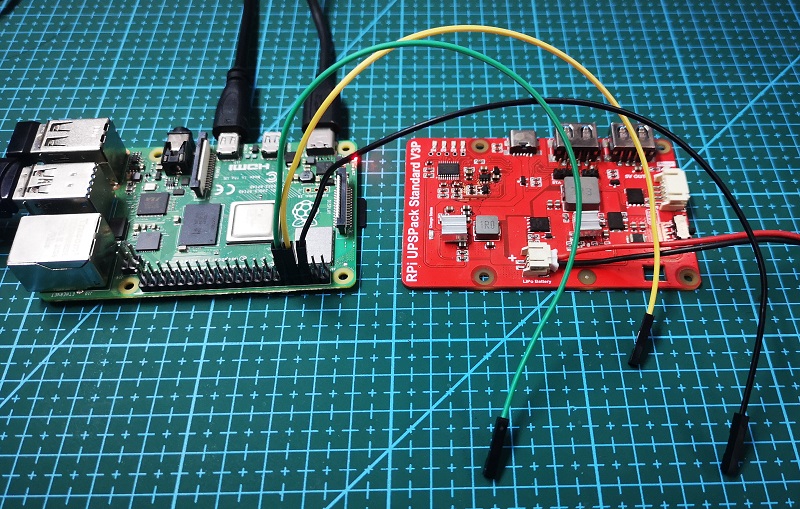
Turn off the power of the UPS, and unplug the 3 Dupont lines of GND, TX, and RX on the UPS. (This step is very important, otherwise subsequent upgrades will fail)


Start the upgrade
-
Download the upgrade program
cd ~
git clone https://github.com/rcdrones/UPS_V3P_firmware.git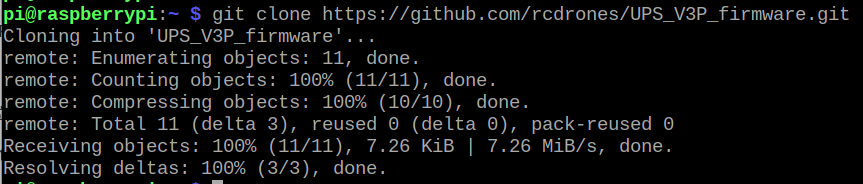
-
Enter the directory of the upgrade program and test the upgrade program
cd UPS_V3P_firmware
python3 ups_update_python3.py /dev/serial0 SmartUPS_V32P.bin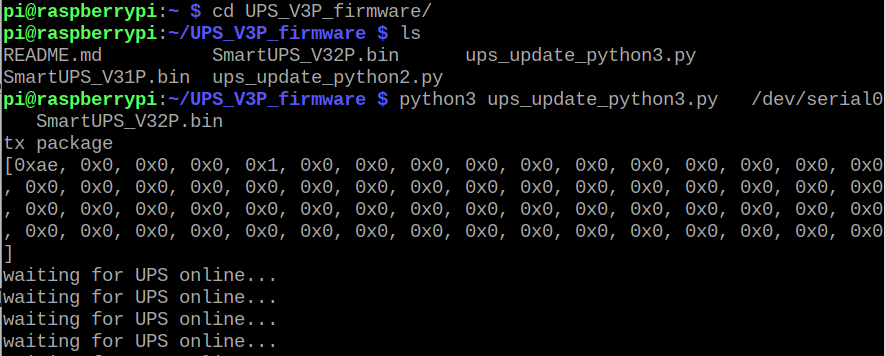
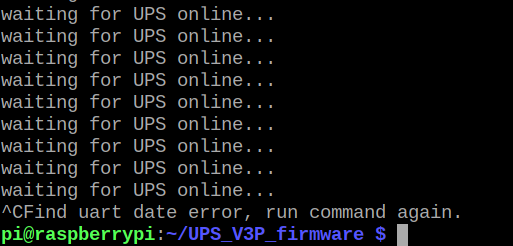
If you see the above running effect, ctrl + c ends the running program
-
Insert the 3 DuPont cables into the GND, TX, and RX of the UPS mainboard. (Pay attention to the line sequence, do not insert wrong, it will burn out), keep the switch in the off state.

-
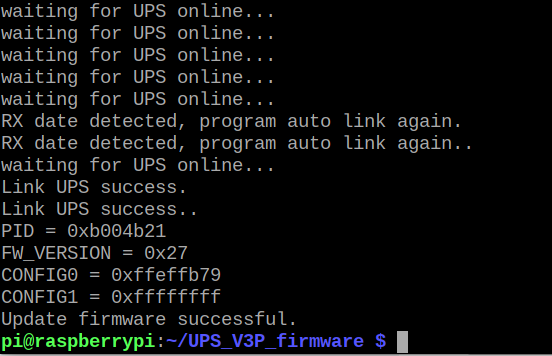
Run the upgrade program again. After seeing the sending command on the screen, turn on the switch of the UPS immediately and observe the prompt that the upgrade is successful.
python3 ups_update_python3.py /dev/serial0 SmartUPS_V32P.bin
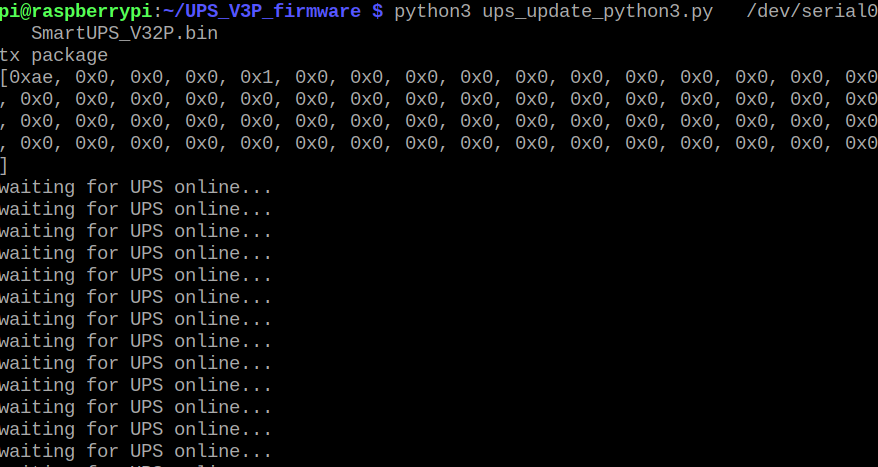
After seeing waiting for UPS online, turn on the UPS switch now.
-
Turn off the power of the UPS, and unplug the 3 Dupont lines of GND, TX, and RX on the UPS. (This step is very important, otherwise the next observation version will be wrong)


Observe the software version number:
-
Connect the GND, TX and RX of the UPS mainboard. (**Pay attention to the line sequence. Do not insert it wrong, it may burn out! **), keep the switch off.
-
Execute
minicom -D /dev/serial0 -b 9600and turn on the UPS. Read the version number of the UPS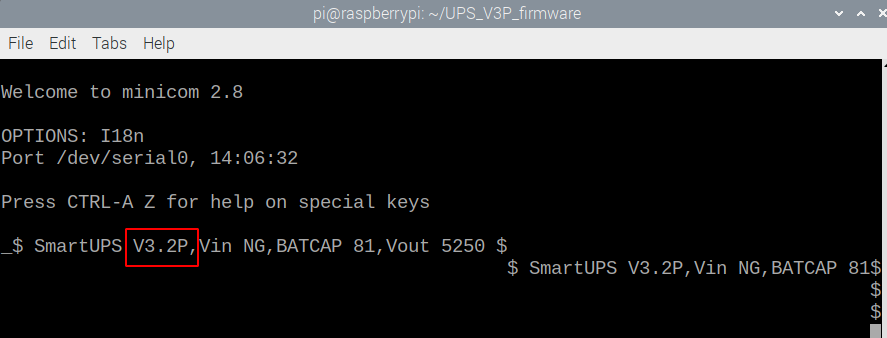
-
Turn off the UPS switch, unplug the DuPont cable between the UPS and the Pi, and the upgrade is complete.

Upgrade command line details:
Only the python3 development environment is integrated on the Raspberry Pi OS after January 2022, and the following commands can be run:
python3 ups_update_python3.py path_of_uart_device upgrade_firmware_filename
E.g:
python3 ups_update_python3.py /dev/serial0 SmartUPS_V32P.bin
The python3 and python2 development environments are integrated on the Raspberry Pi OS before 2021. In addition to the above python3 operation mode, you can also run the following commands:
python2 ups_update_python2.py path_of_uart_device upgrade_firmware_filename
FAQ
-
Execute
minicom -D /dev/serial0 -b 9600and observe garbled characters, why? Schematic diagram of garbled code: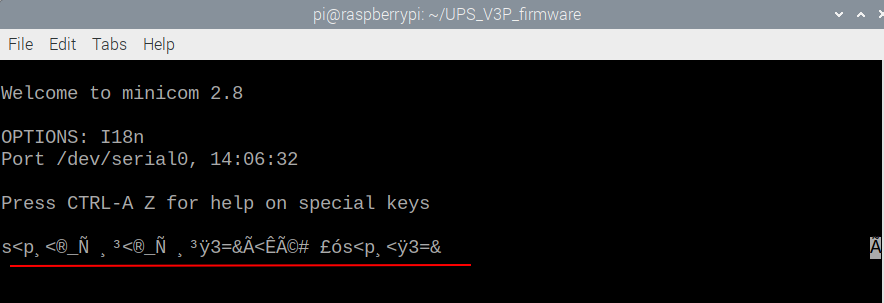
Reason for explanation: If the above garbled characters only appear in the process of UPS upgrading program through Pi. This is related to the power supply method. The upgraded Pi is powered by an external power adapter, while the UPS is powered by its own battery. However, since the Pi serial port is always at a high level during idle time, a weak current will pass through the TX, The RX signal line continues to supply power to the MCU, so the MCU reset is abnormal, and the ISP upgrade method requires the MCU to perform a cold boot to enter the Bootloader program correctly. So you will see a string of garbled characters on minicom instead of readable ASCII codes.
solution:
- The UPS switch remains off (the switch is turned to the OFF position, and the Power LED is off)
- Unplug the 3 DuPont lines of the UPS motherboard: GND (black), TX (yellow), RX (green)
- Then connect the 3 DuPont lines of the UPS motherboard: GND (black), TX (yellow), RX (green)
- Rerun
minicom -D /dev/serial0 -b 9600. The way to exit minicom is: first press ctrl+a, then press the z key, and finally press the x key
**When the upgrade is over, in the normal use process, the Pi is powered by the USB output port (or GPIO output port) of the UPS, so this situation will not be encountered. Because the UPS completely controls the power supply sequence of the Pi at this time, there is no need to plug and unplug the Dupont line. **
-
Execute
python3 ups_update_python3.py /dev/serial0 SmartUPS_V32P.bin, the python interpreter reports an error (AttributeError: module serial has no attribute Serial), which shows that the Serial method in the serial class is not found. Explanation: Because the Raspberry Pi OS system version is frequently updated, some new versions of the python integration library are incompatible. Re-uninstall the system's own library, and reinstall the python library to solve it. solution:- Uninstall system libraries:
pip uninstall serial - Reinstall the library:
pip install pyserial - Execute
python3 ups_update_python3.py /dev/serial0 filename.binagain - Or execute on a system with python2:
python2 ups_update_python2.py /dev/serial0 filename.bin
- Uninstall system libraries:
