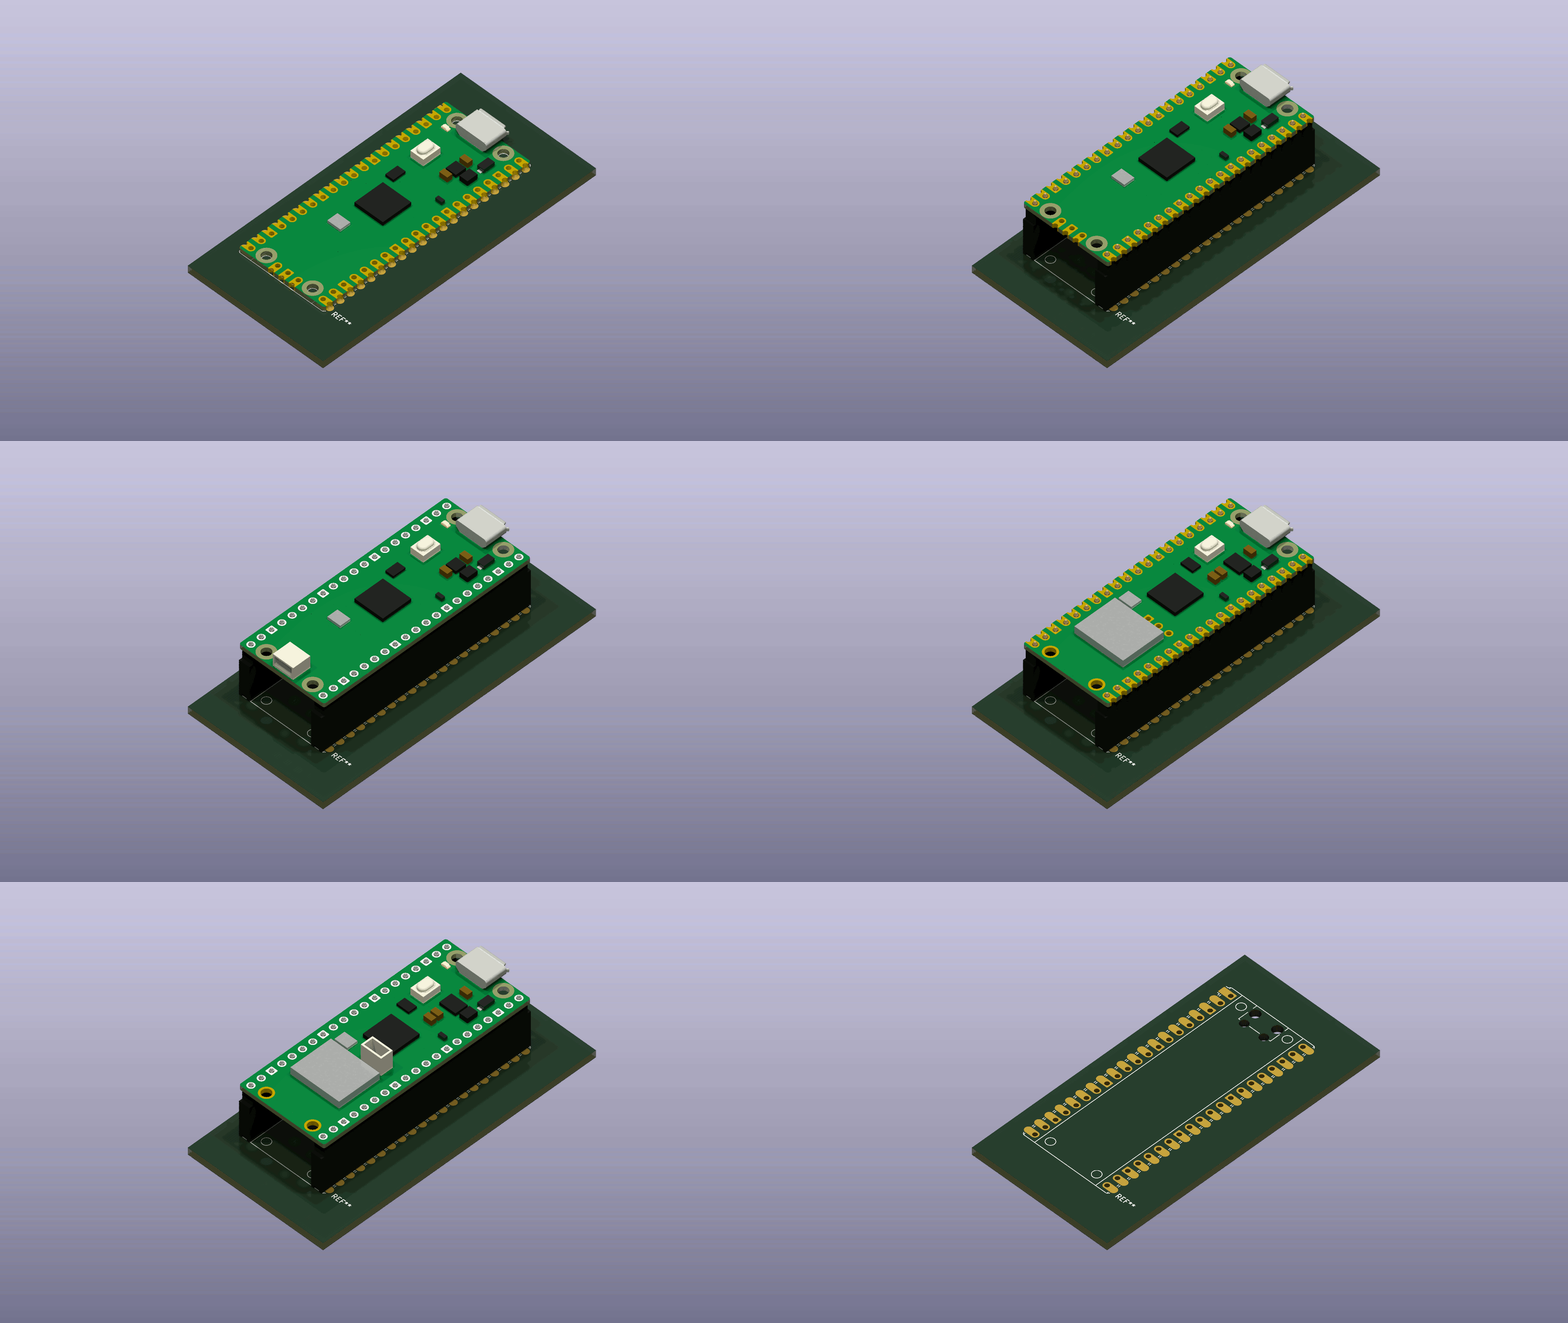
The offered footprints of the Raspberry Pi Pico; all footprints also have a variant with mounting holes.

The offered schematics of the Raspberry Pi Pico; many pins provide alternate pin definitions.

The models feature the original Pico, Pico H, Pico W, and Pico WH; they are able to be visualised in surface-mount, through-hole, and socketed forms.
- KiCad 7.0 support
- Schematics with alternate pin definitions to select more specific behaviours for each GPIO, as well as specify power directionality
- Generic and specific footprints for the Pico and Pico W
- Through-hole and surface-mount footprints with and without mounting holes
- Hand-solderable test points (ie. USB signals) in footprints with underside castellations
- Optional pin labels as an add-on footprint
- Optional keepout zone for 2.4 GHz RF on shared footprints
- Diverse 3D models for surface-mount, through-hole, and socketed forms of the Pico, Pico H, Pico W, and Pico WH using photorealistic materials
- Majority adherence to the KiCad Library Conventions version 3.0.34
- Ensure you are running KiCad 7.0 or later
- Download the most recent release of the library
- Unzip the file contents
- If not already created, create a new KiCad project
- Move the root library directory
RaspberryPi_Pico/to a folder anywhere within your KiCad projectIf using the library globally, move
RaspberryPi_Pico/to a globally accessible location - Open the relevant KiCad project
- Select
Preferences > Manage Footprint Libraries... - Select the
Project Specific LibrariestabIf using the library globally, select the
Global Librarirestab instead - Click the folder icon in the lower left to
Add Existing - Navigate to and select
.../RaspberryPi_Pico/Module_RaspberryPi_Pico.pretty/ - Click
OK - Select
Preferences > Manage Symbol Libraries... - Select the
Project Specific LibrariestabIf using the library globally, select the
Global Libariestab instead - Click the folder icon in the lower left to
Add existing library to table - Navigate to and select
.../RaspberryPi_Pico/MCU_Module_RaspberryPi_Pico.kicad_sym - Click
OK
To use, simply add a symbol to your schematic as you would any other; symbols should be located under the section MCU_Module_RaspberryPi_Pico, and footprints under Module_RaspberryPi_Pico.
Some adjacent solutions I encountered during my research for this project
- Official Raspberry Pi KiCad library files for the Pico and Pico W provided in Hardware design with the RP2040, Section 3
- A detailed SketchUp model of the surface-mount Pico incorporating the above Pico library
- A similarly versatile library found on the KiCad forums for all the Pico variants, including a castellated add-on board footprint
- Great teardown featured:
- Antenna info:
- Possible antenna radiation pattern:
- https://abracon.com/parametric/antennas/PRO-EB-592
- https://abracon.com/parametric/antennas/PRO-EB-594
- https://embeddedcomputing.com/technology/analog-and-power/power-semiconductors-wireless-charging/a-lesson-in-wireless-engineering-from-the-raspberry-pi
- https://antennatestlab.com/antenna-examples/raspberry-pi-model-3b-antenna-evaluation-gain-pattern
- A similar example of implementing 3 discrete components as one apparent symbol for a socketed device on the KiCad forums
This work is made freely available under the MIT-0
license, the text of which should be found in LICENSE.txt
in the root directory of this project alongside this README.
No additional/conflicting permission notices were present in the source repository at the time of release.
Repository: https://gitlab.com/recursivenomad/ki-lime-pi-pico/
Releases: https://gitlab.com/recursivenomad/ki-lime-pi-pico/-/releases/
Contact: recursivenomad@protonmail.com