| Name | Student ID |
|---|---|
| Qiao Liang | 1853572 |
The main requirement to be implemented in this project is the image retrieval function. Image retrieval is a kind of information retrieval, and the task contains five main phases, which are:
- Formulation
- Initiation of action
- Review of results
- Refinement
- Use
First is the schema of search input. For image retrieval tasks, we need to restrict the input to recognizable types. For example, for an image retrieval, we need to:
- Restrict the format of images
- Limit the size of the image if necessary
- Provide suggestions for desired input images, such as suggestive text in the search box.
In this project I used the input button that allows you to select local files, so that you can easily select various files in your computer
Next is the way the search is initiated. We need to set up a simple and easy-to-understand search method, such as a button with a "search" prompt that guides the user through the search process. In this project I use a prominent search button to prompt the user to click to search, while providing a judgment on the input to ensure that the input photos are legitimate
For the view of the results, we first need to ensure the visibility of the search criteria, and at the same time make a reasonable classification of the results. And we also need to further filter the results. For the presentation of the results, the results and related information of the images should be displayed as clearly as possible. In this project, I used a grid list to present the results of the search clearly in the form of cards.
The next step is the refinement of the search parameters and the need to add filtering criteria to the results and information obtained, since a single search will certainly not give the user exactly the results he or she wants. For this project, after getting the search results, further search can be performed based on the number of search results and the type of images.
After finishing viewing the search results, we should allow subsequent operations in the results, using the search for the exact information for dumping and saving, etc. For this project, you can zoom in to view and save the results of your search images, as well as add them to your favorites for easy viewing next time.
Front-end: Vue2.x, element-ui, ant-design-vue
Back-end: Flask
Eye-catching headers showcase the completed functions of the page, along with some simple navigation bars leading to different modules.
For the input of image, this project uses element-ui's <el-upload> to complete the input of image:
After double-clicking on the local image, the web page will display a preview of the currently selected photo.
When the mouse moves into the picture, you can click the Zoom button to view a larger version of the picture, or you can click the Delete button to delete the current photo and reselect it.
Also, the project specifies that the file format must be jpg,png,jpeg, When the uploaded image is in the wrong format, the web page will give a prompt to re-upload it. For example, when I pass in a video type file:
For search, there is an eye-catching search button below the input box, along with a beautiful mouse-over animation to facilitate user orientation.
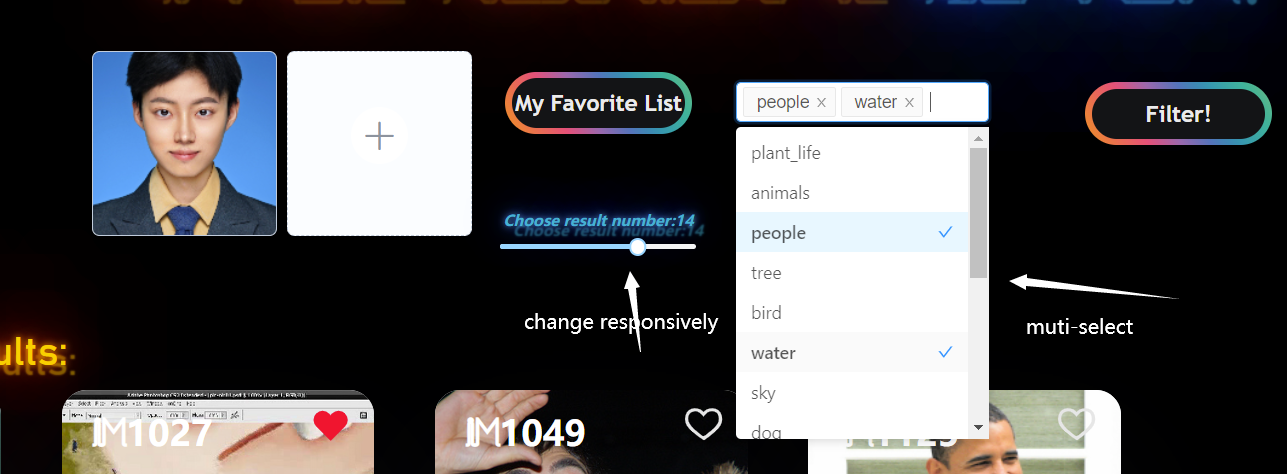
Also, the sliding button to the right of the user specifies the number of search results, and the user can adjust the number of search results as needed.
Since the search takes some time, the project also provides a loading screen:
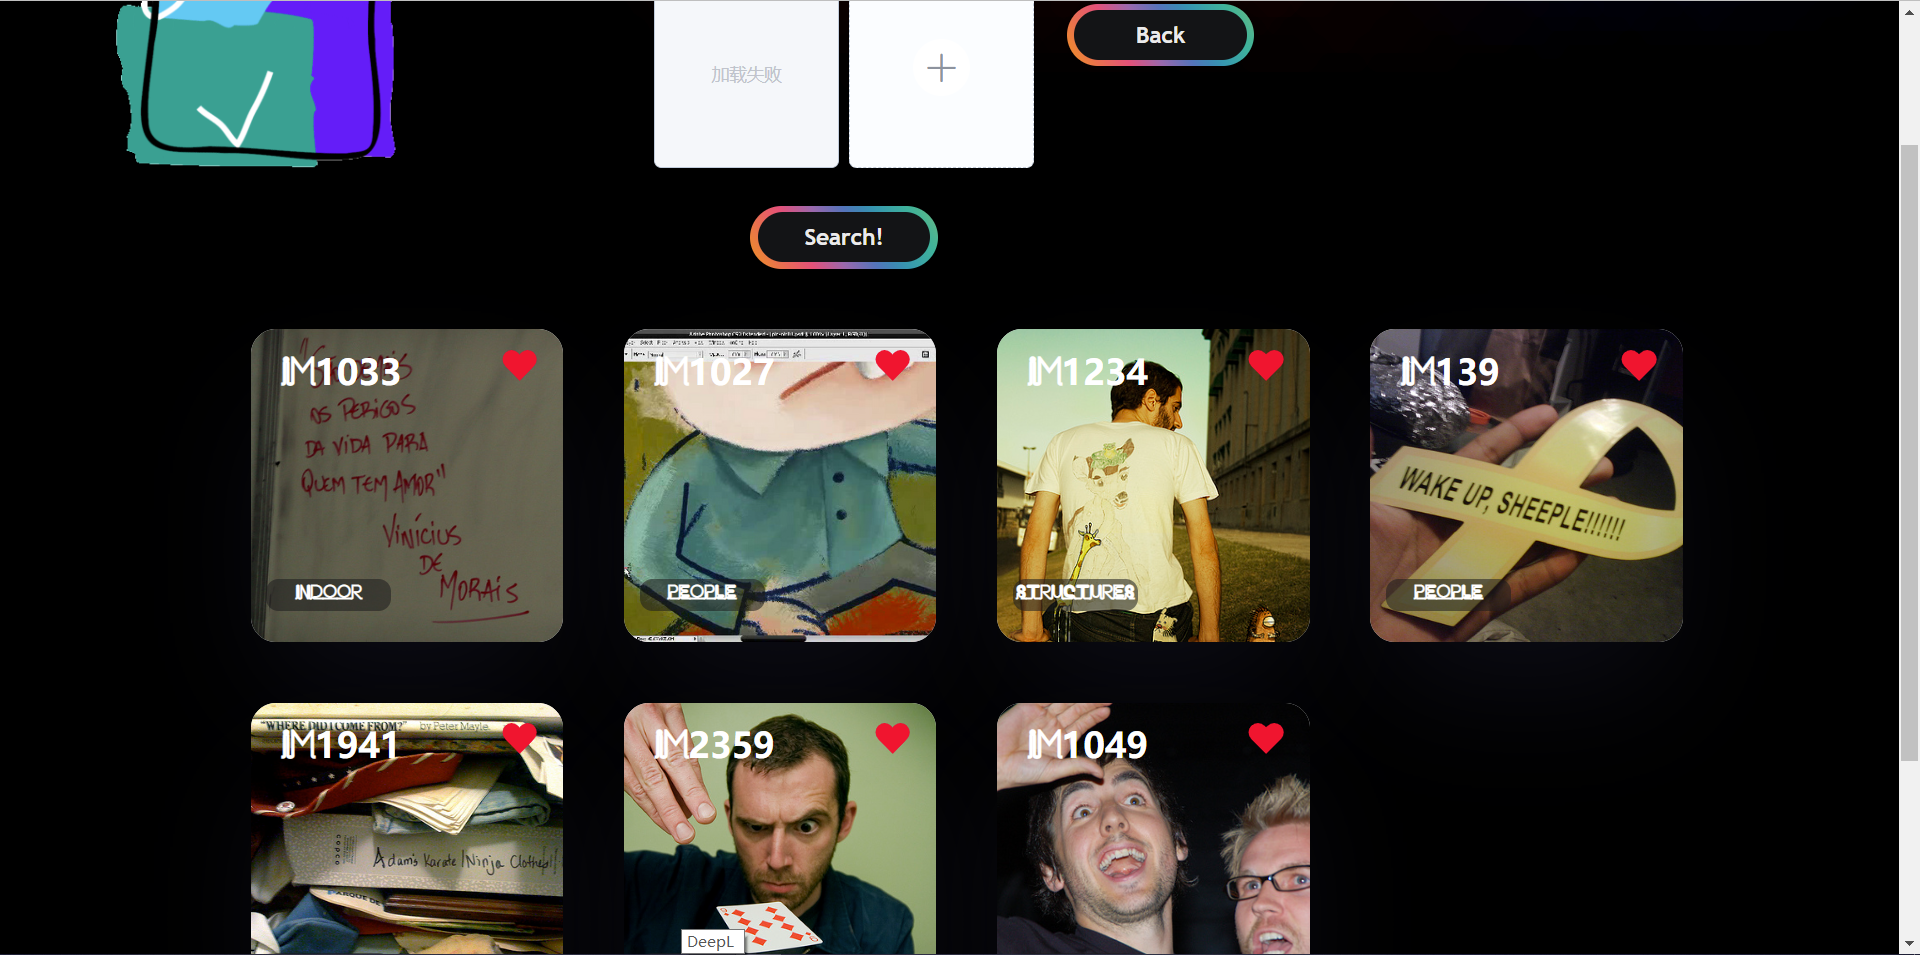
For the display of the search results, the project uses two-dimensional cards to display the image results, along with the image names and the corresponding tags for each image. At the same time, the filtering module is also displayed accordingly:
As the mouse hovers over each card, the card will focus and zoom in.
At the same time, users can click on the image to view a larger version of the image, which can be zoomed in and out and other operations.
Due to the accuracy of the algorithm, the search results may not all be what the user wants, and the filtering module on the right can be clicked to multi-select the image type. Also, when the clicked tag changes, the maximum value of the sliding selector changes responsively to let the user know the total number of results under that tag condition.
For example, if I want to search for photos related to portrait and only need to see 6 results, I can fill in the filter criteria and click the filter button and get the following results:
If we are not satisfied with the results, we can always change the filter criteria for subsequent filters.
For use, in addition to viewing and enlarging images and downloading them, we can also add our favorite images to our favorites and view the last favorite image when we open the web page next time. For example, we can click on the Favorites button of any card :
Web page alerts to tell users that an image has been added, via a global notification bar.
We can click on the button to go to the Favorites page, which shows the list of photos we have favorited:
At the same time, if you want to cancel the picture, we can also click the favorite button again in the favorite page or search result page, the web page will prompt to cancel the favorite and move the picture out of the favorite list.
For example, if we go back to the search results page, we can find that the photo is now in the uncollected state.
The state of the favorites is stored with the browser, as I use localstorage provided by the front-end to store information about the collection images as an array. The list of favorites will always be there unless the browser cache is cleared.
For example, for a collection of images, this is done using the following code:
    addFavoriteList(index) {
      if (localStorage.getItem('favorite') == '' || !localStorage.getItem('favorite')) {
        localStorage.setItem('favorite', JSON.stringify([]));
      }
      let obj = {
        imgName: this.filteredResultList[index].imgName,
        tag: this.filteredResultList[index].tag,
        liked: true
      };
      let arr = JSON.parse(localStorage.getItem('favorite'));
      arr.push(obj)
      localStorage.setItem('favorite', JSON.stringify(arr));
      this.filteredResultList[index].liked = true
    },
In addition, we can also click on the large image and then use the function that comes with the browser to download the image.
After unzipping the commit file, we need to add the following files to make the code runable.
- Add a new
databasefile tobackend\lab2-image-retrieval\servercontainingdatasetandtags. - add a new file named
imagnettobackend\lab2-image-retrieval\servercontaining the file the demo code has provided. - add a new file name
imgtobackend\lab2-image-retrieval\server\staticcontaining all the image files - Install all packages needed to run
- run
image_vectorizer.py - run
rest-server.py
- run
npm installto install needed packages - add a new
databasefile tofront-end\imageretrievallqcontainingdatasetandtags. - run
npm run serve
If flask is also running, the page can also see the full functionality.


