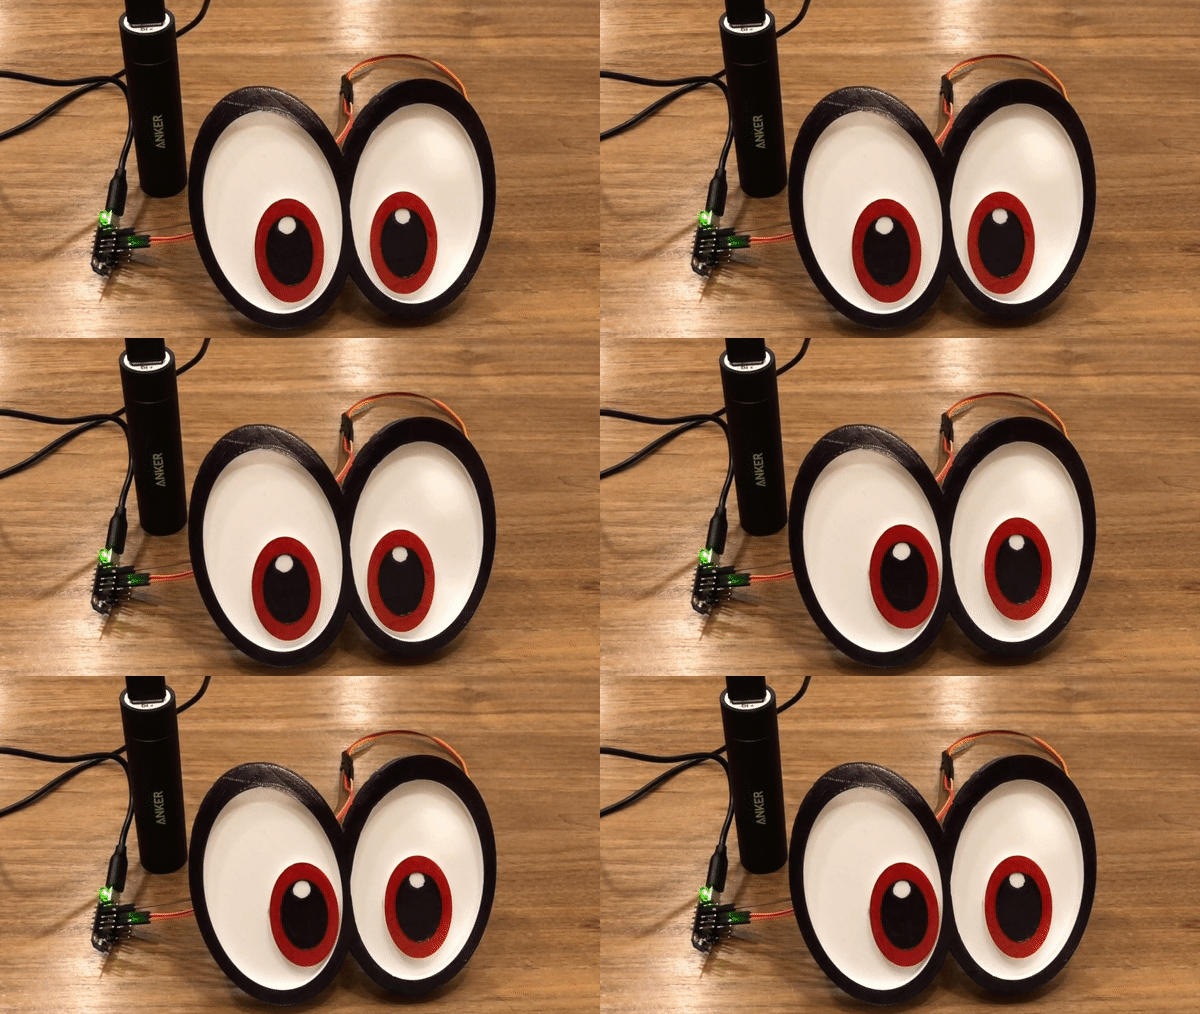
Fun little project to create a moving pair of Cappy eyes for a hat.
| Part | Count | Material | Print Time | Supports |
|---|---|---|---|---|
| cappy_eyes.stl | x1 | 40g | 5 hours | No |
| cappy_eyes_pupil.stl | x2 | 2g | 1 hour | No |
| cappy_eyes_pupils_rail.stl | x1 | 1g | 10 mins | No |
| cappy_eyes_mount.stl | x1 | 2g | 20 mins | Yes |
| Total | 45g | 6 hours |
- Printed on Ultimaker 2 using Polymaker PolyMax PLA.
- 25% infill.
- If you plan to paint the parts, do so before assembly.
- Place the pupils rail part into the half-circle holes in the eyes. It should glide freely left and right in the half-circles. If not, trim up the edges of the half-circles and/or sand the pegs on the rail.
- Glue the pupils onto the pegs of the pupil rail, being careful not to accidentally glue the pupils to anything else. You'll also want to be careful to ensure they're vertically straight or they'll rub on the side of the eyes.
- Wiring:
- Connect the #0 data pin of the Trinket to the orange data wire of the Servo.
- Connect the USB+ pin of the Trinket to the red wire of the Servo.
- Connect the Gnd pin of the Trinket to the brown wire of the Servo.
- Plug the Trinket into your computer or the battery to power it up.
- Program the Trinket (see Software below).
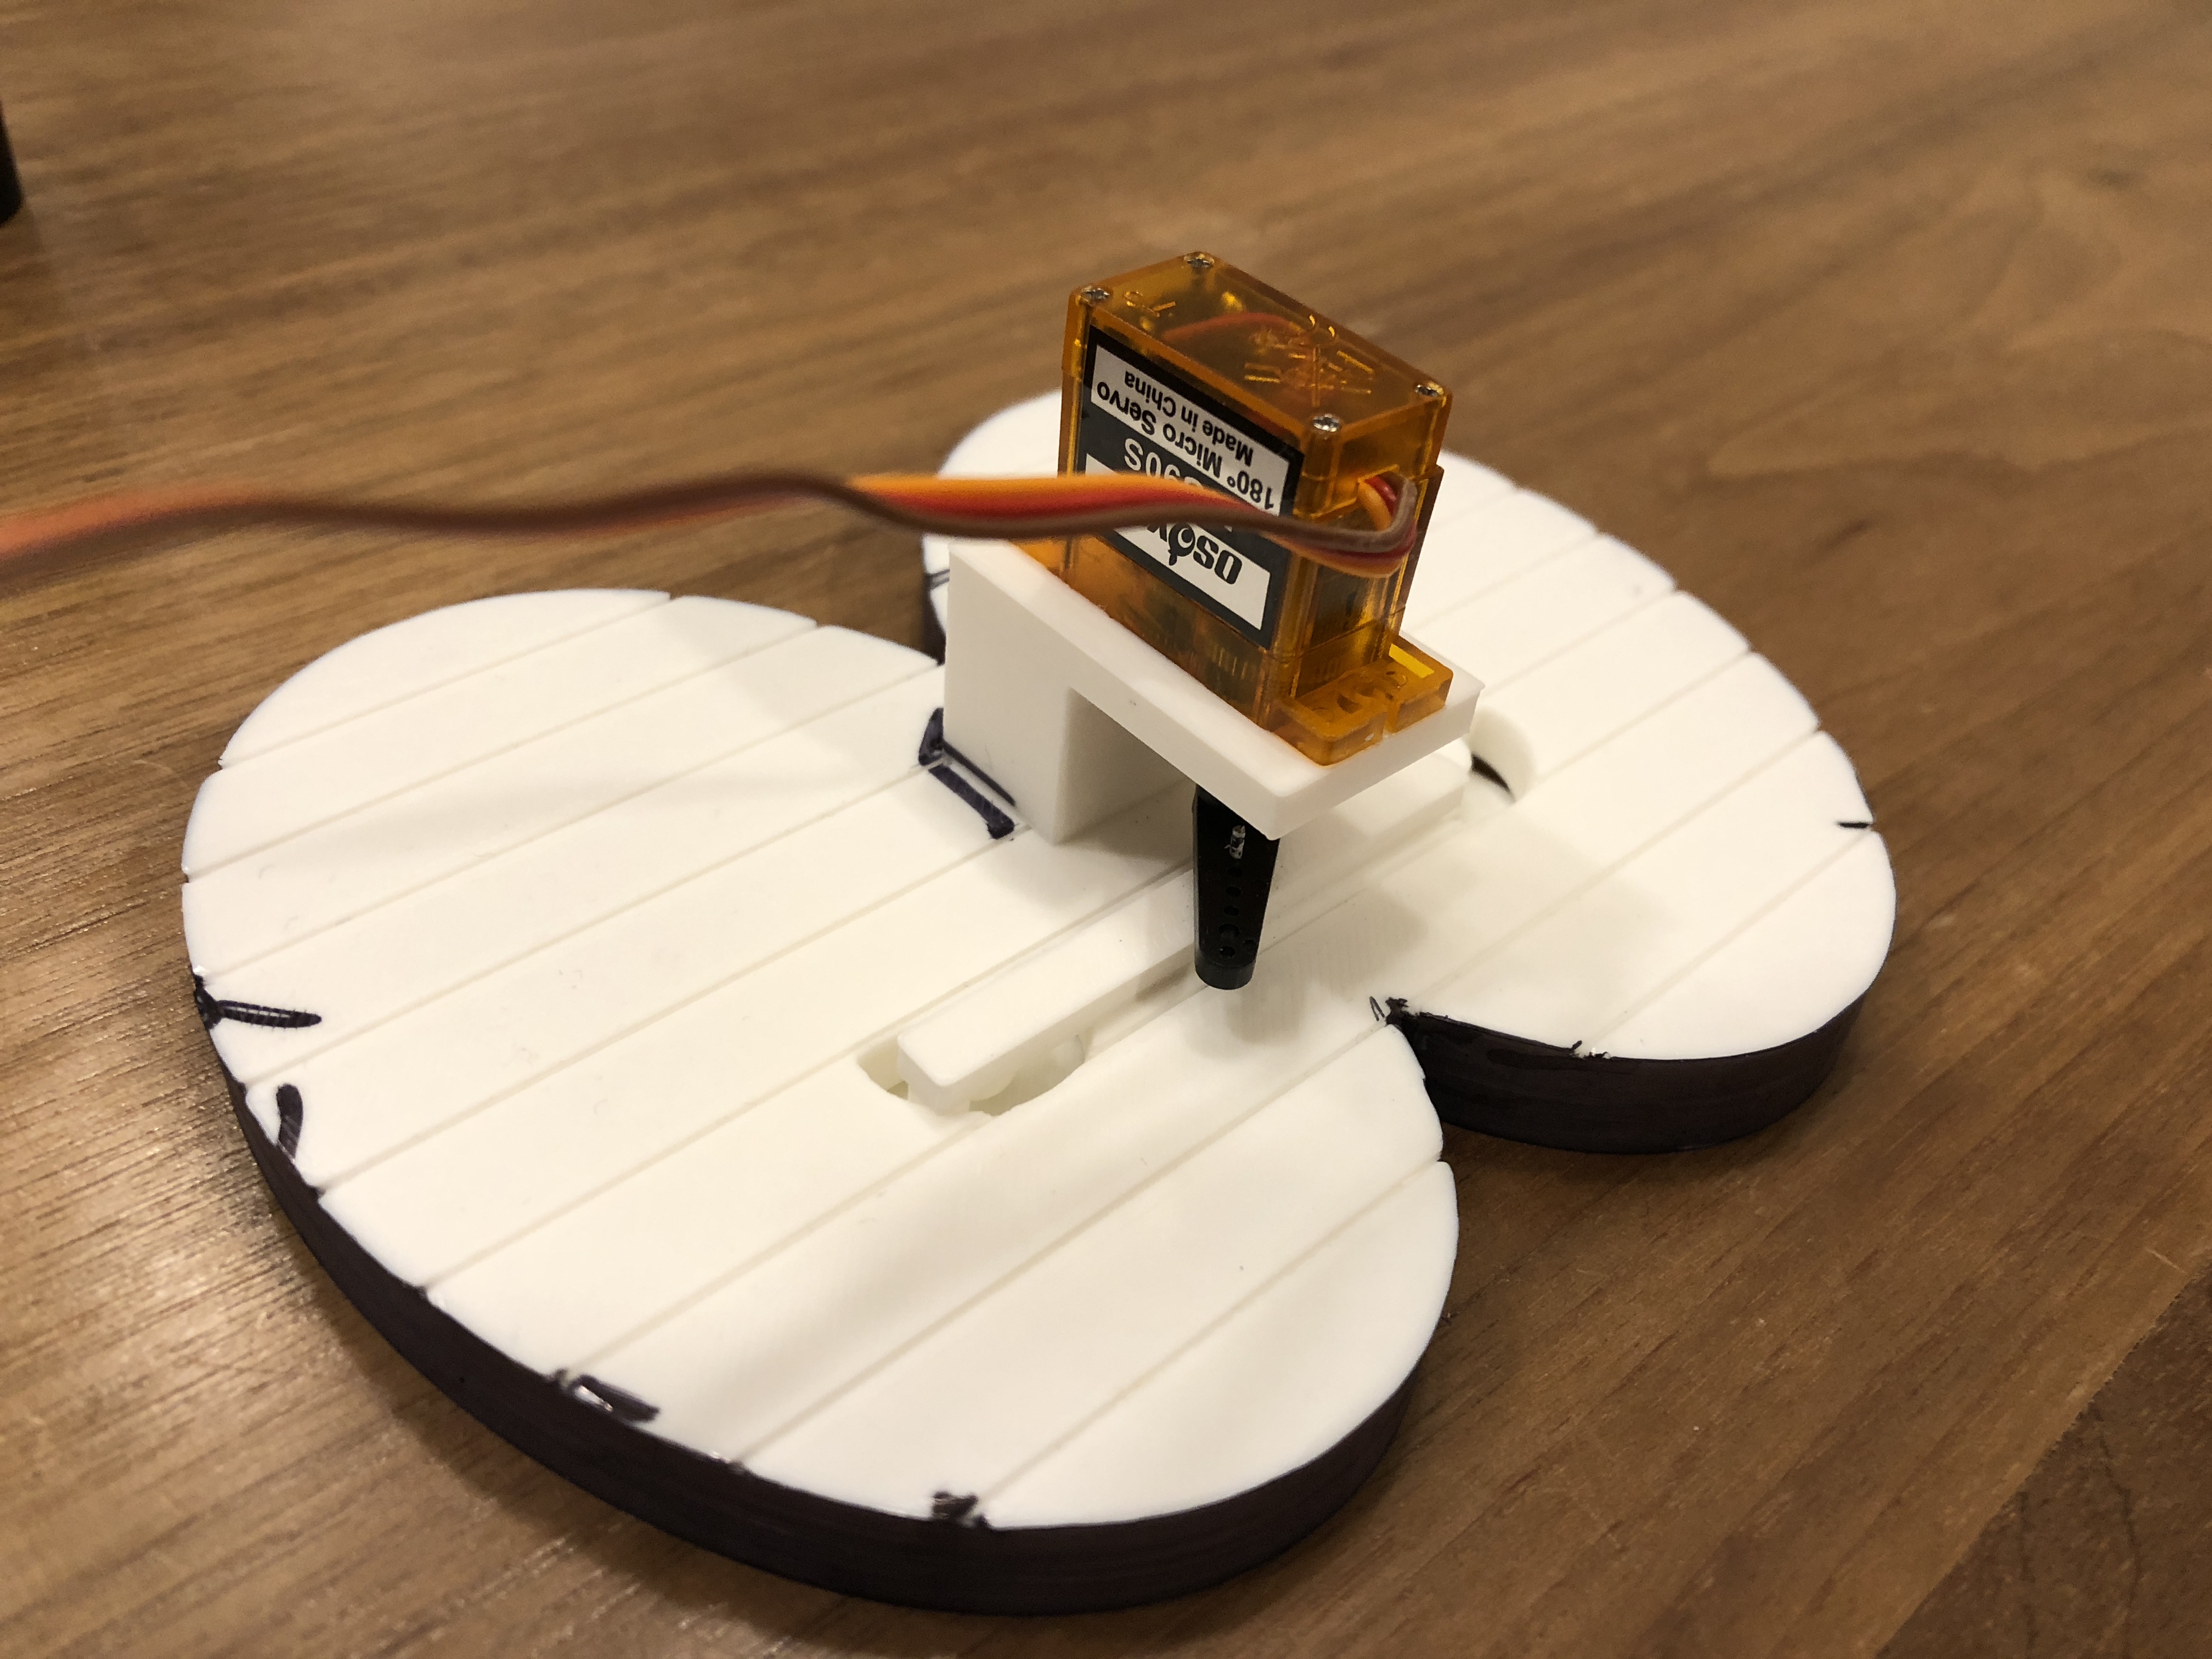
- Once everything is working, screw in or glue the servo onto the mount.
- Calibrate the servo arm:
- Place an arm onto the servo.
- While the servo is unpowered, gently move the servo arm clockwise until it can't go any further.
- Re-place the arm so that it's perpendicular to the servo pointing to the left.
- Gently rotate the arm 180 degrees until it stops moving again.
- Check that it's perpendicular in the other direction. If it swings a little bit further (i.e., the servo has more than 180 degrees of travel), adjust the arm again so that the arm reaches the same angle on both ends of the servo's range.
- Make a rigid metal pin that's small enough to move freely inside the servo arm. I used a small paperclip. Insert the pin into the center of the pupil rail by heating up one end and letting it melt into the rail.
- Test-fit the mount and servo so that the pin fits into the servo arm and when you move the arm back and forth the rail moves smoothly. Glue the mount onto the back of the eyes in that position.
- Power it up and the pupils should move :)
- Use a red and black Sharpie or paint spruce them up.
I used the Adafruit Trinket 5V. Checkout their guide for how to setup the Arduino IDE to program the device: https://learn.adafruit.com/introducing-trinket
The Trinket lacks PWM, so I used the Adafruit SoftServo library, but had to modify its parameters to get the OSOYOO MG90S servo to rotate it's full 180 degrees. The modified library is included in arduino/Adafruit_SoftServo. Load that library into your Arduino IDE for use in the sketch.
Program the trinket using the sketch: arduino/cappy_eyes.ino.
The servo should move to a random position every few seconds.
| Basic Tools & Materials |
|---|
| Soldering Iron and Solder |
| Wire Strippers |
| Wire |
| CA Glue |
| Short USB-A to Micro-USB Cable |
| Black and Red Sharpie or Paint |
| Heat-Shrink Wire Wrap and Heat Gun (Optional) |
| Item | Count | Unit Price | Total | Link | Notes |
|---|---|---|---|---|---|
| Adafruit Trinket 5V | 1 | $7 | $7 | Adafruit | |
| Anker Powercore+ Battery | 1 | $14 | $14 | Amazon | Overkill for this project, but wanted to use a USB battery to simplify things. |
| Landisun Mario Cap | 1 | $12 | $12 | Amazon | Comes with Luigi too, but cheapest option even so. |
| OSOYOO MG90S Servo | 1 | $3 | $3 | Amazon | |
| Total | $36 |

