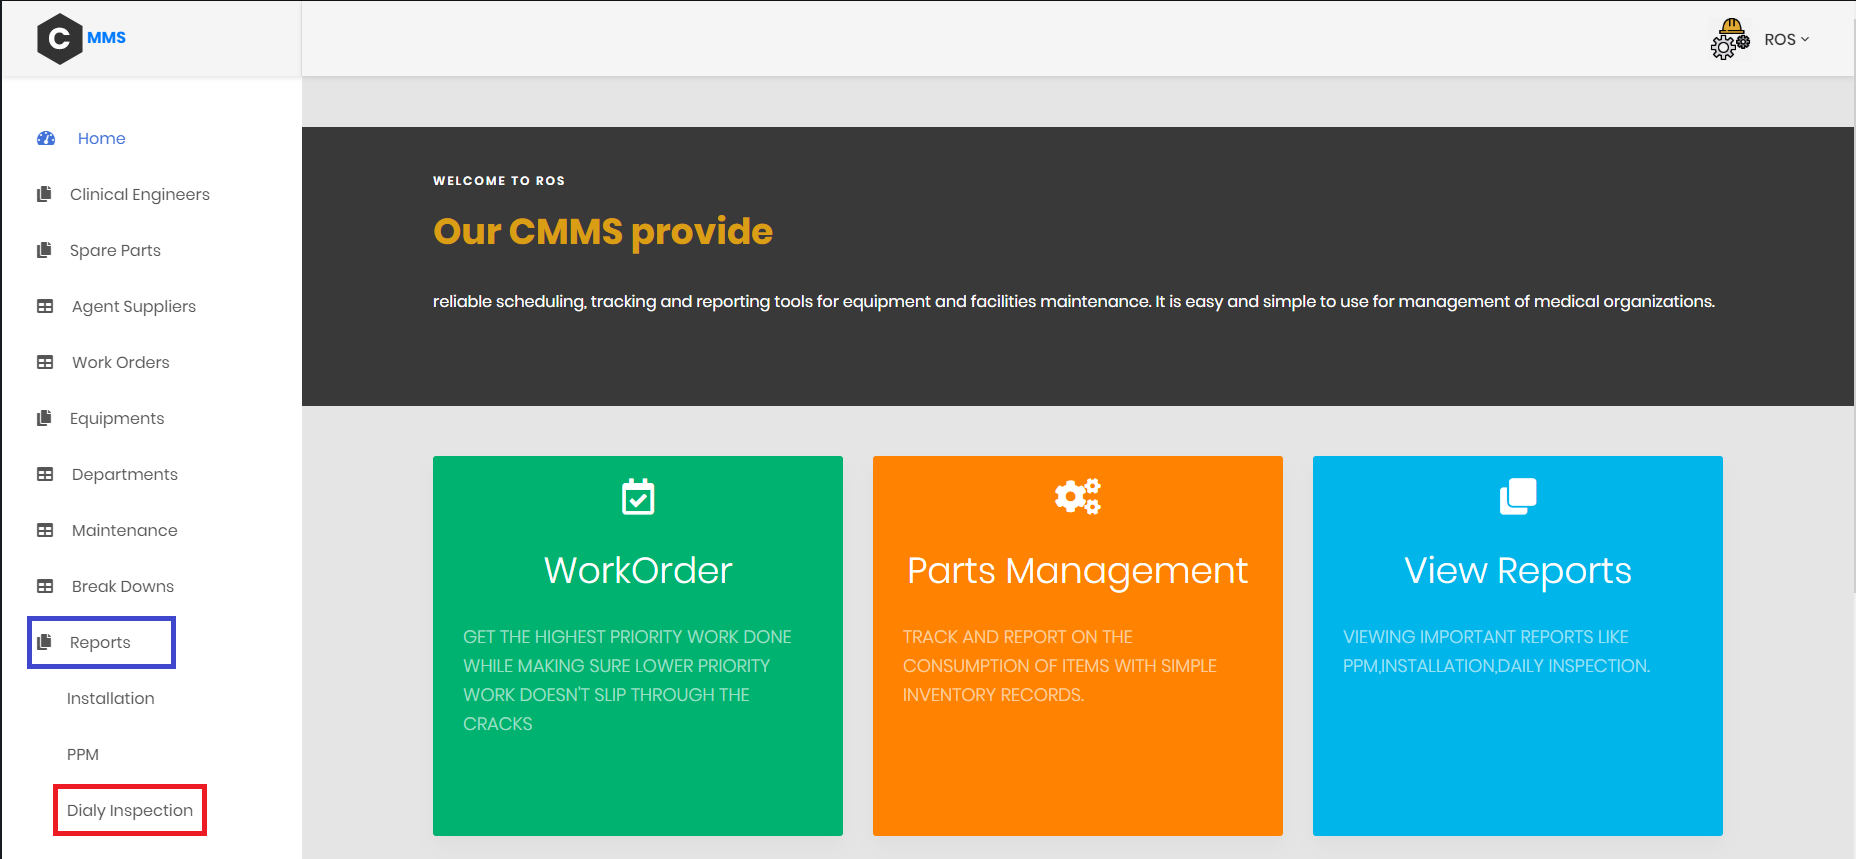
It stands for Computerized Maintenance Management System. It is a software designed to store the hospital's maintenance data on a computer, whether it's a work order for a breakdown or a daily inspection. This software simplifies the maintenance management by giving users insight into the state of maintenance needs with comprehensive work order schedules, accurate inventory of spare parts, and access to very important reports. This information makes it easier for maintenance workers to do their jobs more effectively. And CMMS is not only used in the medical field, it's used in every industry.
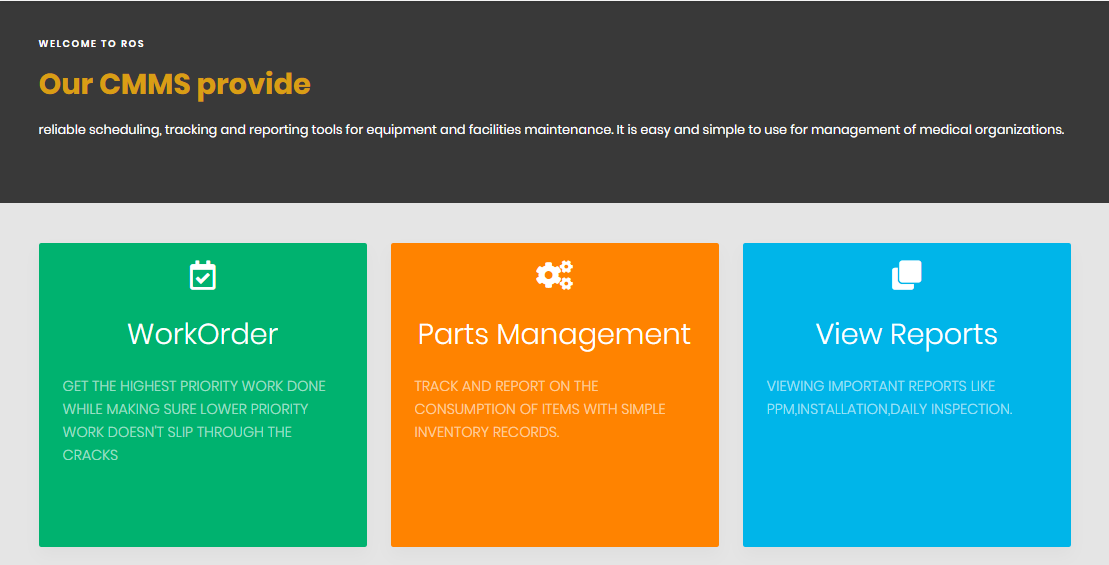
Reliable scheduling, tracking and reporting tools for equipment and facilities maintenance. It is easy and simple to use for management of medical organizations.
1- First, you have to download Node and install it. You can download it from here
2- Second, download MySQL database and install it, Preferred Ampps and you can download it from here
3- Open Ampps and turn on Apache and MySQL.
4- From phpMyAdmin create new database and name it cmms.
5- Open the folder of the project using your IDE.
6- Open the terminal of your IDE and write npm install, then nodemon start.
7- If it doesn't work you can try node server.js or npm start.
8- In your browser open localhost:3000.
9- You will find the home of our website. To see the rest of our website you have to log in.
- Note: email: admin@gmail.com, password: 0000
10- Now you can see all the content of our website and edit it.
- Note: There is an uploaded SQL file for our CMMS on our Repository
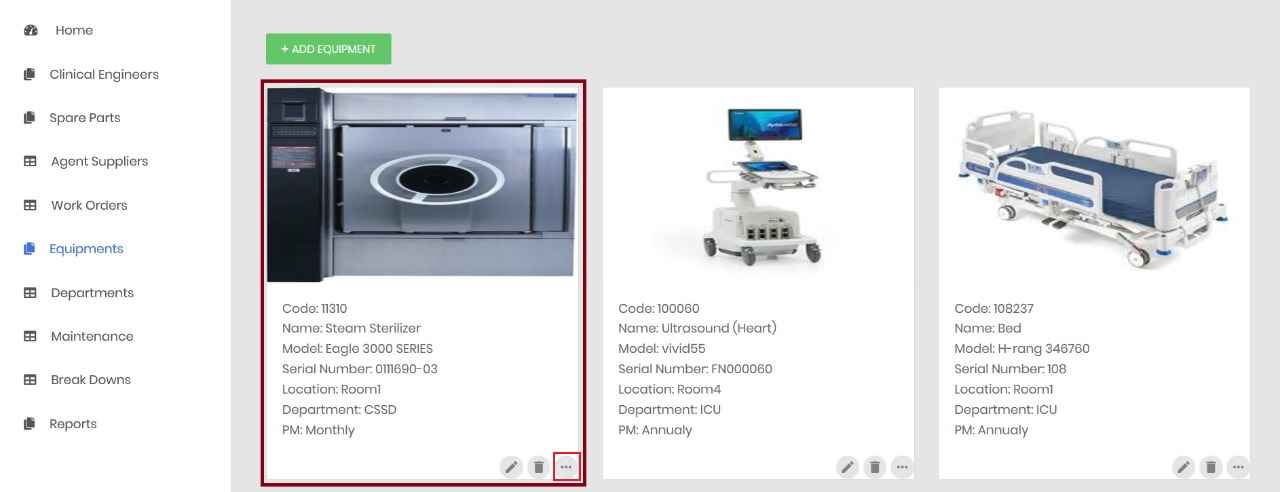
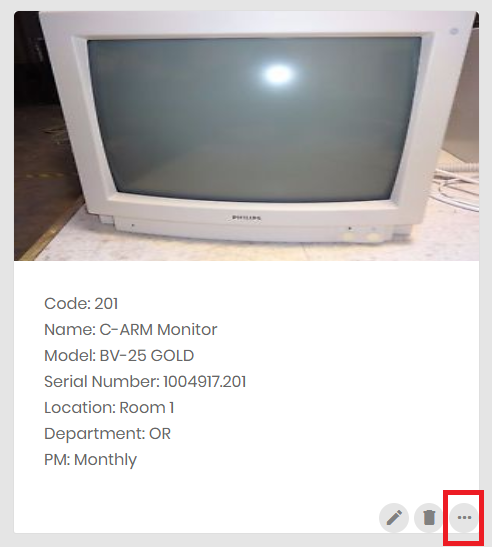
3- After filling it in, an Equipment Card will appear with all equipment information. Press here '' (...) '' to get your Installation Report
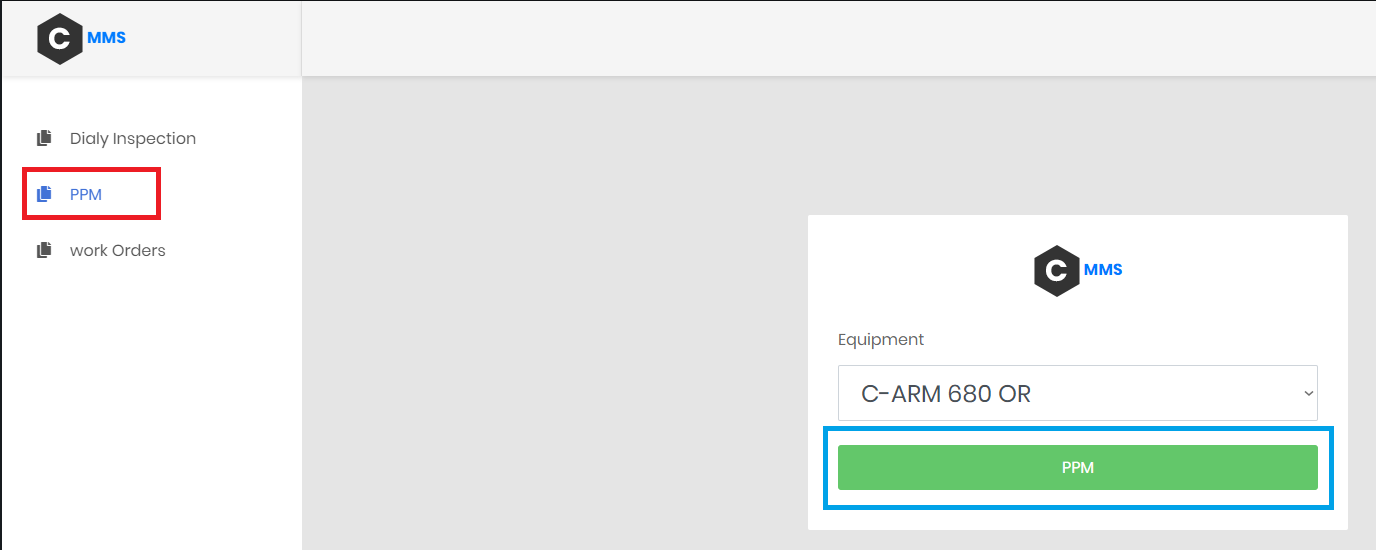
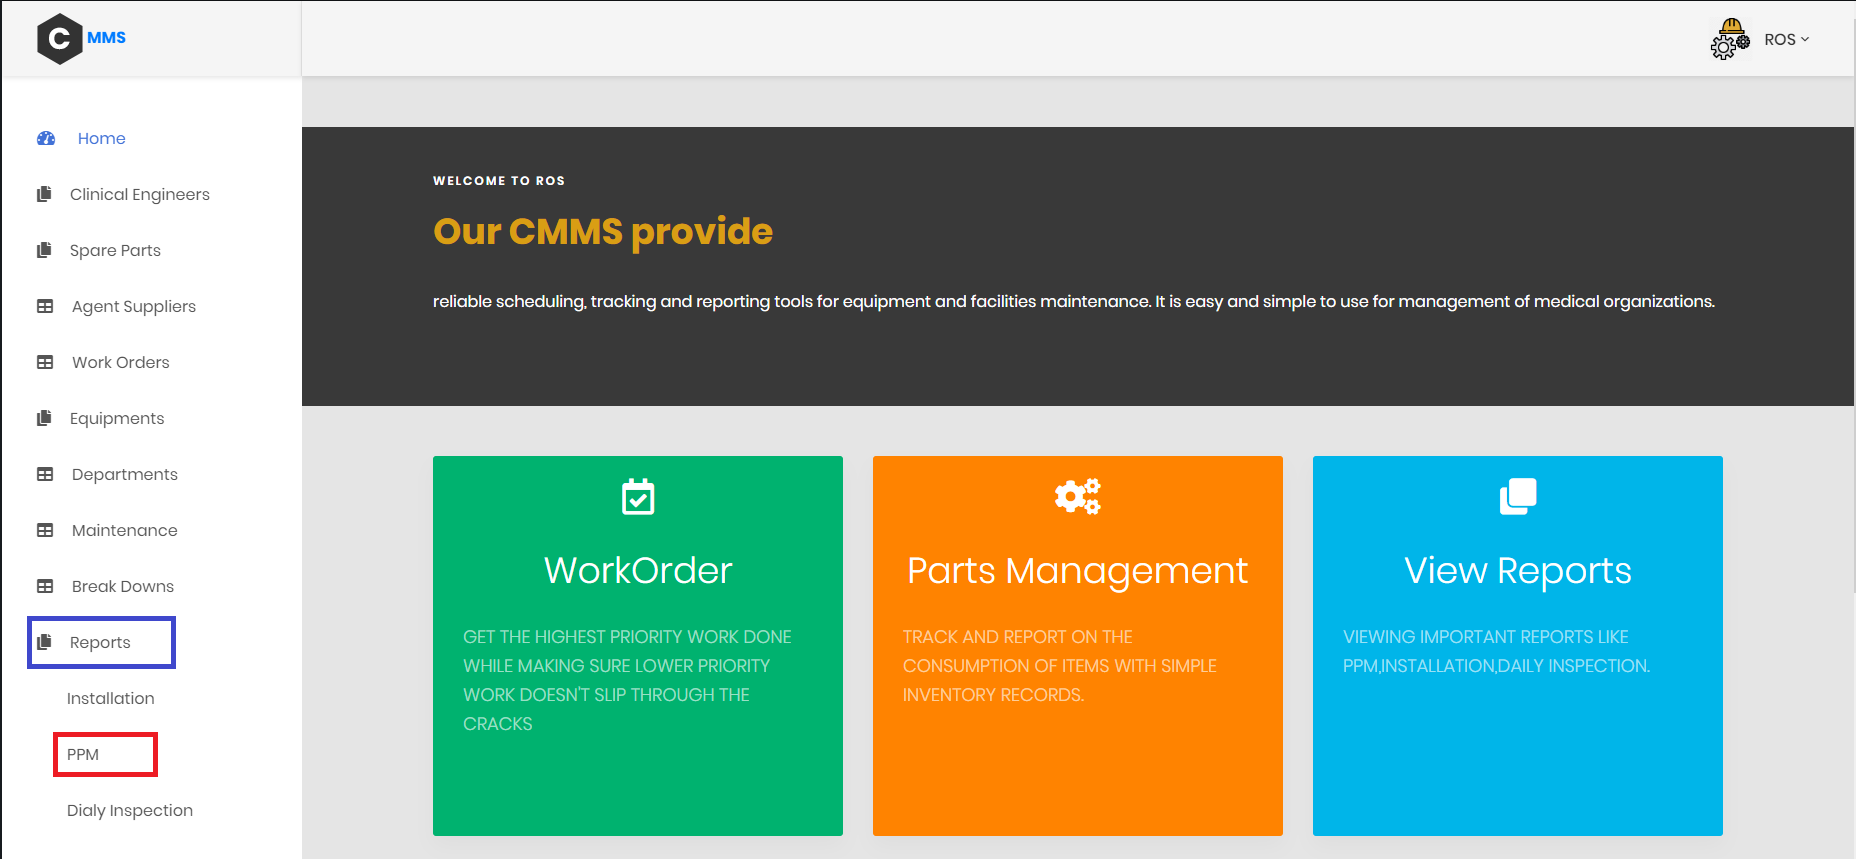
2- All reports will appear, choose Red " PPM ", a small Form will appear choose the Equipment you want to fill it's PPM report in and then click on Blue " PPM ":
-
We have 4 departments: OR, ICU, Radiology, CSSD.
-
Each department has its own information, such as:
- The Code of the department
- The Location of the department
- The Equipment's number
- The Engineers' number working in it.
- You can add New Departments using (ADD DEPARTMENT) button.
- This will open a form like this to fill in the new data:
- You can get more information for each Department from here.
-
A table will appear that shows information about all the Equipment included in a certain Department. These information as shown are the Equipment's:
- Code
- Name
- Cost
- Model
- Serial Number
- There is another option to select which is Clinical Engineers. This one will show the Clinical Engineers who are mainly responsible for each Department.
- It Includes all Equipment of each Department.
- Each Equipment has its own information such as the Equipment's:
- Name
- Code
- Model
- Serial number
- Location
- Department
- You can add New Equipment using (ADD EQUIPMENT) button.
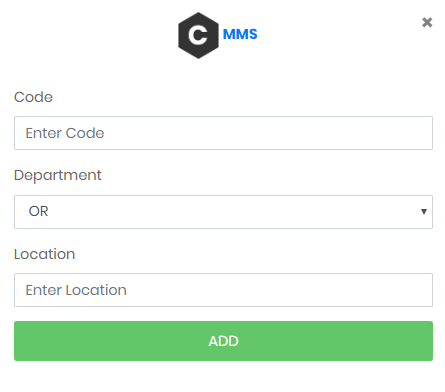
- A form will appear like this to fill in the new data:
- You can edit or delete Equipment from here.
- Here is the Edit form of a certain Equipment:
- To see more information about each Equipment, Click on "(...)"
- From here you can view the Equipment's Reports:
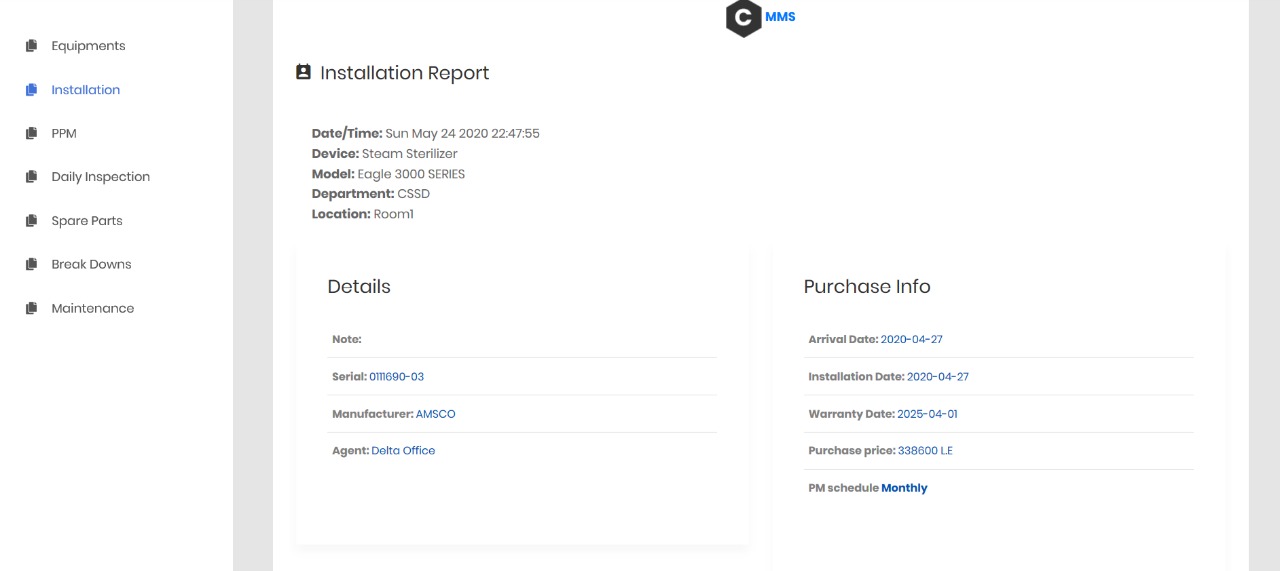
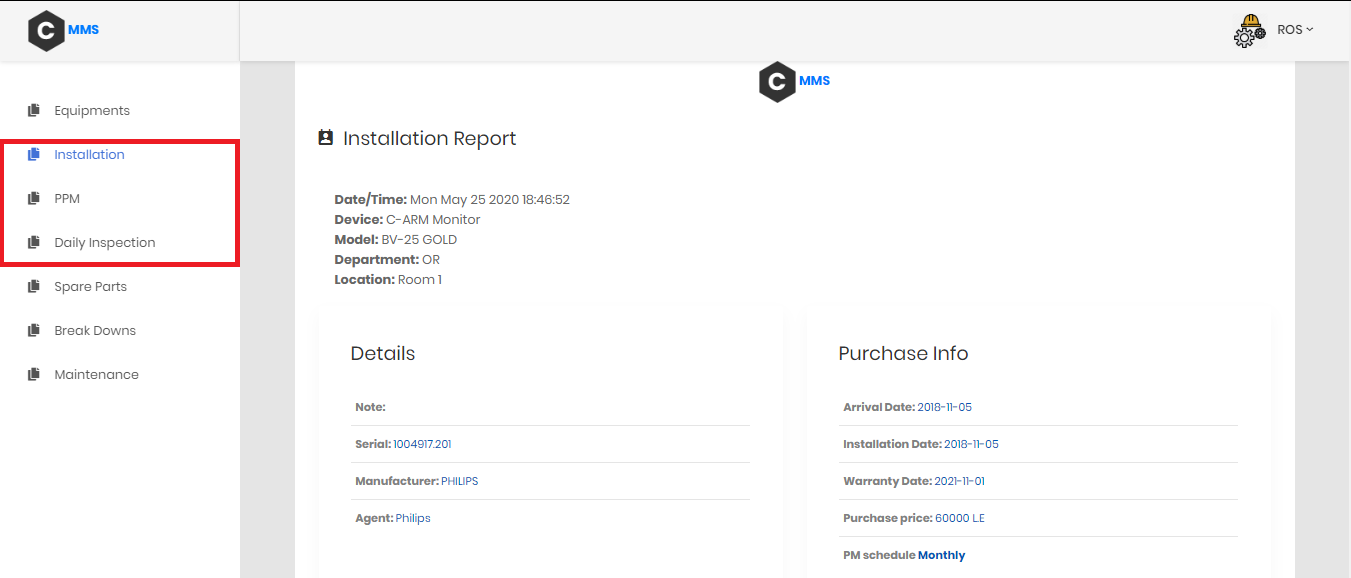
- When choosing Installation, the installation report of the Equipment will appear:
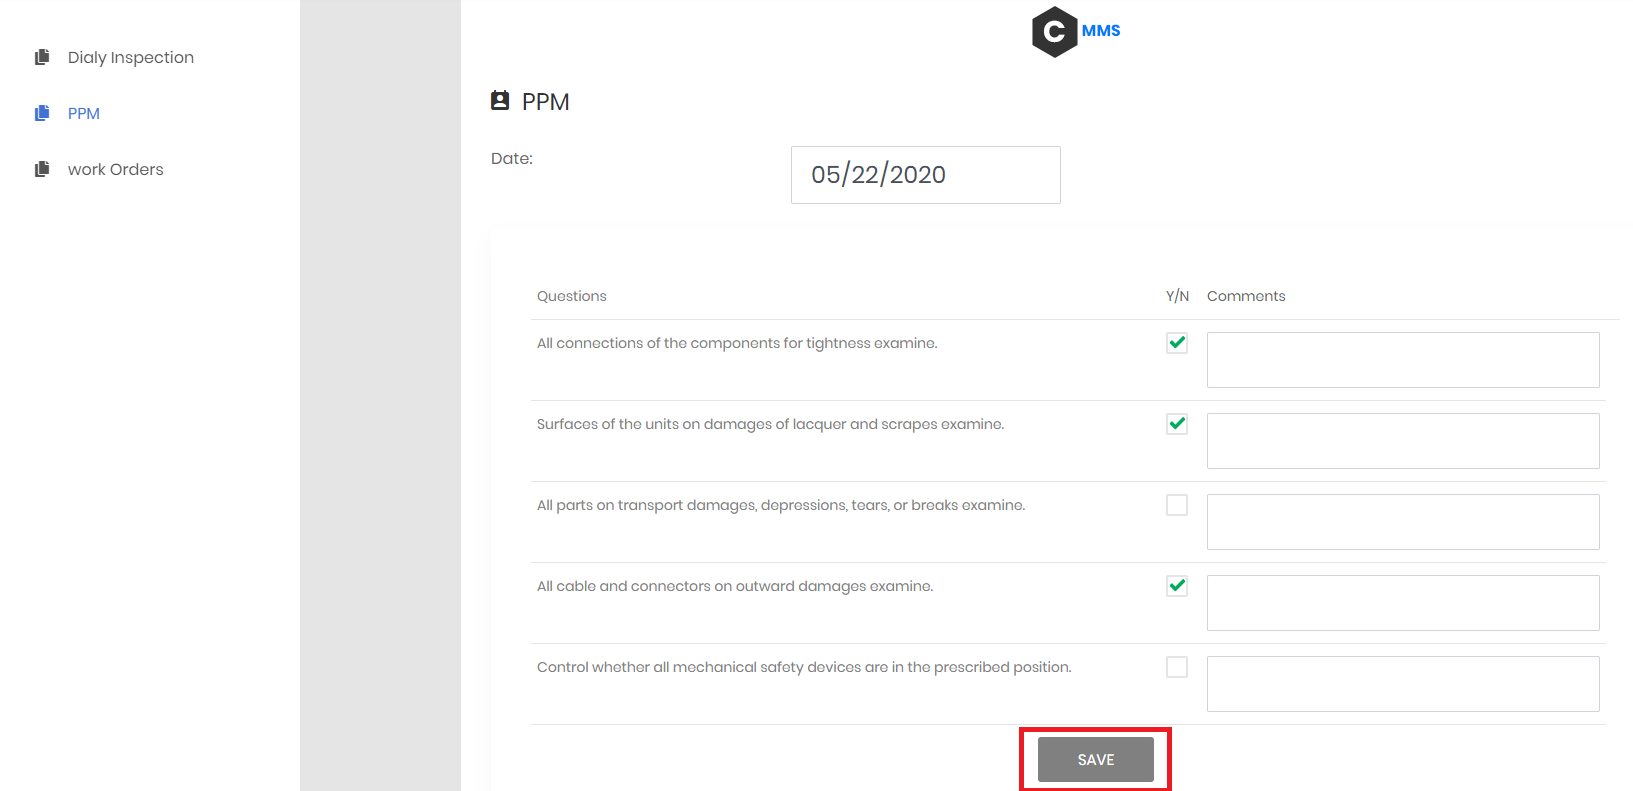
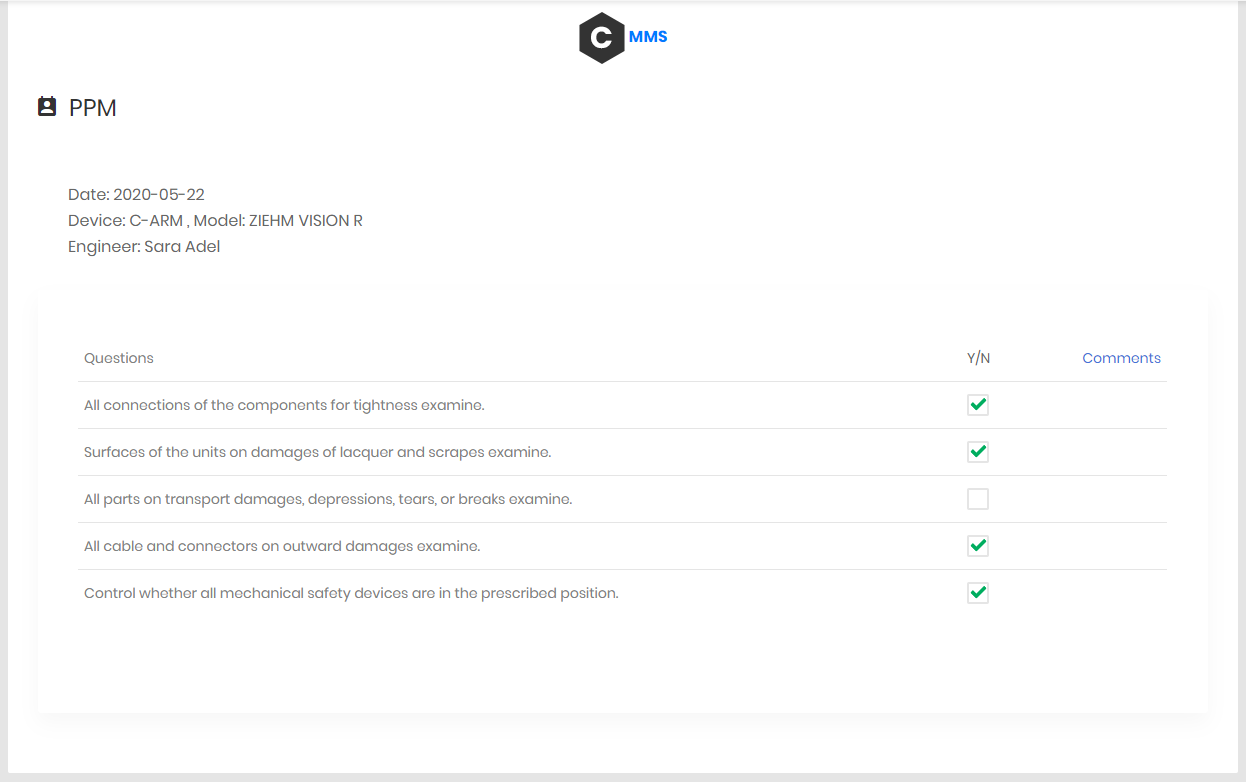
- When choosing PPM, the PPM report of the Equipment will appear:
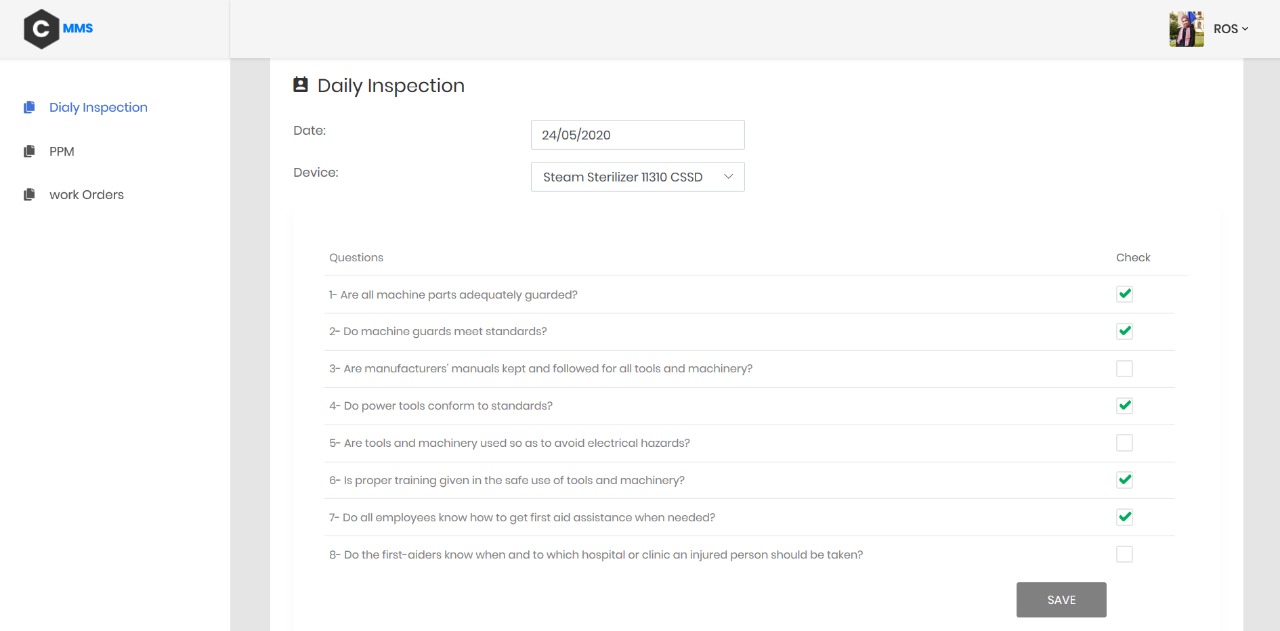
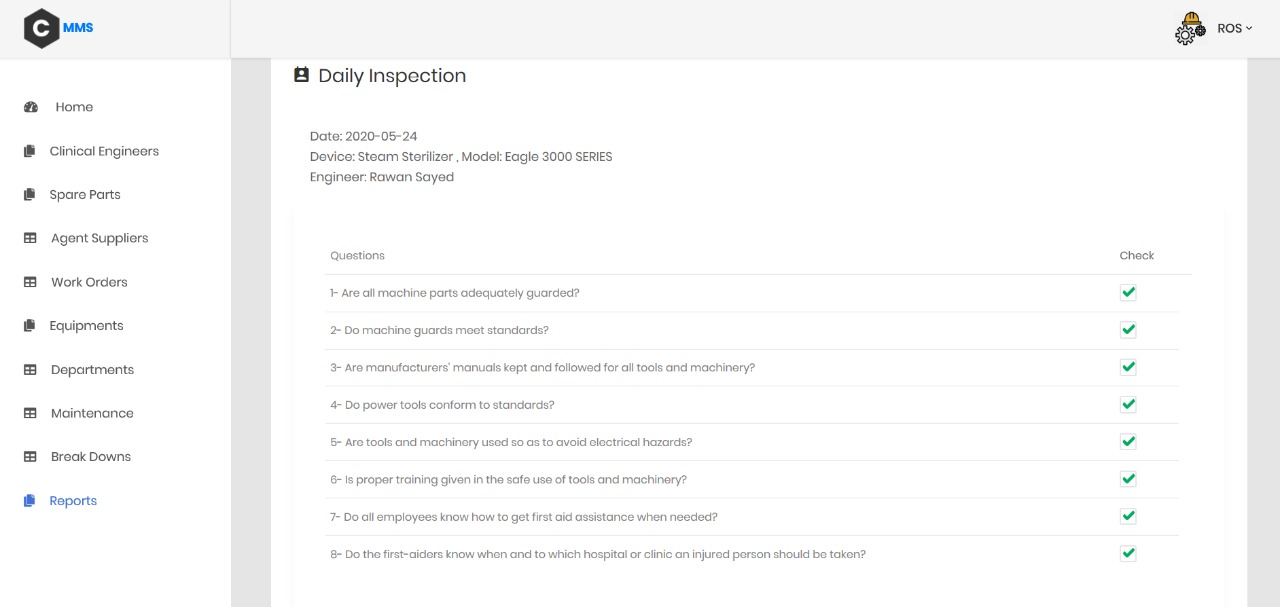
- When choosing Daily Inspection, the Daily Inspection of the Equipment will appear:
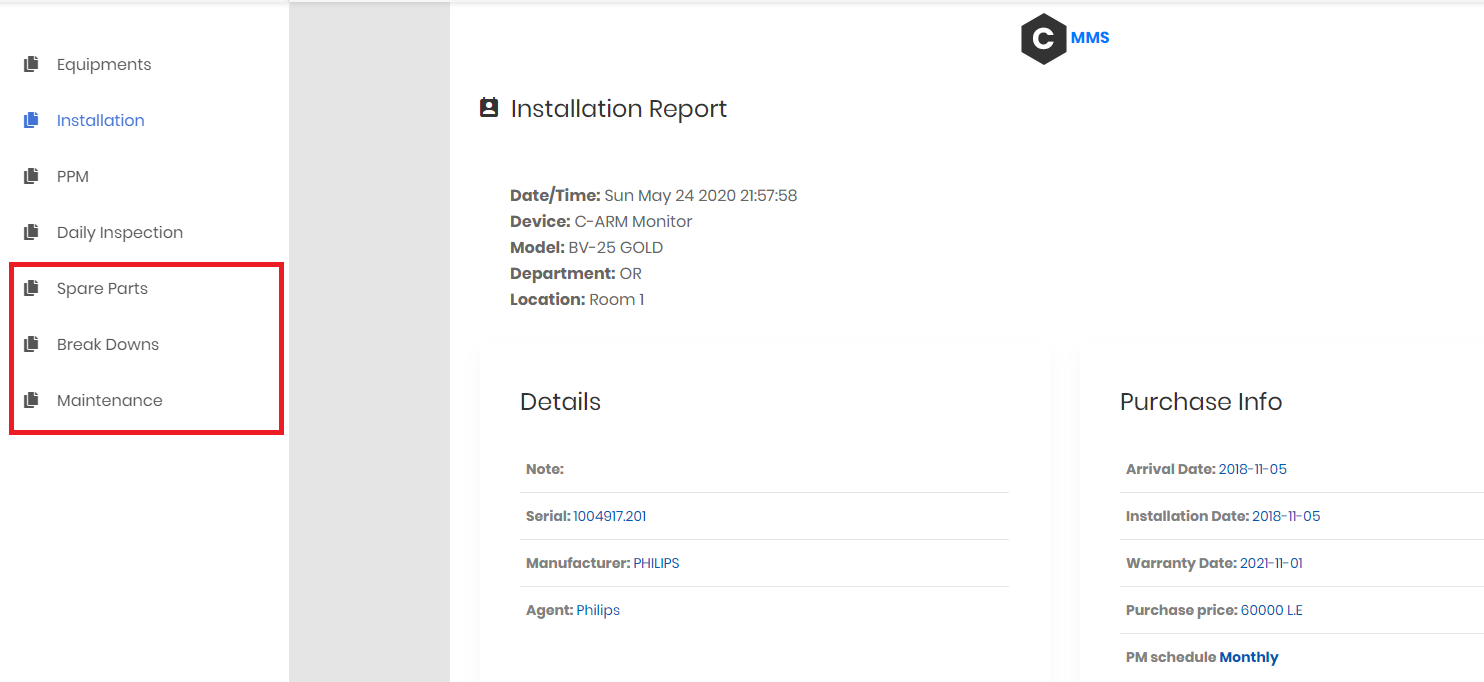
- From here you can view the Equipment's Spare Parts, Breakdowns, and Maintenance:
- When choosing Spare Parts :
- When choosing Break downs :
- When choosing Maintenance :
Managing work orders is one of the important features in CMMS systems. So, we added this feature to our project.
-
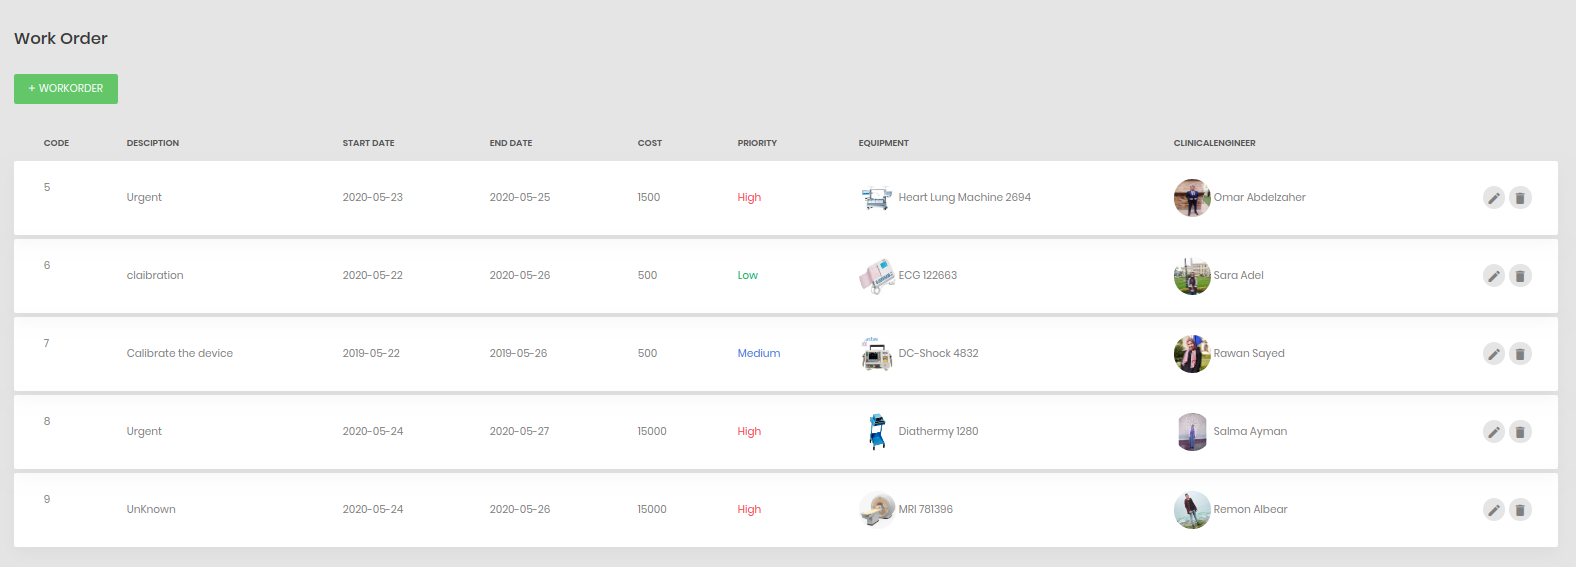
View all the work orders
As shown the admin can view many data for each order:
- The Code of the order
- The Start and End date
- The Description
- The Engineer associated with the order
- The Equipment associated with the order
- The Cost
- The Priority of the order marked with colors
-
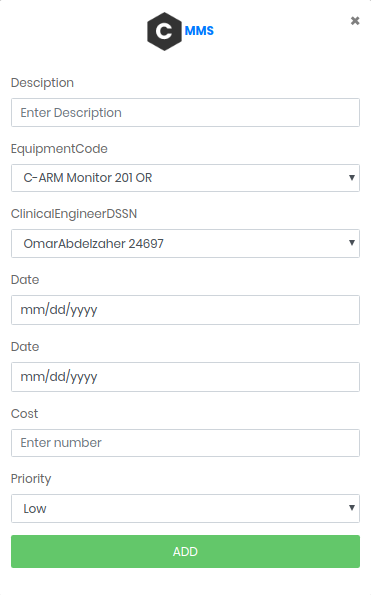
Add new orders
As shown the admin can easily select the engineer and the equipment
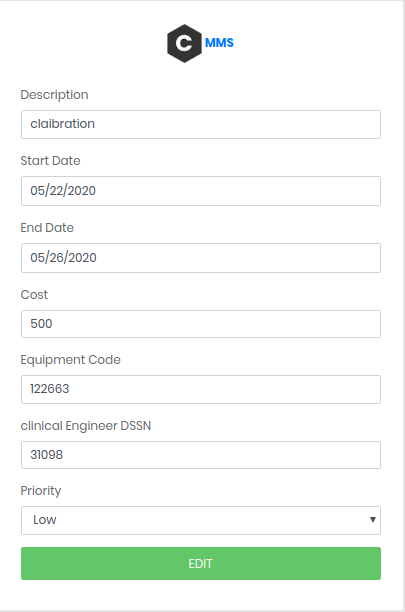
- Edit any specific work order
- Delete any specific work order
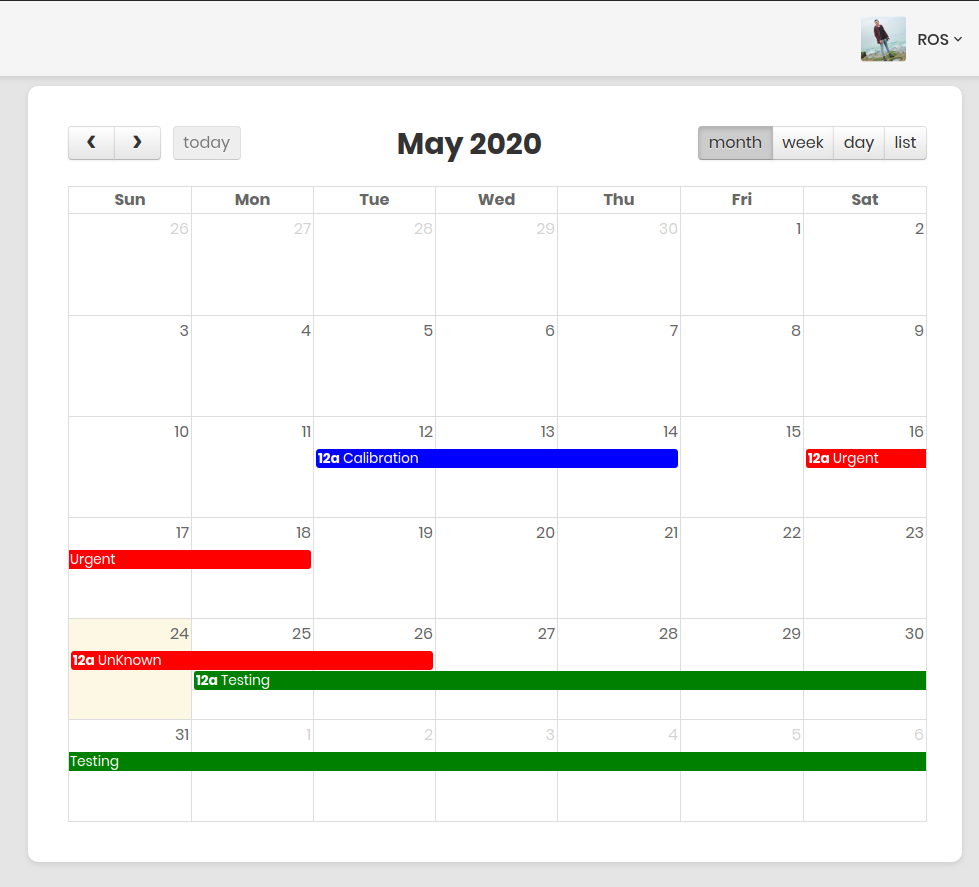
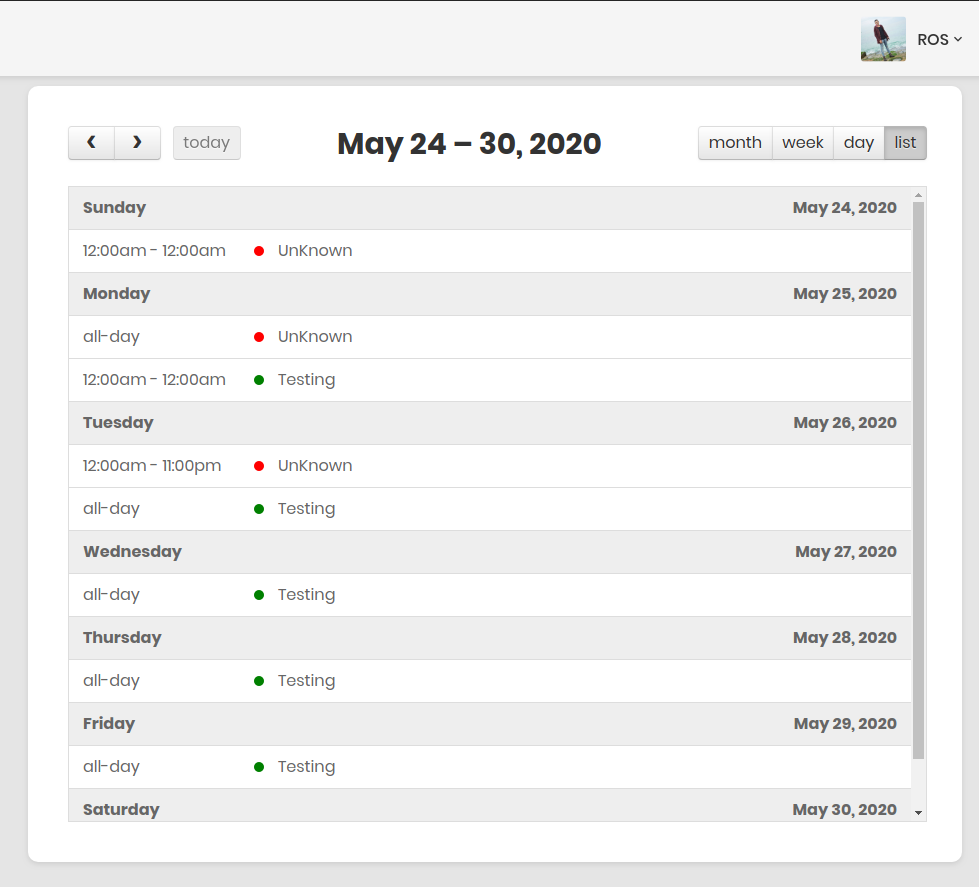
After log in the clinical engineer can view all his work orders in a calendar, the color represents the priority of the order.
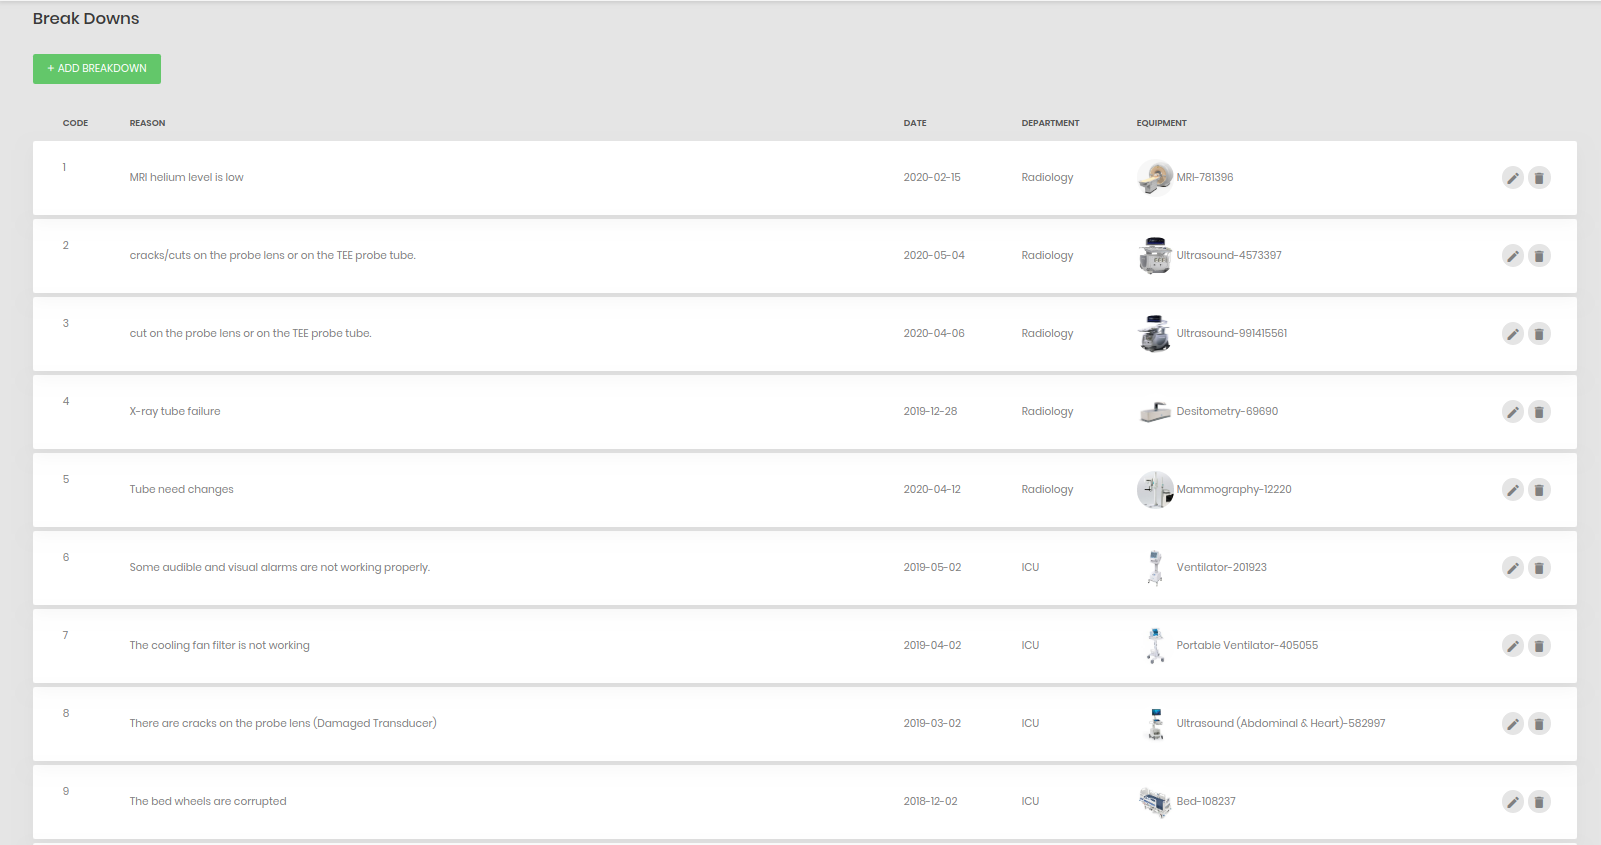
Recording all the breakdowns that happened in your system is very important for decision making and statistics. So, in our project the admin can view all the break downs in detail.
-
View all the break downs
As shown the admin can view many data for each order:
- The Code of the breakdown
- The Reason of the breakdown
- The Equipment which is broken down
- The Date
- The Department of the equipment
-
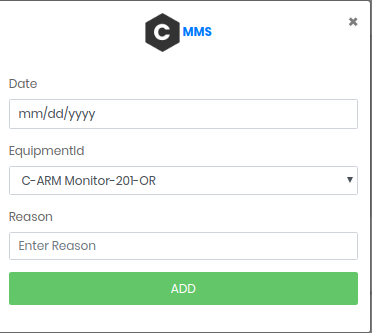
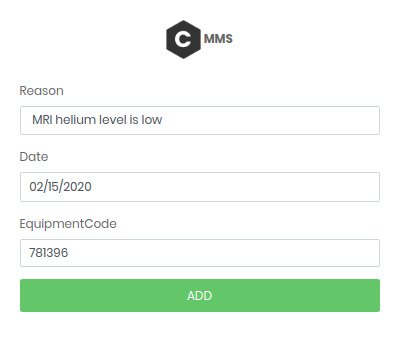
Add new breakdowns
As shown the admin can easily select the equipment
- Edit any specific breakdown
- Delete any specific breakdown
Recording all the maintenance operations in your system is very important for decision making and statistics. So, in our project the admin can view all the maintenance operations in detail.
-
View all the maintenance operations
As shown the admin can view many data for each order:
- The Code of the maintenance
- The Start and End Date
- The Description of the maintenance
- The Equipment associated with the maintenance operation
- The Engineer who made the maintenance operation
- The Department
- The breakdown associated with this maintenance
-
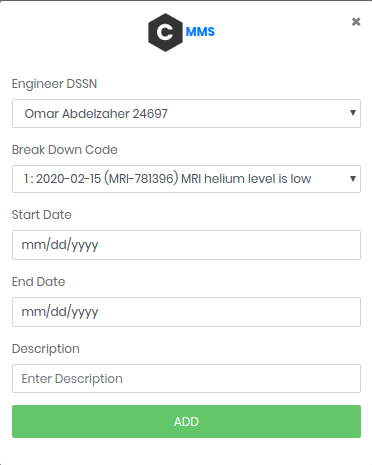
Add new maintenance
As shown the admin can easily select the equipment and the breakdown
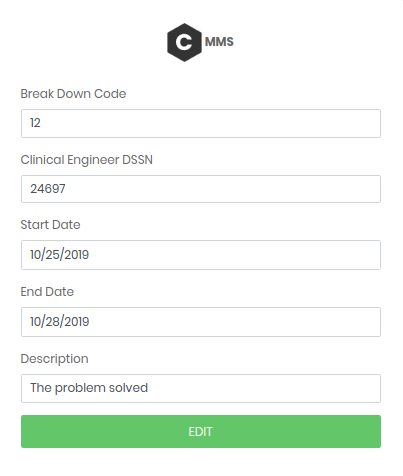
- Edit any specific maintenance
- Delete any specific maintenance
-
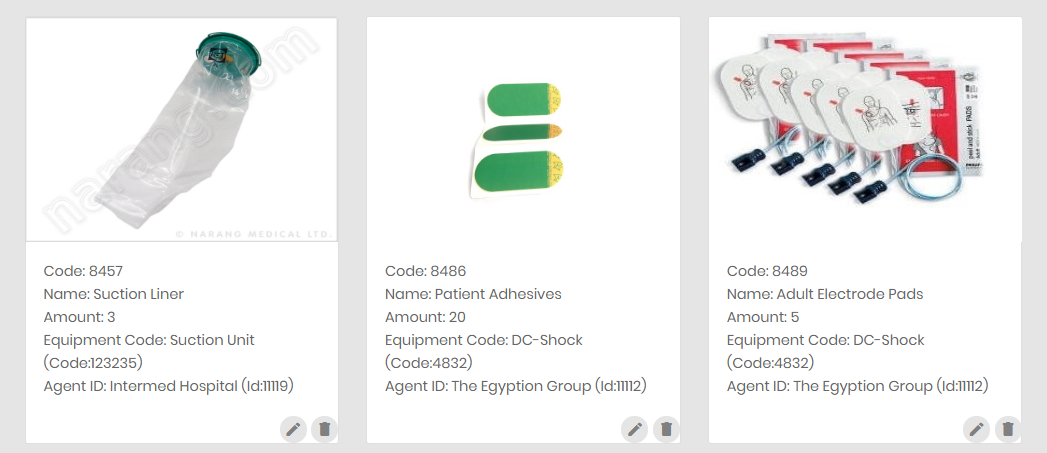
The card of each Spare Part include some information such as the Spare Part's:
- Code
- Name
- Amount
- Equipment Code
- Agent ID
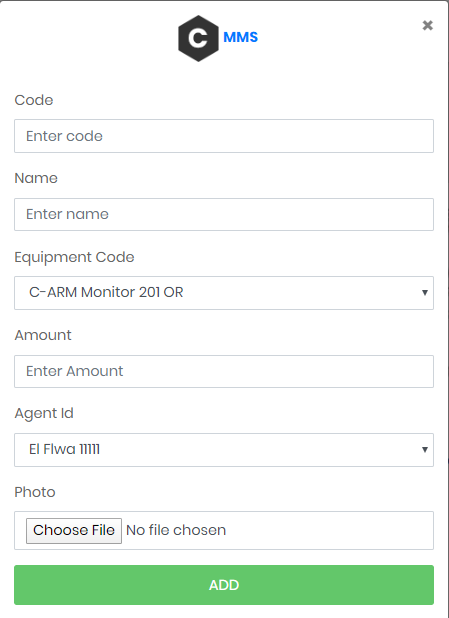
- Here we can Add any new Spare part entering the Database :
- When adding a new Spare Part, this form should be filled in first:
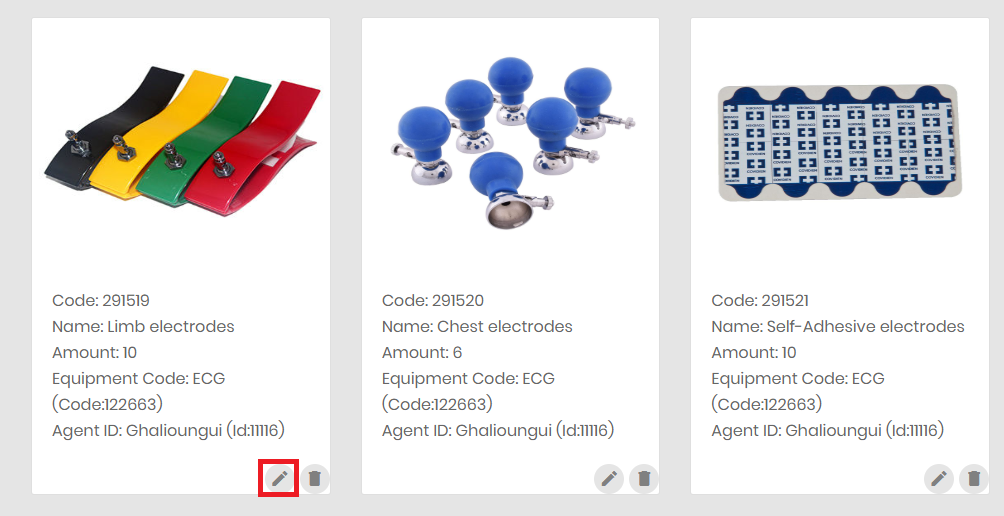
- From here you can edit or delete any Spare Part:
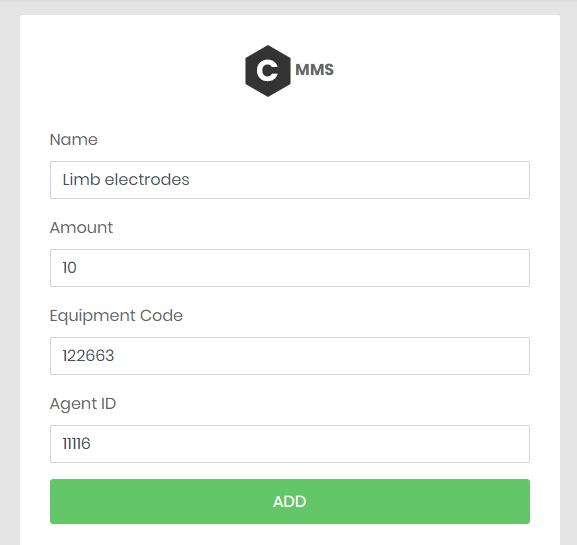
- When editing any Spare Part a form like this will appear:
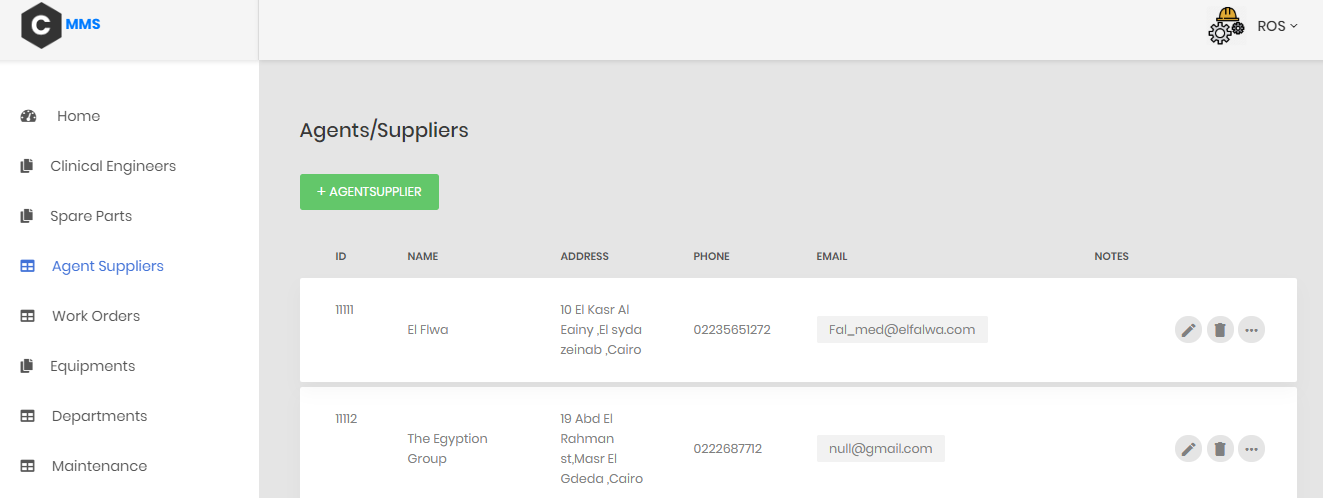
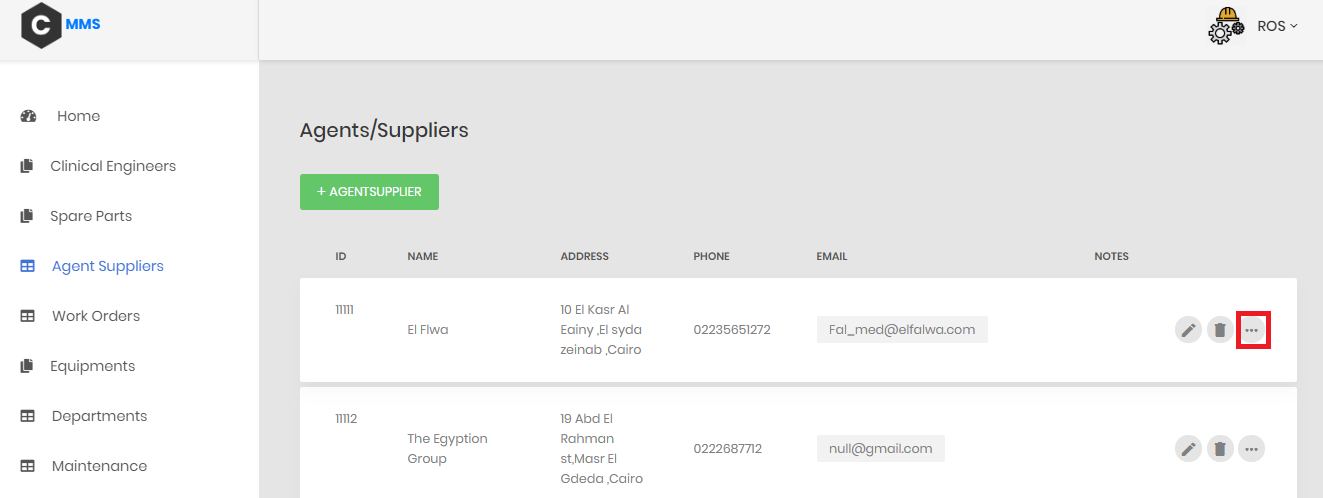
- The table is showing information about each agent such as the agent's:
- ID
- Name
- Address
- Phone Number
- E-mail or Fax
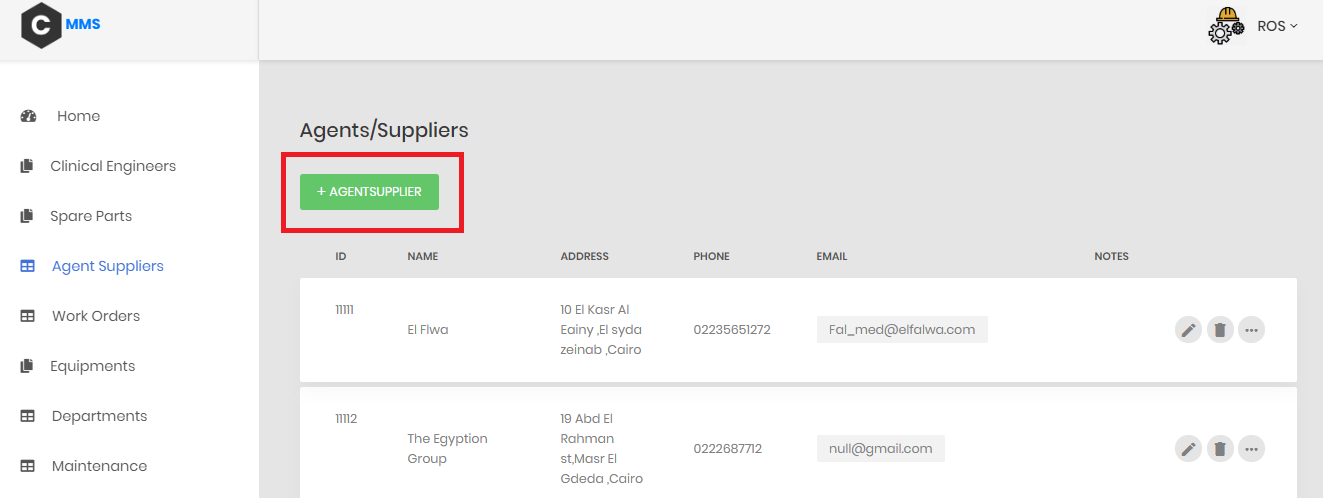
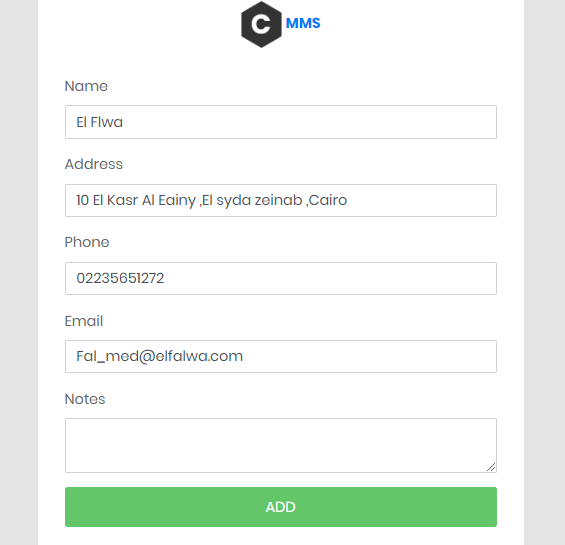
- Here we can Add any new agent or supplier we are dealing with :
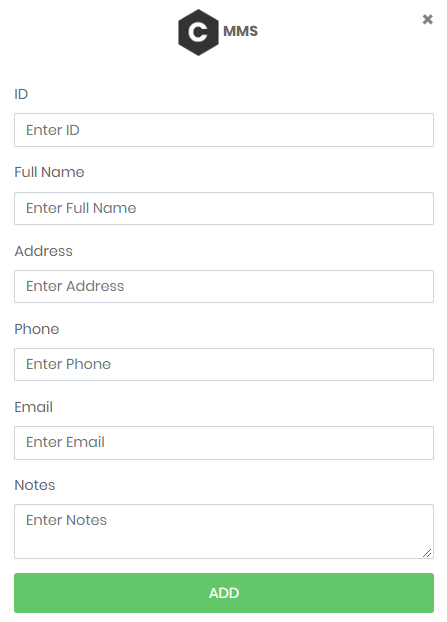
- And this will be done by filling in this form:
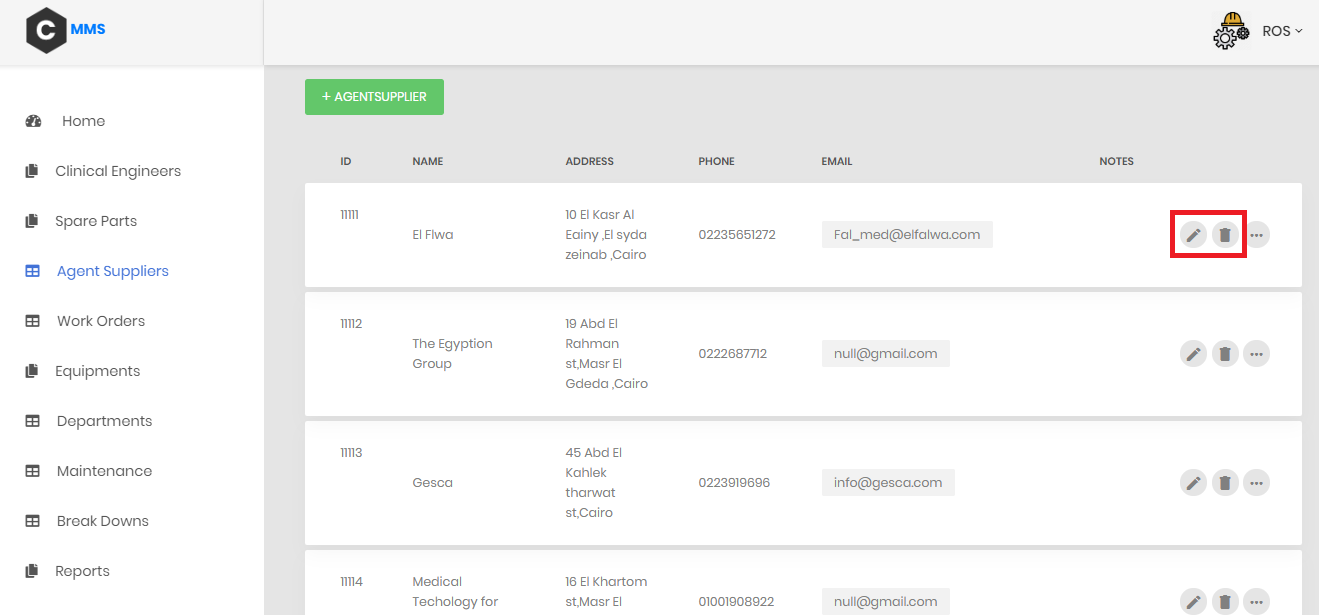
- We can edit or delete any information about our agents from here:
- The Edit form will appear as the following one:
- To know more about the dealing with each agent, we can click on the more (...) button:
-
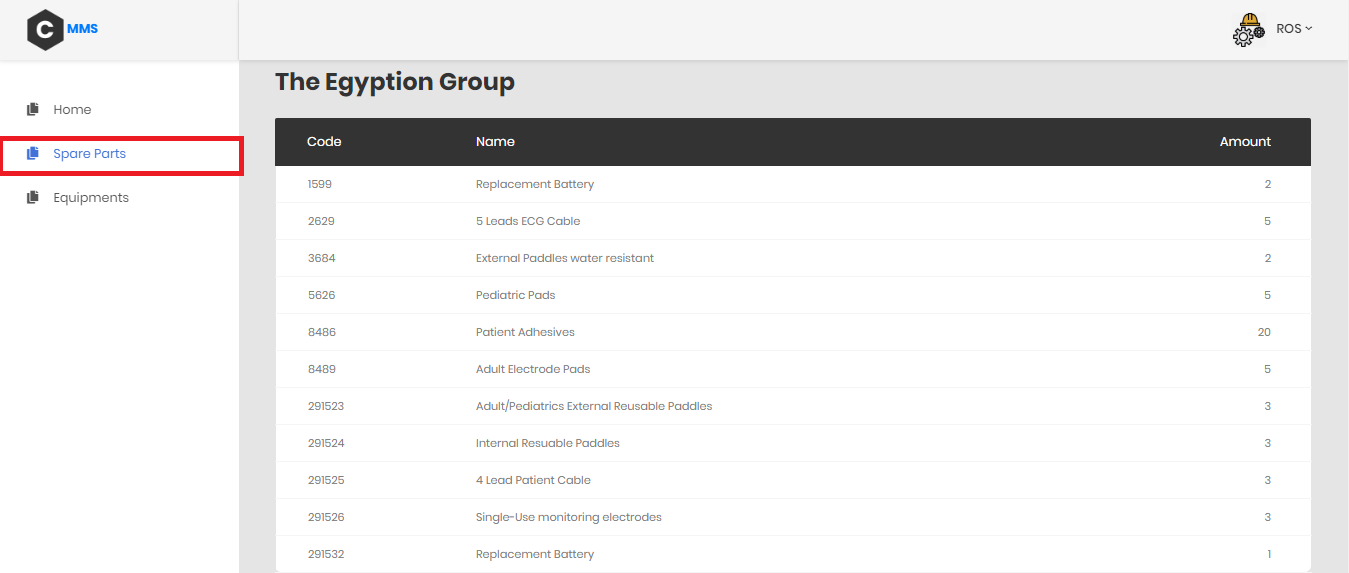
This will show a table including any Spare Parts we have from this agent:
-
The Code of each Spare Part and its amount are shown too.
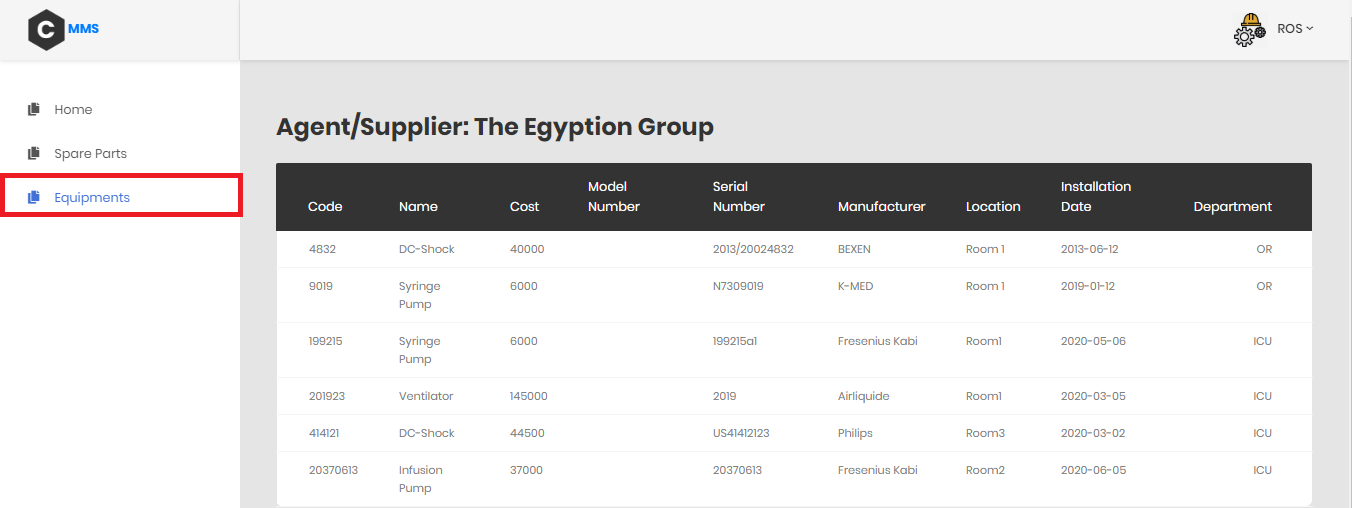
- When choosing Equipment, a table will appear including all the Equipment data that we own from each Agent or Supplier:
| Name | Section | B.N |
|---|---|---|
| Remon Albear | 1 | 31 |
| Salma Ayman | 1 | 37 |
| Rawan Sayed | 1 | 30 |
| Sara Adel | 1 | 35 |
| Omar Abdelzaher | 2 | 11 |
