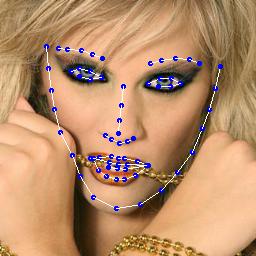
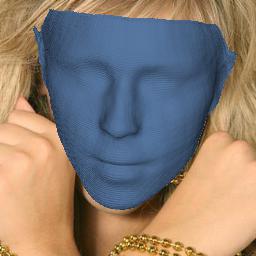
This repository is only a re-implementation of 《Joint 3D Face Reconstruction and Dense Alignment with Position Map Regression Network》. If you use this code, please observe the license of PRNet and 3DDFA. Please make sure that this code is only used for research and non-commercial purposes. I hope this re-implementation can help you.
python 3.6.9
opencv-python 4.1
pillow 6.1
pyrender 0.1.32
pytorch 1.1.0
scikit-image 0.15.0
scikit-learn 0.21.3
scipy 1.3.1
tensorboard 2.0.0
torchvision 0.3.0
Please refer to face3d to prepare BFM data. And move the generated files in Out/ to data/Out/ (Thanks for their opensource code. The codes in faceutil are mainly from face3d)
Download databases from 3DDFA. Put the raw dataset in data/images (e.g. data/images/AFLW2000)
Run processor.py to generate UV position maps. I recommend you to use the following instructions:
python processor.py -i=data/images/AFLW2000 -o=data/images/AFLW2000-crop -f=True -v=True --isOldKpt=True
python processor.py -i=data/images/300W_LP -o=data/images/300W_LP-crop --thread=16
It takes about 2-4 hours depending on your working machine.
Trian PRNet:
python torchrun.py -train=True -test=False --batchSize=16 -td=data/images/300W_LP-crop -vd=data/images/AFLW2000 --numWorker=1
If you have more than 128 GB RAM, you can use
python torchrun.py -train=True -test=False --batchSize=16 -td=data/images/300W_LP-crop -vd=data/images/AFLW2000 --isPreRead=True --numWorker=8For multi-gpus, for example 4 gpus, you can set:
--gpu=4 --visibleDevice=0,1,2,3Evaluation, use your own model path, for example:
python torchrun.py -train=False -test=True -pd=data/images/AFLW2000 --loadModelPath=savedmodel/temp_best_model/2019-11-18-12-34-19/best.pth
A pre-trained model is provided at here
Result examples:


