vertebra-detection
Getting started
-
Install dependencies by running the
install.shfrom the repository's root. -
Run
demo_app.pyon your data:
python3 demo/demo_app.py --images PATH_TO_FOLDER_WITH_IMAGES_ONLY --model-path data/model.pthInitial problem
Train a NN for binary(healthy/sick) detection of each intervertebral disk of the cervical.
Data analysis
Analysis
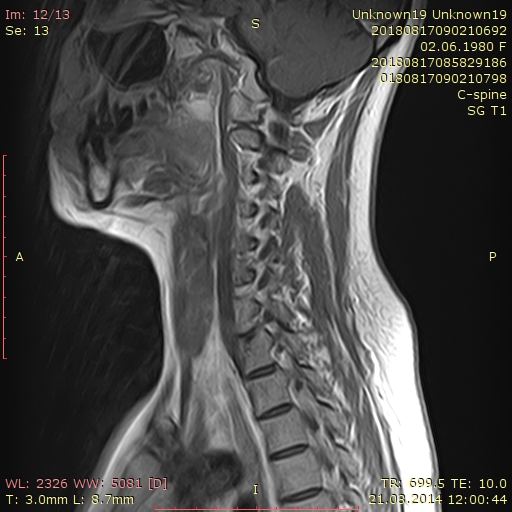
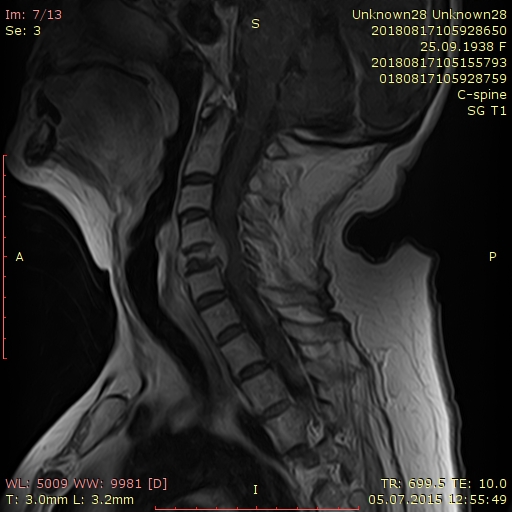
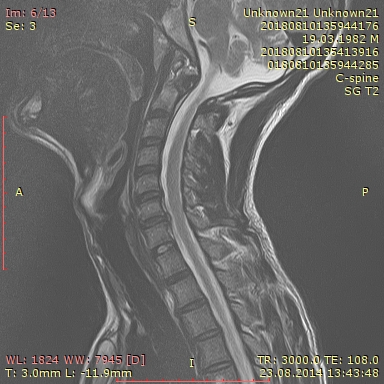
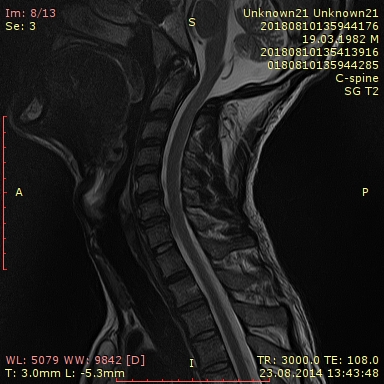
The source dataset contains squared RGB images (could be converted to grayscale because the source scan is grayscale image)
Two possible sizes of image: 384х384 and 512х512.
- The source dataset size: 891 images and 12 markup files which contain an annotation for every image.
- The number of unique classes in the markup: 8
- The number of
good-for-markupsamples: 365 - The number of samples which contain at least one intervertebral disk of the cervical: 343
- Median value for the number of marked intervertebral disk of the cervical: 5
Since the source markup contains 8 unique classes it should be converted to 2 (healthy/sick).
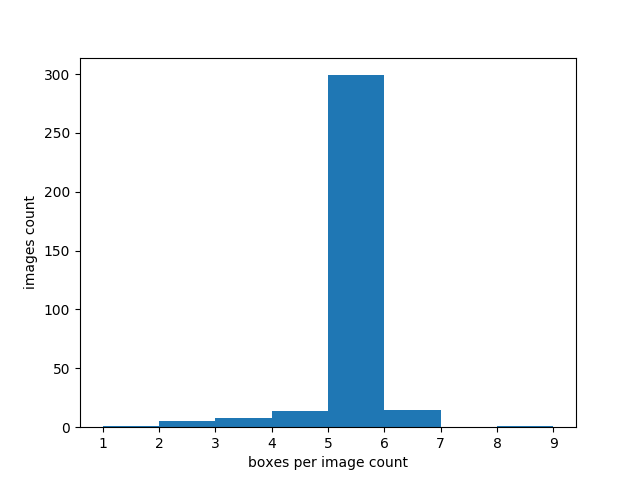
Distribution of images by the number of marked cervical intervertebral discs:
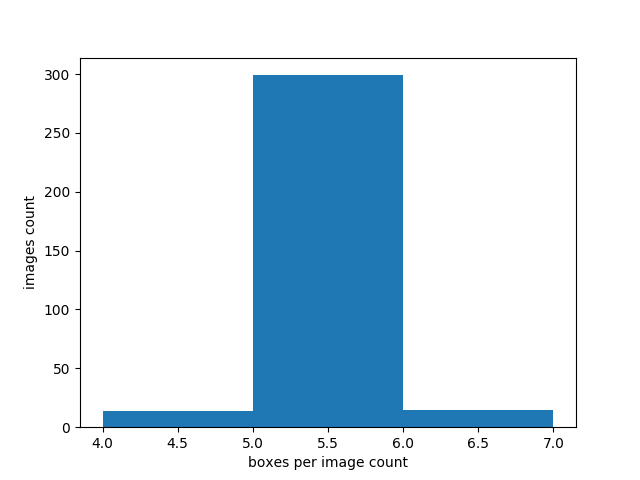
Based on this histogram it was decided to cut off samples that contain less than 4 and more than 6 marked discs. Final histogram:
- Total number of samples used: 328
- Number of marked disks on the final dataset: 1641
- Number of healthy disks (1 class): 920 (56%)
- Number of pathological(sick) discs (class 2): 721 (44%)
Problems in this dataset:
- Some of the images are more brightly than others
- Some of the images have strange markup
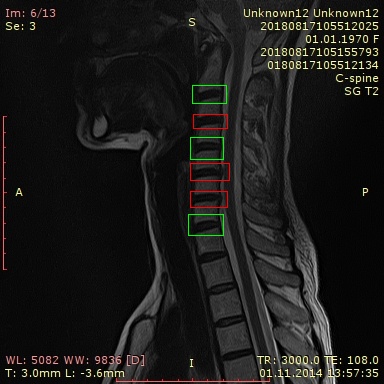
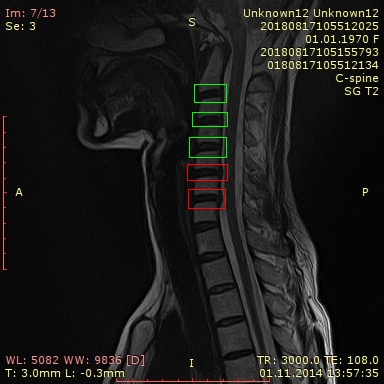
Strange markup example:
Explanation: two nearby images of the same pacient but in the first image the second disc marked as healthy when at the second image the same disc is marked as sick. Also the last disc are marked only at the one image.
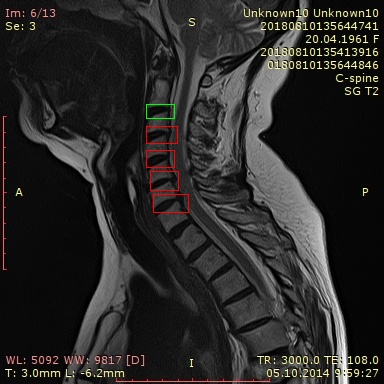
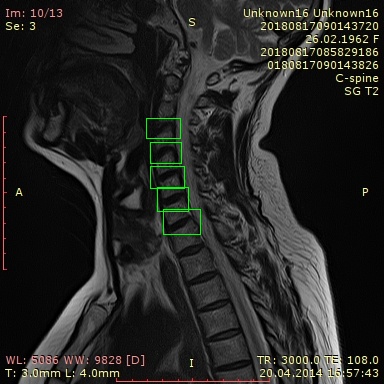
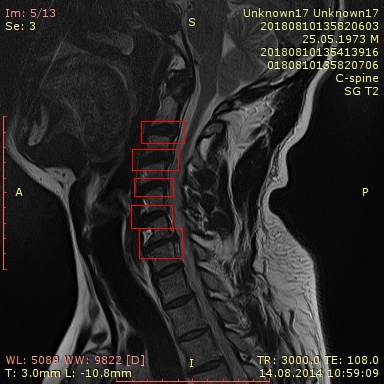
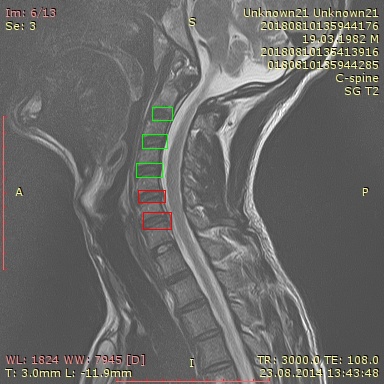
Images examples
512x512
384x384
Images examples with processed markup
NN architecture
FasterRCNN with ResNet50 as a backbone.
Data preparation
For data preprocessing and subsets preparation the tools/prepare_markup.py
was developed. It can:
- divide the dataset into train/test
- calculate the
meanandstdfor images normalization while training (all given images are using) - search and remove duplicated boxes (the decision to remove is made based on the IoU metric)
- remove samples which contains less than
Nmarked discs - visualize and save images with drawn markup
For training train/test subsets were generated with parameters from
tools/prepare_markup.cfg.
This script supports launching from config (by --config key).
Training process
The resulted model was trained on the notebook with the following hardware:
- GPU: NVIDIA GeForce 1070
- CPU: Intel Core i7-8750H
- RAM: 32GB DDR4
- Storage: SSD
The training process was developed on the PyTorch. The training script
contains here: train/train_pytorch.py. Several training attempts were made
and parameters which were used for train the best model contain here:
train/train_pytorch.cfg.
The training process features:
- Hard augmentation (affine, perspective, pixel-level)
- Postprocessing for remove dublicated boxes
- Optimized metrics calculation
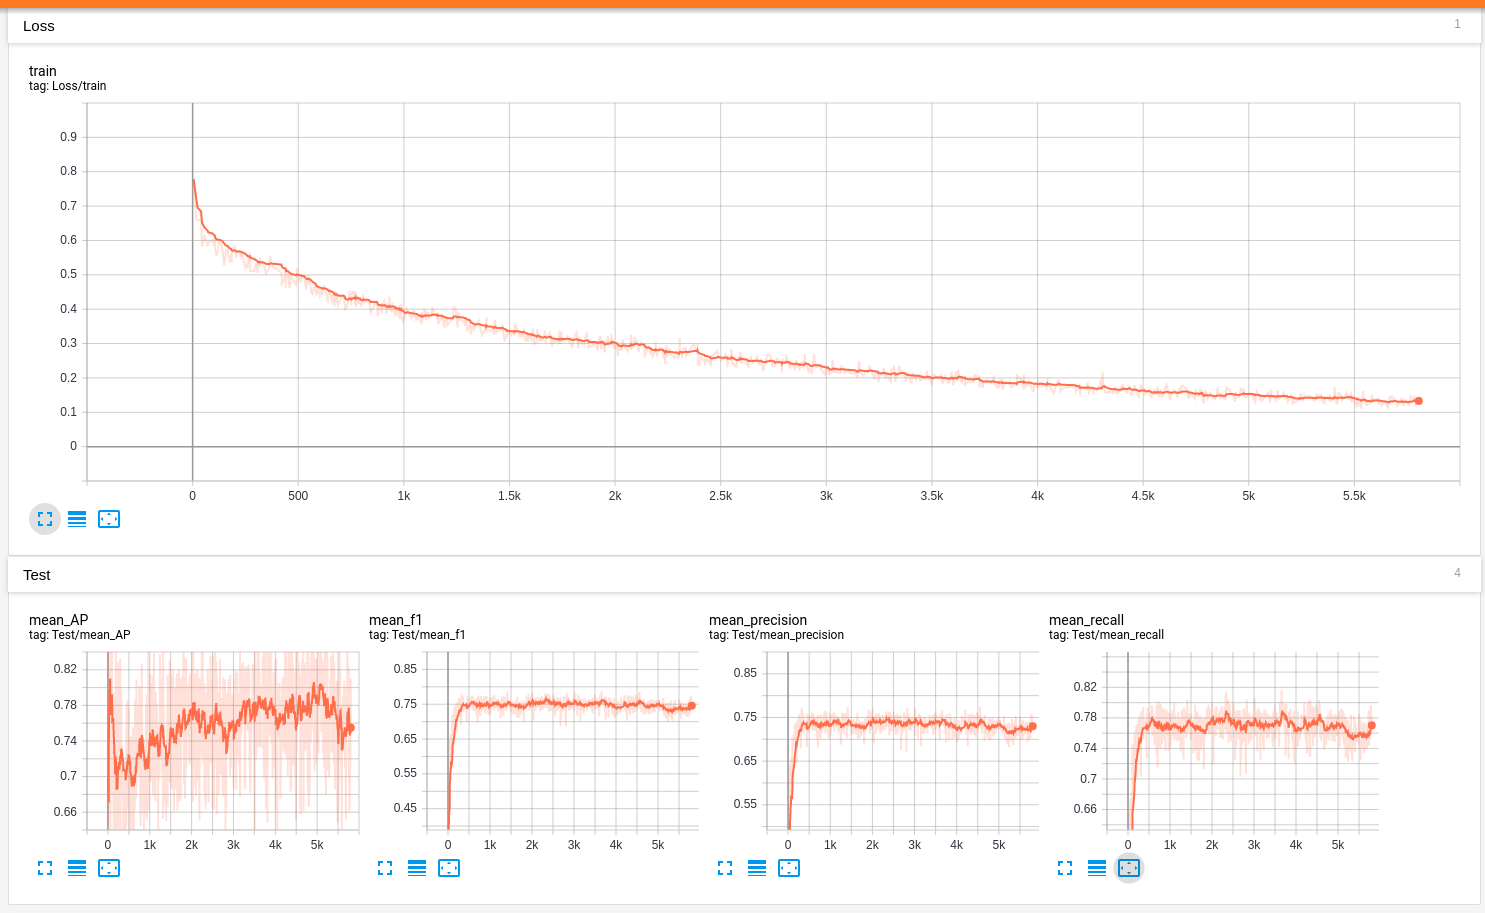
History or training process:
Final metrics
| train.json | test.json | markup.json | |
|---|---|---|---|
| Precision | 0.998 | 0.773 | 0.923 |
| Recall | 0.998 | 0.817 | 0.94 |
| F1 | 0.998 | 0.795 | 0.932 |
| AverPrec | 0.316 | 0.42 | 0.343 |
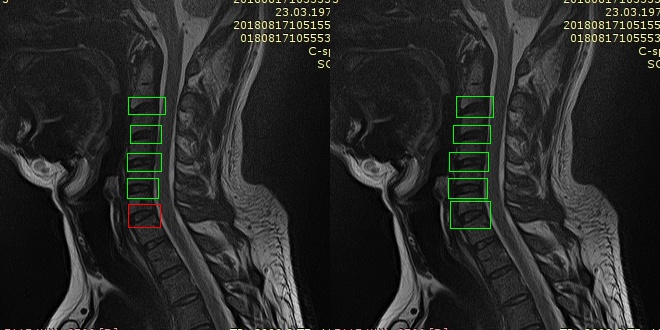
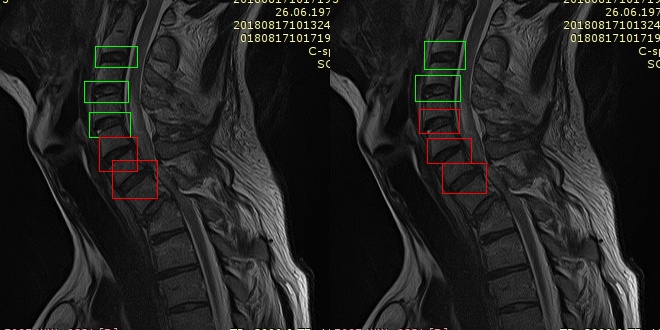
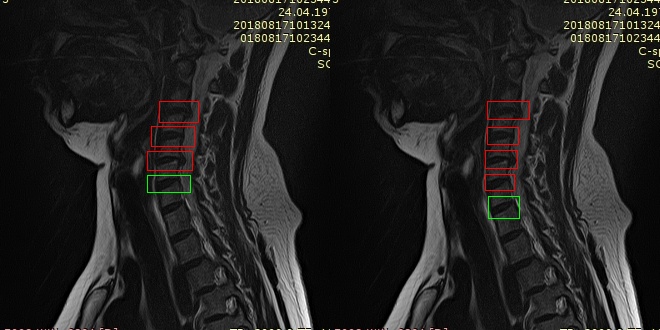
Prediction examples (augmentation 1)
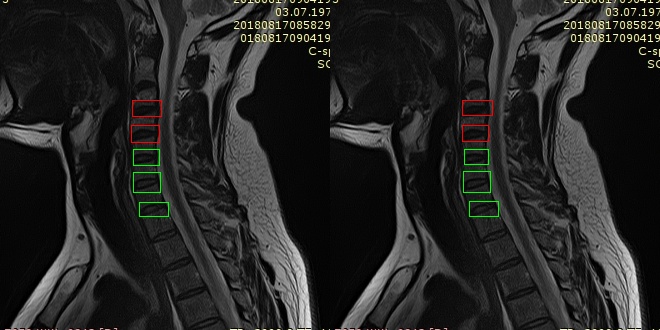
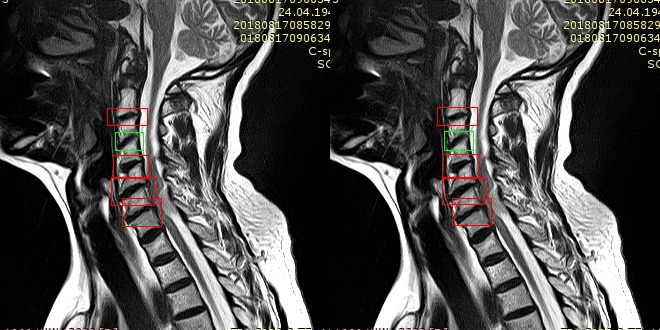
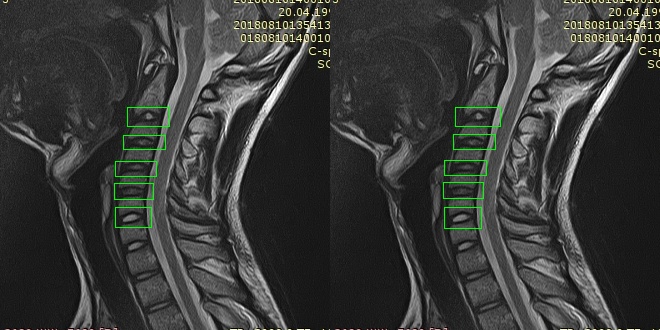
From test.json (left - GT, right - PD):
From train.json (left - GT, right - PD):
Model cleaning
Since the the training script saves best models with the ability for resume training output models contain additional information about optimizer and LR scheduler state.
To reduce the model's weight by removing unnecessary information, the
tools/clean_model.py script can be used.
Demonstration and quality evaluation
Script for the demonstration and quality evaluation contains here:
demo/demo_app.py. It allows to run the model both on images (with saving
or visualizing of the predicts) and on prepared by the
tools/prepare_markup.py script subset file.
Plans and future improvements:
- Training on the grayscale images
- Experiments with
focal loss - Experiments with
class_weights - Models ensembling
- Experiments with another backbones
- Implementation of the resume training
