This project is connected with two blog posts from Auth0 where you learn how to create a simple yet stylish app using Node and Express and how to secure it using Passport.js and Auth0.
Create a Simple and Stylish Node Express App
Learn how to build the foundation of a simple Node.js and Express app by creating a user interface and API.
Create a Simple and Secure Node Express App
Learn how to secure a simple Node.js and Express app by adding user authentication with Passport.js and Auth0.
If you want to start from here with the app already built, follow these steps:
- Clone the repo and check out the
starterbranch:
git clone -b starter git@github.com:auth0-blog/wab-portal-express.git- Make
wab-portal-expressthe current working directory:
cd wab-portal-express- Install the project dependencies:
npm iRun the server using nodemon under the hood:
npm run devIn a separate terminal window, serve the client from a static server using Browsersync under the hood:
npm run uiTo see the app in action, visit http://localhost:3000 on your browser.
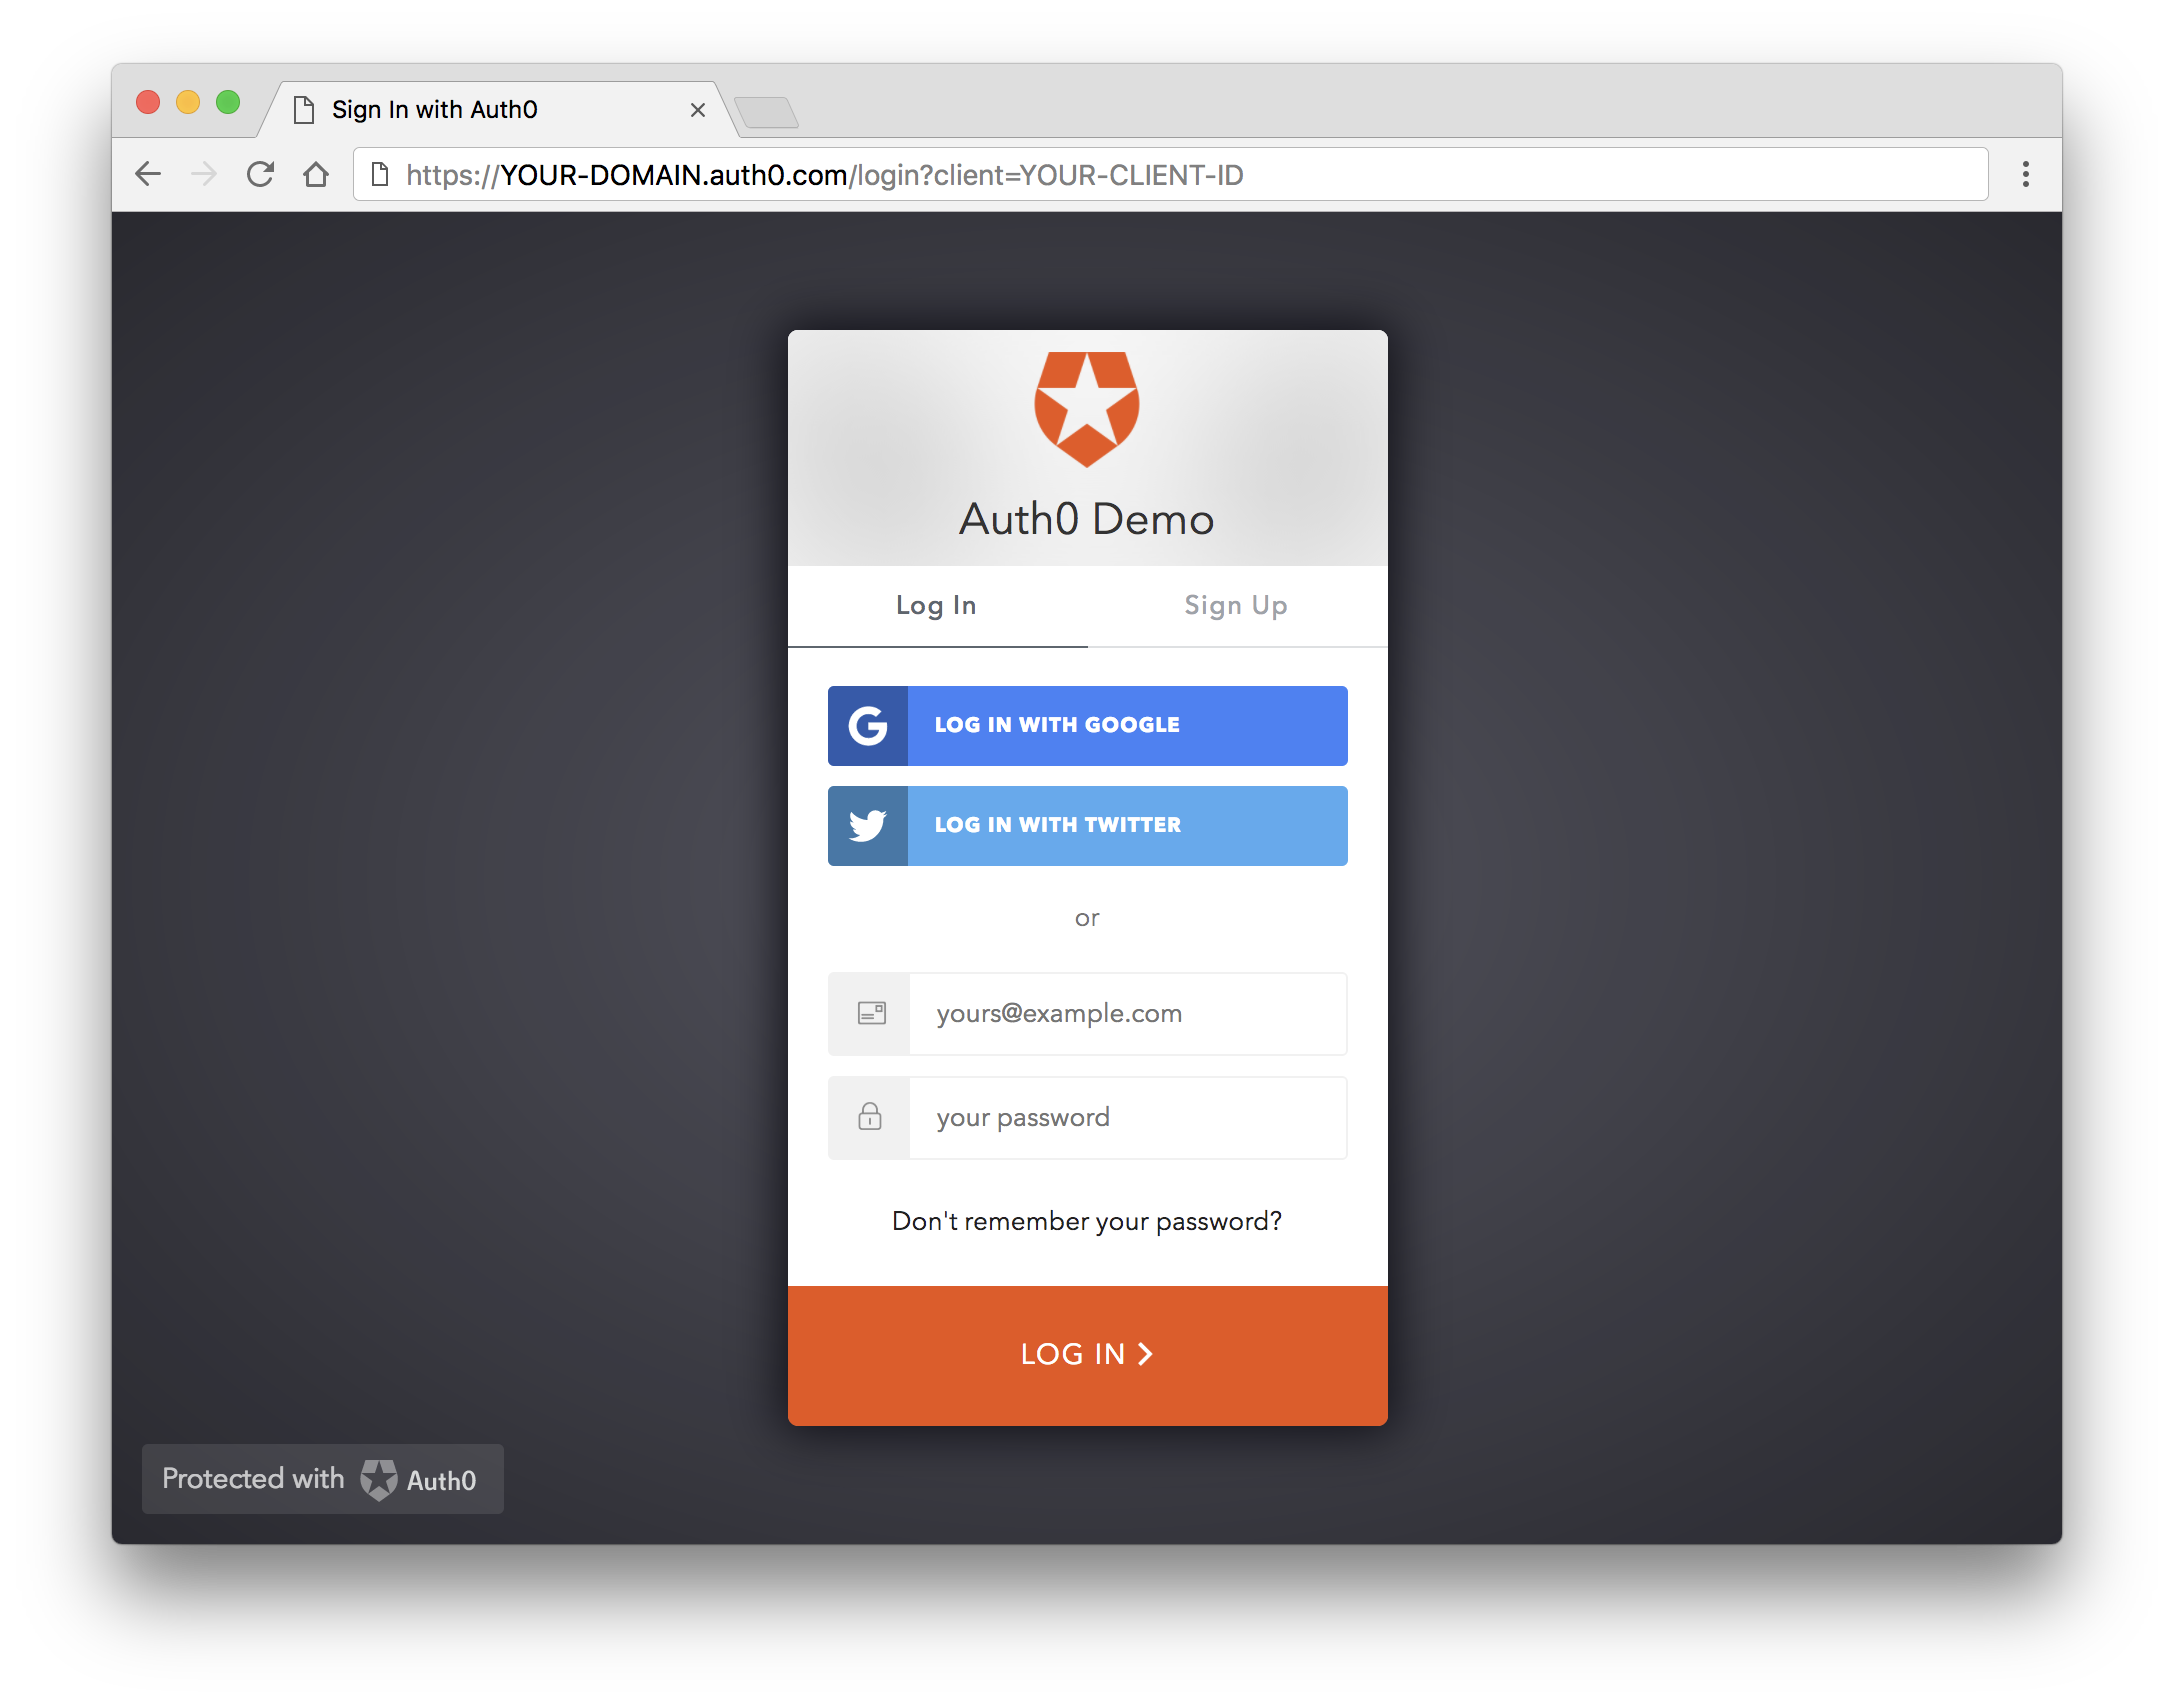
At Auth0, we make heavy use of full-stack JavaScript to help our customers to manage user identities including password resets, creating and provisioning, blocking and deleting users. We also created a serverless platform, called Auth0 Extend, that enables customers to run arbitrary JavaScript functions securely. Therefore, it must come as no surprise that using our identity management platform on JavaScript web apps is a piece of cake.
Auth0 offers a free tier to get started with modern authentication. Check it out, or sign up for a free Auth0 account here!
It's as easy as installing the auth0-js and jwt-decode node modules like so:
npm install jwt-decode auth0-js --saveThen implement the following in your JS app:
const auth0 = new auth0.WebAuth({
  clientID: "YOUR-AUTH0-CLIENT-ID", // E.g., you.auth0.com
  domain: "YOUR-AUTH0-DOMAIN",
  scope: "openid email profile YOUR-ADDITIONAL-SCOPES",
  audience: "YOUR-API-AUDIENCES", // See https://auth0.com/docs/api-auth
  responseType: "token id_token",
  redirectUri: "http://localhost:9000" //YOUR-REDIRECT-URL
});

function logout() {
  localStorage.removeItem("id_token");
  localStorage.removeItem("access_token");
  window.location.href = "/";
}

function showProfileInfo(profile) {
  var btnLogin = document.getElementById("btn-login");
  var btnLogout = document.getElementById("btn-logout");
  var avatar = document.getElementById("avatar");
  document.getElementById("nickname").textContent = profile.nickname;
  btnLogin.style.display = "none";
  avatar.src = profile.picture;
  avatar.style.display = "block";
  btnLogout.style.display = "block";
}

function retrieveProfile() {
  var idToken = localStorage.getItem("id_token");
  if (idToken) {
    try {
      const profile = jwt_decode(idToken);
      showProfileInfo(profile);
    } catch (err) {
      alert("There was an error getting the profile: " + err.message);
    }
  }
}

auth0.parseHash(window.location.hash, (err, result) => {
  if (err || !result) {
    // Handle error
    return;
  }

  // You can use the ID token to get user information in the frontend.
  localStorage.setItem("id_token", result.idToken);
  // You can use this token to interact with server-side APIs.
  localStorage.setItem("access_token", result.accessToken);
  retrieveProfile();
});

function afterLoad() {
  // buttons
  var btnLogin = document.getElementById("btn-login");
  var btnLogout = document.getElementById("btn-logout");

  btnLogin.addEventListener("click", function() {
    auth0.authorize();
  });

  btnLogout.addEventListener("click", function() {
    logout();
  });

  retrieveProfile();
}

window.addEventListener("load", afterLoad);
Get the full example using this code.
Go ahead and check out our Quick Start tutorials to learn how to implement authentication using different languages and frameworks in your apps.