FastAPI + React · 


A cookiecutter template for bootstrapping a FastAPI and React project using a modern stack.
Features
- FastAPI (Python 3.8)
- JWT authentication using OAuth2 "password flow" and PyJWT
- React (with Typescript)
- react-router v5 to handle routing
- Utility functions and higher-order components for handling authentication
- PostgreSQL for the database
- SqlAlchemy for ORM
- Celery for background
tasks and Redis as a message broker
- Includes Flower for task monitoring
- Alembic for database migrations
- Pytest for backend tests
- Includes test database, transaction rollbacks after each test, and reusable Pytest fixtures.
- Prettier/ESLint (Airbnb style guide)
- Docker Compose for development
- Nginx as a reverse proxy to allow backend/frontend on the same port
- MaterialUI using recommended CSS-in-JS styling.
- react-admin for the admin
dashboard
- Using the same token based authentication as FastAPI backend (JWT)
Table of Contents
- Background
- Quick Start
- Develop
- Admin Dashboard
- Security
- Testing
- Background Tasks
- Frontend Utilities
- Contributing
Background
It is often laborsome to start a new project. 90% of the time you have to decide how to handle authentication, reverse proxies, docker containers, testing, server-side validation, linting, etc. before you can even get started.
FastAPI-React serves to streamline and give you that functionality out of the box.
It is meant as a lightweight/React alternative to FastAPI's official fullstack project. If you want a more comprehensive project in Vue, I would suggest you start there. A lot of the backend code is taken from that project or the FastAPI official docs.
Quick Start
First, install cookiecutter if you don't already have it:
pip install cookiecutterThen, in the directory you want your project to live:
cookiecutter gh:Buuntu/fastapi-reactYou will need to put in a few variables and it will create a project directory
(called whatever you set for project_slug).
Input Variables
- project_name [default fastapi-react-project]
- project_slug [default fastapi-react-project] - this is your project directory
- port [default 8000]
- postgres_user [default postgres]
- postgres_password [default password]
- postgres_database [default app]
- superuser_email [default admin@fastapi-react-project.com]
- superuser_password [default password]
- secret_key [default super_secret]
Develop
Change into your project directory and run:
chmod +x scripts/build.sh
./scripts/build.sh
This will build and run the docker containers, run the alembic migrations, and load the initial data (a test user).
It may take a while to build the first time it's run since it needs to fetch all the docker images.
Once you've built the images once, you can simply use regular docker-compose
commands to manage your development environment, for example to start your
containers:
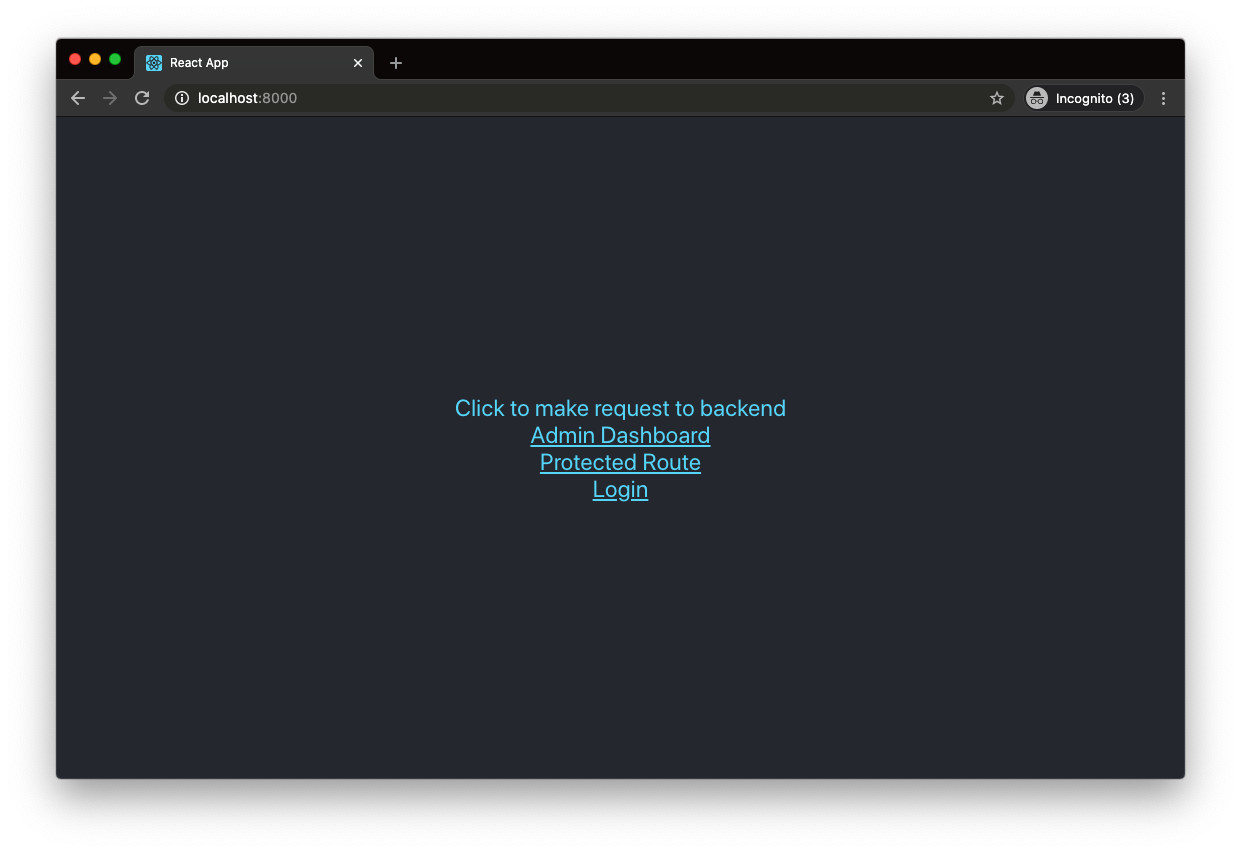
docker-compose up -dOnce this finishes you can navigate to the port set during setup (default is
localhost:8000), you should see the slightly modified create-react-app page:
Note: If you see an Nginx error at first with a 502: Bad Gateway page, you
may have to wait for webpack to build the development server (the nginx
container builds much more quickly).
The backend docs will be at http://localhost:8000/api/docs. 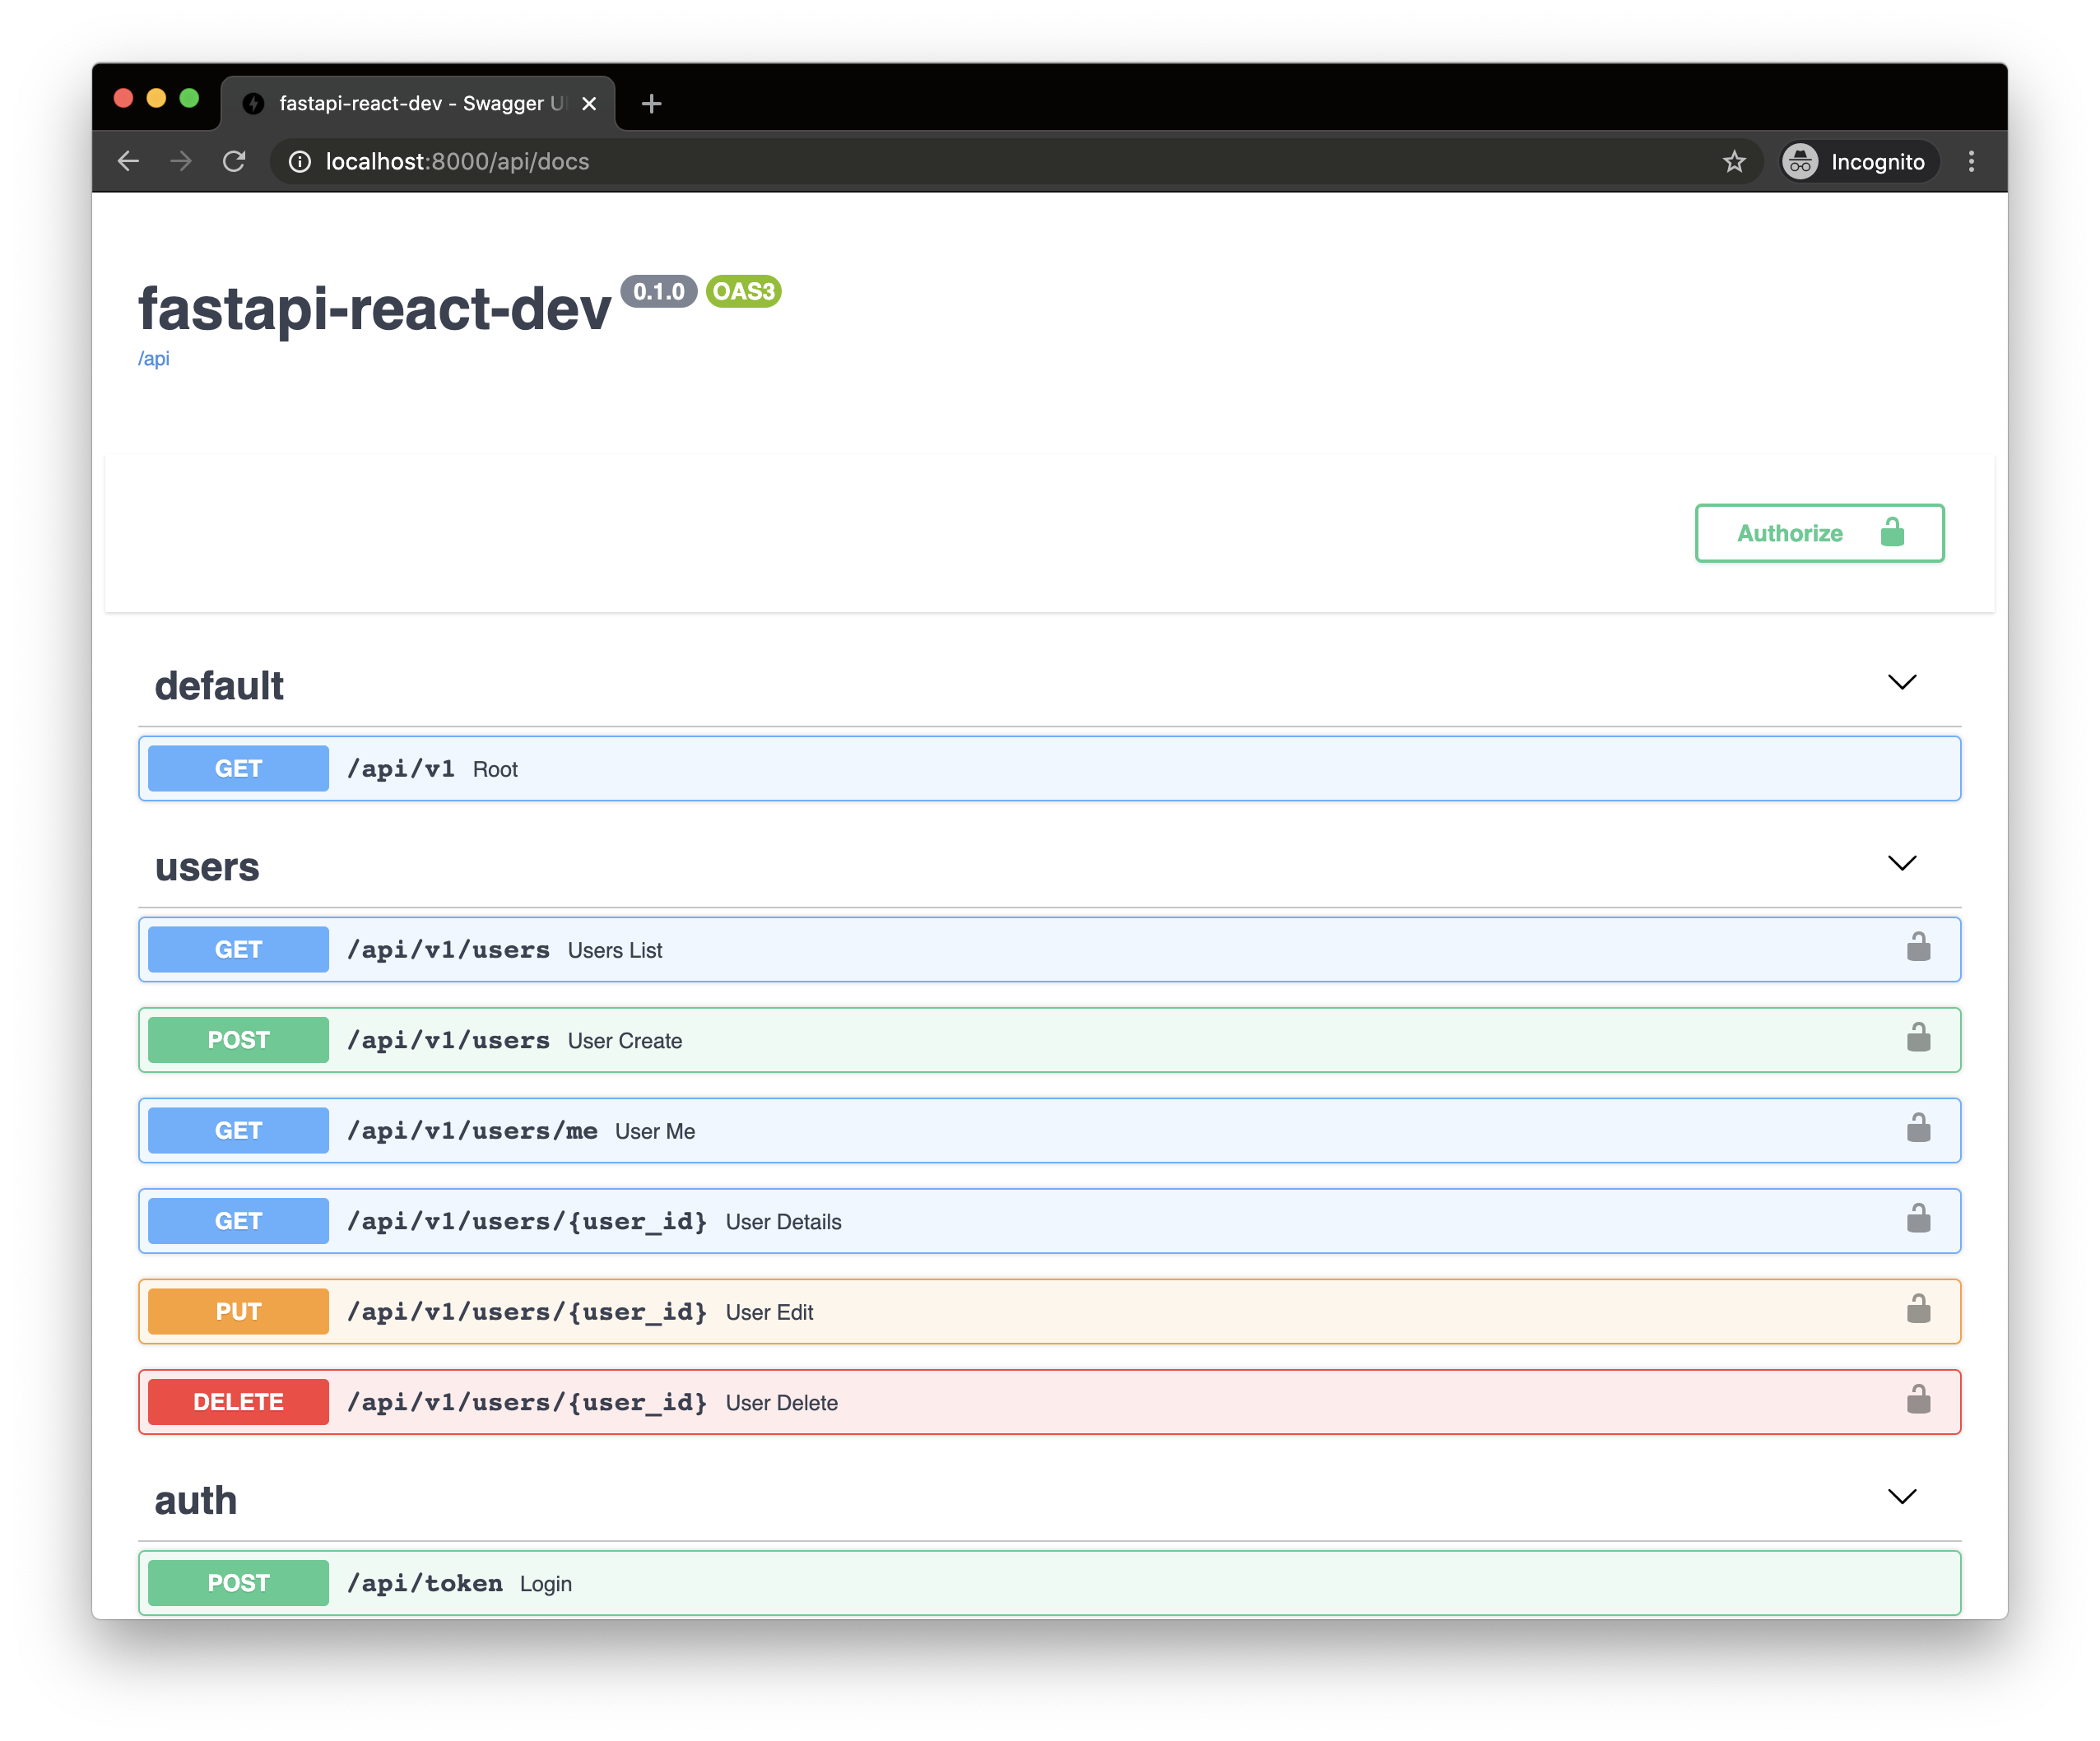
Admin Dashboard
This project uses react-admin for a highly configurable admin dashboard.
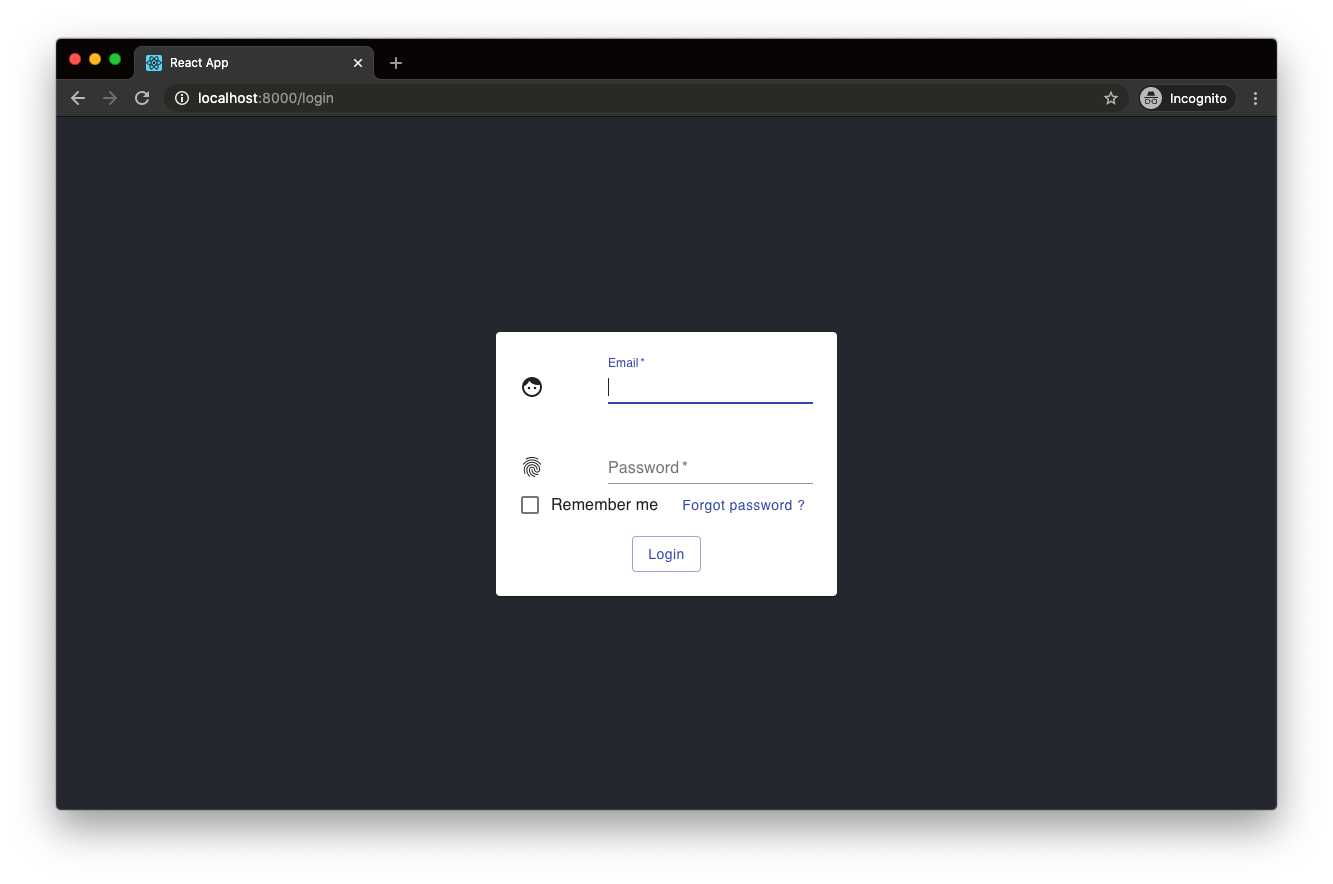
After starting the project, navigate to http://localhost:8000/admin. You
should see a login screen. Use the username/password you set for the superuser
on project setup.
NOTE: regular users will not be able to access the admin dashboard
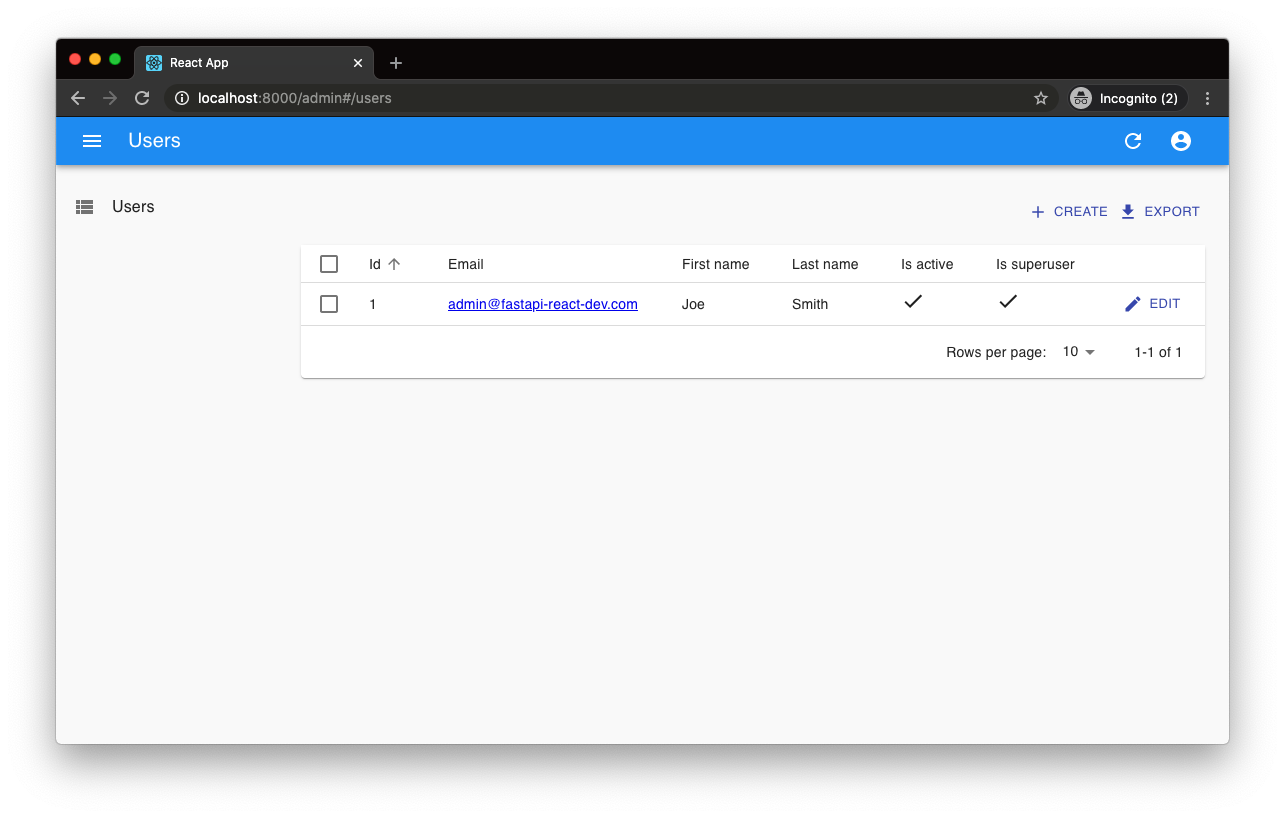
You should now see a list of users which you can edit, add, and delete. The
table is configured with the REST endpoints to the FastAPI /users routes in
the backend.
The admin dashboard is kept in the frontend/src/admin directory to keep it
separate from the regular frontend.
Security
To generate a secure key used for encrypting/decrypting the JSON Web Tokens, you can run this command:
openssl rand -hex 32The default is fine for development but you will want something more secure for production.
You can either set this on project setup as secret_key or manually edit the
Python SECRET_KEY variable in backend/app/core/security.py.
Testing
This project comes with Pytest and a few Pytest fixtures for easier mocking. The
fixtures are all located in backend/conftest.py within your project directory.
All tests are configured to run on a test database using SQLAlchemy transactions to reset the testing state on each function. This is to avoid a database call affecting the state of a different test.
Fixtures
These fixtures are included in backend/conftest.py and are automatically
imported into any test files that being with test_.
test_db
The test_db fixture is an empty test database and an instance of a SQLAlchemy
Session class.
def test_user(test_db):
    assert test_db.query(models.User).all()
test_user
def test_user_exists(test_user):
    assert test_user.email == "admin@example.com"
test_superuser
def test_superuser(client, test_superuser):
    assert test_superuser.is_superuser
client
To use an unauthenticated test client, use client:
def test_get_users(client):
    test_client.get("/api/v1/users")
    assert response.status_code == 200
user_token_headers
If you need an authenticated client using OAuth2 and JWTs:
def test_user_me(client, user_token_headers):
    response = client.get(
      "/api/v1/users/me",
      headers=user_token_headers,
    )
    assert response.status_code == 200
Since OAuth2 expects the access token in the headers, you will need to pass in
user_token_headers as the headers argument in any client request that
requires authentication.
superuser_token_headers
def test_user_me(client, superuser_token_headers):
    response = client.get(
      "/api/v1/users",
      headers=superuser_token_headers,
    )
    assert response.status_code == 200
Background Tasks
This template comes with Celery and Redis Docker containers pre-configured for you. For any long running processes, it's recommended that you handle these using a task queue like Celery to avoid making the client wait for a request to finish. Some examples of this might be sending emails, uploading large files, or any long running, resource intensive tasks.
There is an example task in backend/app/tasks.py and an example Celery test in
backend/app/tests/test_tasks.py. This test runs synchronously, which is what
Celery docs recommend.
If you are not happy with Celery or Redis, it should be easy to swap these containers out with your favorite tools. Some suggested alternatives might be Huey as the task queue and RabbitMQ for the message broker.
Flower
You can monitor tasks using Flower by going to http://localhost:5555
Frontend Utilities
There are a few helper methods to handle authentication in frontend/src/utils.
These store and access the JWT returned by FastAPI in local storage. Even though
this doesn't add any security, we prevent loading routes that might be protected
on the frontend, which results in a better UX experience.
Utility Functions
login
// in src/utils/auth.ts

/**
 *  Handles authentication with backend and stores in JWT in local storage
 **/
const login = (email: string, password: string) => boolean;
logout
// in src/utils/auth.ts

// clears token from local storage
const logout = (email: string, password: string) => void;
isAuthenticated
// Checks authenticated state from JWT tokens
const isAuthenticated = () => boolean;
Routes
Some basic routes are included (and handled in frontend/Routes.tsx).
/login- Login screen/logout- Logout/- Home/protected- Example of protected route
Higher Order Components
PrivateRoute
This handles routes that require authentication. It will automatically check whether the correct token with the "user" permissions is present or redirect to the home page.
// in src/Routes.tsx
import { Switch } from 'react-router-dom';

// Replace this with your component
import { ProtectecComponent } from 'components';

const Routes = () => (
  <Switch>
    <PrivateRoute path="/protected_route" component={ProtectedComponent} />
  </Switch>
);
Contributing
Contributing is more than welcome. Please read the Contributing doc to find out more.


