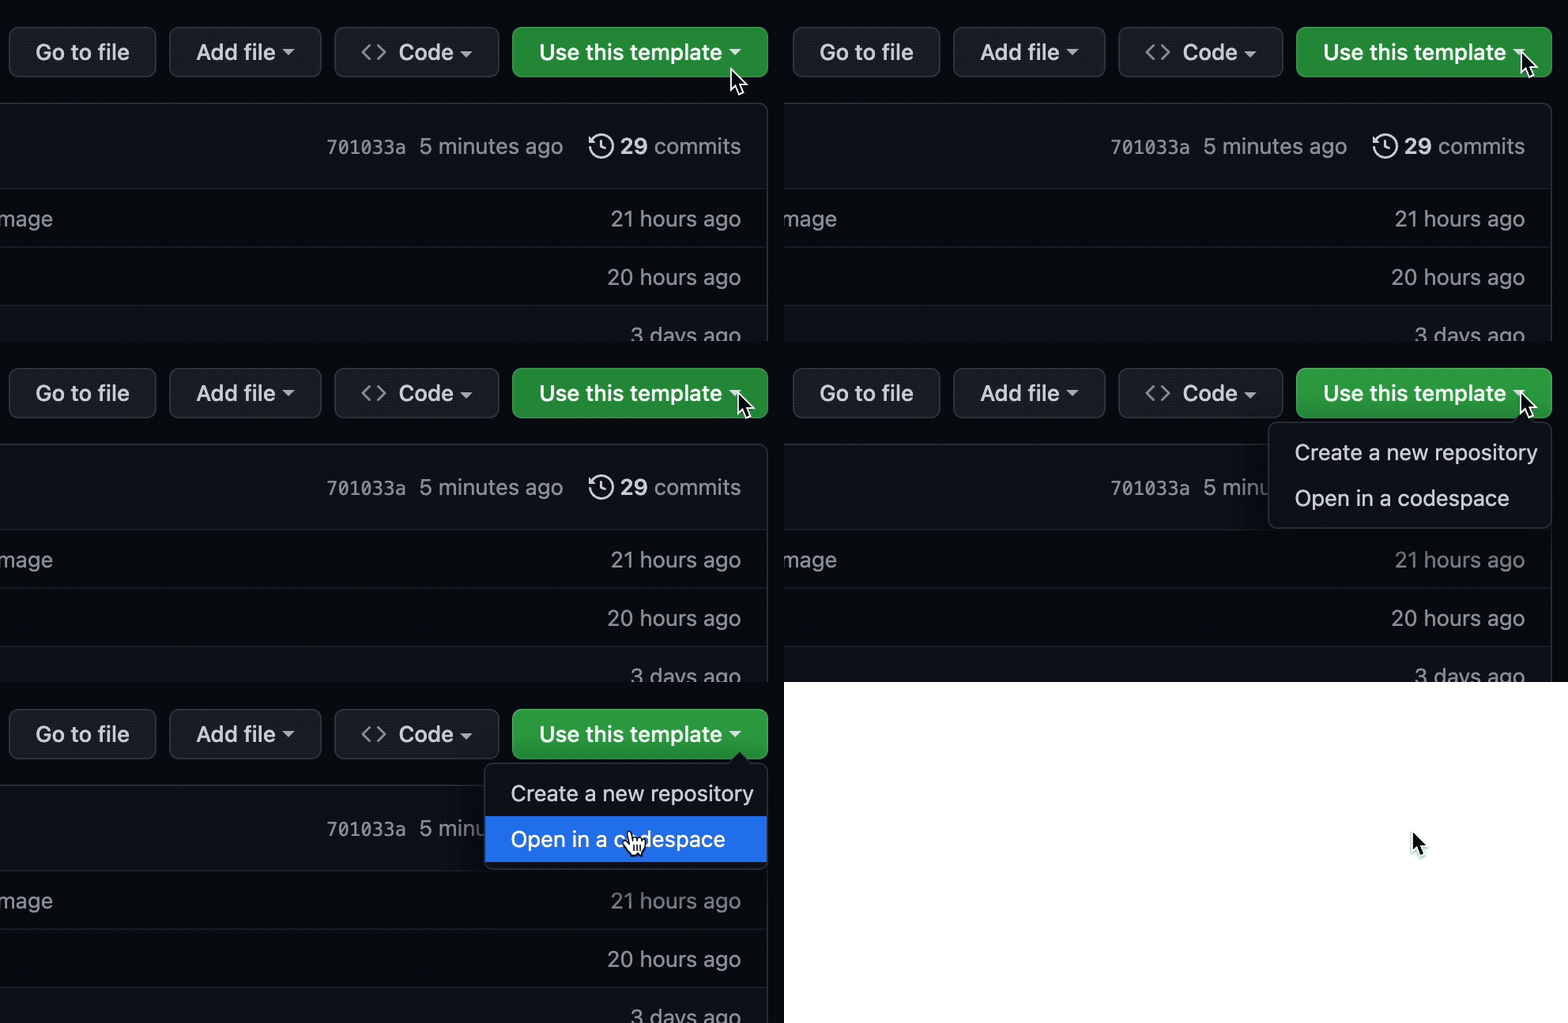
Even if you never touched Meltano before. No install needed, just a GitHub account (and a few spare Codespaces minutes you get for free anyways).
Let's get started!
Click "Open on Codespaces", to launch this project into a ready to use web VS-Code version with everything preloaded.
Make sure to open up the README.md inside Codespaces as well.
Notes on codespaces:
- If you at any point get an error "The user denied permission to use Service Worker", then you need to enable third-party cookies. It's a codespaces related problem.
- In our experience, codespaces work best in Chrome or Firefox, not so well in Safari.
- Files in codespaces autosave! No need to save anything.
There's a csv customers.csv with
- customer names, e-mail adresses and IPs
- you're going to extract this CSV and load it into an SQL-database.
Go ahead, just run
meltano run tap-csv hide-ips target-duckdb
And that's it, you're done. Don't believe us? You can use a helper function to check the SQL-database:
./meltano_tut select_db
Watch out for these things:
- There are no ip addresses inside the database, right? Check customers.csv, they were there.
- That's because we added a "mapper" called "hide-ips" that is completely customizable and in this case hashes the IP addresses.
- In the console output - Meltano told you at the beginning of the log ... "Schema 'raw' does not exist."
- That is because Meltano has a lot of helper functions. It e.g. creates schemas and tables, should they not already exist.
Feel free to explore the project, or dive right into building it yourself!
Let's go ahead and build it ourselves within 5 minutes
Inside the terminal (bottom window) run:
./meltano_tut init
This runs a wrapped "meltano init", adding demo data for you to have fun with. This will remove what we preinstalled, so now we need to add a few things first.
Add your first extractor to get data from the CSV. Do so by running inside the terminal:
meltano add extractor tap-csv
Then open up the file meltano.yml, copy the config below, and paste it below pip_url.
    config:
      files:
      - entity: raw_customers
        path: data/customers.csv
        keys: [id]
Your complete config for tap-csv in meltano.yml should look like this:
plugins:
  extractors:
  - name: tap-csv
    variant: meltanolabs
    pip_url: git+https://github.com/MeltanoLabs/tap-csv.git
    config:
      files:
      - entity: raw_customers
        path: data/customers.csv
keys: [id]Let's test the tap by running:
meltano invoke tap-csv
If everything works as expected, Meltano should extract the CSV and dump it as a "stream" onto standard output inside the terminal.
Next add a loader to load our data into a local duckdb:
meltano add loader target-duckdb
Copy the configuration below and paste it below the pip_url for target-duckdb in the meltano.yml file.
    config:
      filepath: output/my.duckdb
      default_target_schema: raw
The config in meltano.yml for target-duckdb should look like this:
  loaders:
  - name: target-duckdb
    variant: jwills
    pip_url: target-duckdb~=0.4
    config:
      filepath: output/my.duckdb
default_target_schema: rawNow you can do your first complete EL run by calling meltano run!
meltano run tap-csv target-duckdb
Perfect!
To view your data you can use our little helper:
./meltano_tut select_db
This will run a SELECT * FROM public.raw_customers on your duckdb instance and write the output to the terminal.
Great! You've completed your first extract and load run. 🥳
PS. If you liked what you saw, don't forget to star us on GitHub and consider joining our Slack community!
Next we want to start to remove the IP adresses, open up "the level 2 instructions" for that!
