- Firstly, install the following packages into your project: "@sentry/cli", "@sentry/integrations", "@sentry/node" and "@sentry/tracing"
- To initialize Sentry in your Node+Express application, you need to first make a
.envfile that contains all the Sentry credentials and parameters. Here is the boilerplate:SENTRY_AUTH_TOKEN = SENTRY_ORG = SENTRY_PROJECT = TRACE_SAMPLE_RATE = NODE_ENV = 'your environment' SENTRY_DSN = RELEASE = 'your release versions here'
- To get the AUTH_TOKEN, follow these steps after you create a new project on Sentry


- Click on
click-here-for-your-tokento allow sentry to make a new internal integration for you to generate the token. You will also get the organization and project name defined here
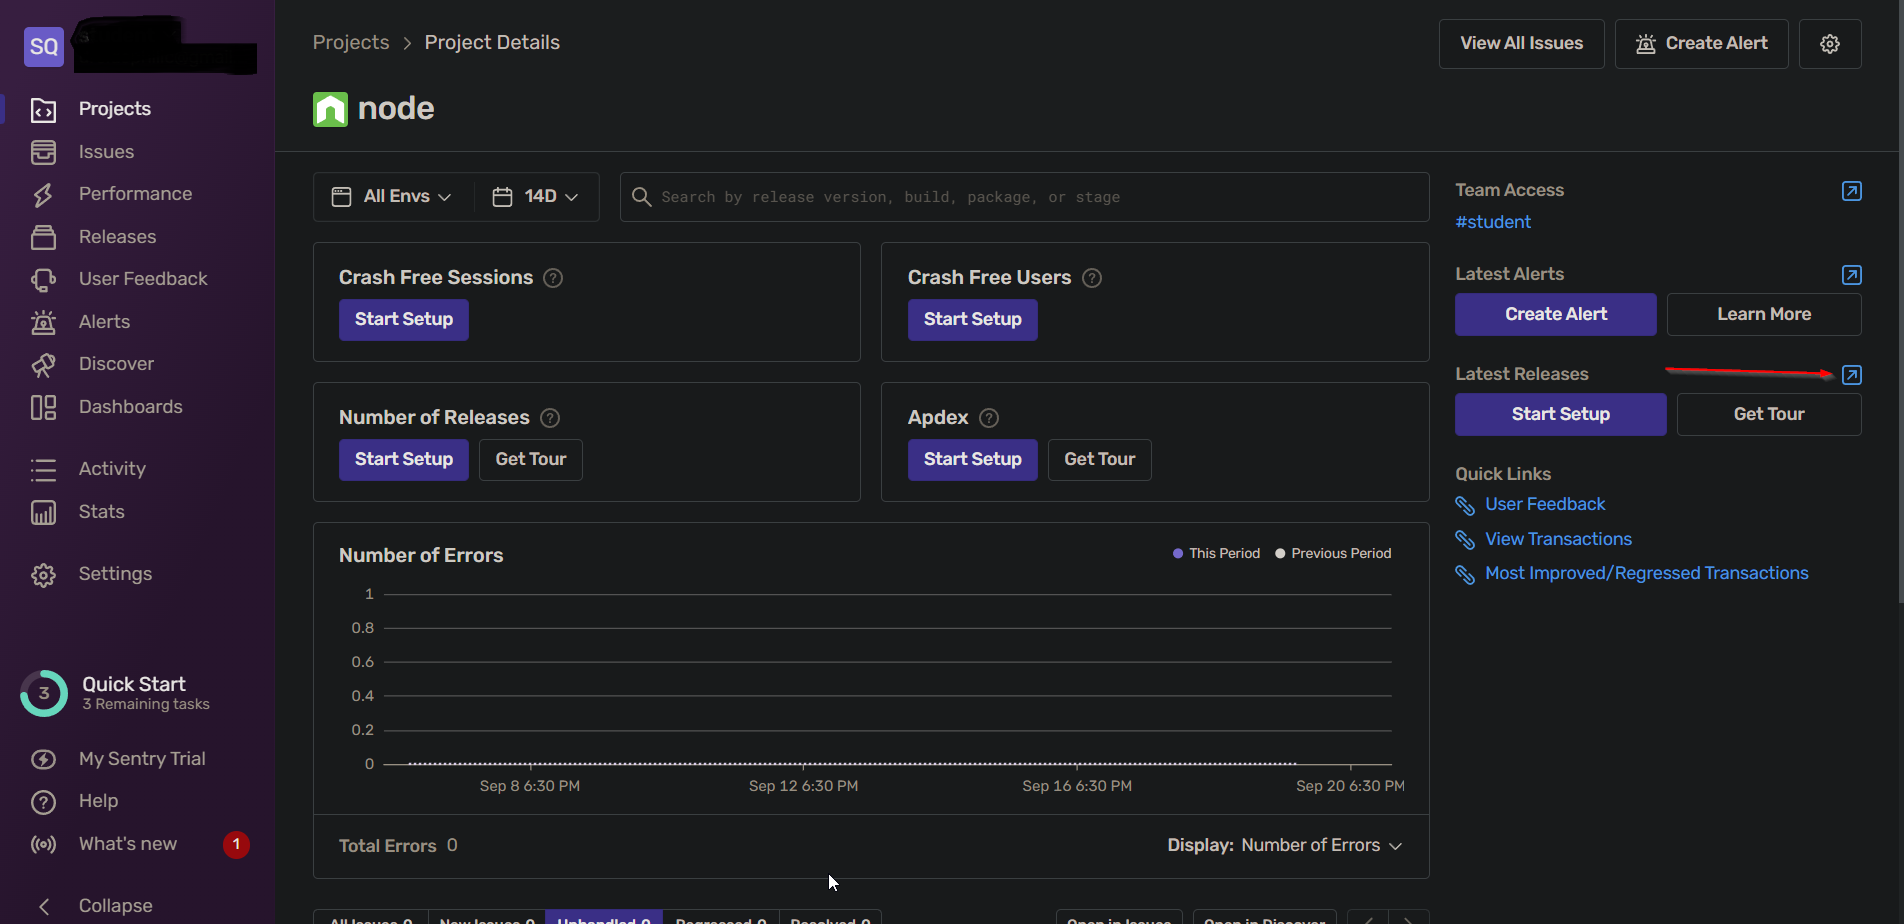
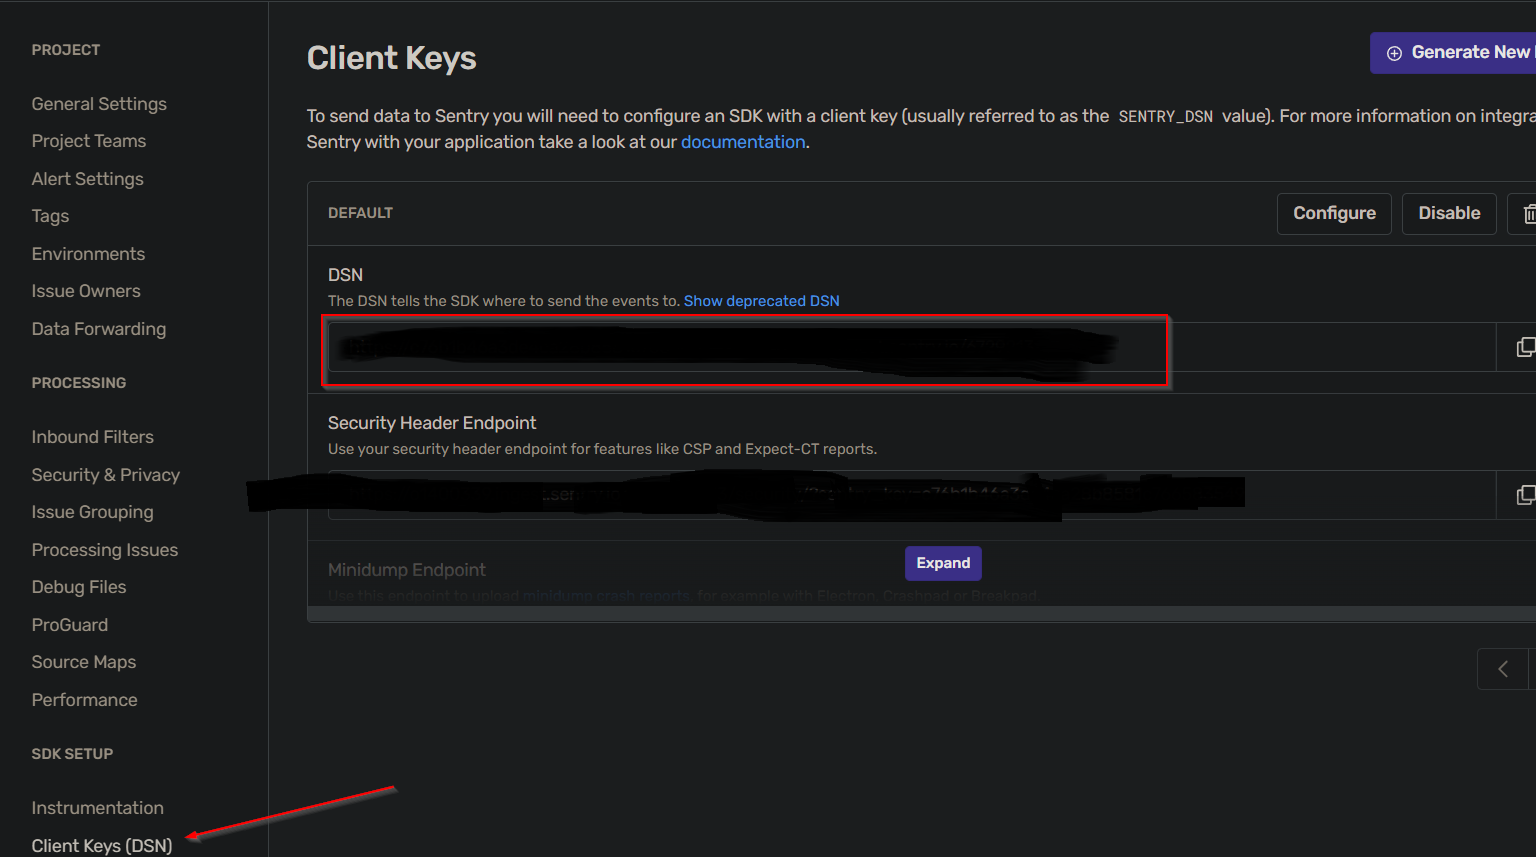
- To get the DSN credentials and Organization slug, follow the screenshots given below:


- To initialize Sentry in your Typescript project, copy the following code in a file at the parent directory of your project called
sentry.ts.import express from "express"; import { RewriteFrames } from "@sentry/integrations"; import * as Sentry from "@sentry/node"; import dotenv from "dotenv"; // Importing @sentry/tracing patches the global hub for tracing to work. import * as Tracing from "@sentry/tracing"; dotenv.config(); import { Application } from "express"; global.__rootdir__ = __dirname || process.cwd(); // This allows TypeScript to detect our global value declare global { var __rootdir__: string; } const sentryInitialization = (app: Application) => { console.log(process.env.SENTRY_DSN); Sentry.init({ dsn: process.env.SENTRY_DSN, integrations: [ new RewriteFrames({ root: global.__rootdir__, }), // enable HTTP calls tracing new Sentry.Integrations.Http({ tracing: true }), // enable Express.js middleware tracing new Tracing.Integrations.Express({ // to trace all requests to the default router app, // alternatively, you can specify the routes you want to trace: // router: someRouter, }), ], environment: process.env.NODE_ENV, autoSessionTracking: false, // default: true // We recommend adjusting this value in production, or using tracesSampler // for finer control tracesSampleRate: Number(process.env.TRACE_SAMPLE_RATE), }); app.use(Sentry.Handlers.requestHandler() as express.RequestHandler); // TracingHandler creates a trace for every incoming request app.use(Sentry.Handlers.tracingHandler()); app.use(Sentry.Handlers.errorHandler() as express.ErrorRequestHandler); }; export default sentryInitialization;
- You can also integrate sentry into your error handler function to capture stack traces through exceptions. This error handler will be called in the catch block of every endpoint that you write. A simple example is given below where Sentry's
captureExceptionmethod is called to send exceptions to Sentry:export const catchSentryException = (error: any) => { Sentry.captureException(error); };
- Your entrypoint file(
index.js) for the server will look something like this:import express, { Application, Request, Response } from "express"; import sentryInitialization, { catchSentryException } from "../sentry"; const app: Application = express(); const port: number = 3001; //your sentry initialization for the app sentryInitialization(app); // the rest of your app(your routes) app.get("/test", async (req: Request, res: Response) => { try { //sample API route res.end("Hello toto"); fetch("https://jsonplaceholder.typicode.com/tods/1") .then((response) => response.json()) .then((json) => console.log(json)); throw new Error("Oh no!"); } catch (error) { //calling the custom error handler integrated with Sentry catchSentryException(error); } }); //hit this endpoint to test if Sentry began capturing transactions app.get("/debug-sentry", function mainHandler(req: Request, res: Response) { throw new Error("My first Sentry error!"); }); app.listen(port, function () { console.log(`App is listening on port ${port} !`); });
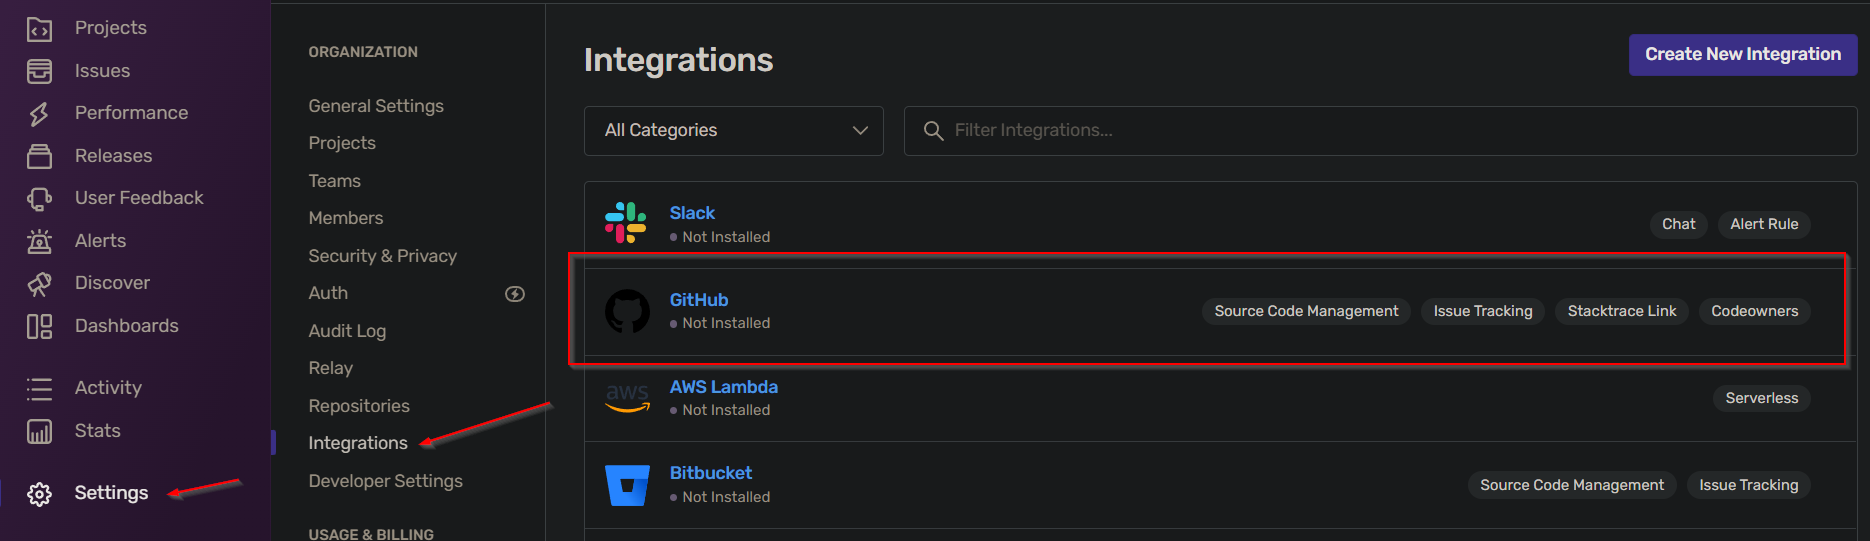
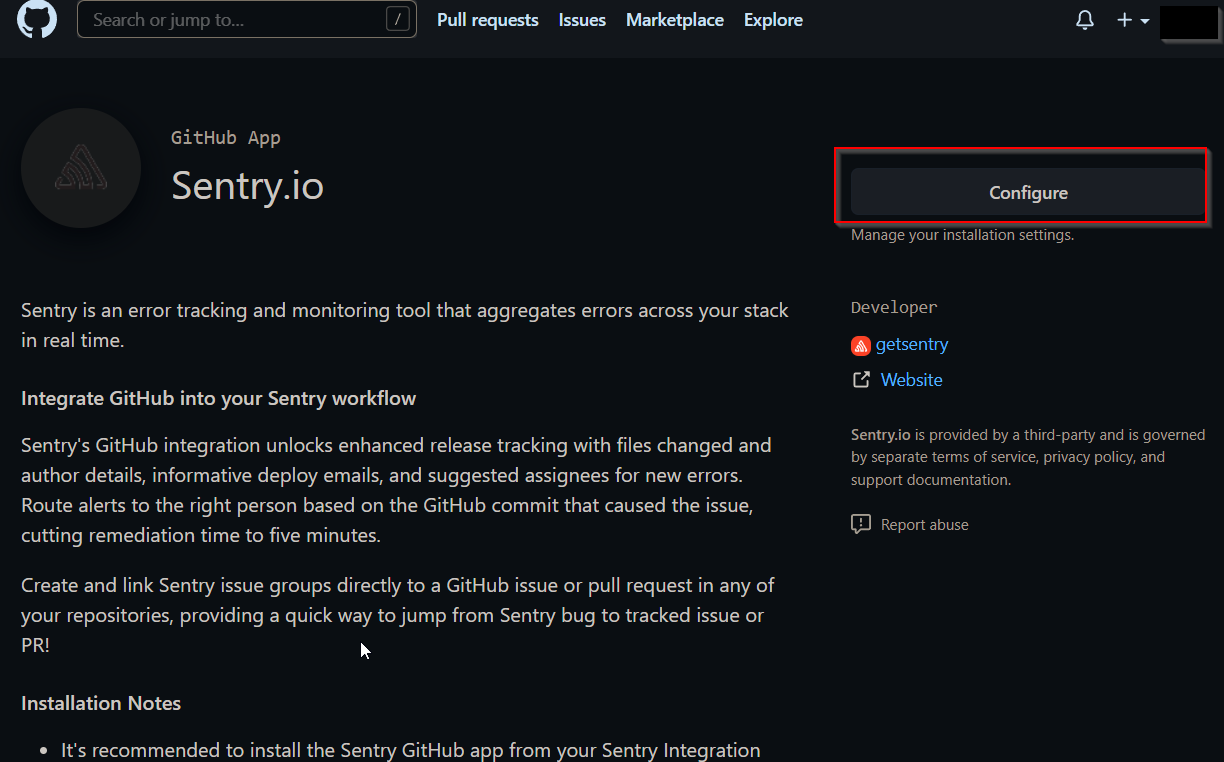
- We will cover a remote repository integration to one of our projects. There are a lot more services that you can integrate with sentry,
- Click on a remote repository service(like GitHub) to integrate.
- Add installation.
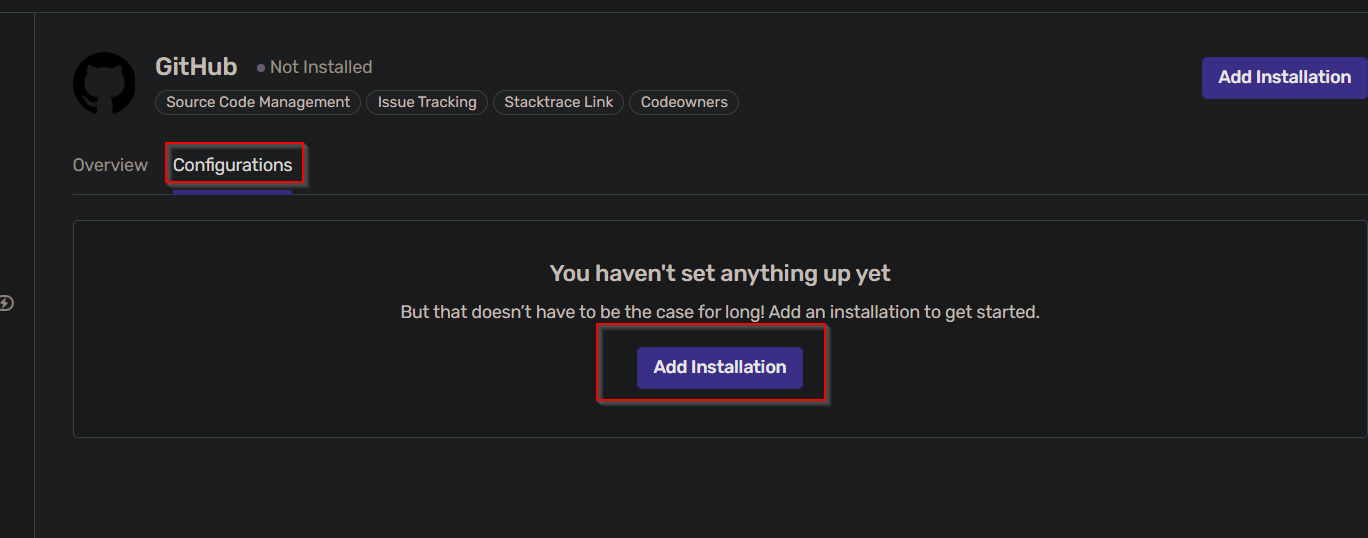
- Click configure. You will be redirected to login to your GitHub account
- The choice of granting access to repositories is yours.

- As and when GitHub changes its status to installed, you can configure the integration for a particular Sentry project.
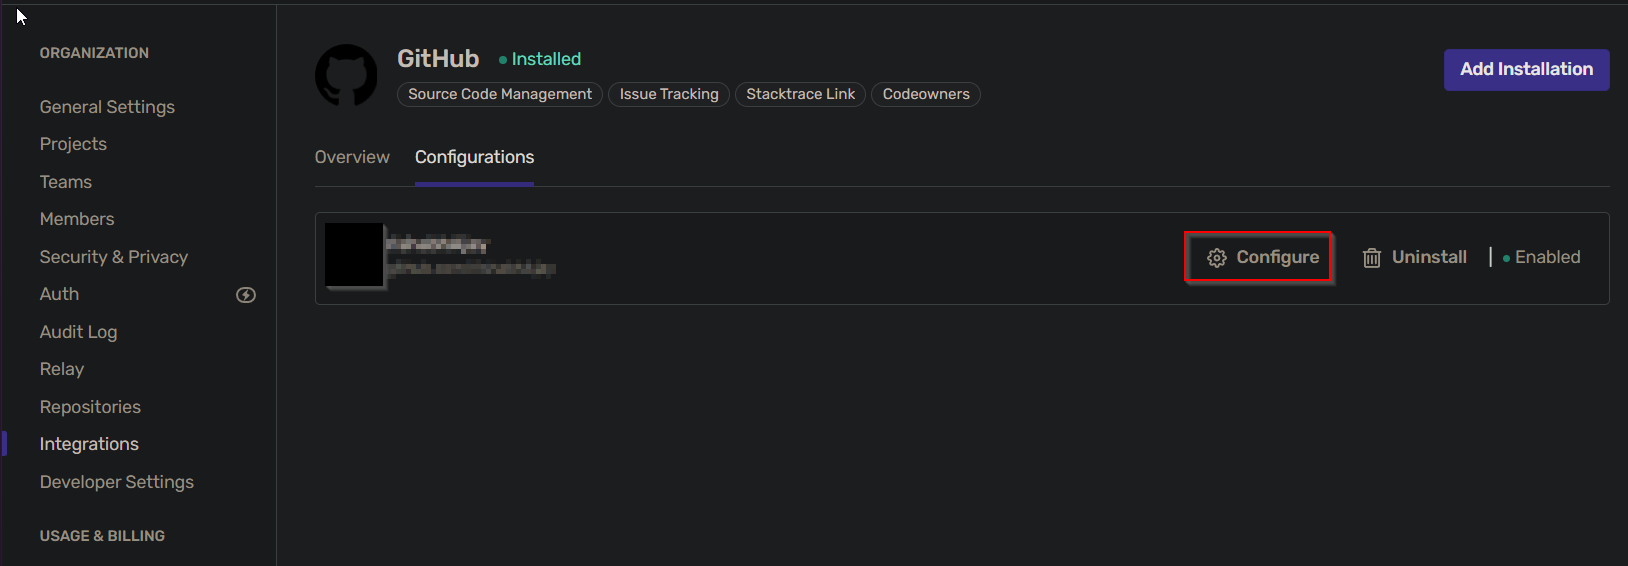
- Add a repository if you haven't already.

- Add the code mapper to analyse your code for stack traces.


- You are now good to go with integrations.
- You have two ways of creating and pushing new releases to sentry:
- Adding the
releaseoption will allow you to add releases as you commit and push something new to the remote repository that was integrated. NOTE: Your release versions must be generated uniquely. Also note that this does not automate your commit tracking or the uploading of source maps. Refer to this forum thread for clarifying on this point: Integration does not associate commitsSentry.init({ release: "node-express@" + 'YOUR_CUSTOM_RELEASE_VERSION', });
- You can run the following commands to create and push releases to Sentry after you have committed something new to remote.
VERSION=`npx sentry-cli releases propose-version`
# Workflow to create releases, uploadd commits and sourcemaps
npx sentry-cli releases new "$VERSION"
npx sentry-cli releases finalize "$VERSION"
- As stated earlier, the linking of commits has to be manually done through the CLI
 VERSION=`npx sentry-cli releases propose-version`
 npx sentry-cli releases set-commits "$VERSION" --auto
-
Sourcemaps can be generated either through webpack or TypeScript configs. Since we are using Typescript already, let us consider the latter. Create a
tsconfig.production.jsonin your project's parent directory and paste the following:{ "extends": "./tsconfig", "compilerOptions": { "sourceMap": true, "inlineSources": true, "sourceRoot": "/" } }
-
In your
package.json, add abuildcommand to run the above config file and generate sourcemaps."scripts": { "build": "tsc -p tsconfig.production.json" },
-
Now, to upload the generated sourcemaps, we run these commands:
 VERSION=`npx sentry-cli releases propose-version`
 #npm run build will generate the sourcemaps
 npm run build
 npx sentry-cli releases files "$VERSION" upload-sourcemaps ./dist --ignore-file .sentryignore
-
If you notice, we are passing a
.sentryignorefile to be ignored. This contains all the files that we do not want to upload to Sentry. Our file looks something like this:dist/sentry.js.map dist/sentry.js
- Create a file called
sentry.shat your project's parent directory. Paste the following:#!/usr/bin/env bash if [ "$1" == "" ]; then echo "No remote alias provided" exit 1 fi if [ "$2" == "" ]; then echo "No branch provided" exit 1 fi if git push $1 $2; then # Generates a unique release version VERSION=`npx sentry-cli releases propose-version` # Workflow to create releases, uploadd commits and sourcemaps npx sentry-cli releases new "$VERSION" npx sentry-cli releases set-commits "$VERSION" --auto npm run build npx sentry-cli releases files "$VERSION" upload-sourcemaps ./dist --ignore-file .sentryignore npx sentry-cli releases finalize "$VERSION" else echo "pushing to remote repo failed" exit 1 fi
- The above script basically pushes your commits to remote. But, it also:
- Creates a release,
- Associates commits to that release,
- Generates sourcemaps,
- Uploads sourcemaps to the release
- Doing an
sh sentry.sh origin masterin Windows (Git Bash shell) or./sentry.sh origin masterin Linux will push your commits on master to remote and does all the above tasks. - NOTE: The above script is meant for development only. You can modify the script to run after a certain event in production (or other said environments)
- To add data scrubbers, follow the screenshot below. You can also add custom fields to be scrubbed.
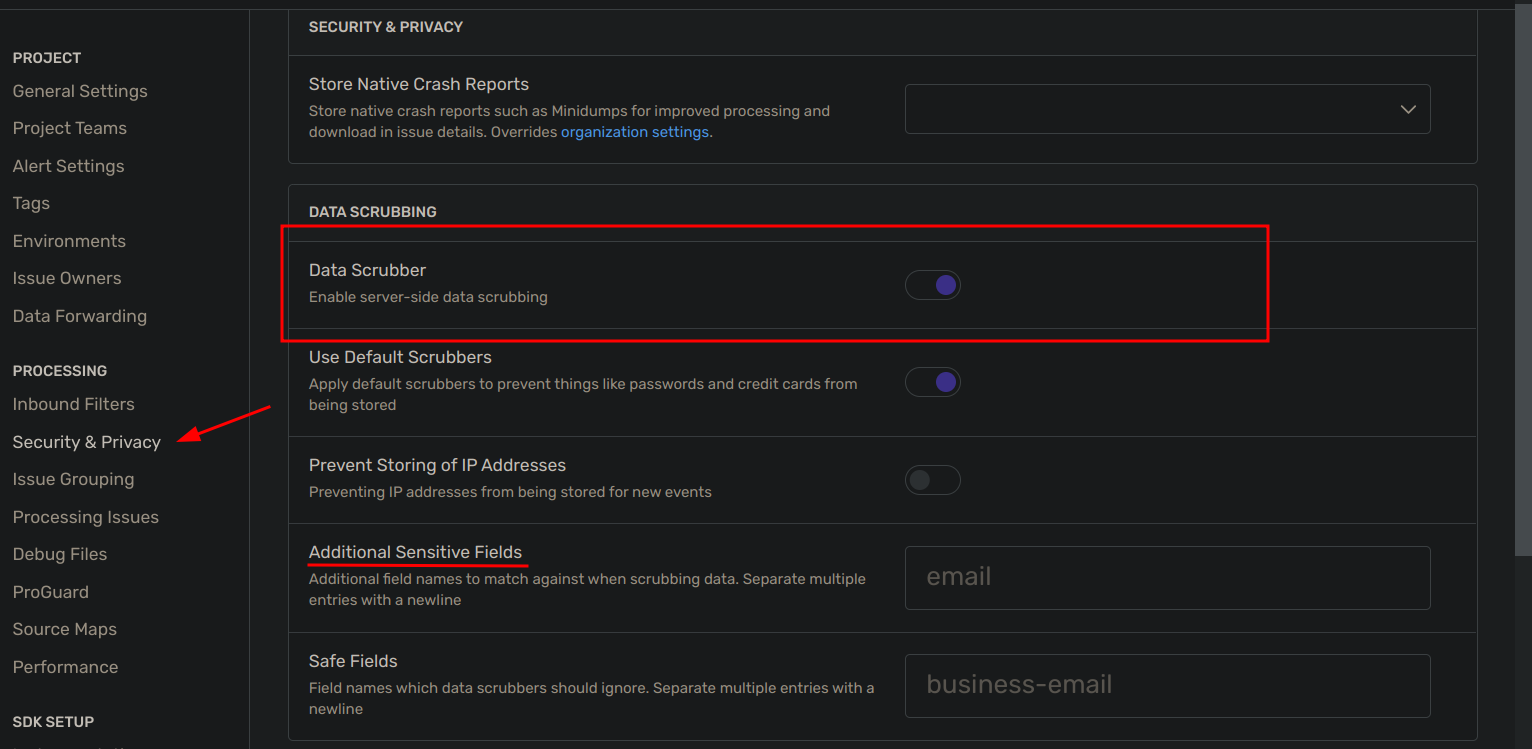
- To add filters on certain IPs, you can follow the screenshot below. Ideally, you would want to block the traffic coming from localhost.


