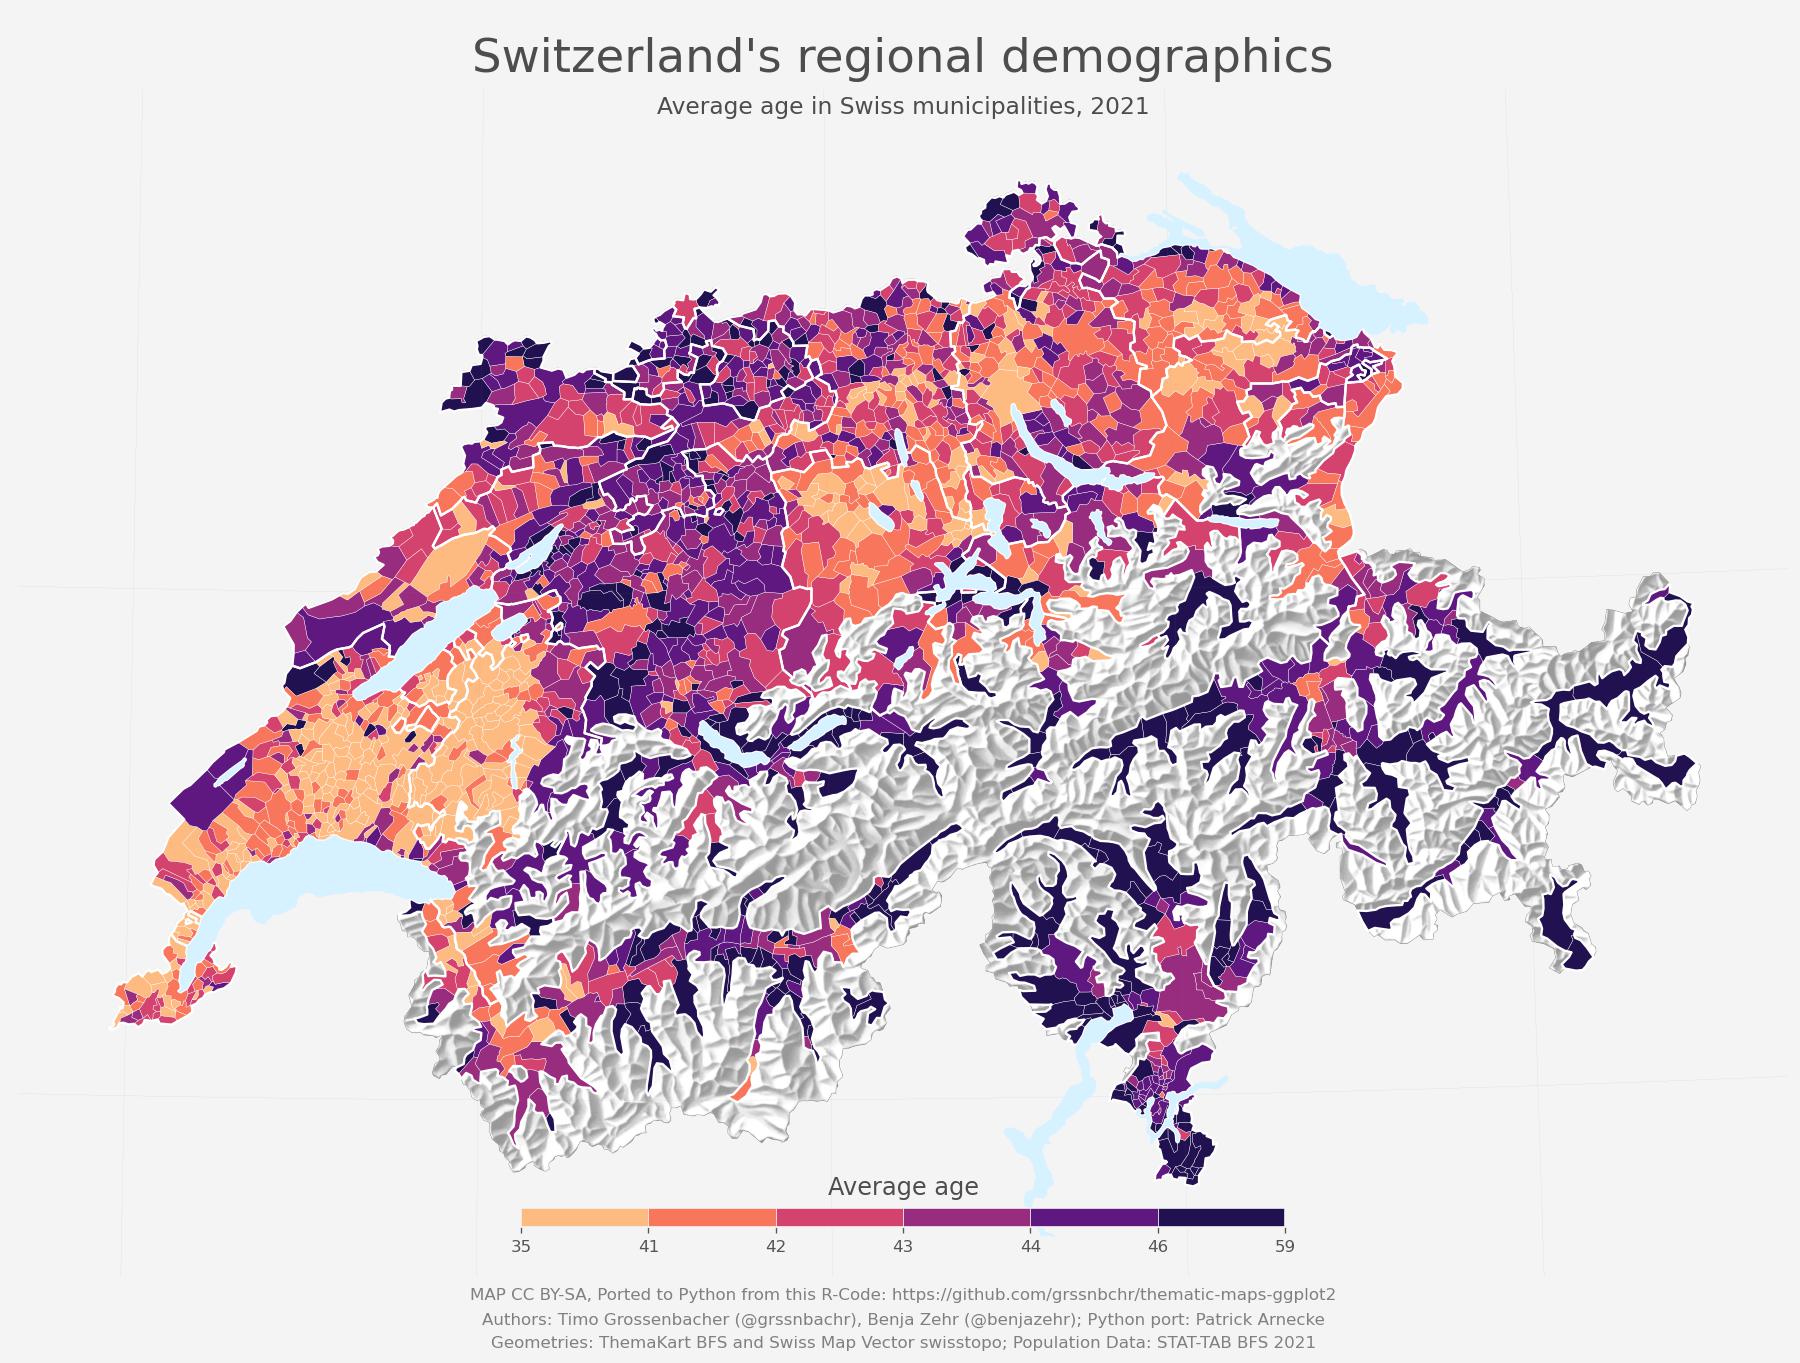
In this notebook, I try to port to Python a very clever and inspiring mapping technique that Timo Grossenbacher and Benja Zehr have created in R.
Please have a look at their blog posts here and here where they describe all the thinking and work behind it.
All the credit for this beautiful mapping technique belongs entirely to Timo and Benja.
I just was curious how hard it would be to port their project to Python and wanted to make their approach available for Python users. I was also interested how close one can get with Python's plotting tools (namely Matplotlib) to the ggplot2 result. I merely ported the code to Python and kept as closely to Timo's and Benja's settings as possible.
What did I find out?
- It goes without saying: Python's geo data and graph tooling work differently than R's. So a simple 1:1 conversion of the code wasn't feasible. Nonetheless, many of the steps the authors created could be applied in this version too.
- Visually the result comes quite close to the original (at least in my perspective).
- Controlling a map layout with all elements pixelperfect is not an easy task in matplotlib. This seems somewhat easier in R/ggplot.
- A versatile GIS tool was an absolute must to explore the geo data sets efficiently and find the right shapes. QGIS (which I use) was very helpful just to browse and understand the various layers of the awesome and quite detailed geo data offerings of the Federal Statistical Office BFS and Federal Office of Topography swisstopo.
- It was more difficult than I expected to find a proper workflow in Python to mask raster maps with vector shapes. One can either mask the layer with QGIS (see second notebook in repo) or cut out the shape with gdal's Python bindings directly in the noteebook (see below).
Usage
- Install the required packages with
pip install -r requirements.txt. - An easy way to install GDAL (necessary to run the notebook):
conda install -c conda-forge gdal. - Run all cells in the main notebook
- To work with this notebook you need to download three data sets (the code for that is provided in the notebook).
- You need to check the terms of usage for the data on the respective sites – see links in the notebook – and use the data accordingly.
- This notebook is created purely for educational purposes and comes without any licenses for the data.
License concerning the code and the maps produced: CC-BY-SA (as defined by original authors).
Data licenses: See respective websites of data providers. Links are provided in the Jupyter notebook.


