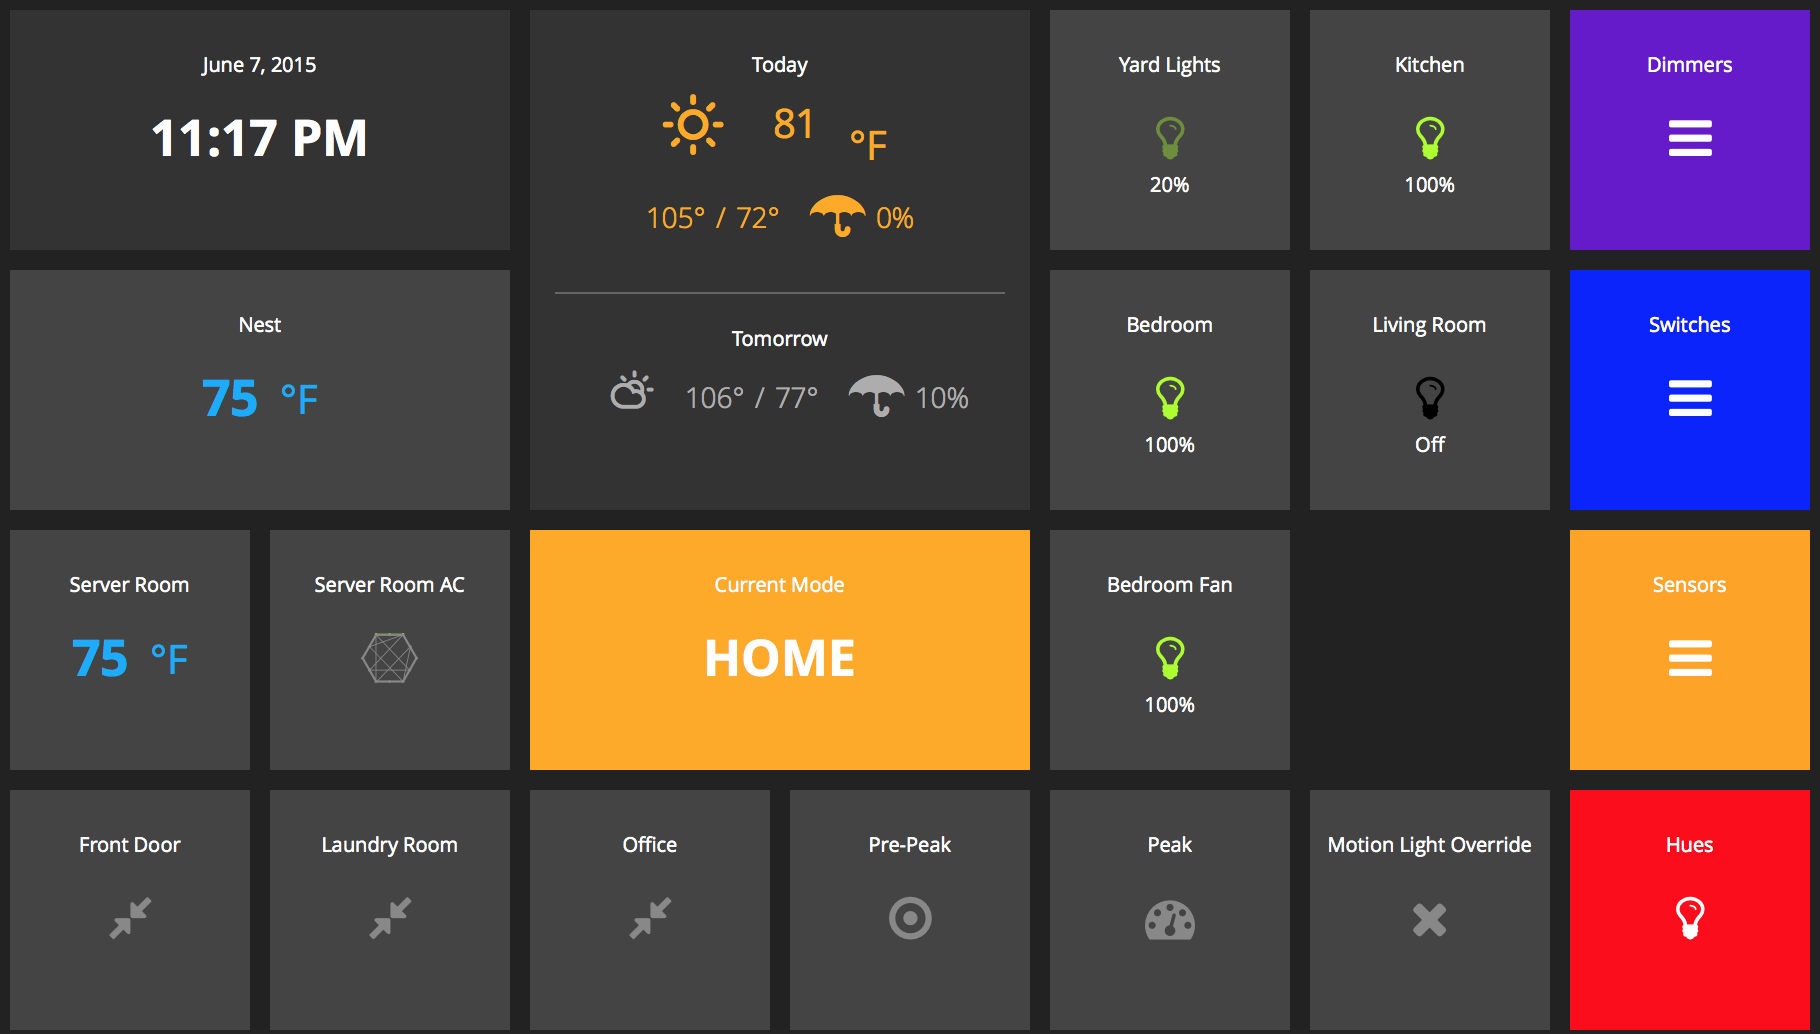
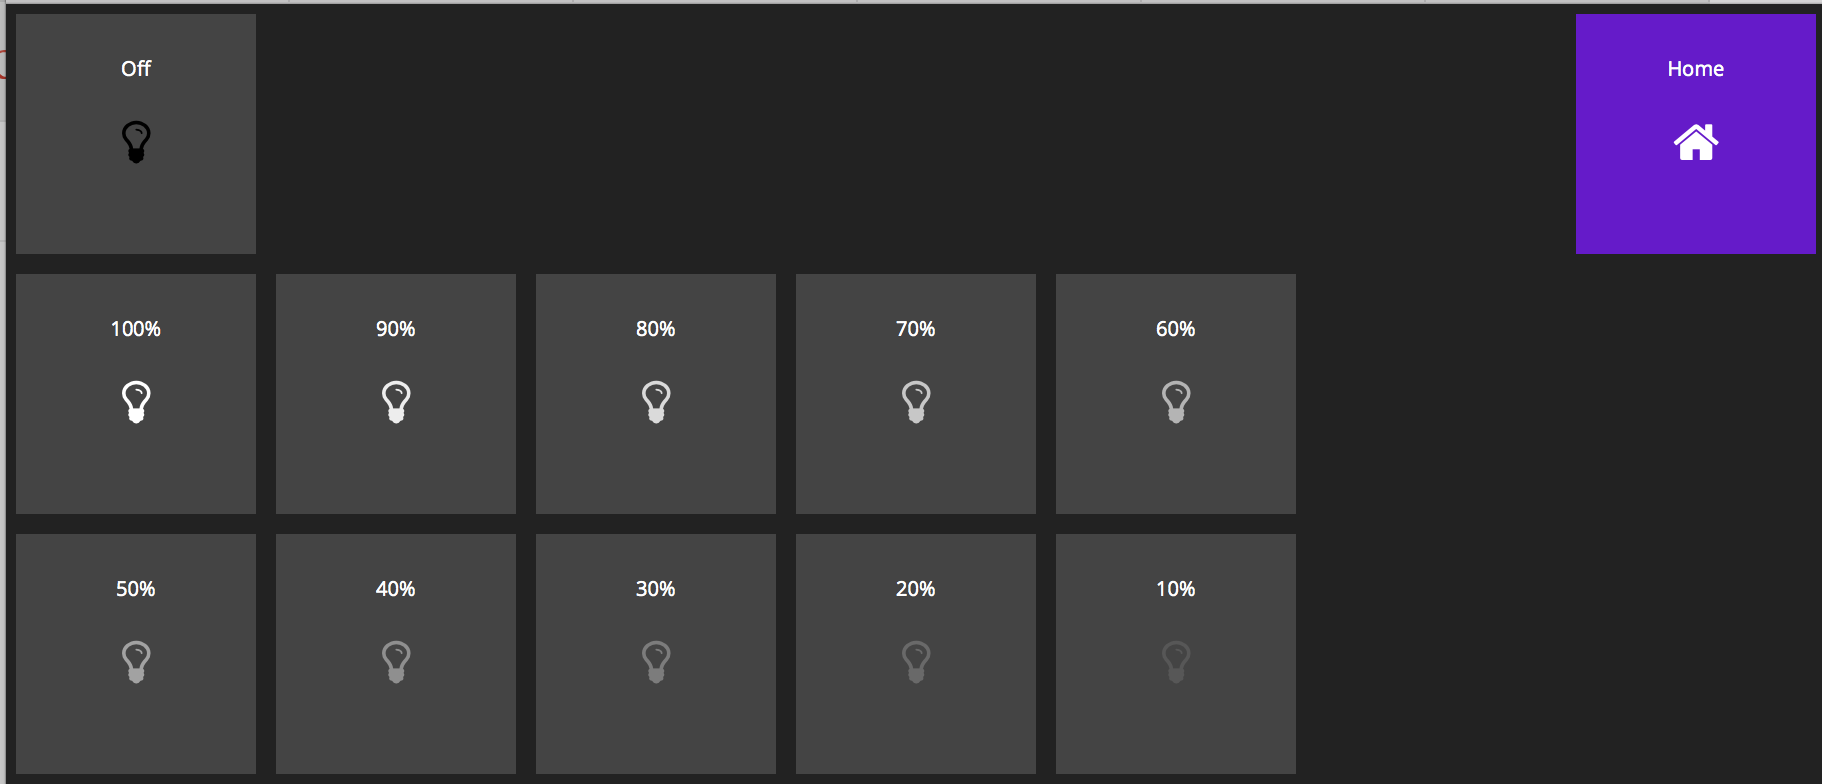
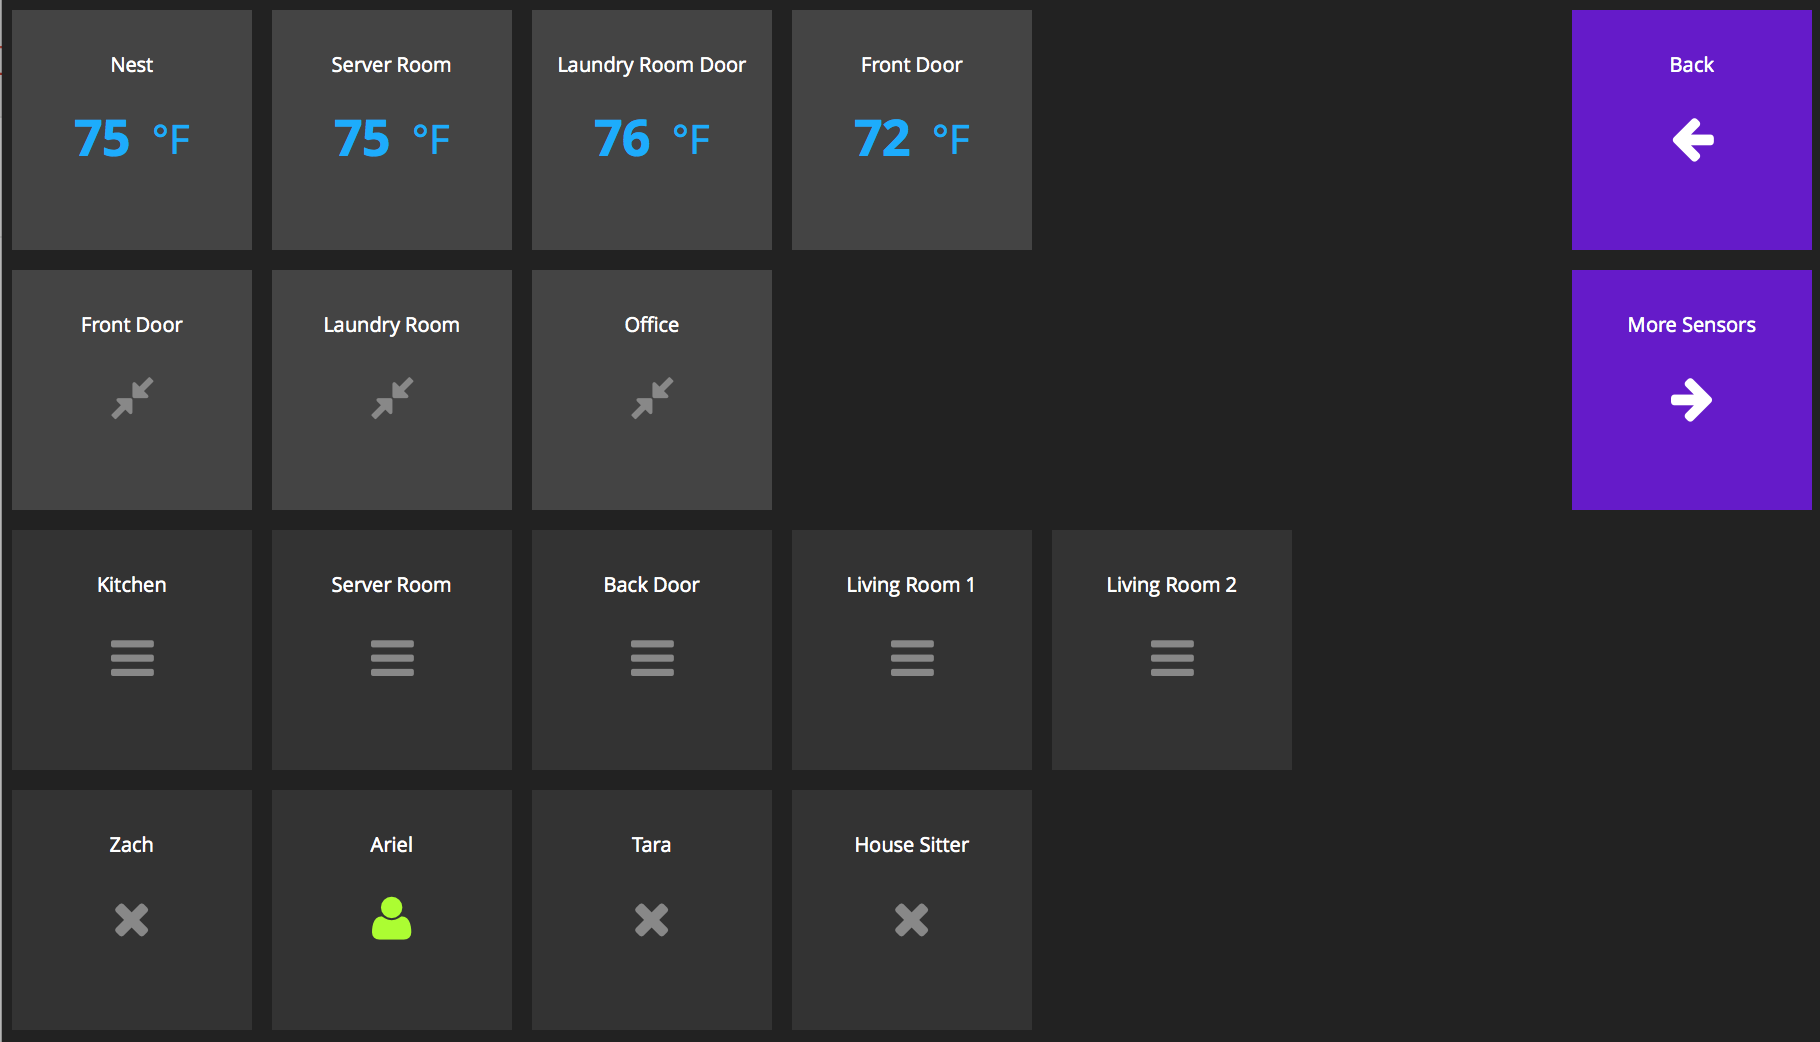
Credit given to: FlorianZ for hadashboard [https://github.com/FlorianZ/hadashboard]
pydashie - This dashboard is built ontop of pyDashie [https://github.com/evolvedlight/pydashie] and will have the same requirements. The python packages required are:
flask>=0.9
CoffeeScript
requests
Navigate to https://graph.api.smartthings.com and log in to your SmartThings IDE account. Select the 'My SmartApps' tab, and click the '+ New SmartApp' button to create a new SmartApp.
Fill in the required information. The 'Name' and 'Description' are both required fields, but their values are not important.
Make sure to click the 'Enable OAuth in Smart App' button to grant REST API access to the new SmartApp. Note the 'OAuth Client ID' and 'OAuth Client Secret'. Both will later be required by the Dashing backend to authenticate with the new SmartApp and talk to SmartThings.
Hit the 'Create' button to get to the code editor. Replace the content of the code editor with the content of the file at: Documents/ZP_PyDash_Access.groovy
Click the 'Save' button and then 'Publish -> For Me'.
Copy the 'Documents/sample_oauthin.json' to the 'ZP_PyDash/oauthin.json' on your host/server. Once copied open the file in a text editor and past the 'OAuth Client ID' and 'OAuth Client Secret' from the last step. Also if you are not going to be running this as localhost, enter the server hostname/ip/url here. (If you want to chnage the port you will have to chnage it in another spot as well..)
run: python main.py

open your browser and goto http://localhost:5000/
If you chnaged the host url/IP replace the localhost with that IP. On first run the app will do the smartthings auth as long as you compleated oathin.json.
Add a Update All devices function - This will make it so all devices are updated in only one call..


