openwisp-network-topology
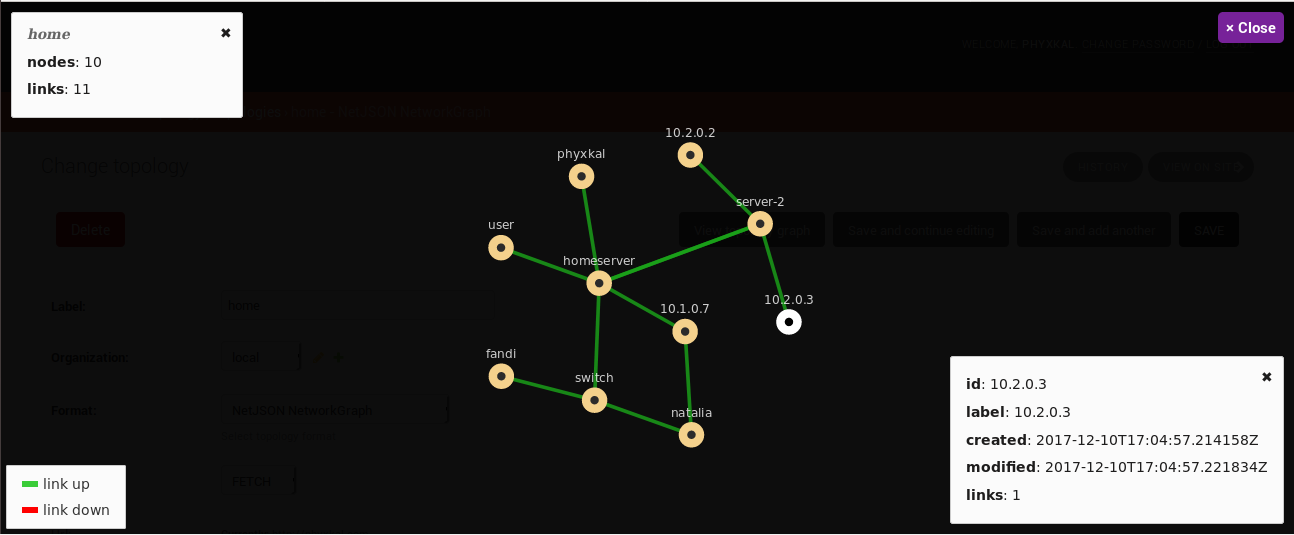
OpenWISP 2 network topology module (built using Python and Django web-framework).
Table of Contents:
Install stable version from pypi
Install from pypi:
pip install openwisp-network-topologyInstall development version
Install tarball:
pip install https://github.com/openwisp/openwisp-network-topology/tarball/masterAlternatively you can install via pip using git:
pip install -e git+git://github.com/openwisp/openwisp-network-topology#egg=openwisp-network-topologyIf you want to contribute, install your cloned fork:
git clone git@github.com:<your_fork>/openwisp-network-topology.git
cd openwisp-network-topology
python setup.py develop
Setup (integrate in an existing django project)
INSTALLED_APPS in settings.py should look like the following (order is important):
INSTALLED_APPS = [
    'django.contrib.auth',
    'django.contrib.contenttypes',
    'django.contrib.sessions',
    'django.contrib.messages',
    'django.contrib.staticfiles',
    # for customized openwisp admin theme
    'openwisp_utils.admin_theme',
    # all-auth
    'django.contrib.sites',
    'allauth',
    'allauth.account',
    'allauth.socialaccount',
    # openwisp2 modules
    'openwisp_users',
    'openwisp_network_topology',
    'rest_framework',
    # admin
    'django.contrib.admin',
]
EXTENDED_APPS = ('django_netjsongraph',)
Note that the EXTENDED_APPS may contain other names (if you installed other modules), in that case you should just add django_netjsongraph.
Add openwisp_utils.staticfiles.DependencyFinder to STATICFILES_FINDERS in your settings.py
STATICFILES_FINDERS = [
    'django.contrib.staticfiles.finders.FileSystemFinder',
    'django.contrib.staticfiles.finders.AppDirectoriesFinder',
    'openwisp_utils.staticfiles.DependencyFinder',
]
Add openwisp_utils.loaders.DependencyLoader to TEMPLATES in your settings.py
TEMPLATES = [
    {
        'BACKEND': 'django.template.backends.django.DjangoTemplates',
        'DIRS': [],
        'OPTIONS': {
            'loaders': [
                'django.template.loaders.filesystem.Loader',
                'django.template.loaders.app_directories.Loader',
                'openwisp_utils.loaders.DependencyLoader',
            ],
            'context_processors': [
                'django.template.context_processors.debug',
                'django.template.context_processors.request',
                'django.contrib.auth.context_processors.auth',
                'django.contrib.messages.context_processors.messages',
            ],
        },
    },
]
Add the following settings to settings.py
LOGIN_REDIRECT_URL = 'admin:index'
ACCOUNT_LOGOUT_REDIRECT_URL = LOGIN_REDIRECT_URL
Add the URLs to your main urls.py:
from django.conf.urls import include, url
from django.contrib.staticfiles.urls import staticfiles_urlpatterns

from openwisp_utils.admin_theme.admin import admin, openwisp_admin

openwisp_admin()

urlpatterns = [
    url(r'^', include('openwisp_network_topology.urls')),
    url(r'^admin/', include(admin.site.urls)),
]

urlpatterns += staticfiles_urlpatterns()
Then run:
./manage.py migrateInstalling for development
Install sqlite:
sudo apt-get install sqlite3 libsqlite3-devInstall your forked repo:
git clone git://github.com/<your_fork>/openwisp-network-topology
cd openwisp-network-topology/
python setup.py develop
Install test requirements:
pip install -r requirements-test.txtCreate database:
cd tests/
./manage.py migrate
./manage.py createsuperuser
Set EMAIL_PORT in settings.py to a port number (eg: 1025):
EMAIL_PORT = '1025'Launch development server and SMTP deubgging server:
./manage.py runserver
# open another session and run
python -m smtpd -n -c DebuggingServer localhost:1025
You can access the admin interface at http://127.0.0.1:8000/admin/.
Run tests with:
./runtests.pyContributing
- Announce your intentions in the OpenWISP Mailing List and open relavant issues using the issue tracker
- Fork this repo and install the project following the instructions
- Follow PEP8, Style Guide for Python Code
- Write code and corresponding tests
- Ensure that all tests pass and the test coverage does not decrease
- Document your changes
- Send a pull request
Changelog
See CHANGES.
License
See LICENSE.
