Pintos labs for EE 461S at UT Austin.
Pintos is a simple operating system developed by Stanford. You will complete project 2 (User Programs), project 3 (Virtual Memory), and project 4 (File Systems).
Pintos relies on some core utilities, a gcc that can compile for i386, the corresponding binary utilities, gdb, and qemu. To get these on Debian-derived Linux distributions, run the following commands:
$ sudo apt update
$ sudo apt install build-essential coreutils binutils gcc qemu-system-x86
On macOS using Homebrew:
$ brew install x86_64-elf-gcc x86_64-elf-binutils x86_64-elf-gdb qemu gnu-sedFollow the instructions from the TAs to set up your team on GitHub classroom. Then, clone your team's repository.
$ git clone https://github.com/DrY-Courses/os-sp20-team-name.gitRun the installation script, which will also check that you have the required programs available. Then, check that the installation went okay.
$ ./install.sh  # Follow the instructions it prints
$ echo $PINTOS  # Should point to your pintos directory
$ echo $PATH    # Should contain the `utils` directory
$ cd $PINTOS/userprog
$ make check # You should fail all of the test cases- Run the install script again
- Make sure your bashrc is setting the
$PINTOSand$PATHvariables correctly - Re-source your bashrc
All of these commands assume you are inside a project directory, such as userprog or vm.
$ make check# Get into the proper project directory
$ cd $PINTOS/userprog
$ make
# View the possible tests (the executables)
$ ls build/tests/{userprog,filesys/base}
# Run whatever tests you want
$ runtest args-none syn-read$ make grade
# Or, if the file is up-to-date:
$ cat build/gradeNote: This script output will not necessarily match your grade on the lab. Some synchronization bugs may appear to be fine on your machine, but then fail when we grade the lab.
Using GDB, or a GDB frontend, is mandatory. The Stanford documentation has an entire chapter on debugging tools, including a section on GDB. The techniques that these describe will be very useful for debugging your operating system, so please read through them!
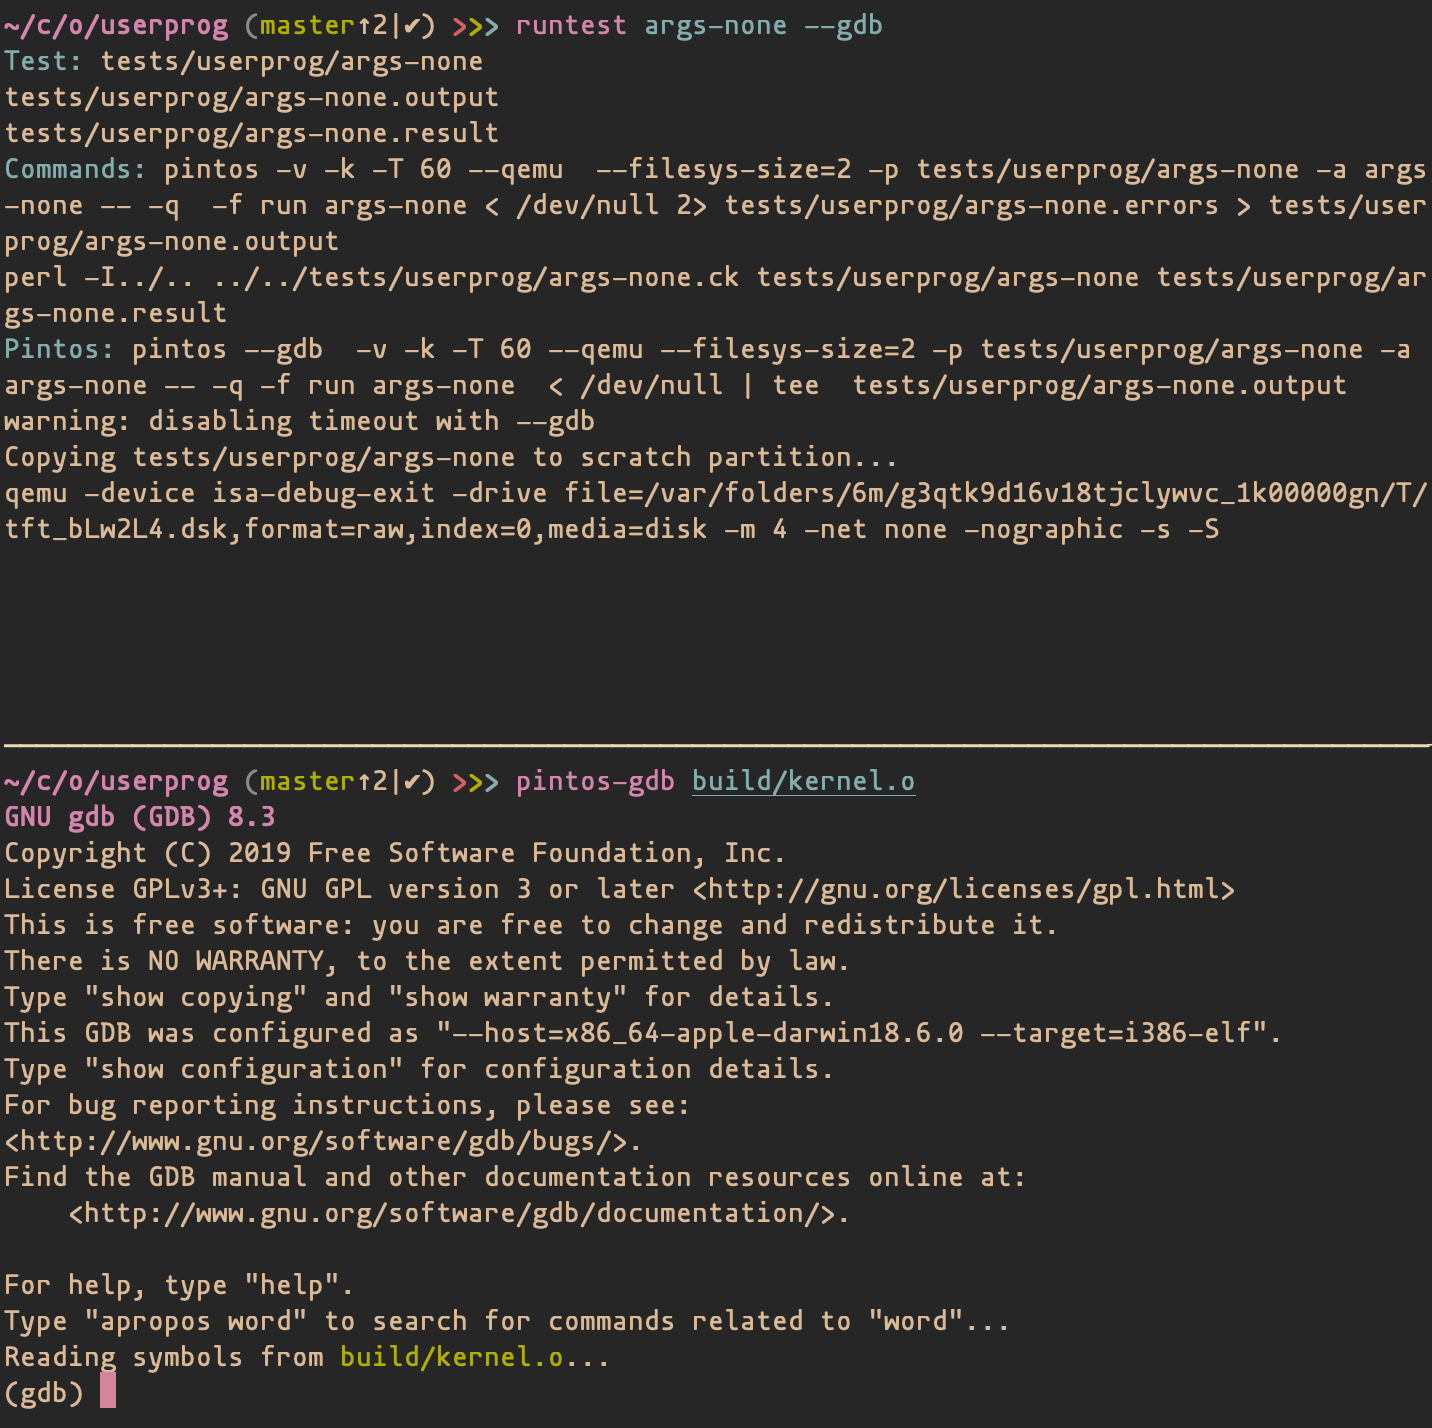
To start debugging, use the runtest script as described above, adding the --gdb flag. For example:
$ runtest args-none --gdbYou'll notice that the output is paused. This is because the Pintos process you just ran is waiting for you to attach your GDB debugger. Open up a new terminal tab, window, or pane. Consider learning a tool like tmux or GNU Screen. Then, use pintos-gdb to attach your GDB debugger to the running Pintos process.
# Assumes you are in the project directory.
$ pintos-gdb build/kernel.o  # optionally add the `--tui` flag
At this point, you should see something like this:
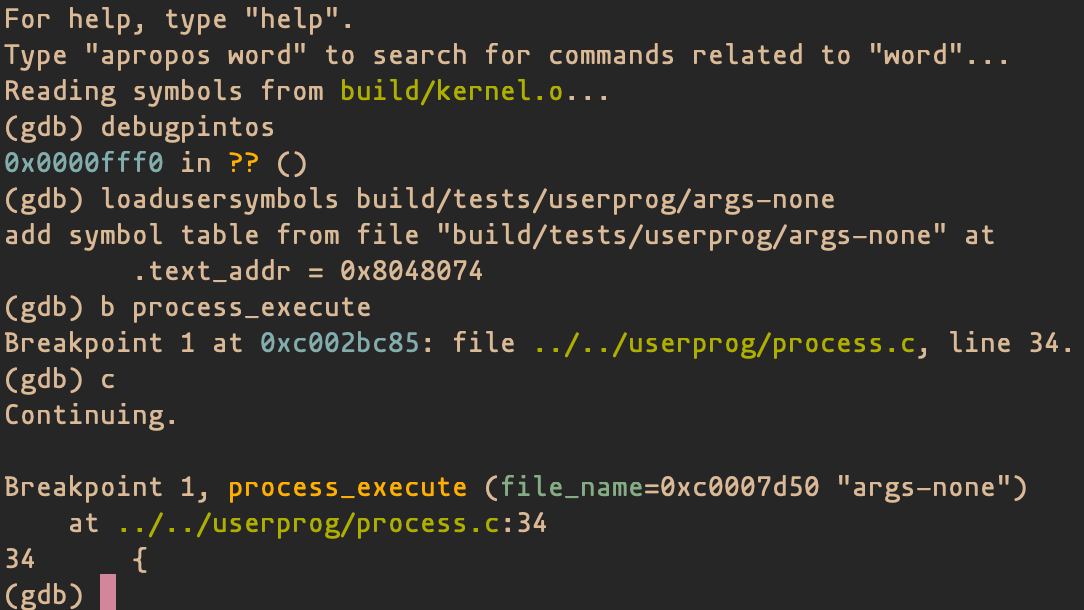
Next, you will have to attach GDB to the Pintos process. You can do this using the debugpintos macro. You may also want to load symbols from the user program (test case) to allow you to step through inside the test case. Type debugpintos at the prompt, followed by loadusersymbols build/tests/userprog/args-none. You may omit the loadusersymbols command if you only want to debug the kernel itself, but you must include debugpintos.
Now, GDB is ready to debug. If the Pintos process ever hangs and you are unable to kill it with control-C, try pkill pintos.
If you do not follow these steps exactly, you will break the grading script and lose 10 points on your lab.
- Create a new branch for this project.
project2is for userprog,project3is for vm, andproject4is for filesys. If you have already created therelease/projectNbranch for this project, omit the-bflag.
$ git checkout -b release/project2- Push the branch.
$ git push origin release/project2The grading script relies on specific file paths to find the project directory. However, it is not flexible enough to find the correct directory if, for example, you have a "vm/Makefile" and a "temp-directory/vm/Makefile." Remove unnecessary code from your project or risk breaking the grading script.
- Tag the commit that will act as your submission.
$ git tag -a project2-submission -m "project2-submission"- Push the tag.
$ git push origin project2-submission- Check that the tag and branch exist locally. You should also view your project's GitHub page and make sure it shows the tag and branch, too.
$ git checkout master
$ git branch -va
$ git tag -l

