The game is split into two parts, the server and the client. The server handles all game logic and does all the "hard" stuff while the client is really just a UI over the server events coming back.
nade it, Aaron! uses the following programs:
node- required to run the server and generate the client.- Blender (optional) - Used to make the GLTF files used for 3d models.
- Asset Forge (optional) - Used to get the terrain assets.
- Docker (optional) - to build the the final release version.
-
Clone this repository
-
Install dependencies
npm i
cd server && npm i && cd ..
cd client && npm i && cd ..
-
At this point, you should be done!
The server will automatically serve the client build directory as it's web server. It's easiest to just run both the client and server build commands in watch mode, rebuilding whenever you make a change.
server/
npm run watchclient/
npm run watchAfter a few seconds, the server should print out a URL to let you know its ready. You'll probably want to also wait for your client build to finish. After both builds have settled down, you should be able to hit http://localhost:2567 and see the menu screen.
If you're on an ARM machine, make sure you build for x64!
docker buildx build --platform linux/amd64 --push -t docker.rortic.us/nade-it .Map assets are generated using Asset Forge.
- Assemble single tile using Asset Forge using the default grid. A single tile should span one grid cell.
- Export as GLB file
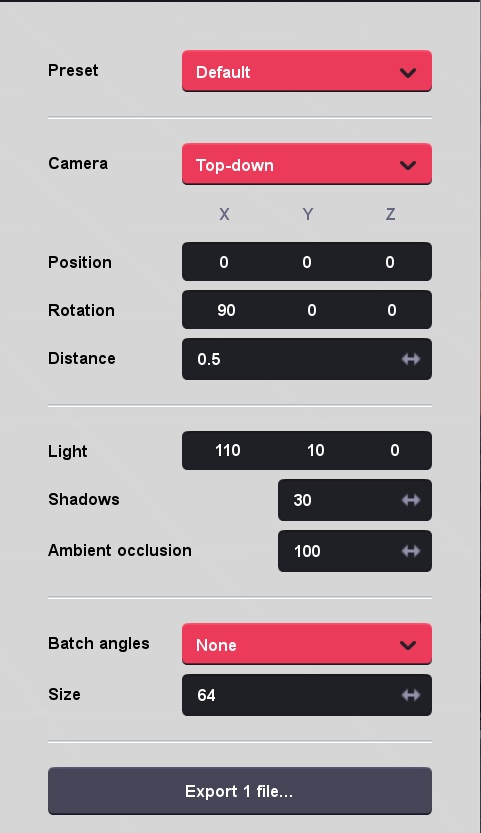
- Export as a sprite using the following export settings,

- Paste exported sprite in final map grid (pixelmator file)
- Update
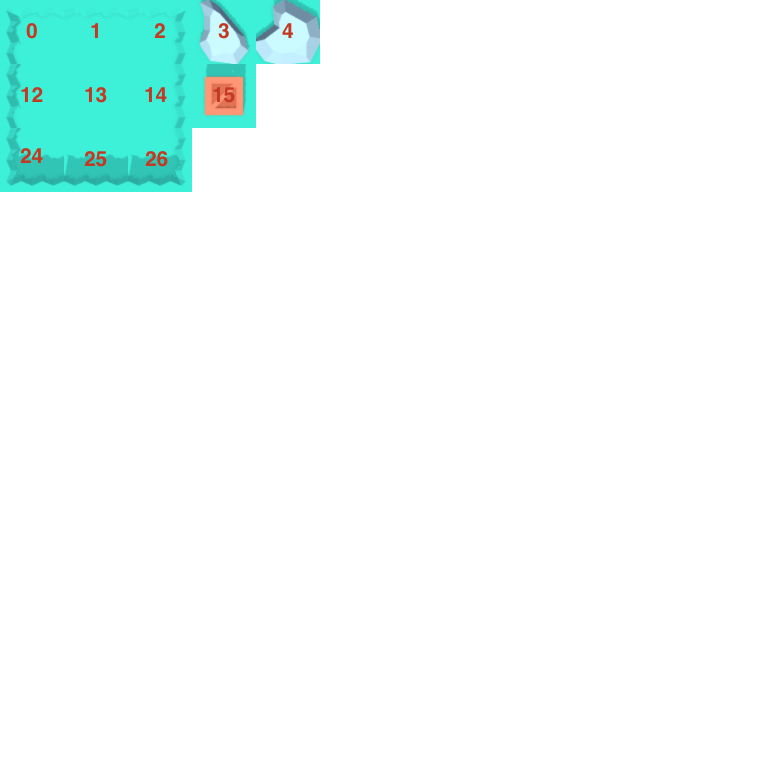
tileReference.pngby exporting pixelmator file as PNG
Tile information is stored in shared/mapdef.json. The indices of the tiles directly correlate
the indices defined in the Tile Reference.
