This Kotlin project contains tests for a calculator, but no implementation. It is used to learn Kotlin by implementing the calculator logic and making the tests pass.
I originally made this for my friends and colleagues, but anyone can use this. Just fork the repo and code away 😃
This readme is very extensive,
so that beginners of Kotlin (or programming in general) have an easier time starting this exercise.
If you are already experienced in any of the topics covered here,
feel free to skip over them and start coding right away.
Also mind the contributing section, if you are into that. ![]()
To start implementing the calculator, you need to:
- Fork this repo.
- Optional: On your fork, create a branch named
solution/<your_name>. - Run the tests the first time to see all the requirements. (see section below for details)
- Implement a part of the calculator. (see section below for details)
- Run the tests again and pat yourself on the back for the progress you made.
- If there still are failing tests, go to step 4.
- When your implementation passes ALL THE TESTS, (sorry for the meme) send me a tweet at @LostMekkaSoft, and we shall celebrate this victory together!
The simplest way to run the tests is to run the command ./gradlew test in your project directory.
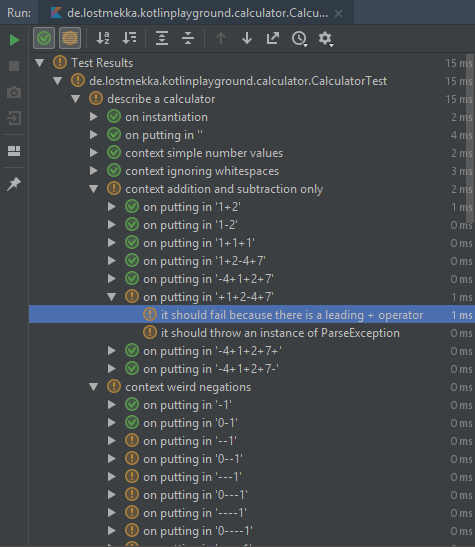
This will display all test results in the console.
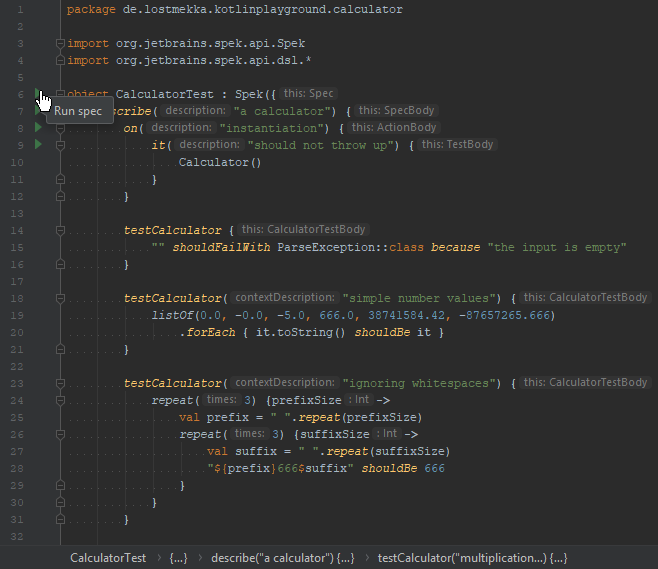
If you are using IntelliJ, I strongly recommend the Spek Plugin. You can install it directly from within IntelliJ. With it, you can run the tests directly from the IDE and get a nice graphical representation of the results.
Simply open the test source file in your IntelliJ project and you should see some run icons to the left of the code. Click the topmost of those to start a whole test run.
You need to implement the method marked with TODO in the
calculator source file.
It is highly recommended that your implementation spreads over many classes and files,
so you can divide and conquer this training exercise.
The calculator receives a String and is required to produce an answer of type Double. This generally requires two steps: ( Although you could also do this in one swoop if you like. The separation of the two steps however is a good way to not block you from extending the program later on. )
- Parse the String to some internal data structure. This will most likely be a syntax tree, where simple numbers are represented by the leaves and all sorts of operations are represented by nodes.
- Evaluate the built data structure. This would go through the tree and reduce it to one number that is the result of the whole formula.
If you don't know where to begin, try tackling the problem in this suggested order:
- Make the calculator accept simple numbers.
String::toDoubleorString::toDoubleOrNullare your best friends there. - Add the functionality to ignore whitespaces.
- Implement addition and subtraction support.
Keep in mind that invalid formulas should produce a
ParseException. - Implement multiplication and division support.
Keep in mind that divisions by zero should produce an
EvaluateException. - Add support for grouping subformulas with parenthesis.
Note, that each successive step might require you to refactor your earlier solution. This is totally expected and you should not shy away from that. In production code, constant refactoring is frowned upon, because it takes too much time and makes APIs unreliable. But in these exercise projects, you should refactor all you can! This will give you a feeling for how much foresight you will need in production code to stay productive.
If you have any change that would be nice to have in this repo, you can implement it in your fork and start a pull request.
Please note that no solution implementation is allowed in this repo.
If you also implement the calculator, do it in your solution/<your_name> branch
and only start pull requests for the master branch.
Also note, that I try to have a bit of backwards compatibility. Pull requests that are reasonable, but change the calculator specification, need to be handled with extra care.
Currently, I am the only one who develops on the master branch.
Therefore I can just commit anything directly to master.
If there is a need for collaboration in the future, I will change the branching model accordingly.
The test are Written with Spek. This Project differs a bit from normal ones in that there is only one method to test, but there are quite a few test cases for it.
To write more beautiful tests for this specific project, I wrote a small extension to the Spek DSL,
including the testCalculator builder function
as well as the infix functions shouldBe, shouldFailWith and because.
The definition of the DSL extension can be found in
the test helper.

