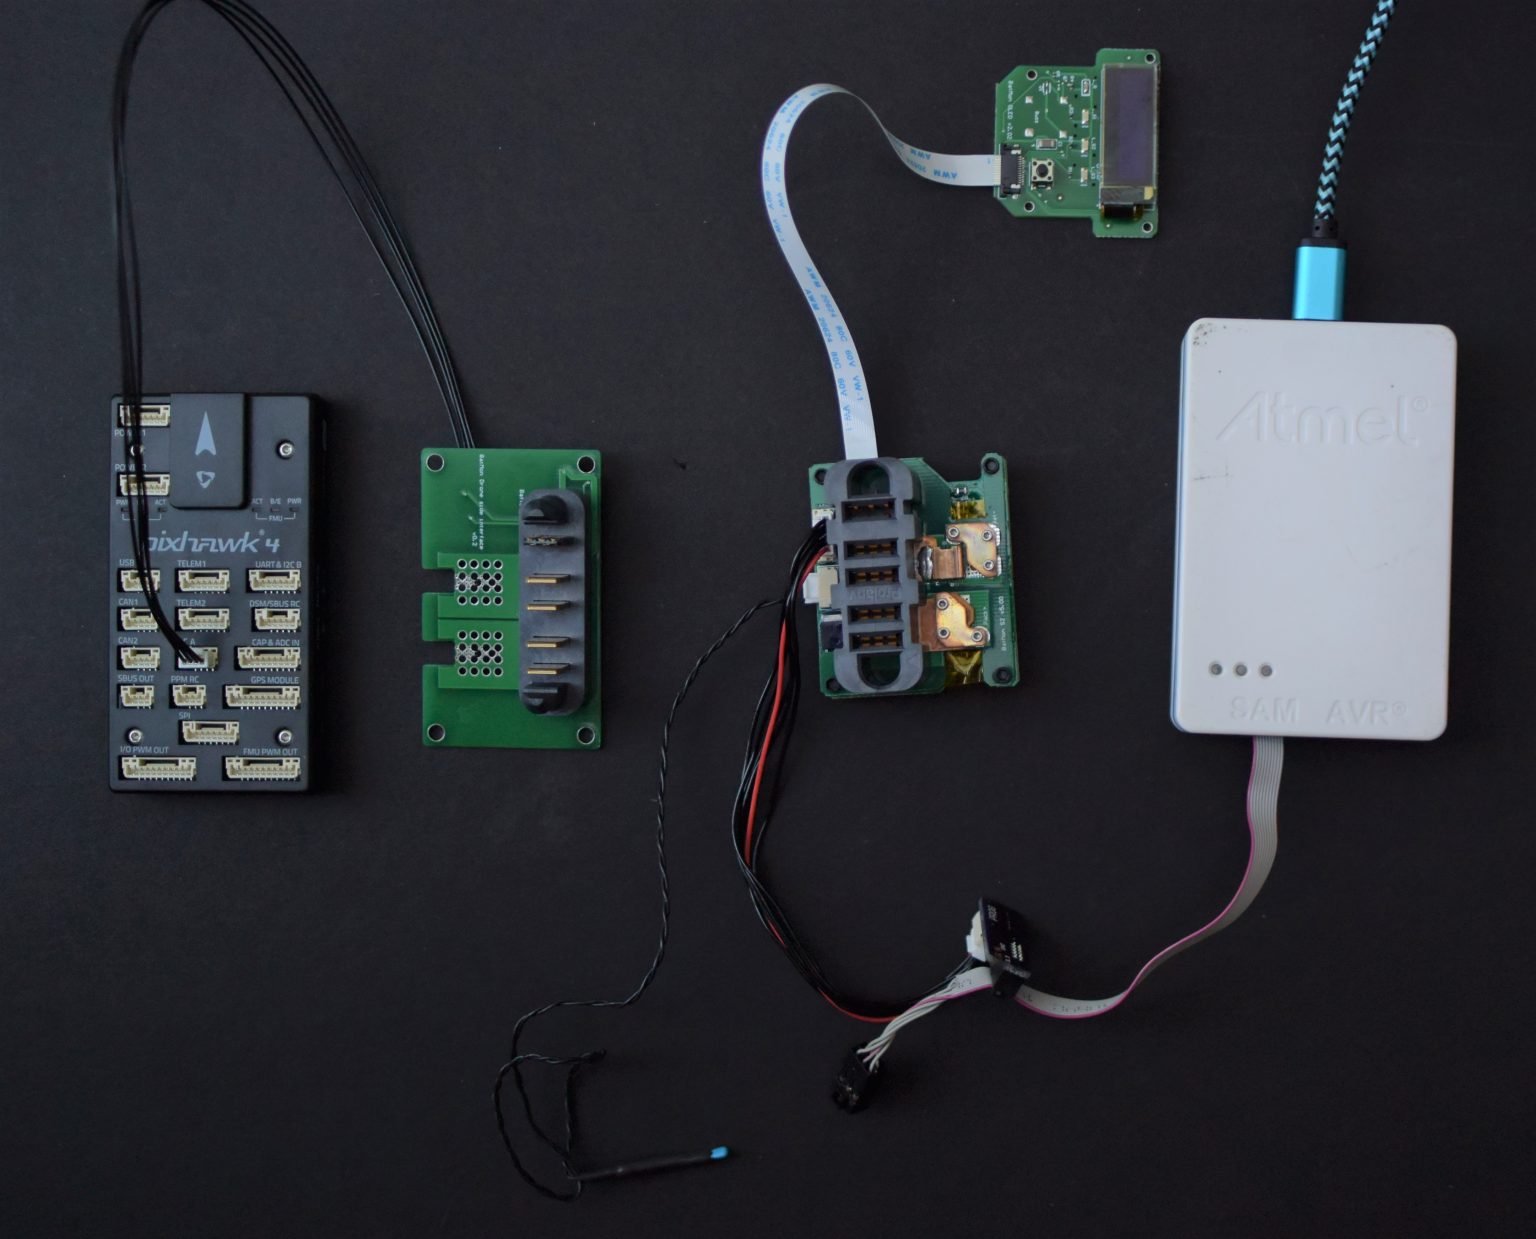
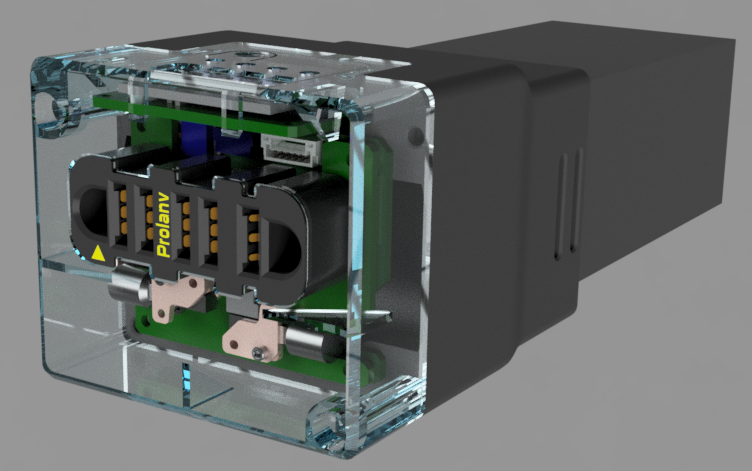
When you receive a battery with integrated BATMON, the OLED display (if applicable) and red/green LED's should be flashing periodically, displaying the battery state of charge, the min and max cell voltages, and current in Amps. The button is used to cycle through screens.
If you see the < ! > symbol on the OLED display, this means that one or more safety warning conditions have been met. Press the button to see the warning(s) present.

Ensure that you have received BATMON with the right cell count as your batteries. You may connect the JST balance leads of a battery to BATMON to power it up. Ensure that the negative of the battery is connected to the negative terminal on the power board(the top board with the Prolanv connector). You'd need this connection to power up BATMON even if you are just testing the board.
BATMON is supported on the stock firmware of PX4 since the v1.12.2 version.
Connect SMBUS/I2C of BATMON to the appropriate bus on the autopilot.
In ground control software of choice, set
- BAT_SOURCE parameter to "External"
- BATMON_DRIVER_EN to 1
Start BATMON on nsh using the script:
batmon start -X * Search all the external bus and connect to the first BATMON detected
batmon start -X -b 1 -a 11 * External bus 1, address 0x0b
batmon start -X -b 1 -a 12 * External bus 1, address 0x0c
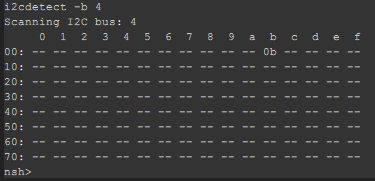
I2C devices connected on the different bus can be identified by running nsh script:
i2cdetect -b <bus number>
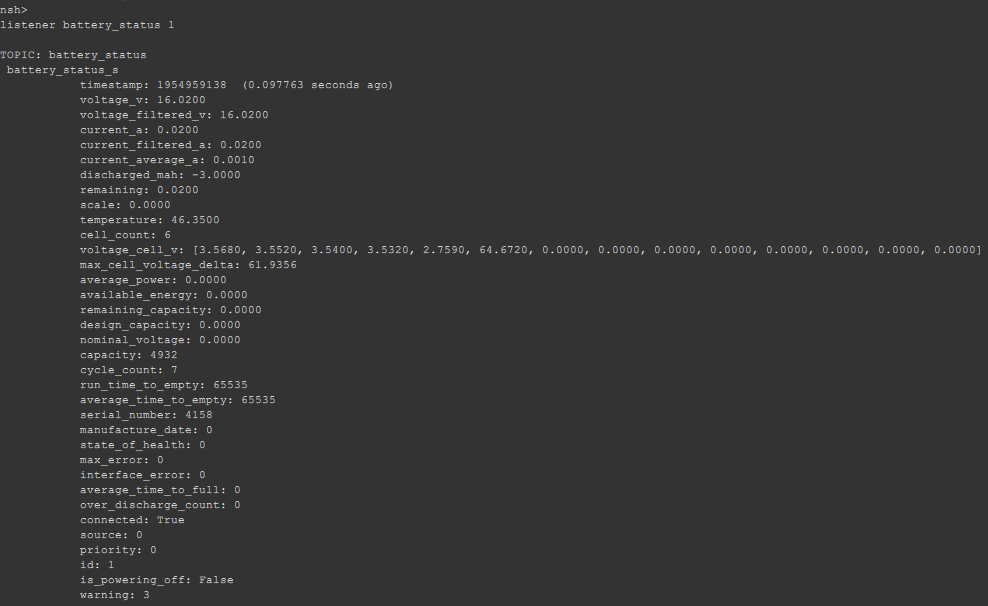
battery_status uorb messages may be inspected using the command
listener battery_status 1
Clone or download Ardupilot firmware
Check out the master branch, build from source, and flash the firmware. BATMON support is not yet in a stable release of Ardupilot.
In ground control software of choice, manually set the BATTx_MONITOR parameter to 19 (or select Rotoye by name, if enumerated), and select the appropriate BATTx_BUS (0-3), where x is the Batt number (multiple Smart Batteries can be used at once!)
See the full list of parameters for more detail
You should now be able to verify through a tool such as MAVLink Inspector in QGroundControl that Batmon is sending data to the autopilot:
Instruction to run ReadBatmon
- Copy the ReadBatmon folder to local directory.
- Open the sketch using Arduino IDE.
- Open Sketch->Include Library-> Add .ZIP library
- Give location of FastCRC.zip file. The FastCRC library would now be added.
- Connect the Power, GND, SDA, SCL lines from Arduino to Batmon
- Connect the cells to BATMON
- Upload code to Arduino
- Run serial monitor to see output


