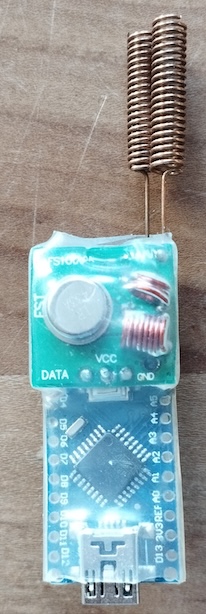
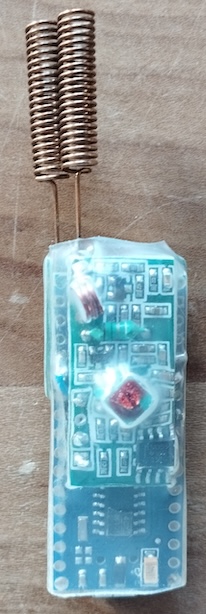
Home Assistant integration for using various 433 MHz devices and sensors with a connected Arduino Nano with homeduino sketch.
This plugins supports all 433 MHz devices with rfcontrolpy protocol implementations.
- Sending and receiveing RF commands
- Supports RF switches, lights and motion sensors
- Read and write local IO connected to the Arduino Nano
- Allows multiple Homeduinos to be connected
- Reading DHT11/DHT22 sensors connected to the Arduino Nano
A Homeduino exists of an Arduino Nano with homeduino sketch. An 433 MHz RF transmitter and receiver can be connected to communicate with 433 MHz devices and local IO can be used to read inputs or switch relays.
The recommended way to install this Home Assistant integration is by using HACS. Click the following button to open the integration directly on the HACS integration page.
Or follow these instructions:
- Go to your HACS view in Home Assistant and then to Integrations
- Open the Custom repositories menu
- Add this repository URL to the Custom repositories and select Integration as the Category
- Click Add
- Close the Custom repositories menu
- Select + Explore & download repositories and search for Homeduino
- Select Download
- Restart Home Assistant
- Copy the
custom_components/homeduinodirectory of this repository into theconfig/custom_components/directory of your Home Assistant installation - Restart Home Assistant
- After restarting go to Settings then Devices & Services
- Select + Add integration and type in Homeduino
- Select the Serial port or enter the path manually
- Select the Baud rate
- Define which digital and analog IO should be enabled.
- Select Submit
When your wiring is right a new Homeduino integration and device will now be added to your Integrations view. If your wiring is not right you will get a Failed to connect error message.
The Arduino Nano suports 12 digital IO and 8 analog inputs which can be used by the Homeduino integration
The digital IO can be configured as:
- RF receiver on digital IO 2 or 3
- RF sender on all digital IO
- Digital input on digital IO 2 till 12
- Digital output on all digital IO
- PWM output on digital IO 3, 5, 6, 9, 10 and 11
- DHT11/DHT22 sensor 2 till 12
The analog input reads a value between 0V and 5V and reports the measured value as a value between 0 and 1023. You can use a template sensor to use this value according to your needs.
- After adding your Homeduino go to Settings then Devices & Services
- Select + Add integration and type in Homeduino
- Select the Protocol and give the Device ID and Device unit for your device
- Select Submit
If you would like to use this Home Assistant integration in your own language you can provide me
with a translation file as found in the custom_components/homeduino/translations directory.
Create a pull request (preferred) or issue with the file attached.
More on translating custom integrations can be found here.
Do you enjoy using this Home Assistant integration? Then consider supporting my work using one of the following platforms, your donation is greatly appreciated and keeps me motivated:
If you would like to have a Home Assistant integration developed for your product or are in need for a freelance Python developer for your project please contact me, you can find my email address on my GitHub profile.


