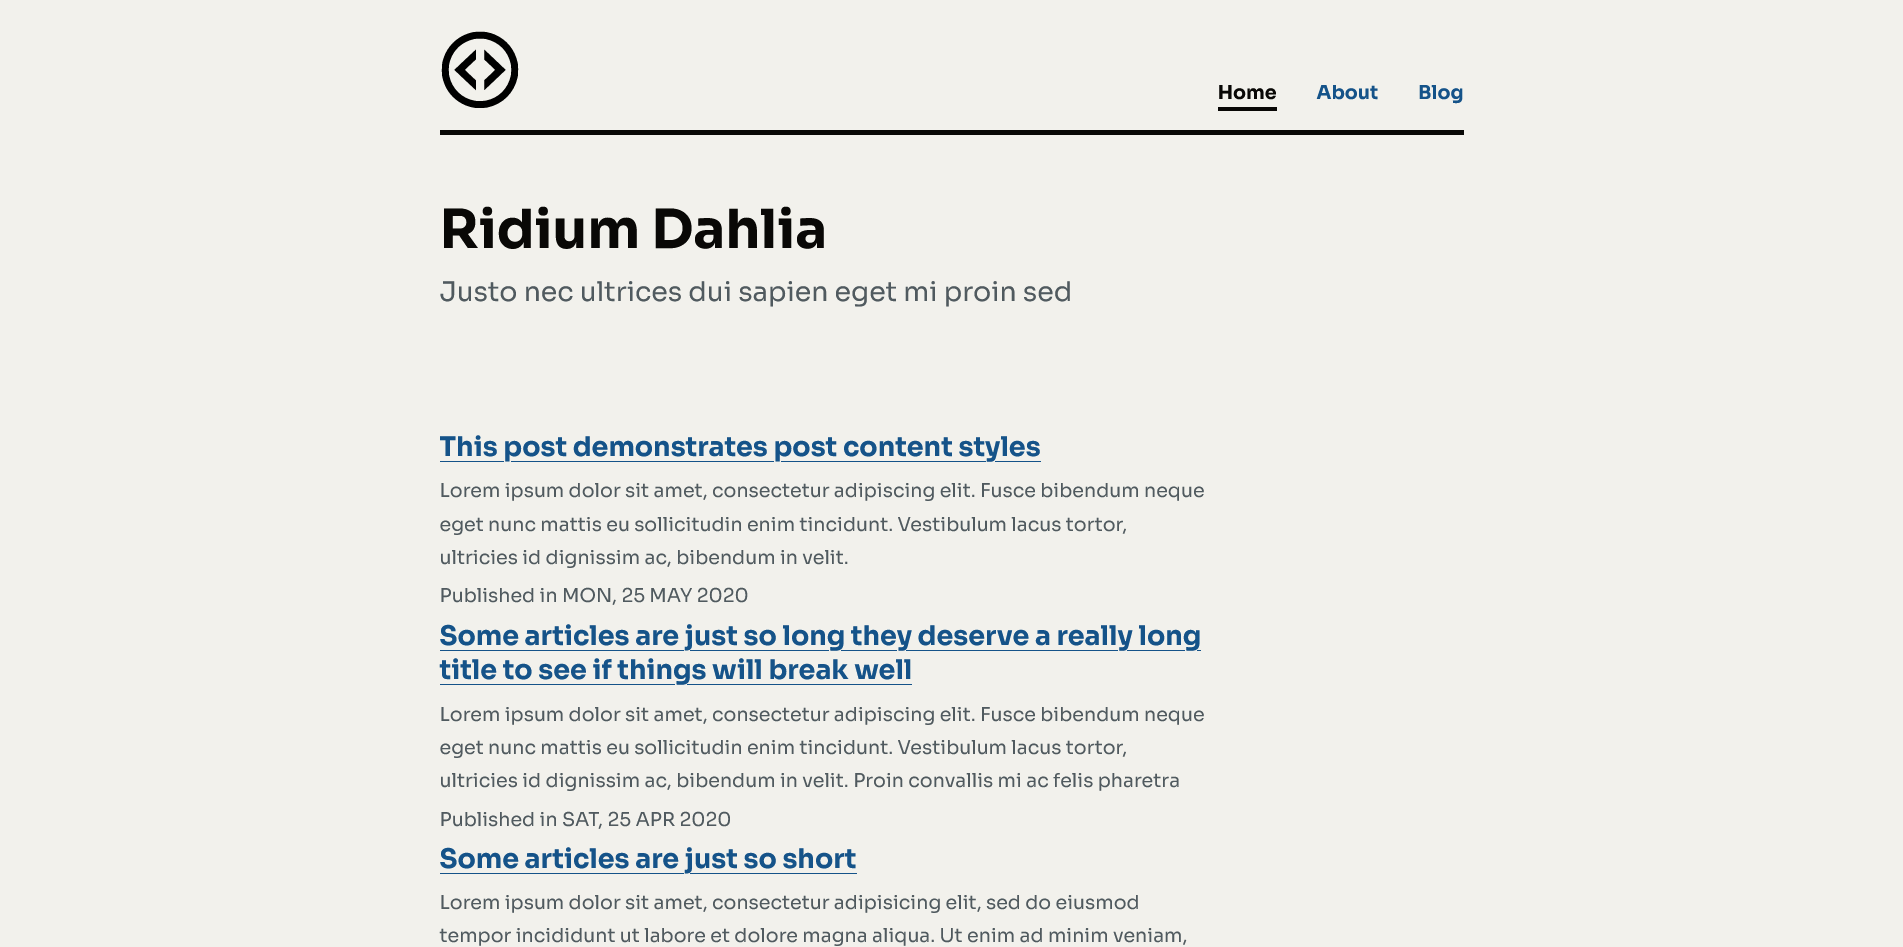
A simple blog built using Astro
Inside of your Astro project, you'll see the following folders and files:
/
├── public/
│   ├── code.png
│   └── robots.css
│   └── global.css
│   └── favicon.ico
├── src/
│   ├── posts/
│   │    └── *.md
│   ├── components/
│   │   └── Footer.astro
│   │   └── Header.astro
│   │   └── MainHead.astro
│   │   └── PostCard.astro
│   │   └── PostList.astro
│   │   └── Pagination.astro
│   ├── layouts/
│   │    └── BlogPost.astro
│   │    └── MainLayout.astro
│   ├── pages/
│       └── tags.astro
│       └── index.astro
│       └── index.astro
│       └── contact.astro
│       ├── tags/
|       |   └── [tag].astro
│       ├── blog/
|           └── [slug]/
|           |   └── index.astro
|           └── [all]/
|               └── [...page].astro
└── package.json
Astro looks for .astro or .md files in the src/pages/ directory. Each page is exposed as a route based on its file name.
There's nothing special about src/components/, but that's where we like to put any Astro/React/Vue/Svelte/Preact components.
Any static assets, like images, can be placed in the public/ directory.
All commands are run from the root of the project, from a terminal:
| Command | Action |
|---|---|
npm install |
Installs dependencies |
npm run dev |
Starts local dev server at localhost:3000 |
npm run build |
Build your production site to ./dist/ |
npm run preview |
Preview your build locally, before deploying |
Feel free to check Astro documentation or jump into our Astro Discord server.
- Add tags
- Fix index page
- Fix post page
- Add post title
- Add code styling
- Add contact page
- Fix navigation links
- Add pagination to tags
- Change pagination styling
This template is inspired from works the following people :
