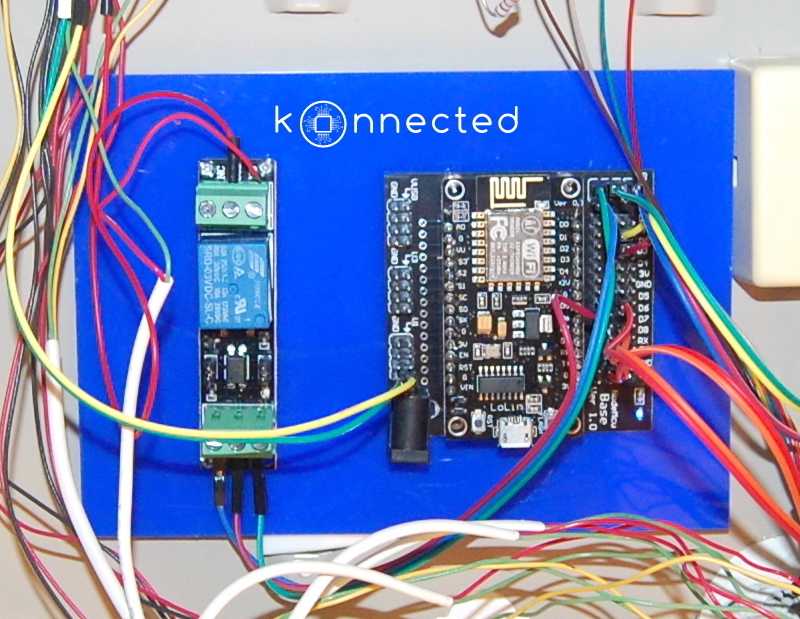
Konnected Security integrates wired alarm system sensors and sirens to SmartThings using a NodeMCU based ESP8266 development board and (optional) relay. This project consists of a few components:
- NodeMCU firmware for an ESP8266 development board in
firmware - Lua and HTML source code for the NodeMCU in
src. All these files should be uploaded to the NodeMCU's internal file system - SmartThings platform code in
smartappsanddevicetypes
Buy a Konnected Security NodeMCU kit from us and you can skip the installation! We pre-load the Konnected Security software on every NodeMCU device before sending it to you. When you get it, just plug it in connect to WiFi, and it's ready to set up. Buying from us is great way to support the developers who have worked hard on this project.
- Install device drivers for your NodeMCU device.
- Flash the device with the included firmware firmware/konnected-security-2-0-5.bin
- Upload all the code in
srcto the device and reboot the device. - Connect to the WiFi network
konnected-security_XXXXXXto set up WiFi - Follow wiring instructions and SmartThings application setup instructions in the Konnected Security Documentation
Windows and Mac users will need to download drivers so your computer can talk to the ESP8266 chip over USB. Depending on which board you have, there are different drivers:
WeMos CH340 drivers for boards that:
- have the name LoLin on the back or front
- the small rectangular component on the board near the USB port is engraved with CH340G
- Mac OS X Sierra users: use this driver
Silicon LabsUSB to UART drivers for boards that:
- have the name Amica on the back
- the small component on the board near the USB port is engraved with SiLABS CP2102
-
You must have Python 2 installed with
pip.- Mac users: I recommend using Homebrew and
brew install python
- Mac users: I recommend using Homebrew and
-
Open up a terminal and install
esptoolandnodemcu-uploaderpackages:pip install esptool pip install nodemcu-uploader -
Run the script in
scripts/flashto flash and upload the files. You may need to edit the variables at the top of the script as your serial port may be different depending on your operating system and the type of NodeMCU development board you have. You may also need to make the script executable by runningchmod 755 scripts/flash.
-
Download and install the NodeMCU PyFlasher tool
-
Using PyFlasher, flash the latest firmware in the
firmwaredirectory of this repo at 115200 baud using flash modedio. -
Now you need to upload all the files in the
srcdirectory of this repo on to the device. If you're comfortable using Python, I recommendnodemcu-uploader. The command would look something like this:C:\Python27\python.exe nodemcu-uploader --port=COM3 upload * --verify=rawIf you prefer a GUI tool, download and run ESPlorer and connect to your device at baud 115200. Then use the Upload button to upload the files to the device.
We work hard on this project because we're passionate about making home automation accessible to everybody. Millions of homes in North America and worldwide are already wired with sensors and have the potential to become smart homes. We want to make this a reality.
If you've used Konnected Security and it's improved your life and your home security, please consider donating to help us achieve that goal.
Thank you for your support,
@heythisisnate and @copy-ninja


