gsts (short for Google STS) is a fork of aws-google-auth based on puppeteer instead of scraping which aims to obtain and store AWS STS credentials to interact with Amazon services by authenticating against a pre-configured G Suite SAML instance.
This allows you to configure AWS to rely on G Suite as your identity provider, moving the responsibility away from Amazon into Google to validate your login credentials. This is a widly popular solution when looking to offer Single-Sign On capabilities inside organizations.
The problem is that this flow is tailored for the web which makes command-line usage a lot more difficult. This utility is helper around that.
- First-time only headful design for interactively entering your G Suite credentials.
- Full support for all 2FA methods as provided by Google, including security keys.
- Persistent headless re-authentication system.
- Supports custom session durations (from 15min to 12h).
- Compatible with Amazon ECR.
- Daemon helper for continously refreshing the STS token (only available on macOS for now).
- Offers a quick action to open the AWS console from the command-line.
Install the package via npm:
npm install --global gstsor via yarn:
yarn global add gsts
The install process will automatically trigger the download of Chromium required by puppeter.
There are three key options or variables you need know about (you can read more about how to discover them below):
- Google's Identity Provider ID, or IDP IP.
- Google's Service Provider ID, or SP ID.
- AWS role ARN to authenticate with.
You can then launch gsts using command-line options:
gsts --aws-role-arn arn:aws:iam::123456789:role/foobar --sp-id 12345 --idp-id A12bc34d5 --username foo@bar.comAlternatively, you can use environment variables instead:
GOOGLE_USERNAME=foo@bar.com GOOGLE_SP_ID=12345 GOOGLE_IDP_ID=A12bc34d5 gstsThat's it! The first authentication will be performed directly on a headful browser where all of the authentication challenges generated by Google are natively supported (TOTP, Push, SMS, Security Keys, etc). Subsequent runs use an existing session to obtain fresh STS credentials every time the utility is executed.
To make sure the profile generated by gsts - by default, called sts - is used on other tools interacting with AWS services via STS tokens (aws, kubectl, etc.), make sure AWS_PROFILE=sts is set as an environment variable. Alternatively, you can force gsts to use the default profile name by using gsts --aws-profile=default.
If you'd like to automatically authenticate your Docker installation before pulling private images from Amazon ECR, you can use the fantastic ECR Docker Credential Helper in combination with gsts.
-
Install
docker-credential-helper-ecr(on macOS, you can do it via Homebrew usingbrew install docker-credential-helper-ecr). -
Create a file named
docker-credential-gstswhich needs to be on yourPATHenvironment variable. To keep things organize, let's create it inside~/.docker/bin/and add that folder toPATH.#!/bin/sh gsts < /dev/tty > /dev/tty exec docker-credential-ecr-login $@
Make sure the file is executable with
chmod +x ~/.docker/bin/docker-credential-gsts. -
Add the following config to your
~/.docker/config.jsonfile, providedgstsis in yourPATH:{ "credHelpers" : { "<ACCOUNT_ID>.dkr.ecr.<ECR_REGION>.amazonaws.com" : "gsts" } } -
Depending on your setup, you may need to specify an additional environment variable
AWS_DEFAULT_REGION(e.g.us-east-1).
The next step a docker pull for an image from an ECR registry matching the string above is called, Docker will invisibly call gsts and perform authentication on your behalf.
If you are a heavy Amazon AWS user with a constant need of a fresh STS token or if you find the maximum amount of time a session can live by Amazon's own rules too short (12 hours), you can setup a helper to periodically call gsts for you.
gsts comes with a basic LaunchAgent plist generator which it will try to copy to ~/Library/LaunchAgent/io.ruimarinho.gsts.plist and automatically load.
The gsts helper doesn't actually run in background. The OS native scheduler will periodically (every 10min) execute gsts for you to make sure a fresh STS token is available whenever you need it.
Simply call gsts with the daemon option to install the helper:
gsts --daemonIf /usr/local/var/log/ is not user-writable, you may create that directory or customize the path for logs using --daemon-out-log-path and --daemon-error-log-path.
You may safely disable the helper at any time by unloading:
launchctl unload ~/Library/LaunchAgents/io.ruimarinho.gsts.plist
gsts offer a quick way to open the Amazon AWS console via the command line:
gsts console❯ gsts --help
Commands:
gsts console
Options:
--help Show help [boolean]
--version Show version number [boolean]
--aws-profile AWS profile name for storing credentials
[default: "sts"]
--aws-role-arn AWS role ARN to authenticate with
--aws-shared-credentials-file AWS shared credentials file
[default: "~/.aws/credentials"]
--clean Start authorization from a clean session state
--daemon Install daemon service (only on macOS for now)
--daemon-out-log-path Path for storing the output log of the daemon
[default: "/usr/local/var/log/gsts.stdout.log"]
--daemon-error-log-path Path for storing the error log of the daemon
[default: "/usr/local/var/log/gsts.stderr.log"]
--force Force re-authorization even with valid session
--idp-id, --google-idp-id Google Identity Provider ID (IDP IP) [required]
--sp-id, --google-sp-id Google Service Provider ID (SP ID) [required]
--username, --google-username Google username to auto pre-fill during login
-v, --verbose Log verbose output [count]For compatibility reasons, most environment variables supported aws-google-auth are also supported by gsts:
| Description | Command-Line Option | Env Variable | Required |
|---|---|---|---|
| Google IDP ID | --idp-id |
$GOOGLE_IDP_ID |
Yes |
| Google SP ID | --sp-id |
$GOOGLE_SP_ID |
Yes |
| Google Username | --username |
$GOOGLE_USERNAME |
No |
| AWS Shared Credentials File | --aws-shared-credentials-file |
$AWS_SHARED_CREDENTIALS_FILE |
No (default: ~/.aws/credentials) |
| AWS Profile | --aws-profile |
$AWS_PROFILE |
No (default: default) |
If you're the admin of G Suite, after configuring the SAML application for AWS you can extract the SP ID by looking at the service parameter of the SAML AWS application page.
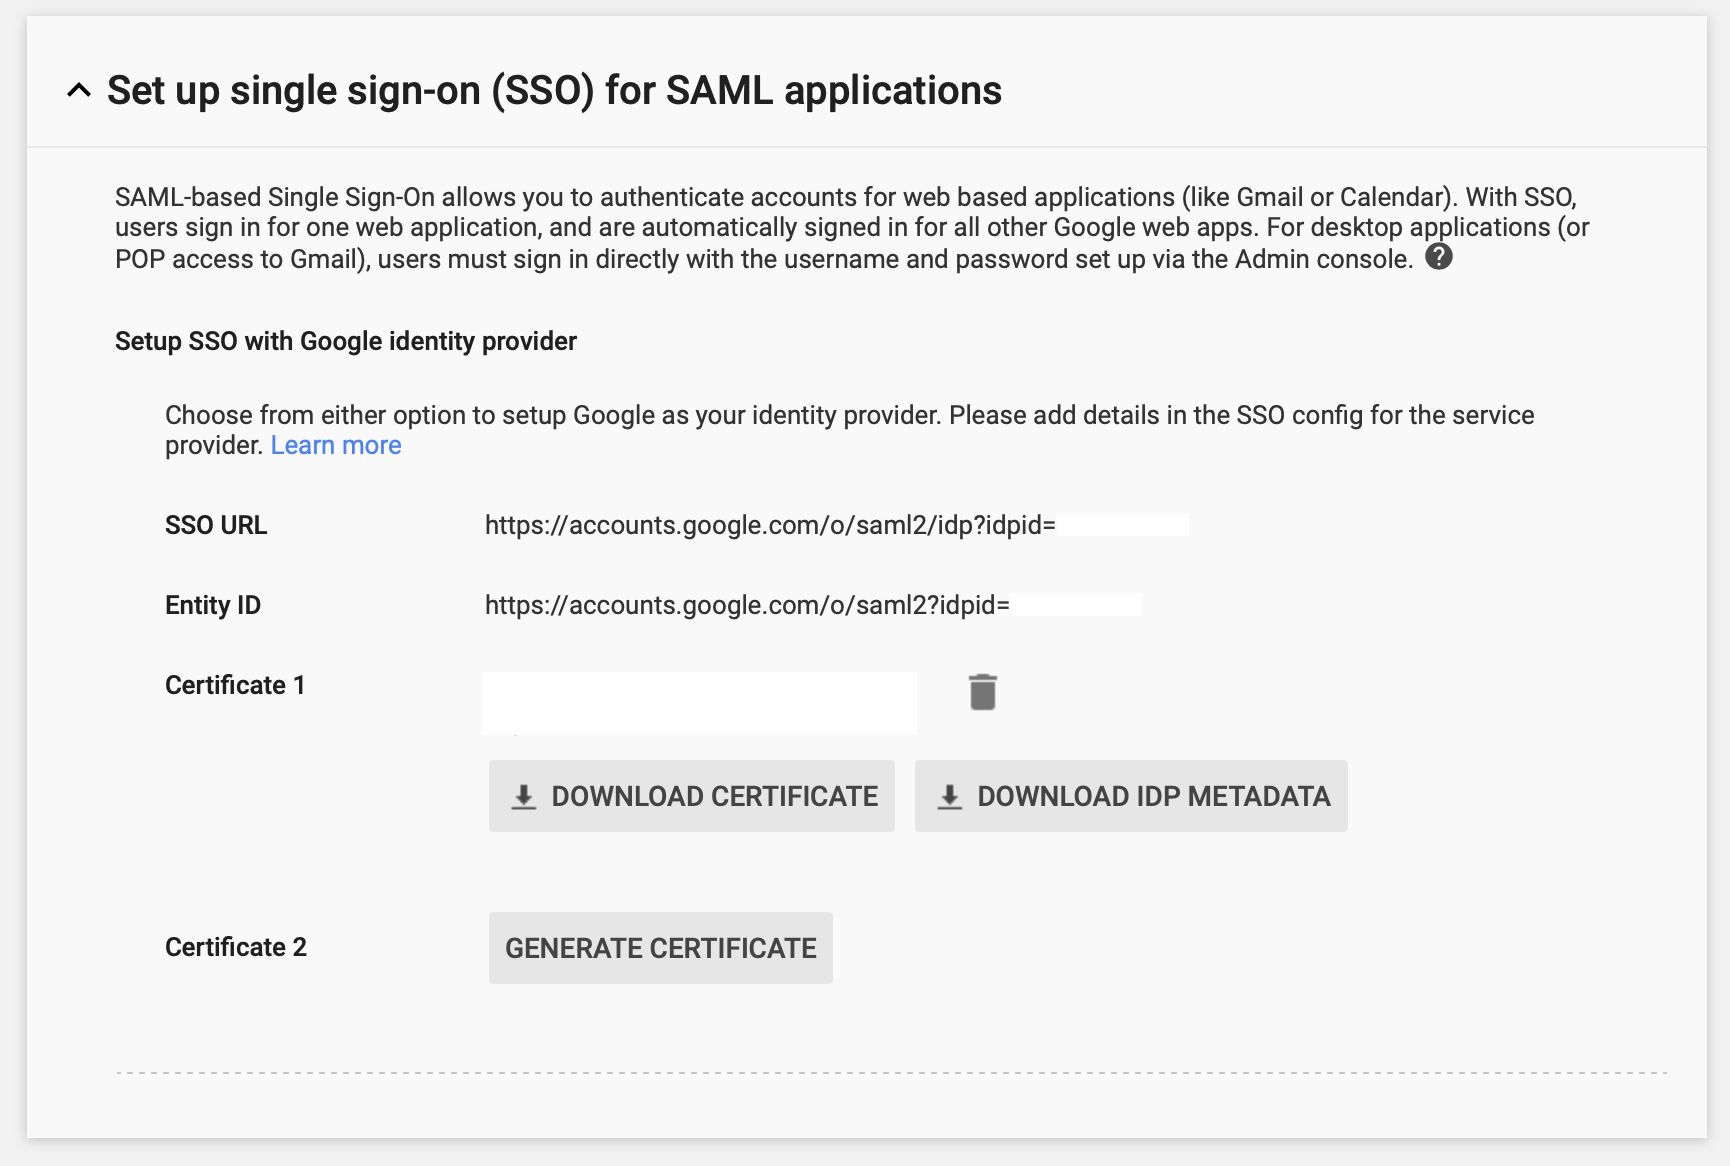
The IDP ID can be found under Security > Set up single sign-on (SSO) for SAML applications as the parameter idpid.
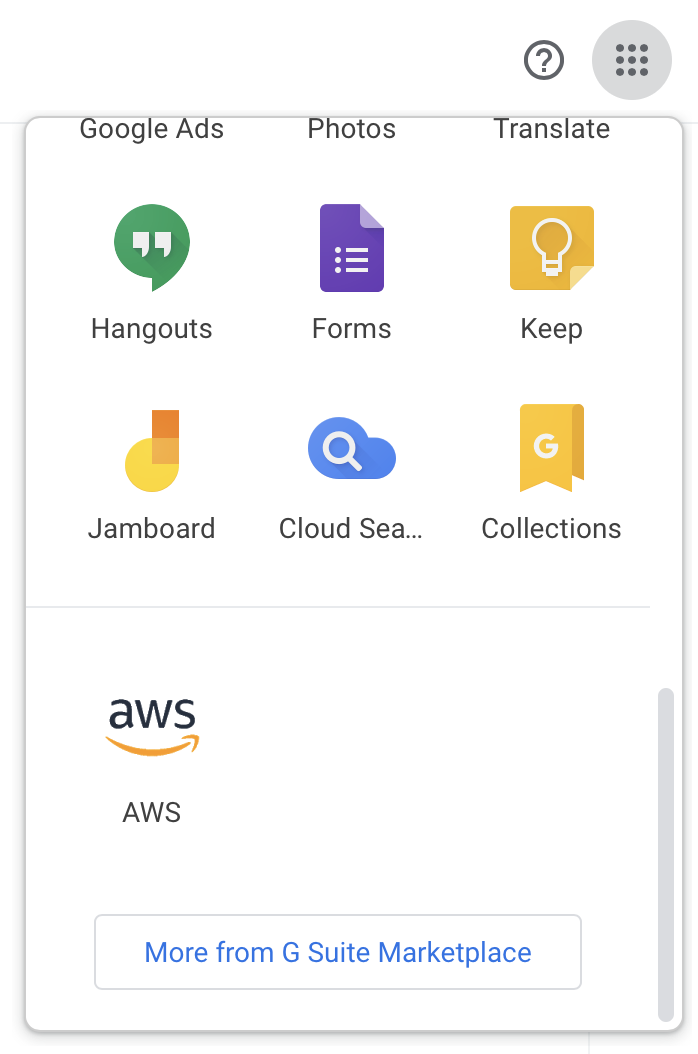
In case you are using a pre-configured AWS SAML application as traditionally available under the dotted menu on any Google app (Gmail, Calendar and so on) you can instead right-click the AWS icon and copy the link:
The copied URL will be in the format of https://accounts.google.com/o/saml2/initsso?idpid=<IDP_IP>&spid=<SP_ID>&forceauthn=false.
I keep getting asked to re-login using the headful instance even after being succesfully logging in.
Sometimes puppeteer can get confused with the session state Chromium's data directory. If you can't get out of this loop, you should try starting from a clean session directory instead using gsts --clean.
MIT


